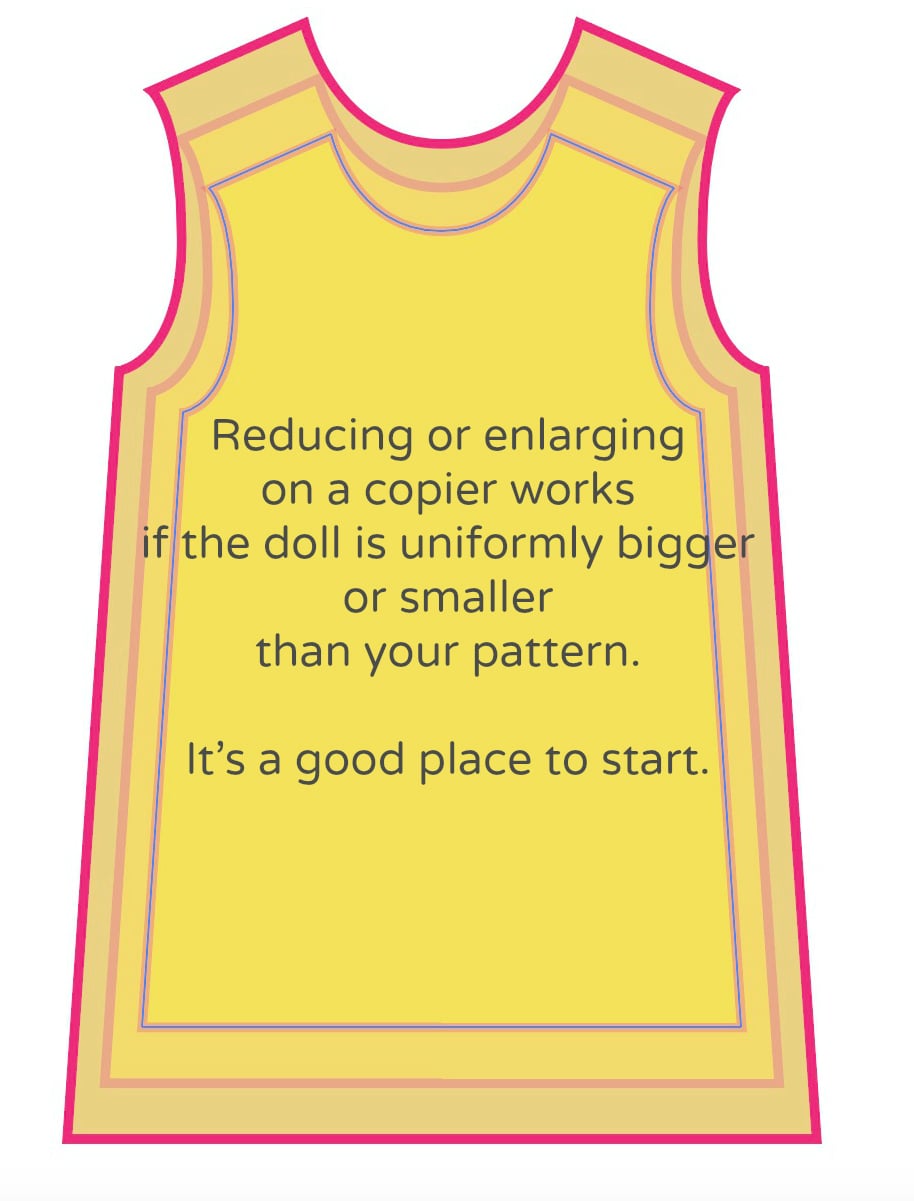
For years I was afraid of making buttonholes. They made me nervous. A bad buttonhole can ruin a good coat.
When you are making doll clothing you can deftly avoid them. You can use snaps with decorative buttons on things that open in the front. Faux is fine for dolls.
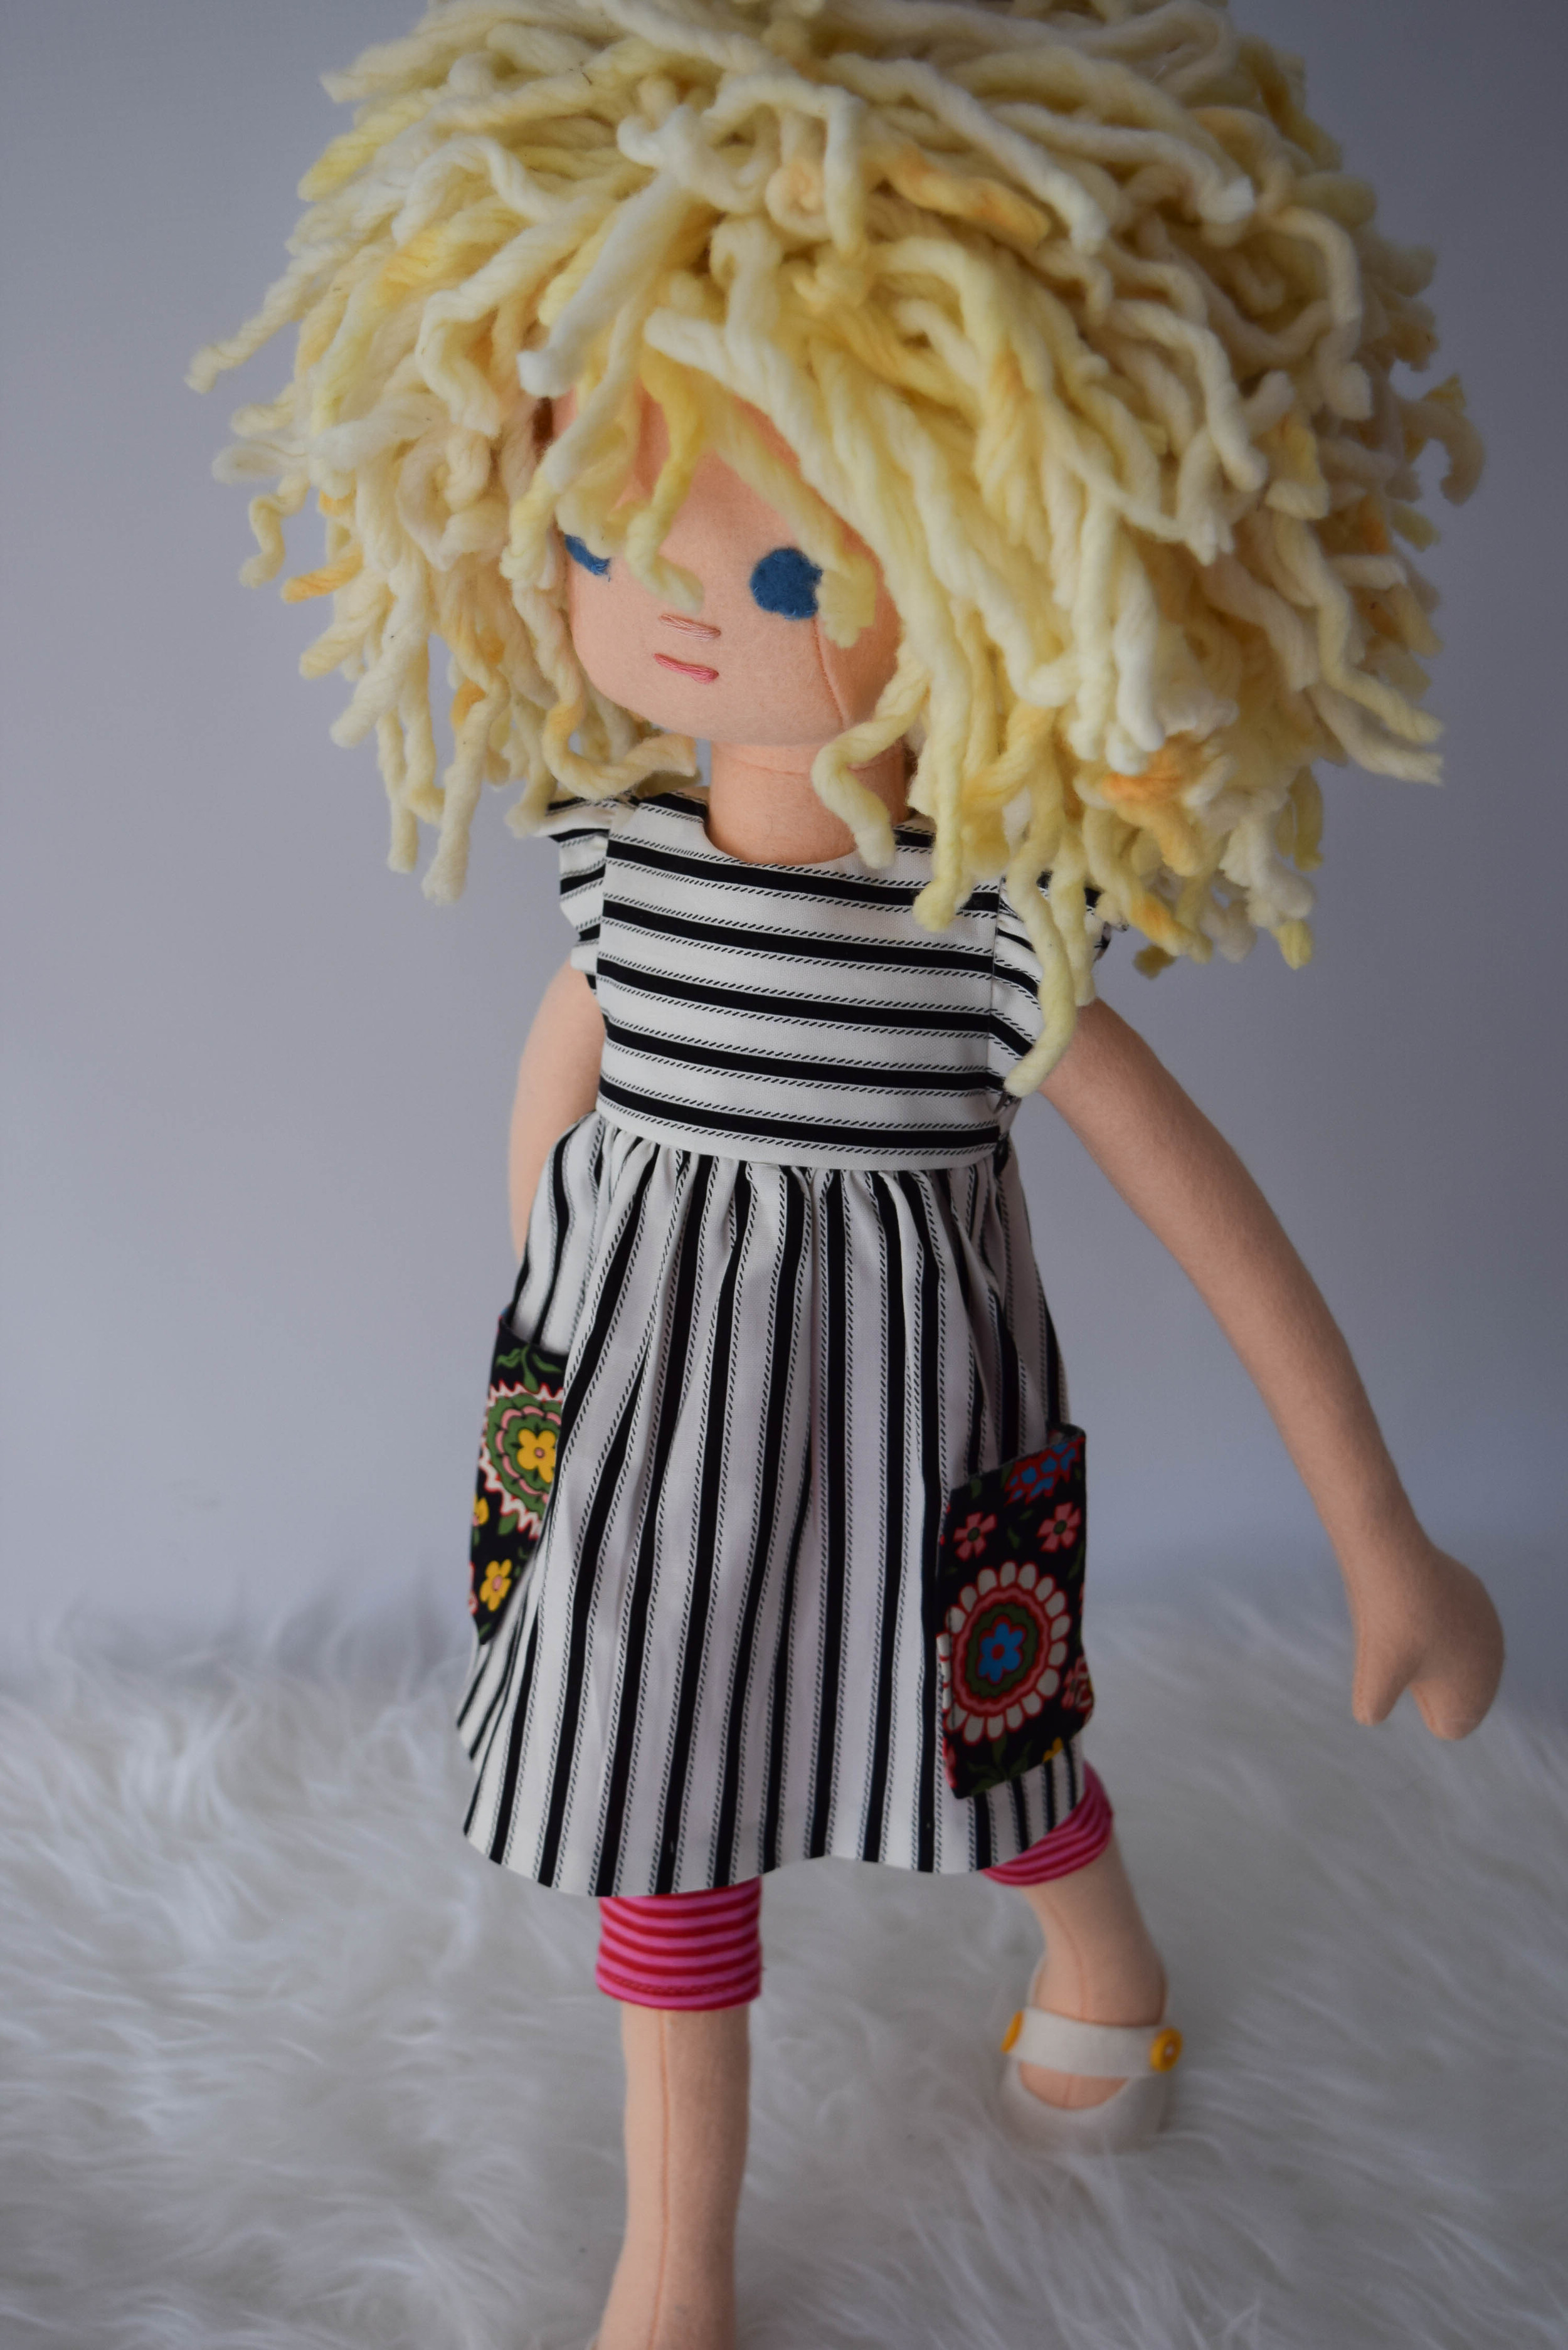
But if you master buttonholes, they can become easier than the substitutions. And real buttoning buttons are just charming on doll clothing. Practical with a retro charm.
Over the last year each time I've done a series of buttonholes I've discovered or made up a new trick. They are close to mistake proof. Now I love doing them.
And don't be daunted by the number of steps. they are all very quick and designed to eliminate mistakes.
First gather a few supplies:
Pieces of tissue paper or stabilizer
A pen
A ruler, quilting ruler or a Simflex expanding gauge (pictured below)
Your buttons
Buttonhole thread
A bright contrasting thread
An Xacto knife and pad to cut on
Scrap fabric

A Simflex expanding gauge, if you don't have one of these a ruler will do just fine.
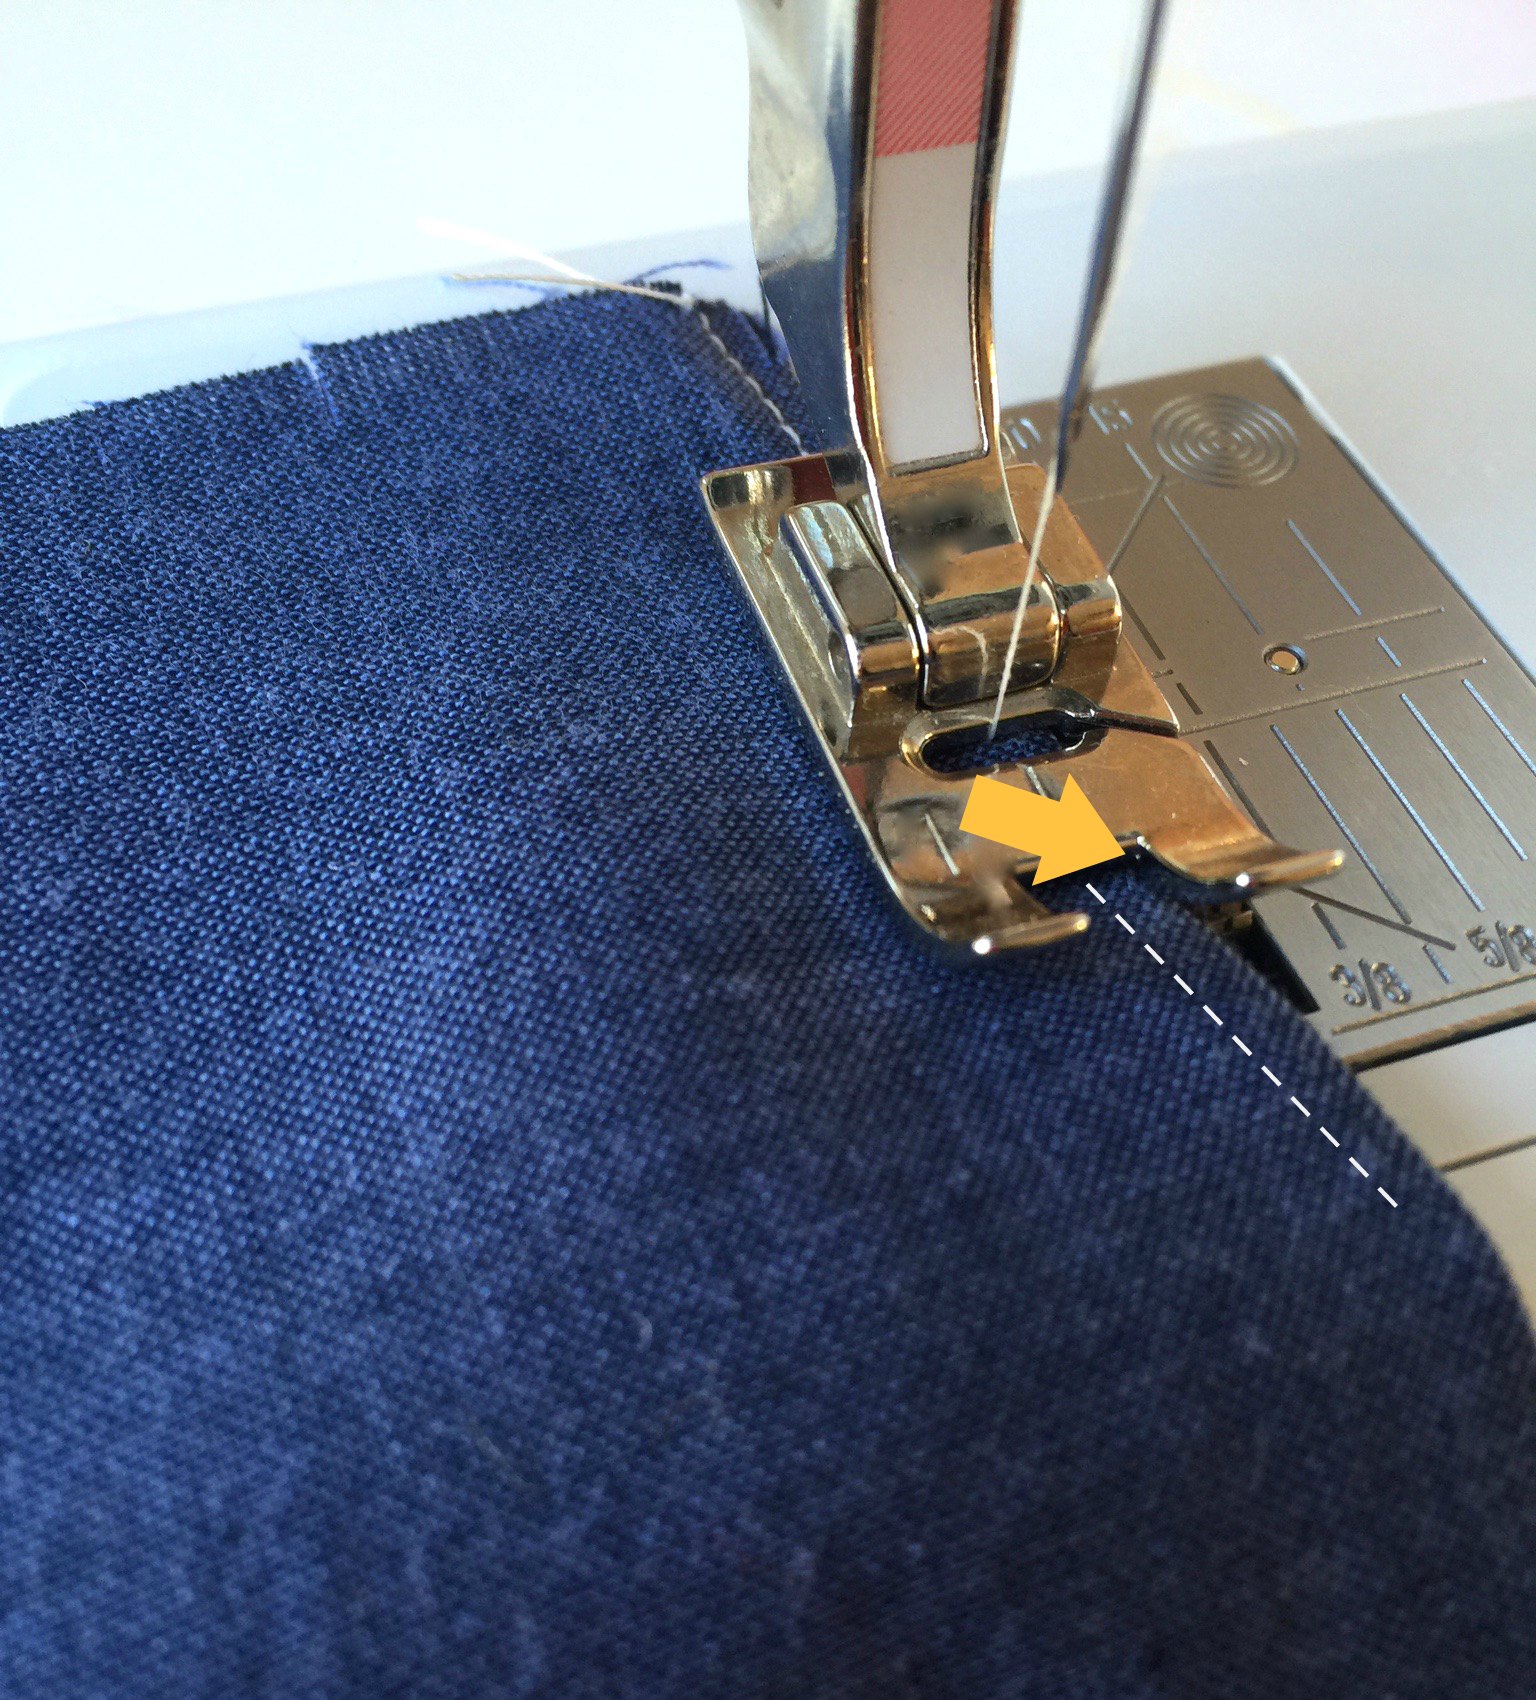
Step one, I use a machine long basting stitch to baste a piece of stabilizer (or tissue paper) to the garment along the edge where the buttonholes will go with bright contrasting thread. I go about 1/4 inch in from the edge as shown below. I am basting on the outside of the coat edge.
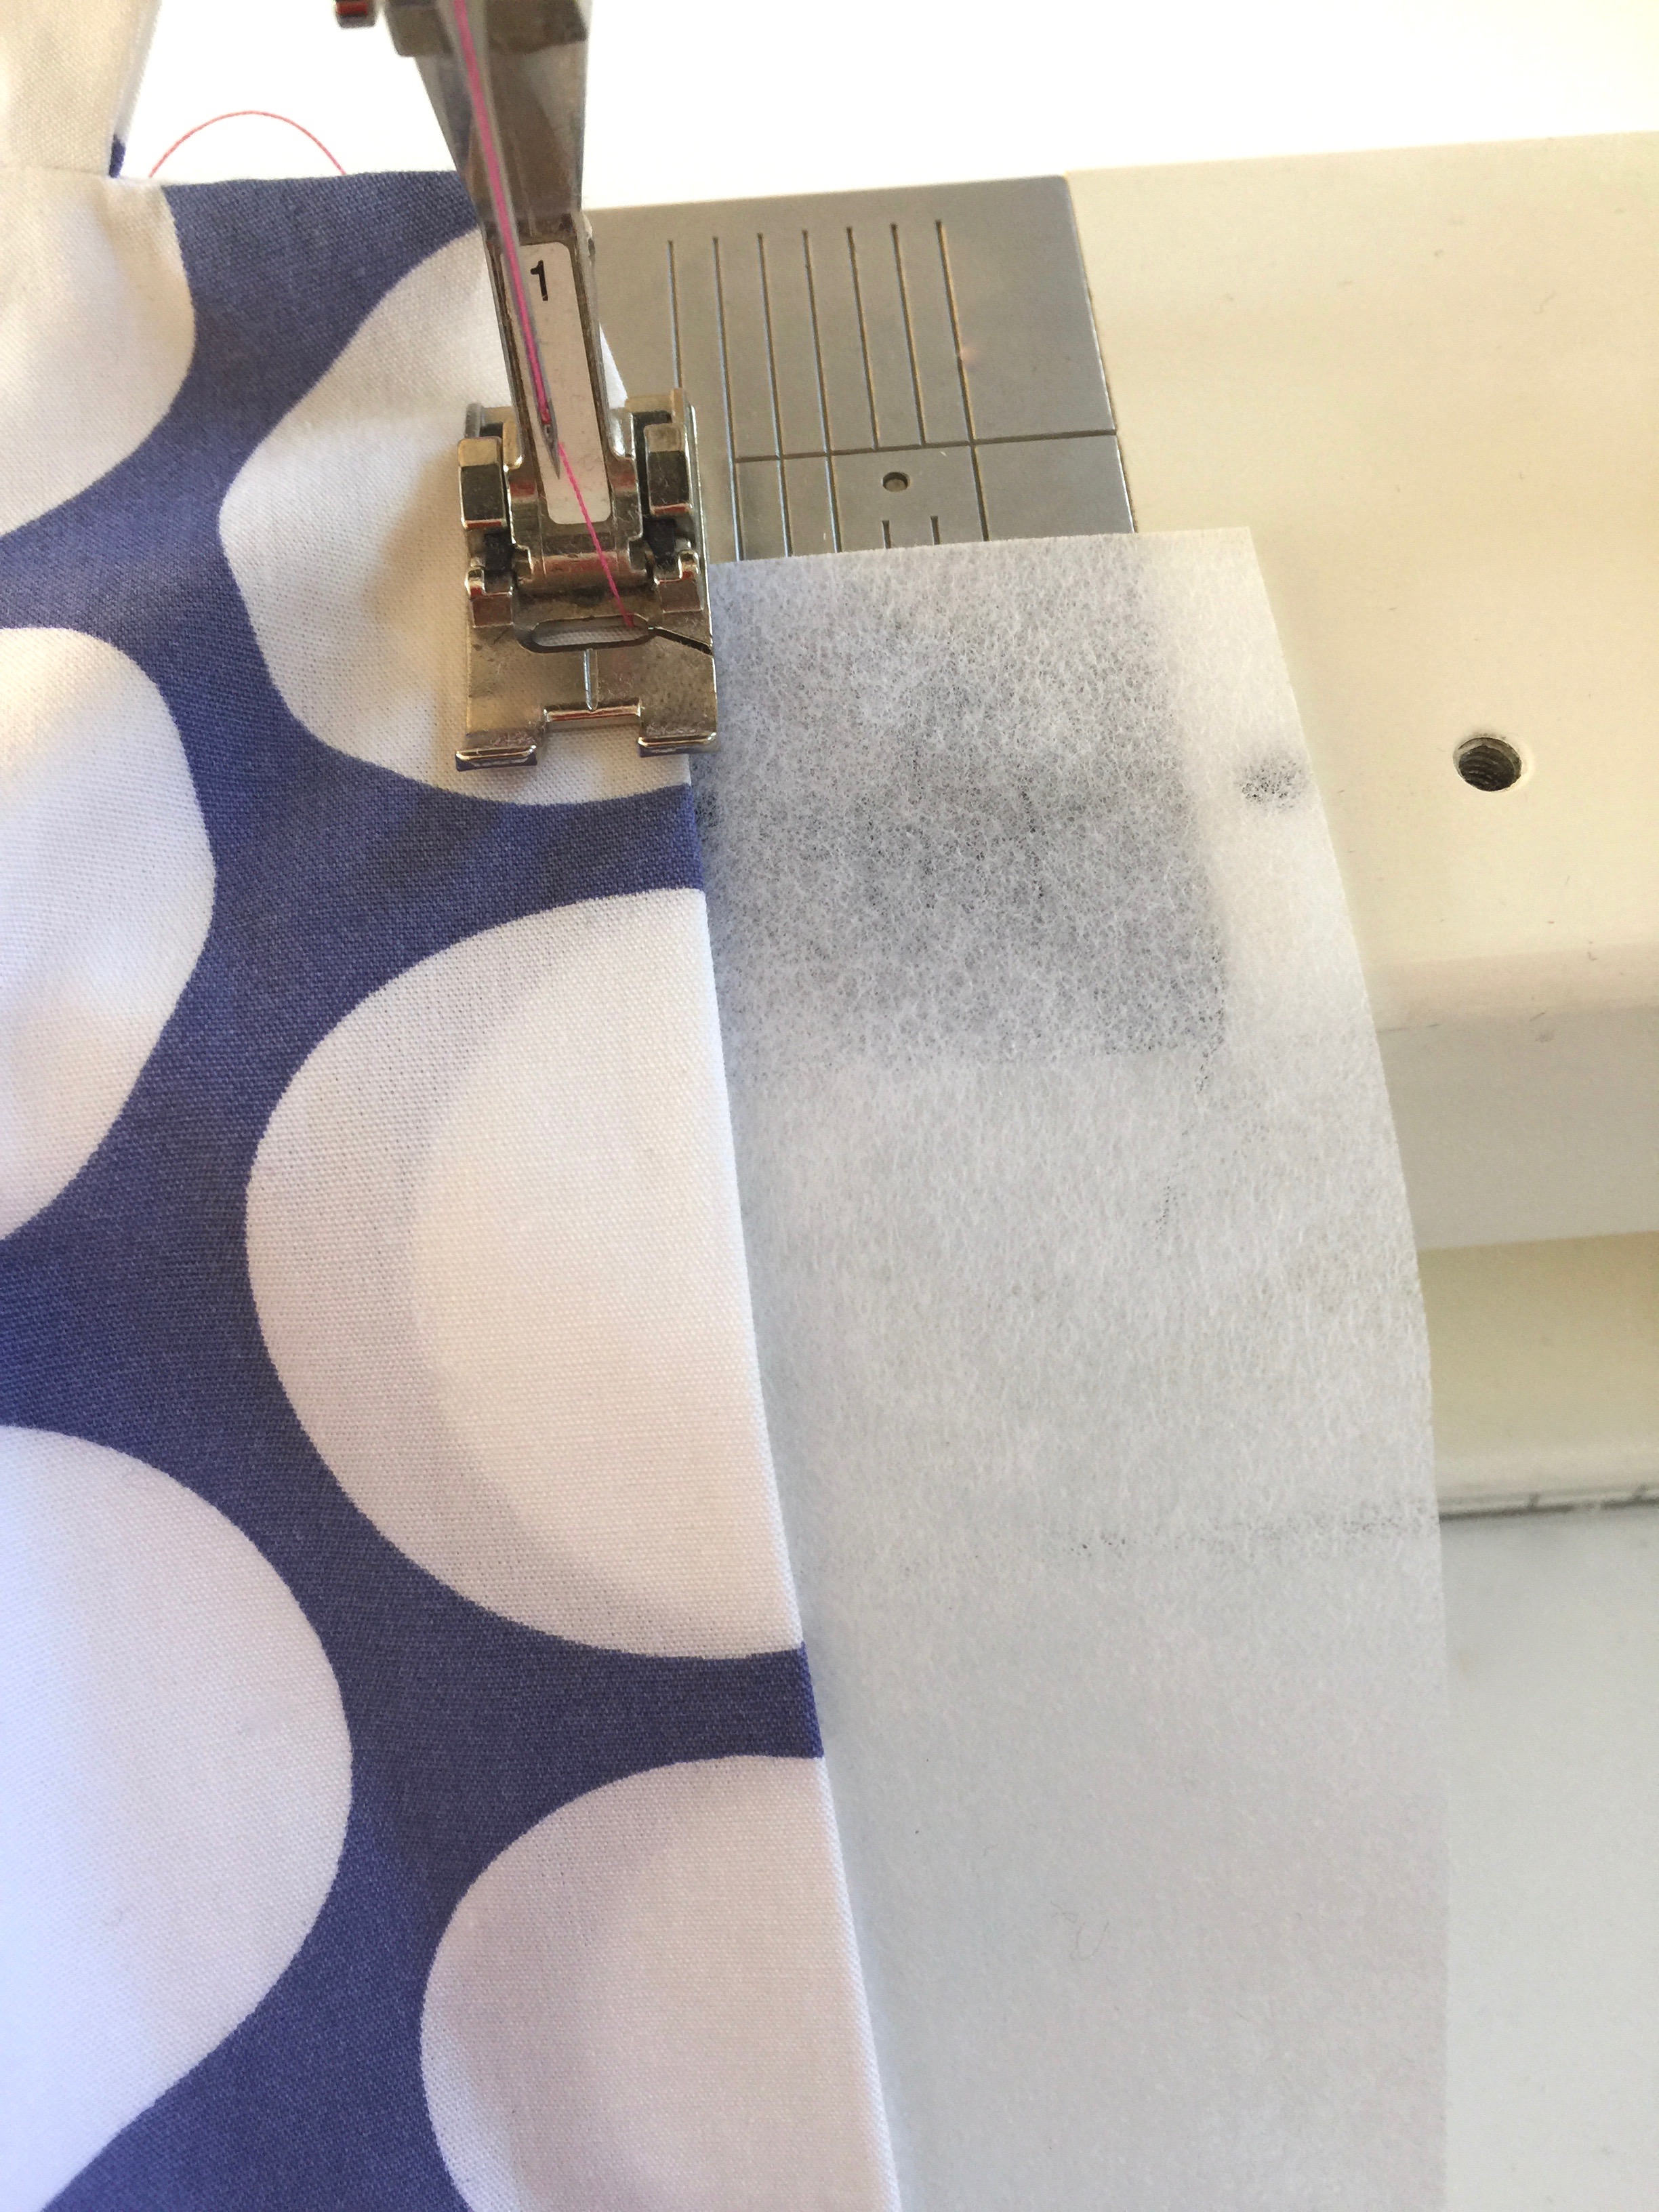
Basting the paper to the coat edge accomplished several things.
1. You have stabilizer or tissue on the bottom side of your fabric. This helps a button hole foot glide more smoothly and not jam.
2. The line of basting can serve as a guide.
3. You can make measured marks on the paper to tell you where to start each buttonhole.
Click to enlarge
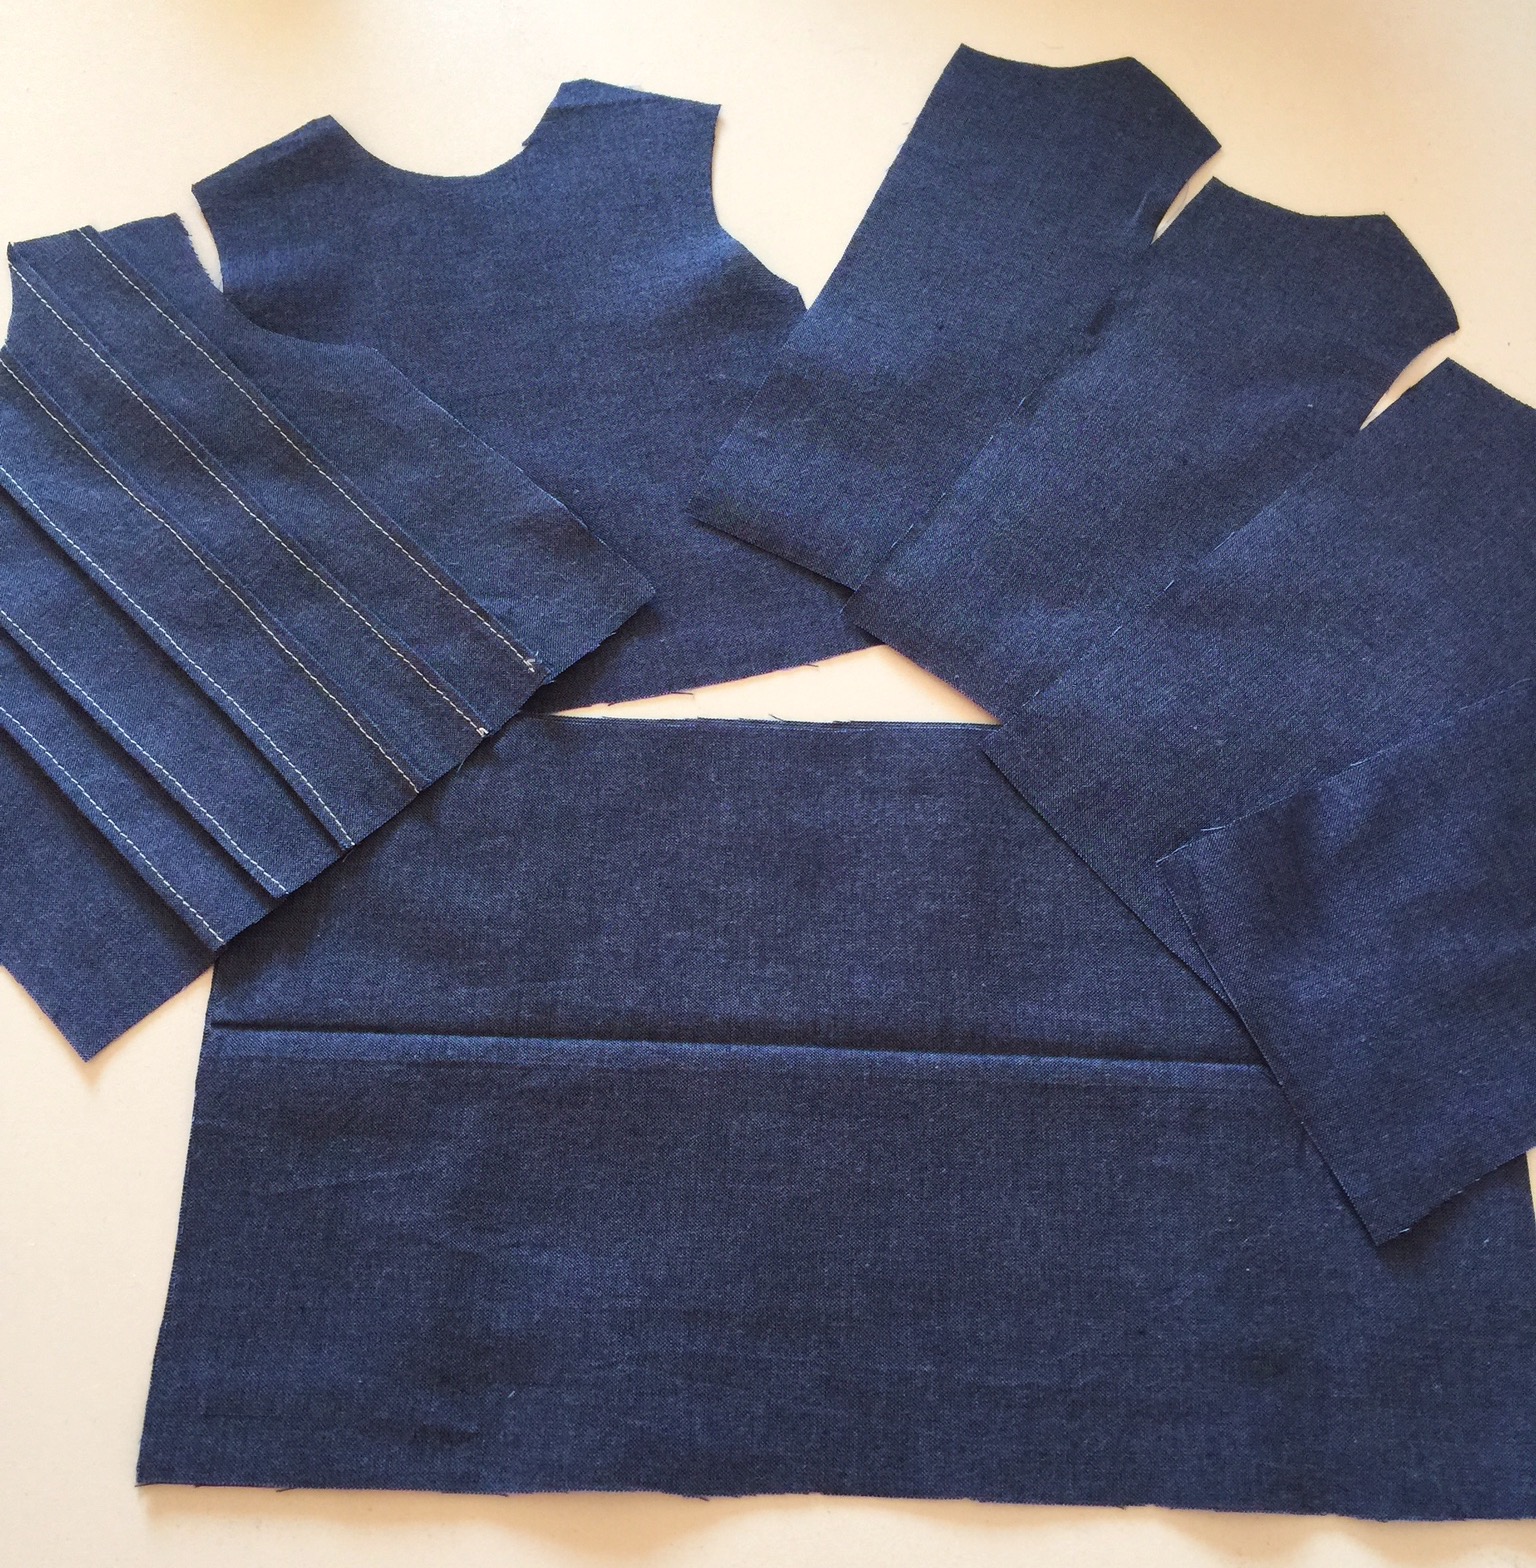
The Simflex expanding gauge can be pulled to figure out how to best evenly distribute your buttonholes. A ruler will also work. I then mark the paper where the top of each button will start.
However, full disclosure here, I have an automatic butttonhole foot. So once I determine the correct size, I can set it to make that exact size over and over. If you cannot repeat the size, you will also need to mark the paper for the when to stop, ie the bottom of each button hole. The nice part about the marks on the side of the paper is that you can easily see them whilke you are sewing with a great big buttonhole foot.

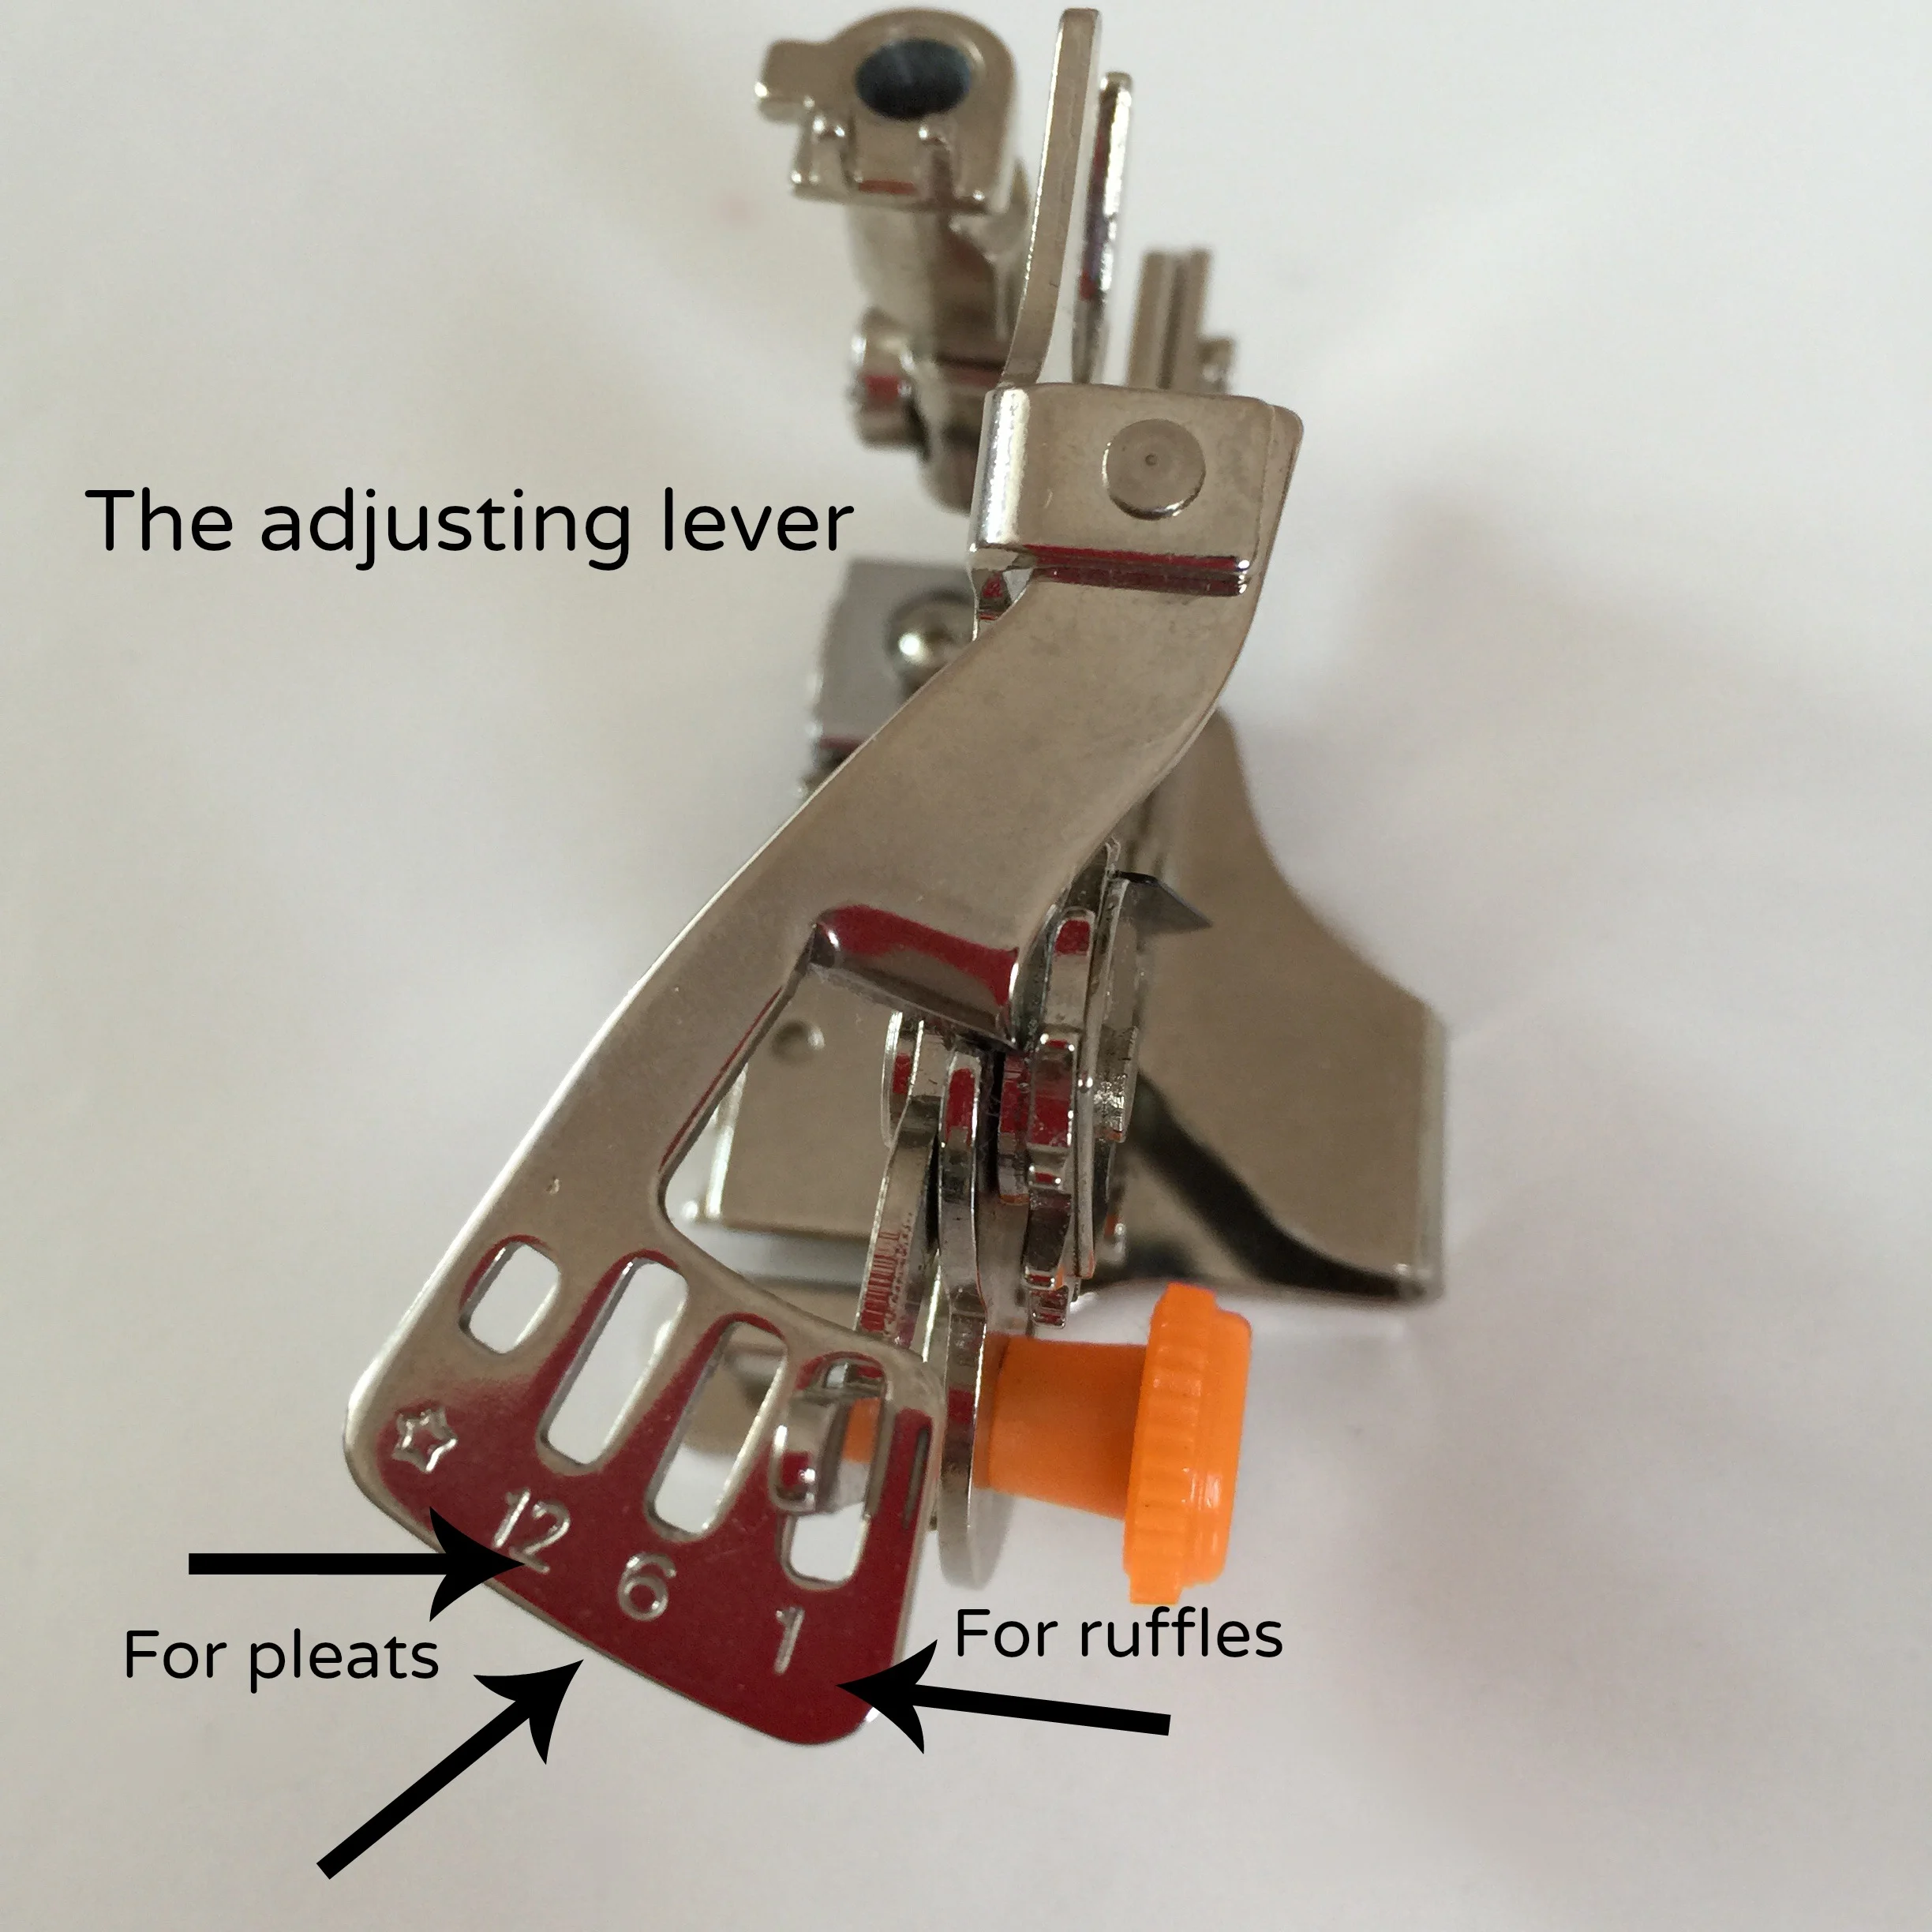
A buttonhole foot allows you to measure your button.
Attach your buttonhole foot and measure your buttonhole with the red marker on your foot. After you have an approximate idea of buttonhole size. Sew one on some scrap fabric. Yoiu will want to try this with your button to see if it fits. I use an Xacto knife and a mat to cut the slit in the hole. There is such a thing as a buttonhole cutter. However, it may be too big for some buttonholes.
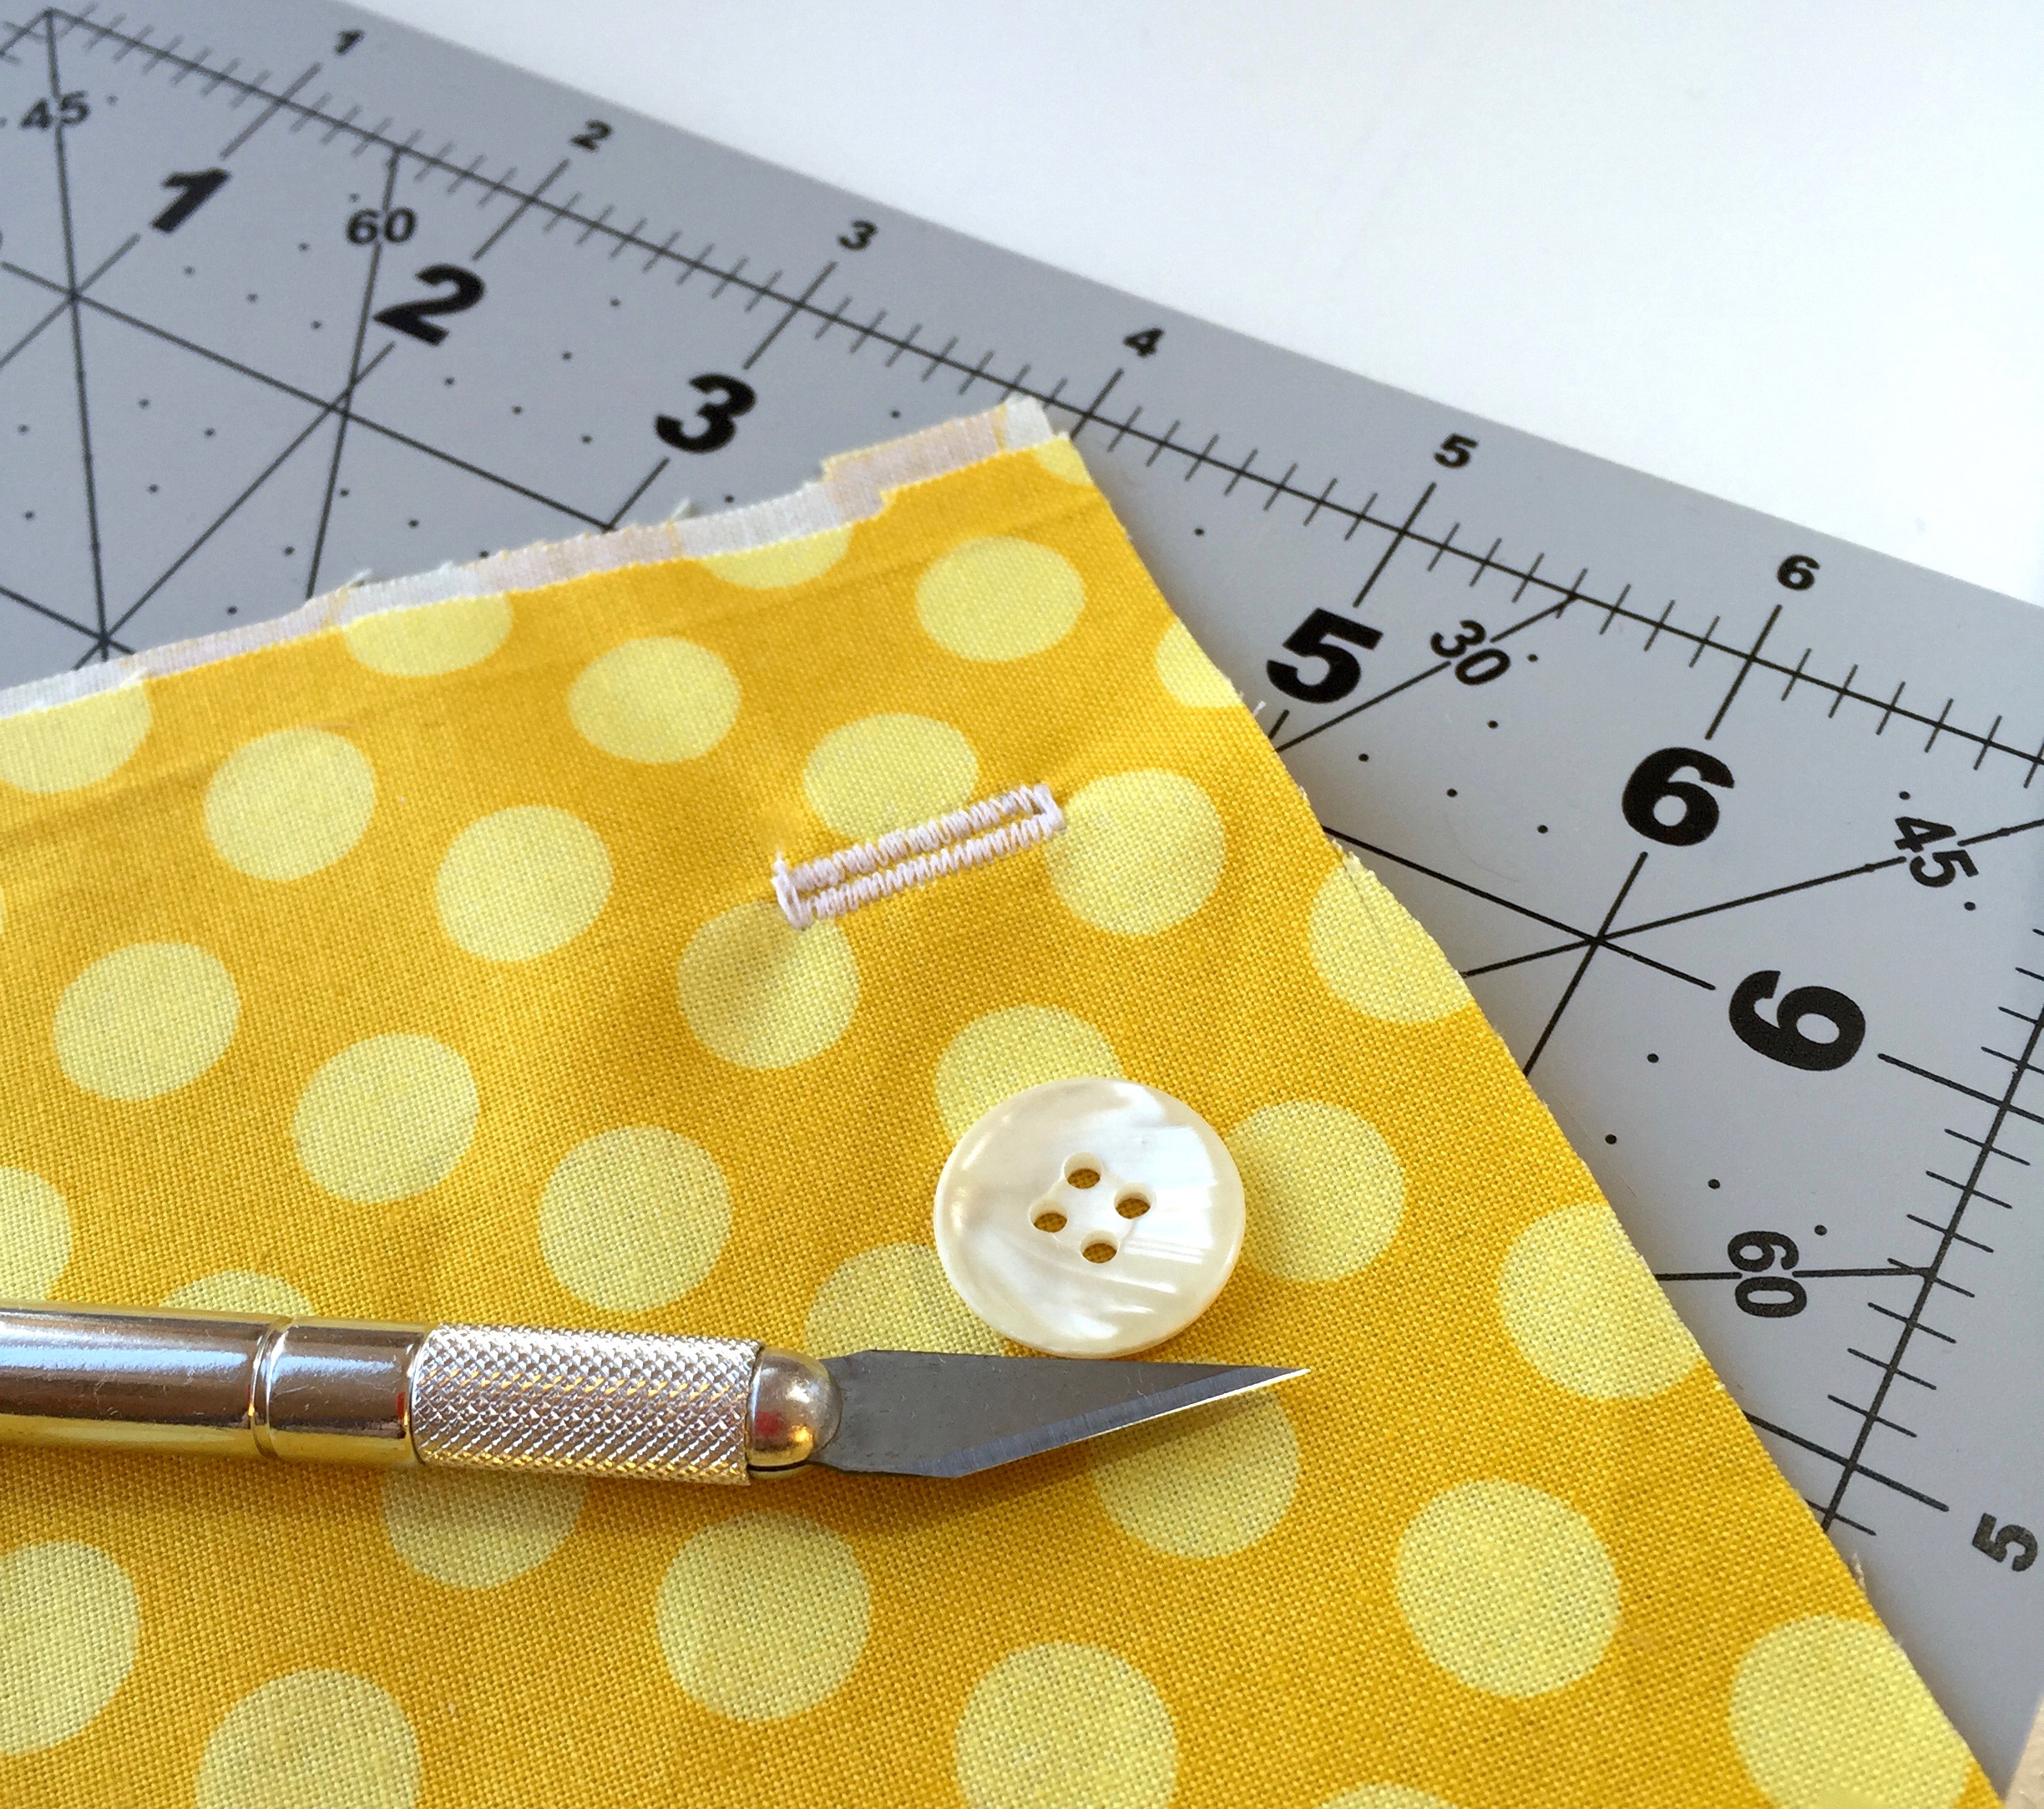
If the buttonhole is too small or too big tweak your size.
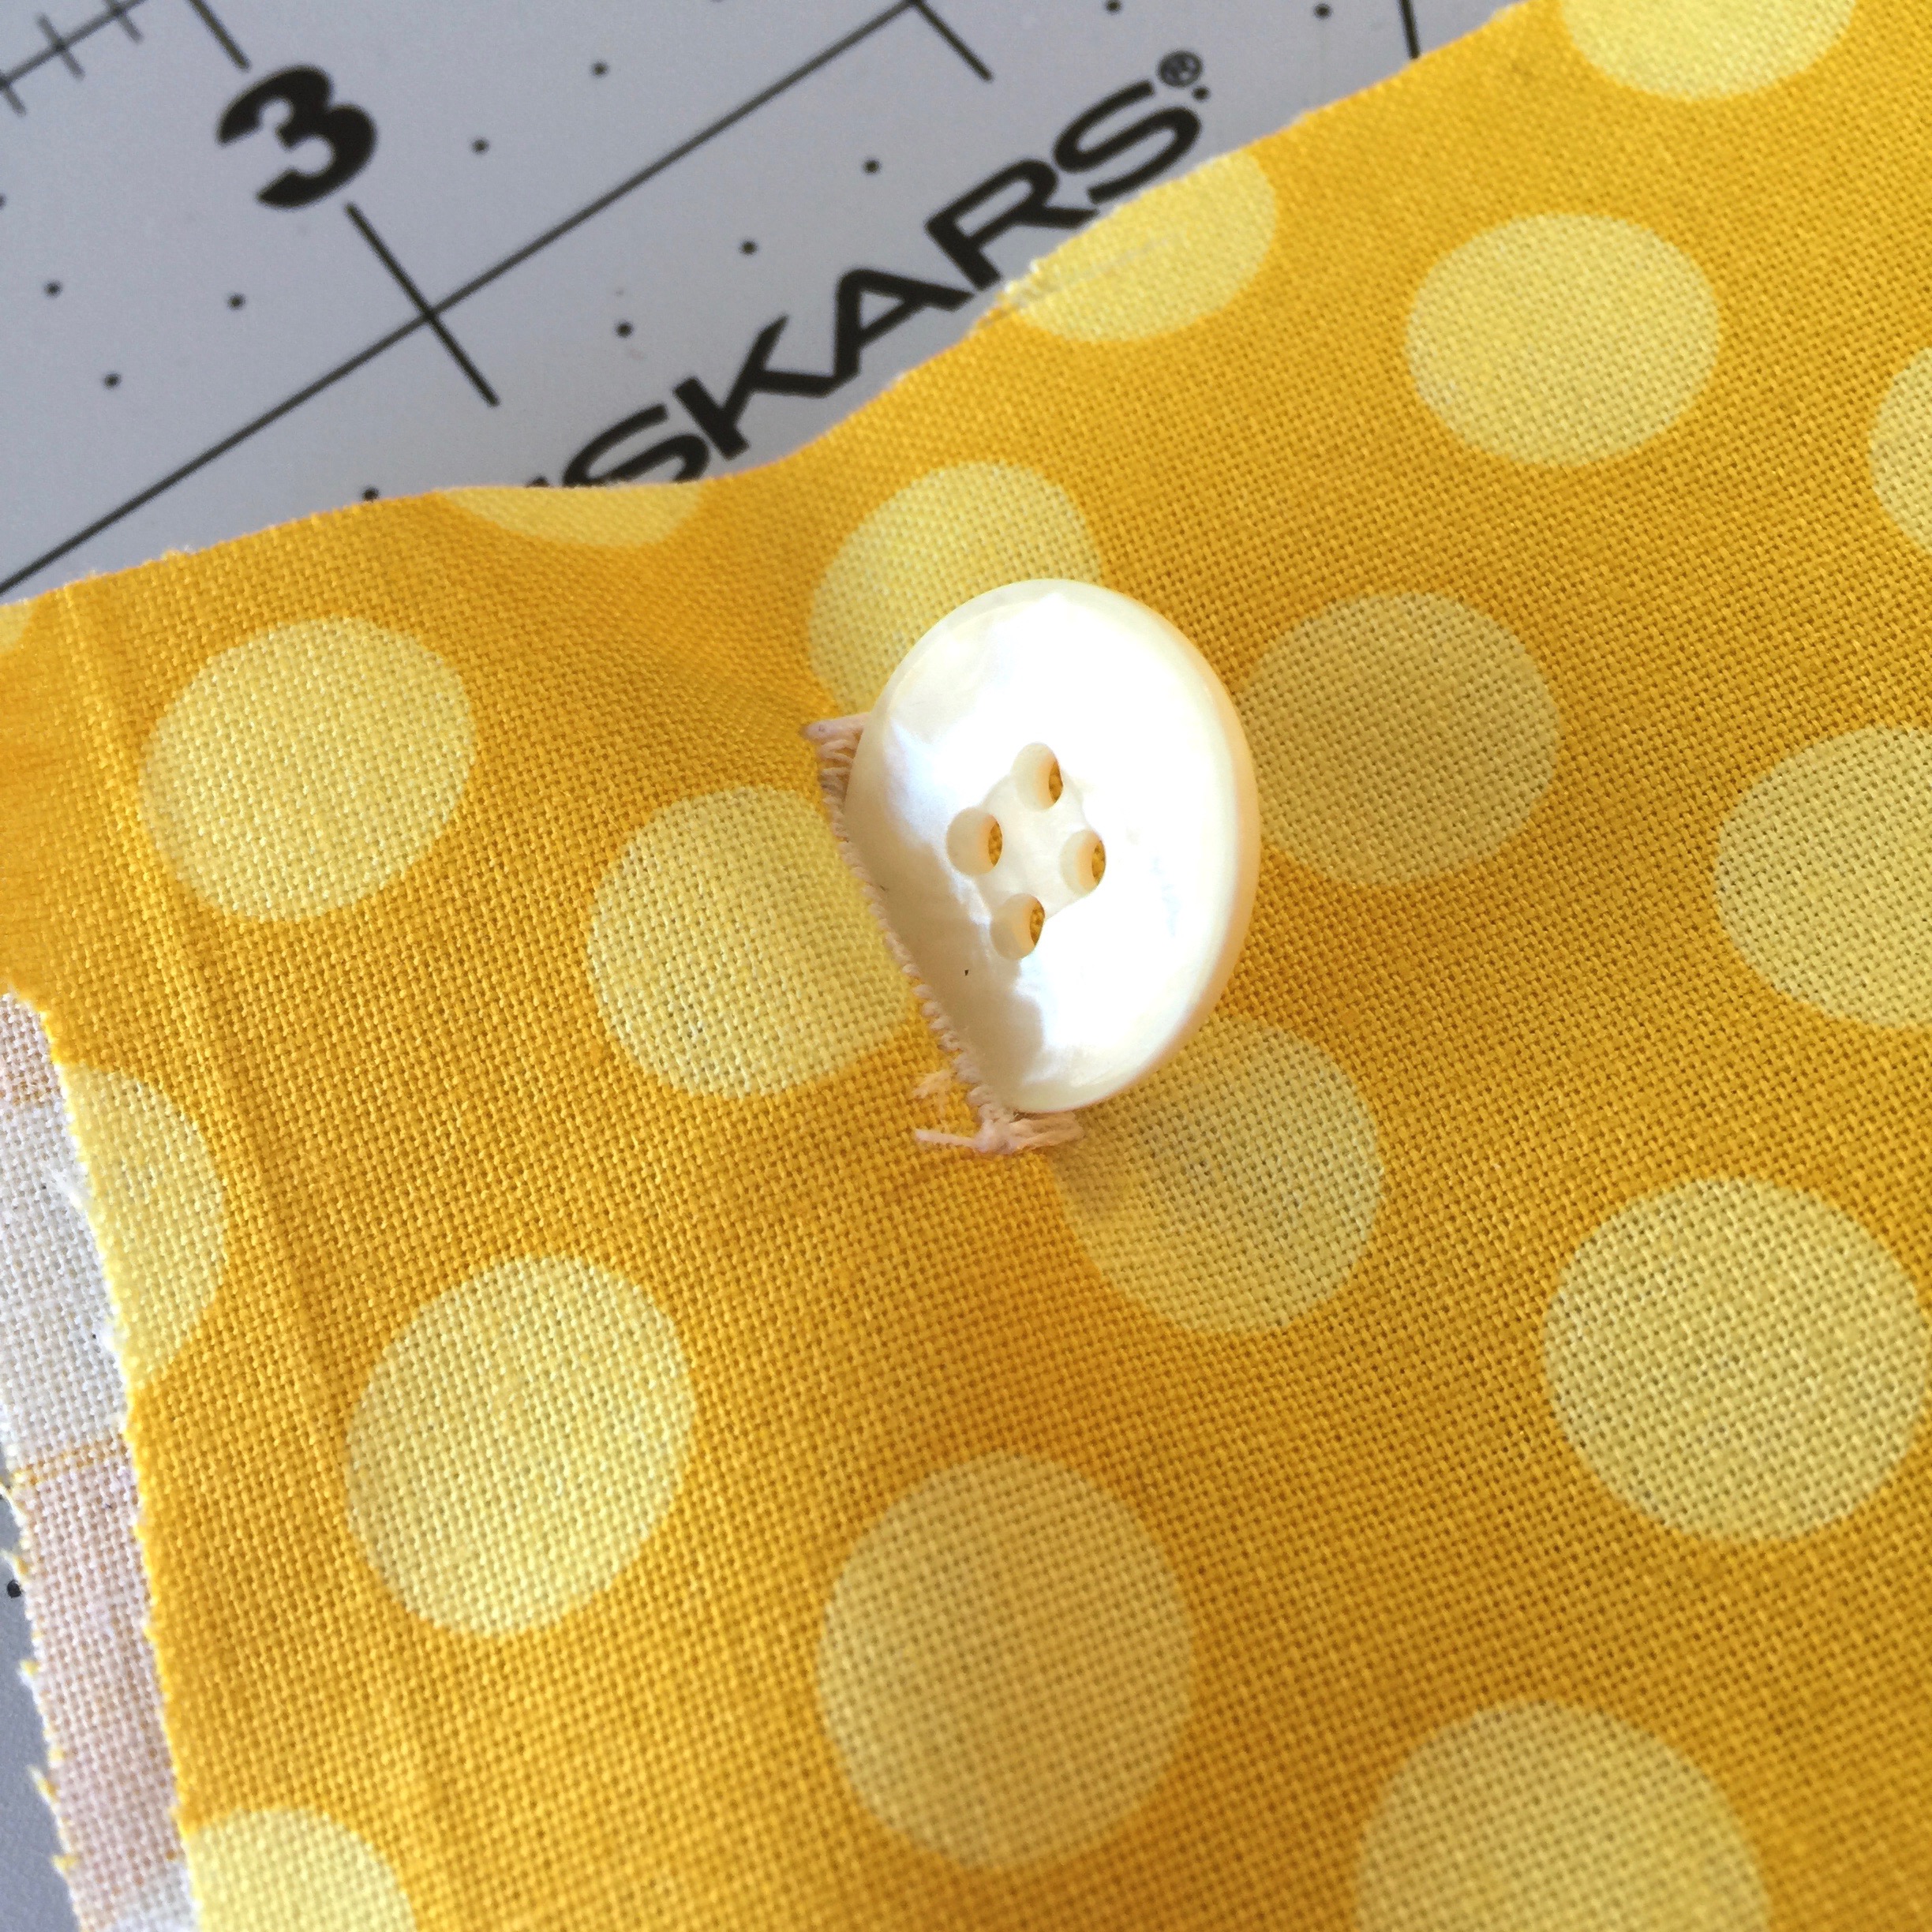
Too small
Once you get the correct size, sew several before starting on the real garment. This helps make sure your machine is behaving consistently and you are confident.

Now you are ready for the real thing.
Line the top of the buttonhole up with your first mark. Line the basting to be just underneath the right inside edge of the foot.

If you have an automatic buttonholer it will stop and turn and you can just move onto the next buttonhole and repeat. if it is not automatic you will need to pay attention to your end mark.
When you are done:
Take out the basting
Tear off the paper or stabilizer
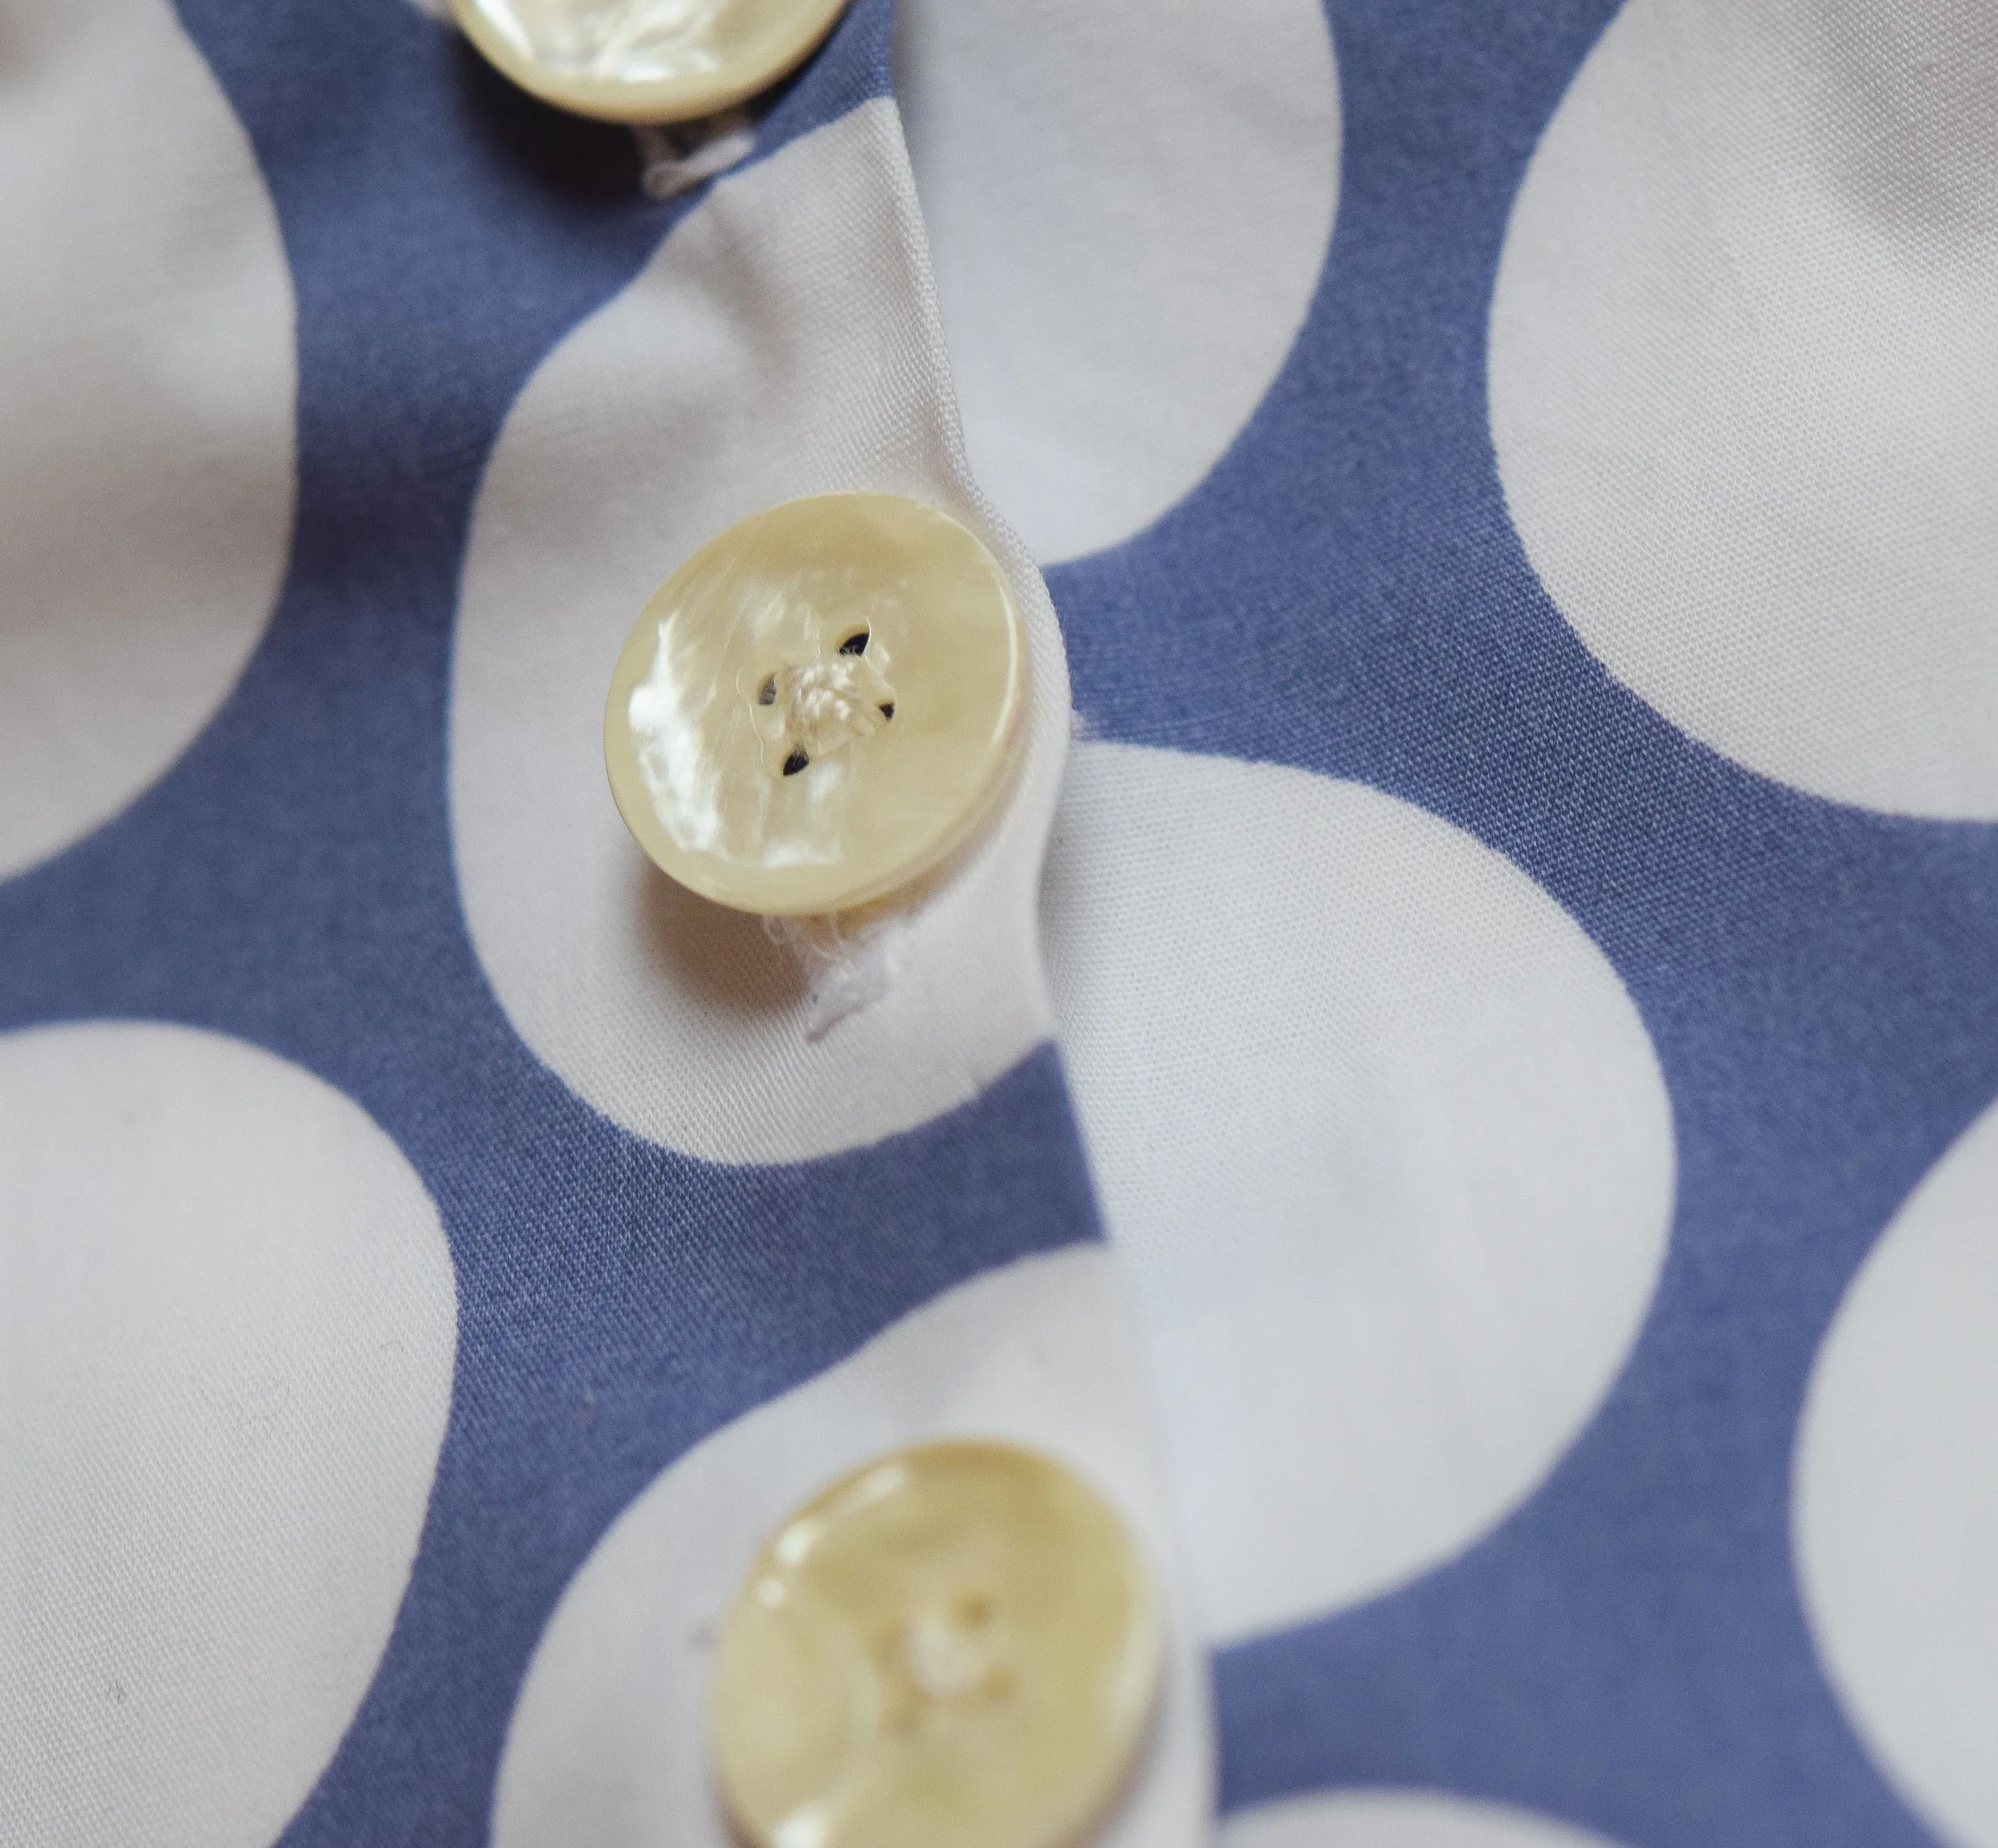
Cut the holes
Sew on your buttons.
Try it, it is probably quicker than reading this tutorial.