
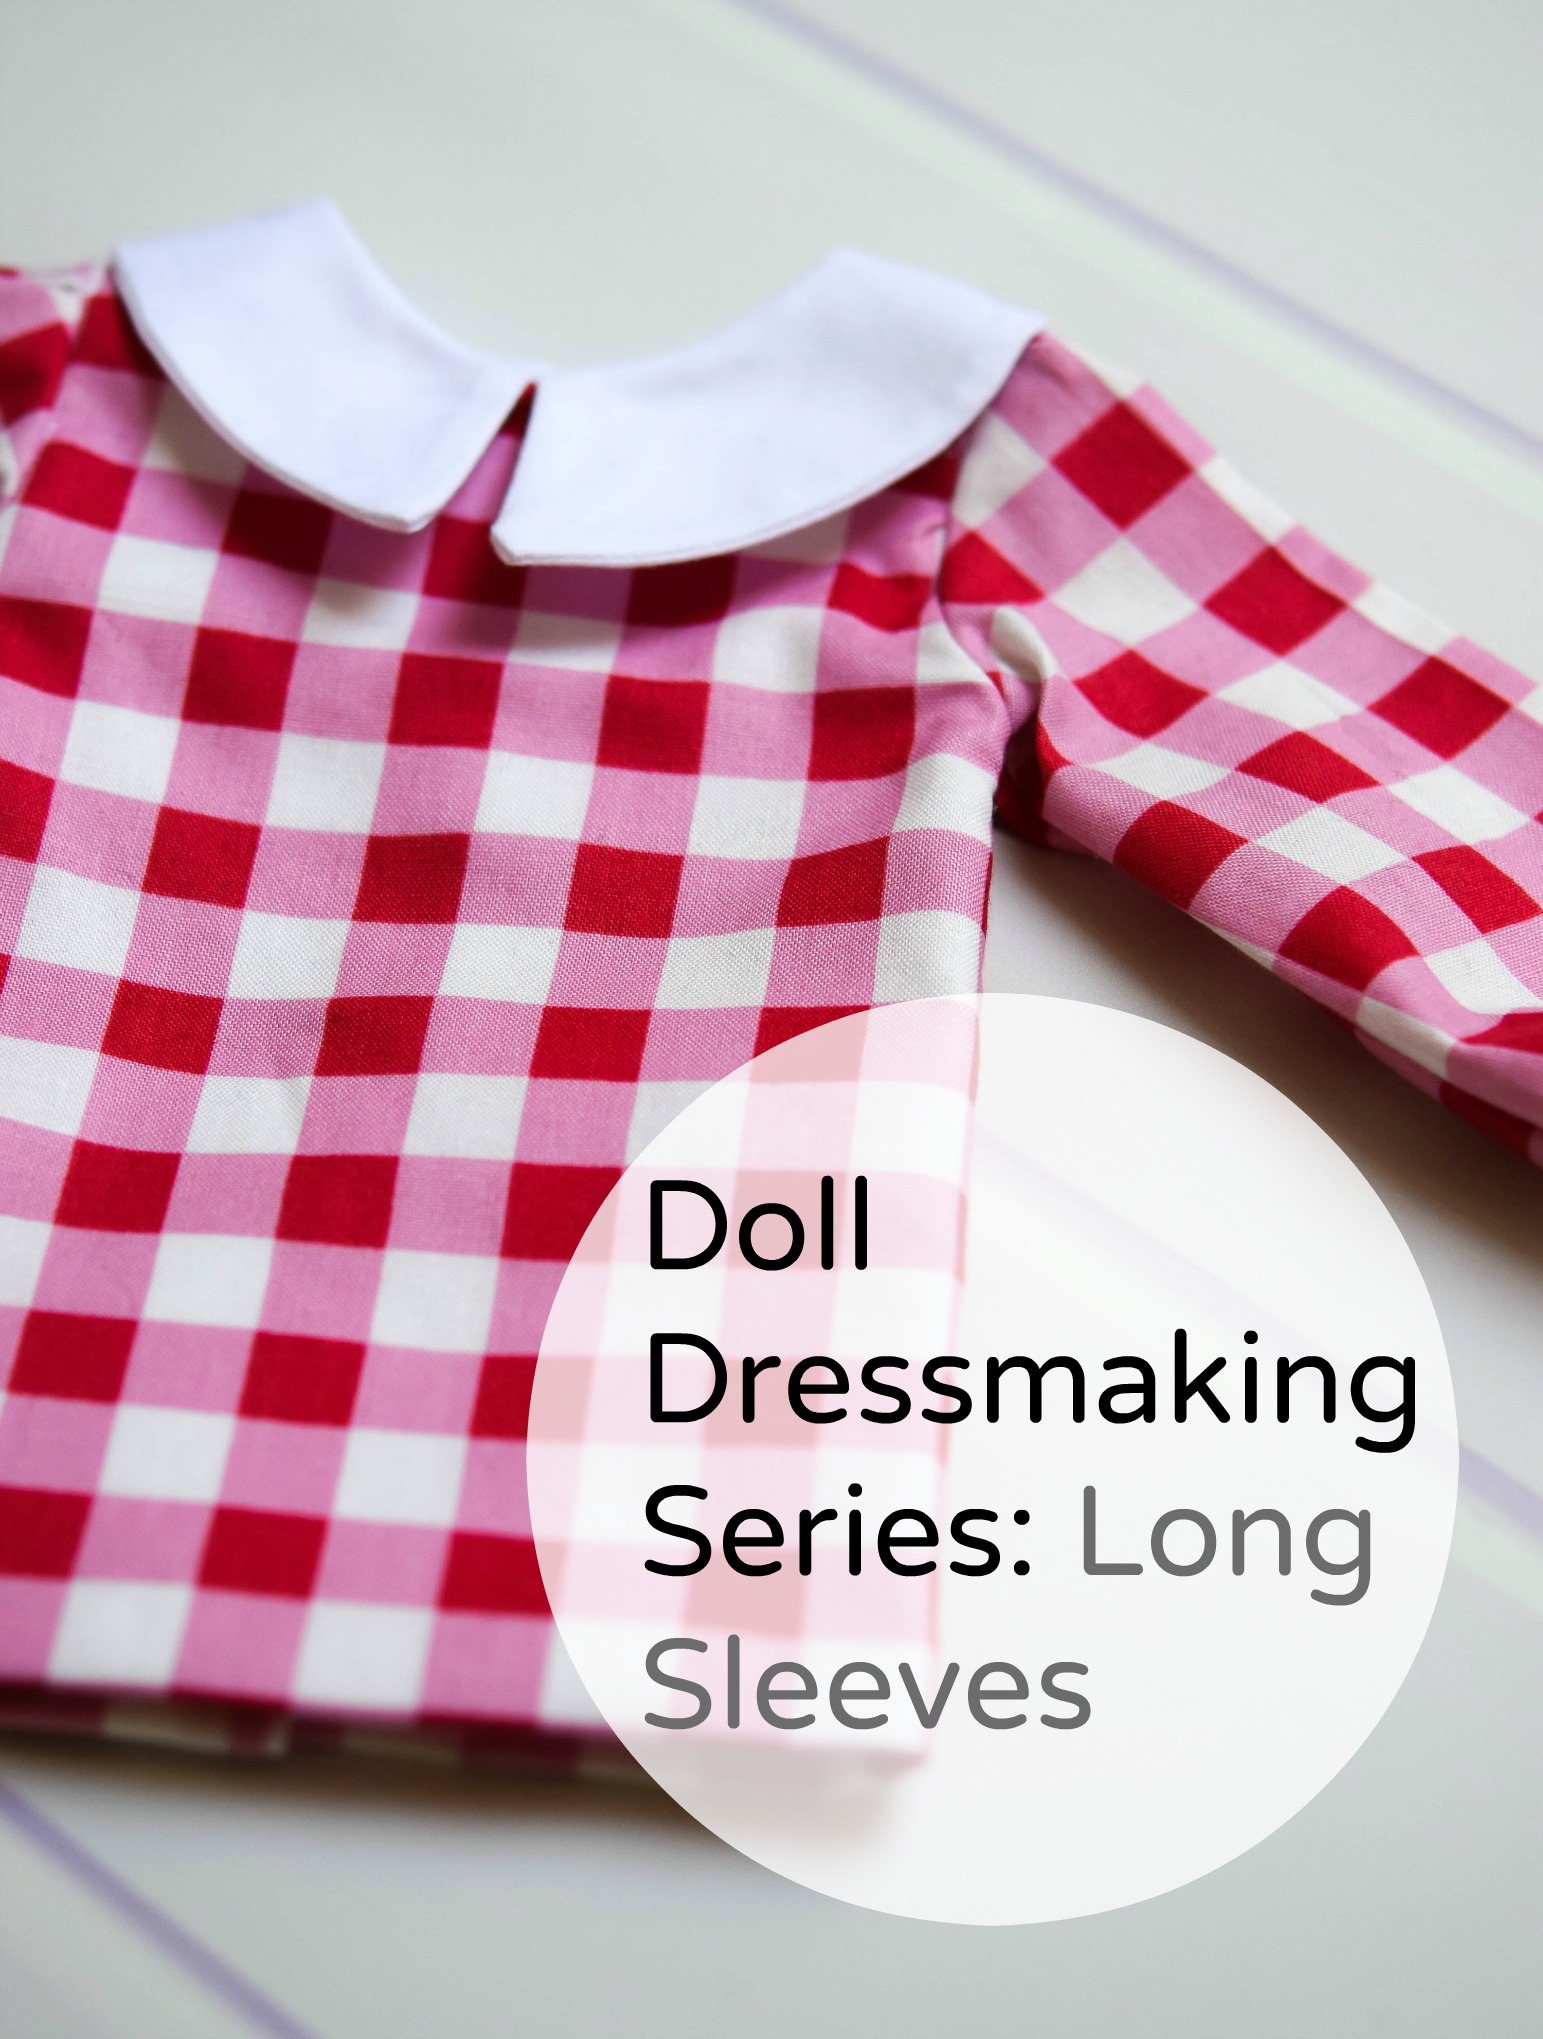
Sleeves are an easy way to switch up a dress and completely change the look.
So far in this series we have covered basic shorts sleeves, short puffed sleeves and a ruffle sleeve. But there are quite a few more sleeve options that are easy to make on a small scale.
This tutorial will focus on the basic doll long sleeve. Most long sleeves on doll clothes have elastic at the wrist 9this pattern does). That is because dolls hands are big and that makes it hard to get them through a long sleeve with a narrow end. Plastic dolls hands cant's squeeze in. The hands and arms of cloth dolls are hard to push through the tunnel of a long straight sleeve. So the elastic at the end solves both of these problems. It allows the wrist to stretch out and the sleeve itself to be a bit wider.
The pattern for this dress and all of the others in the series is available through my newsletter. Sign up form is at the end of this post.
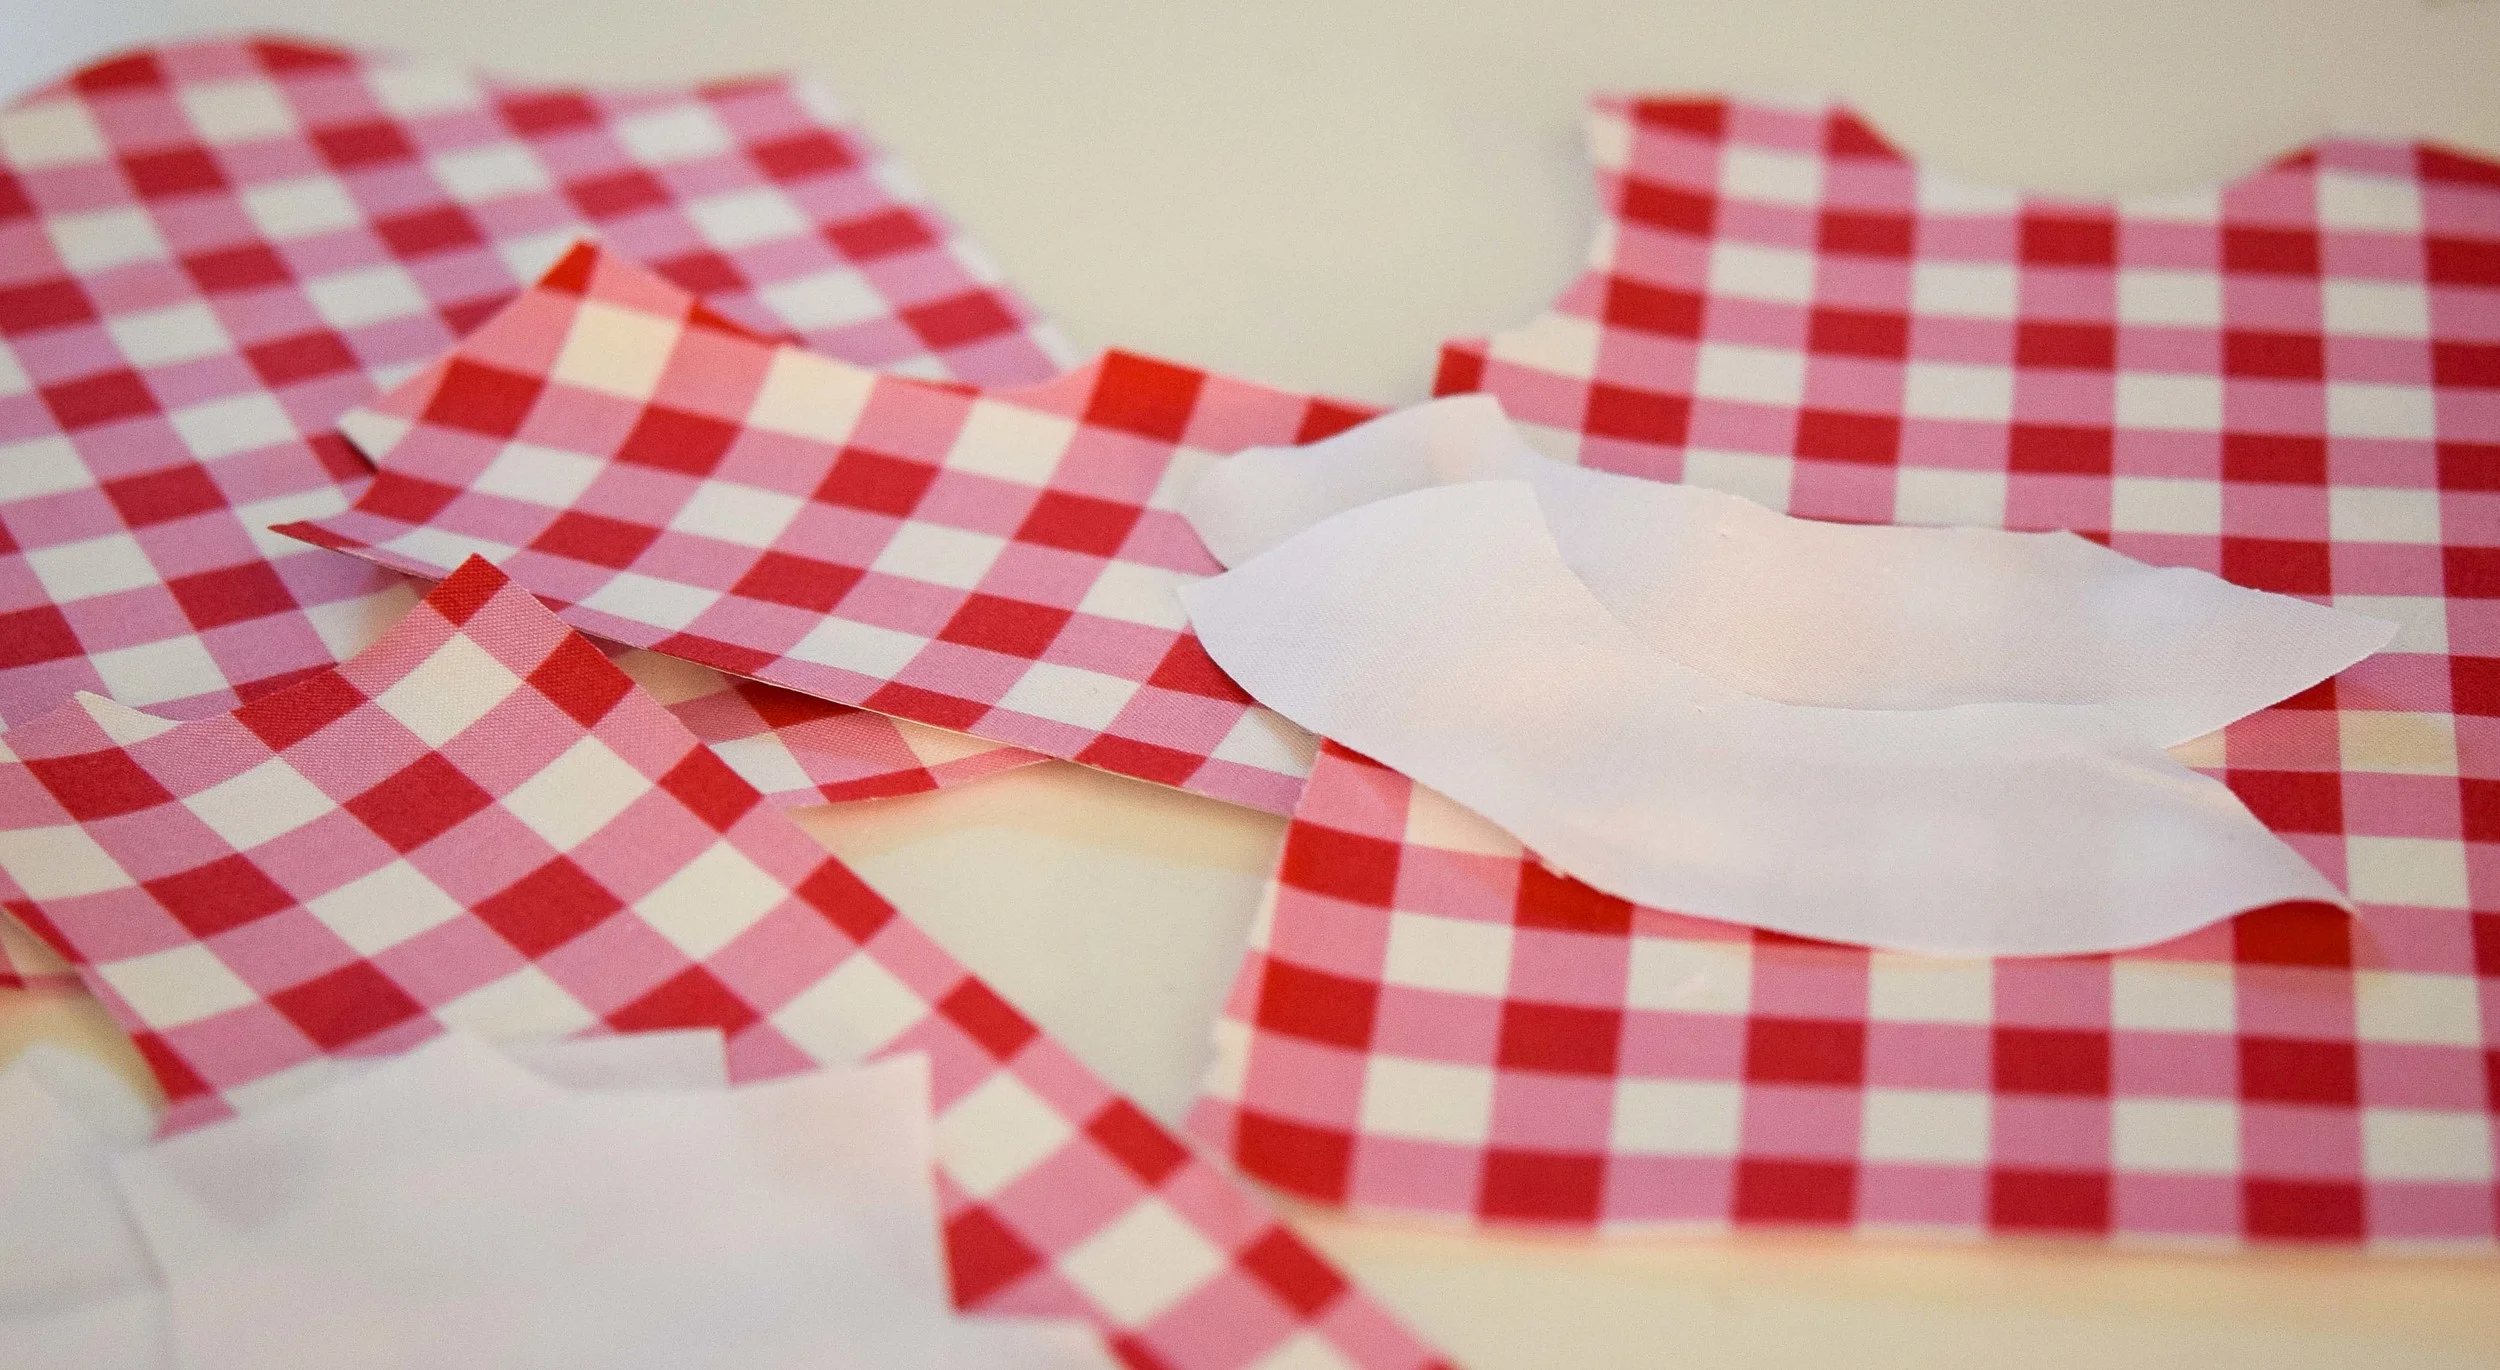
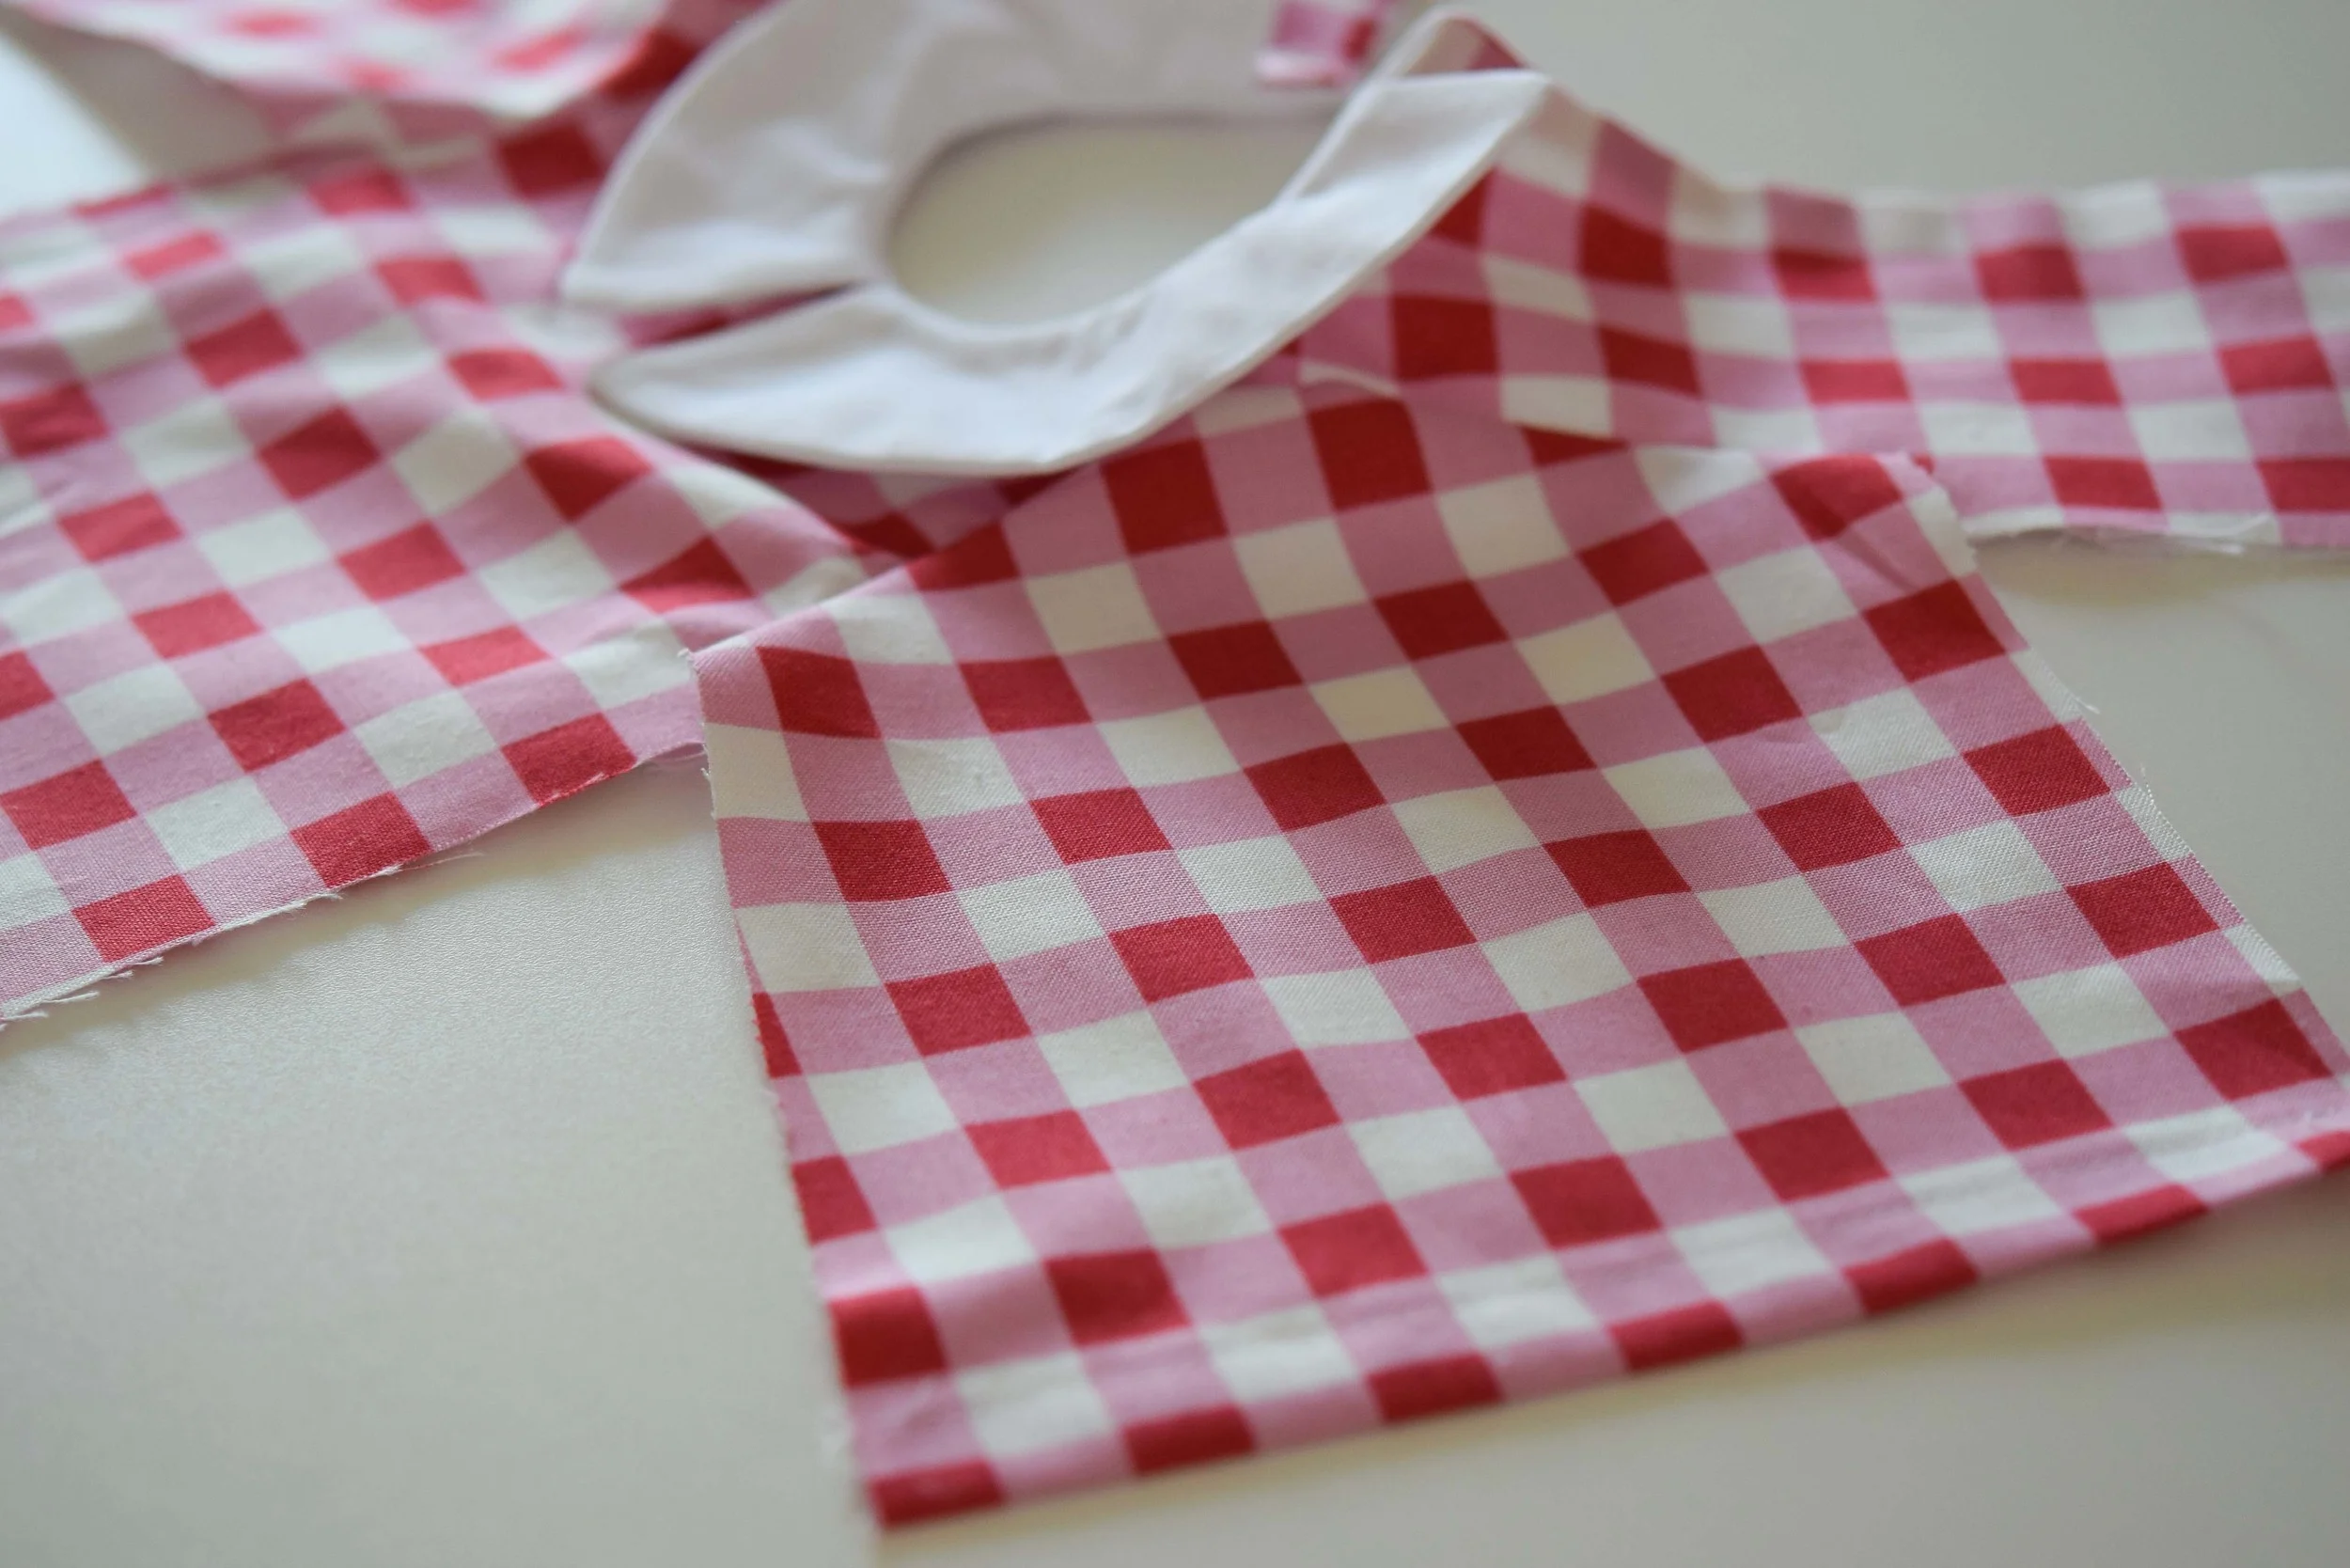
I used the basic dress pattern and the retro collar, all have been part of past tutorials and are available through my newsletter. The dress is lined.

1. Until the sleeves I am basically following the directions of the retro collar tutorial. This starts with sewing the shoulder seams together and then the collar pieces together and sewing them onto the dress neckline.
2. Sew the lining should seams together.
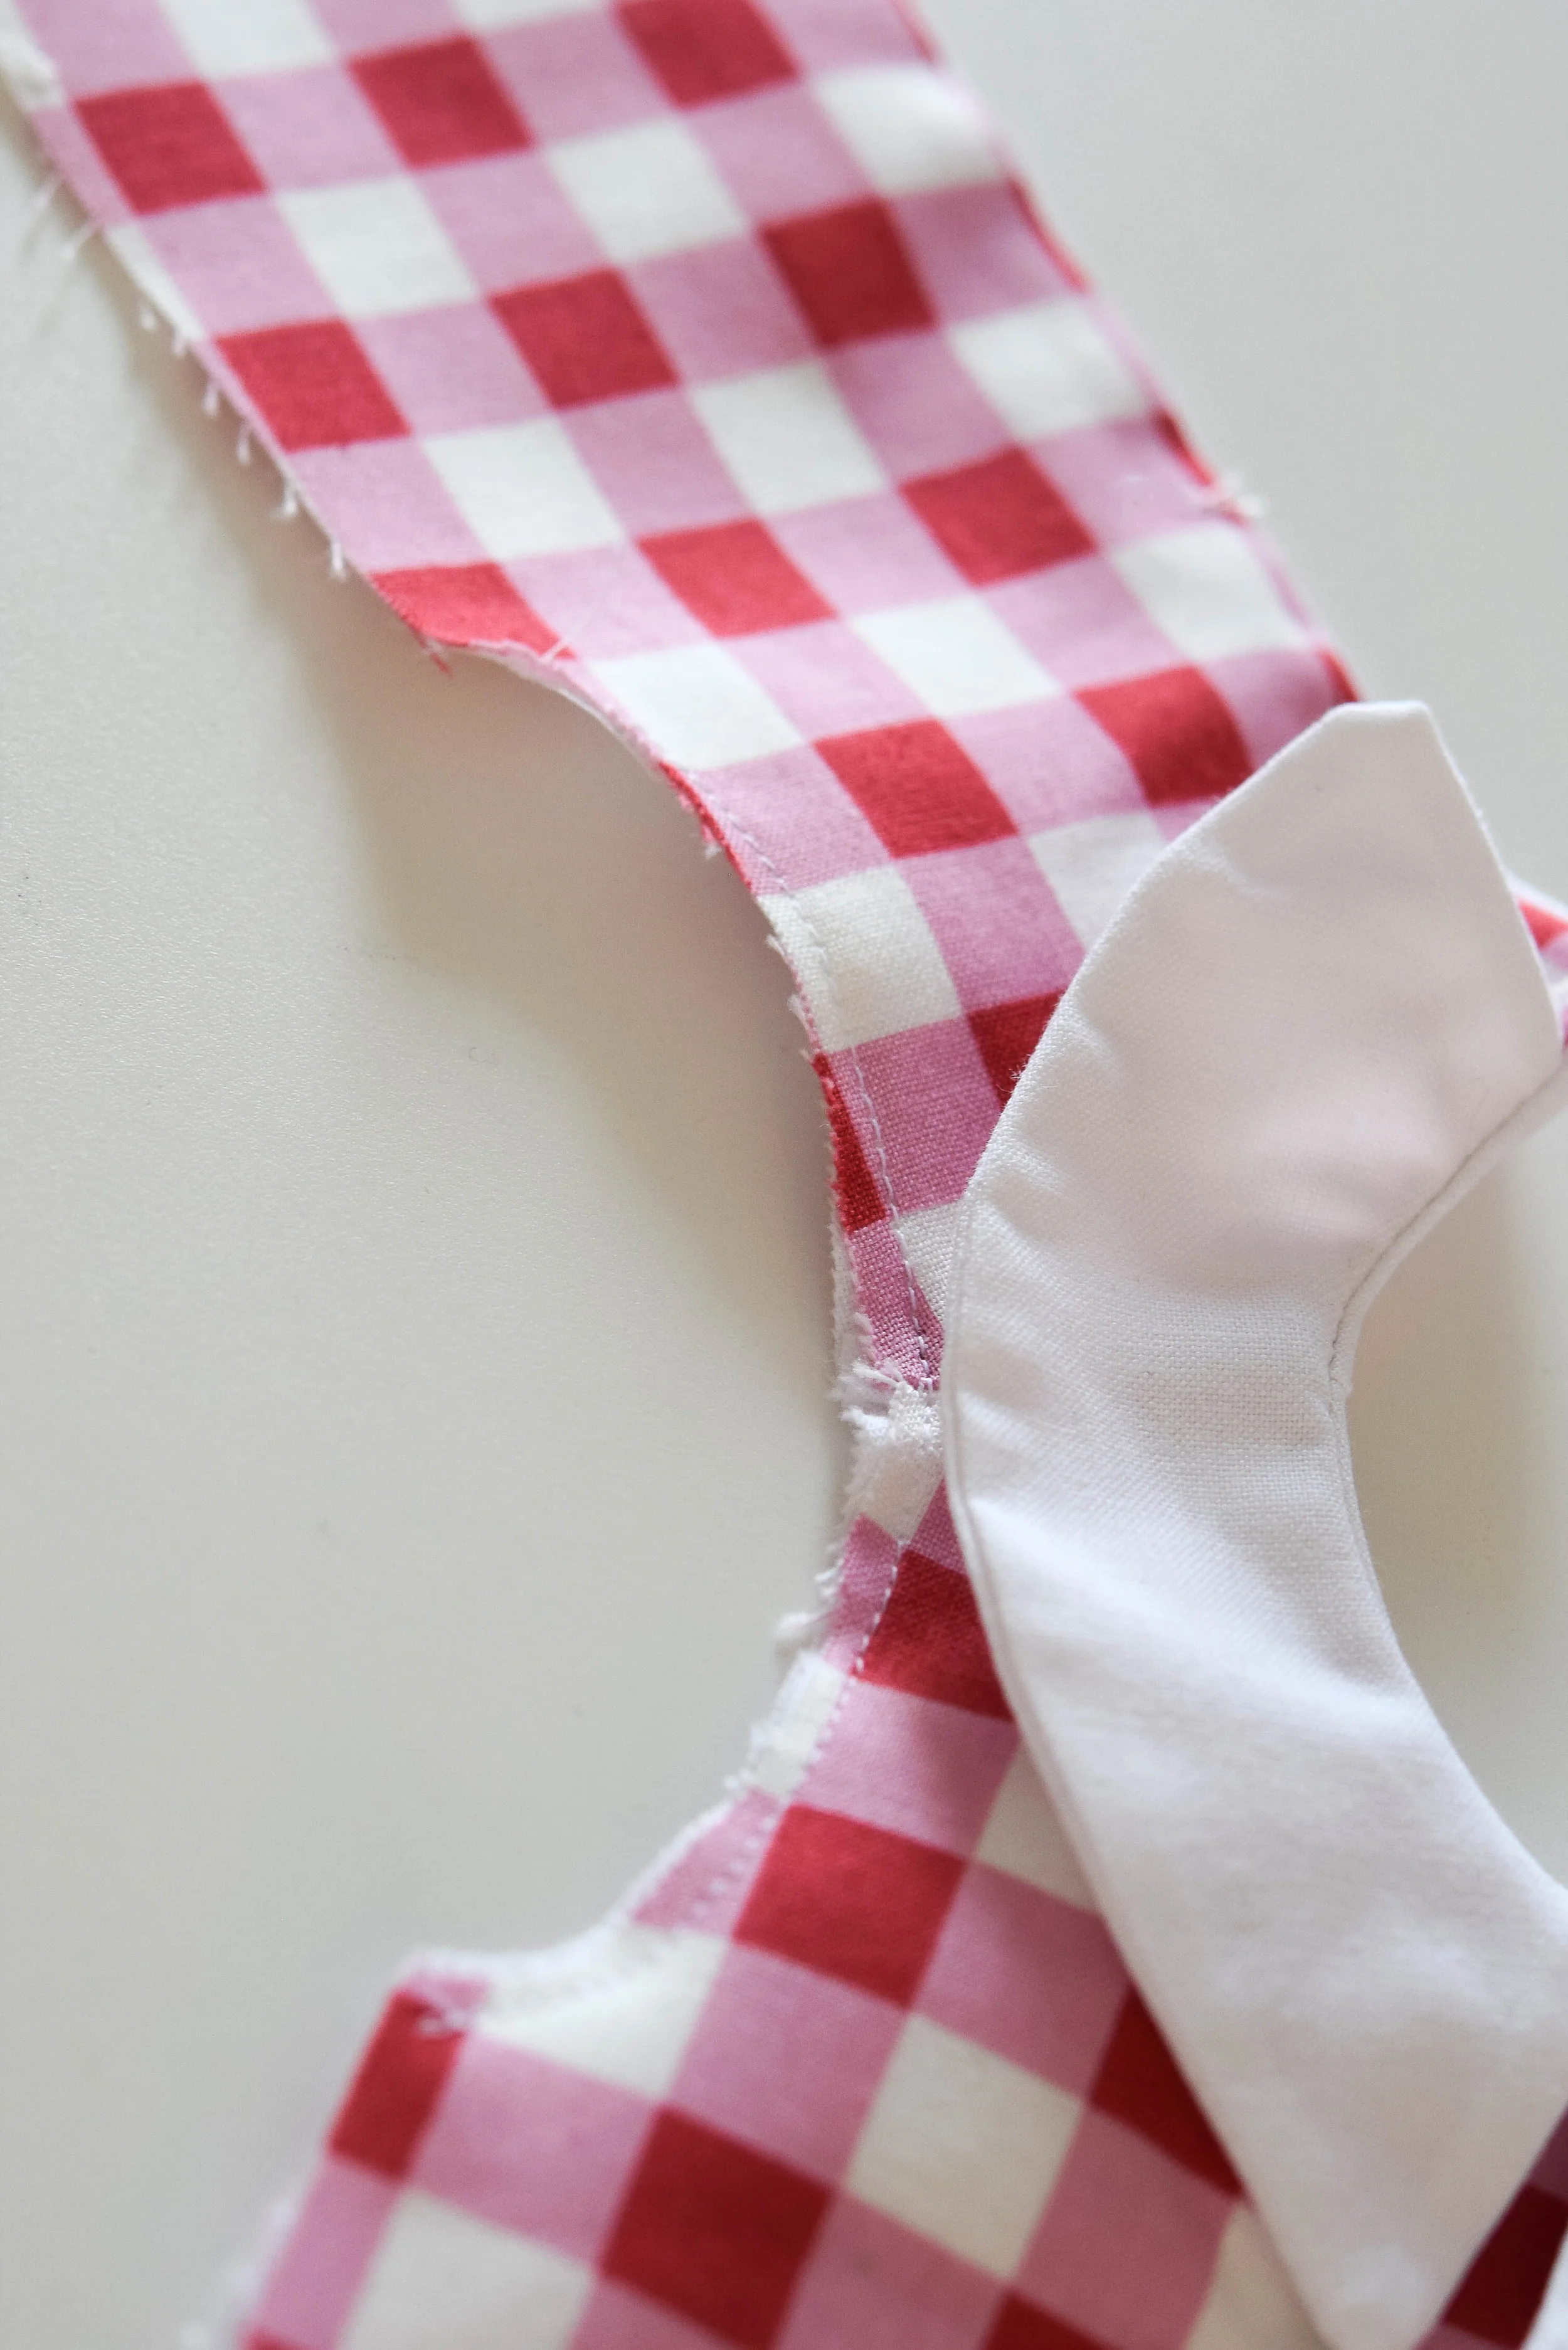
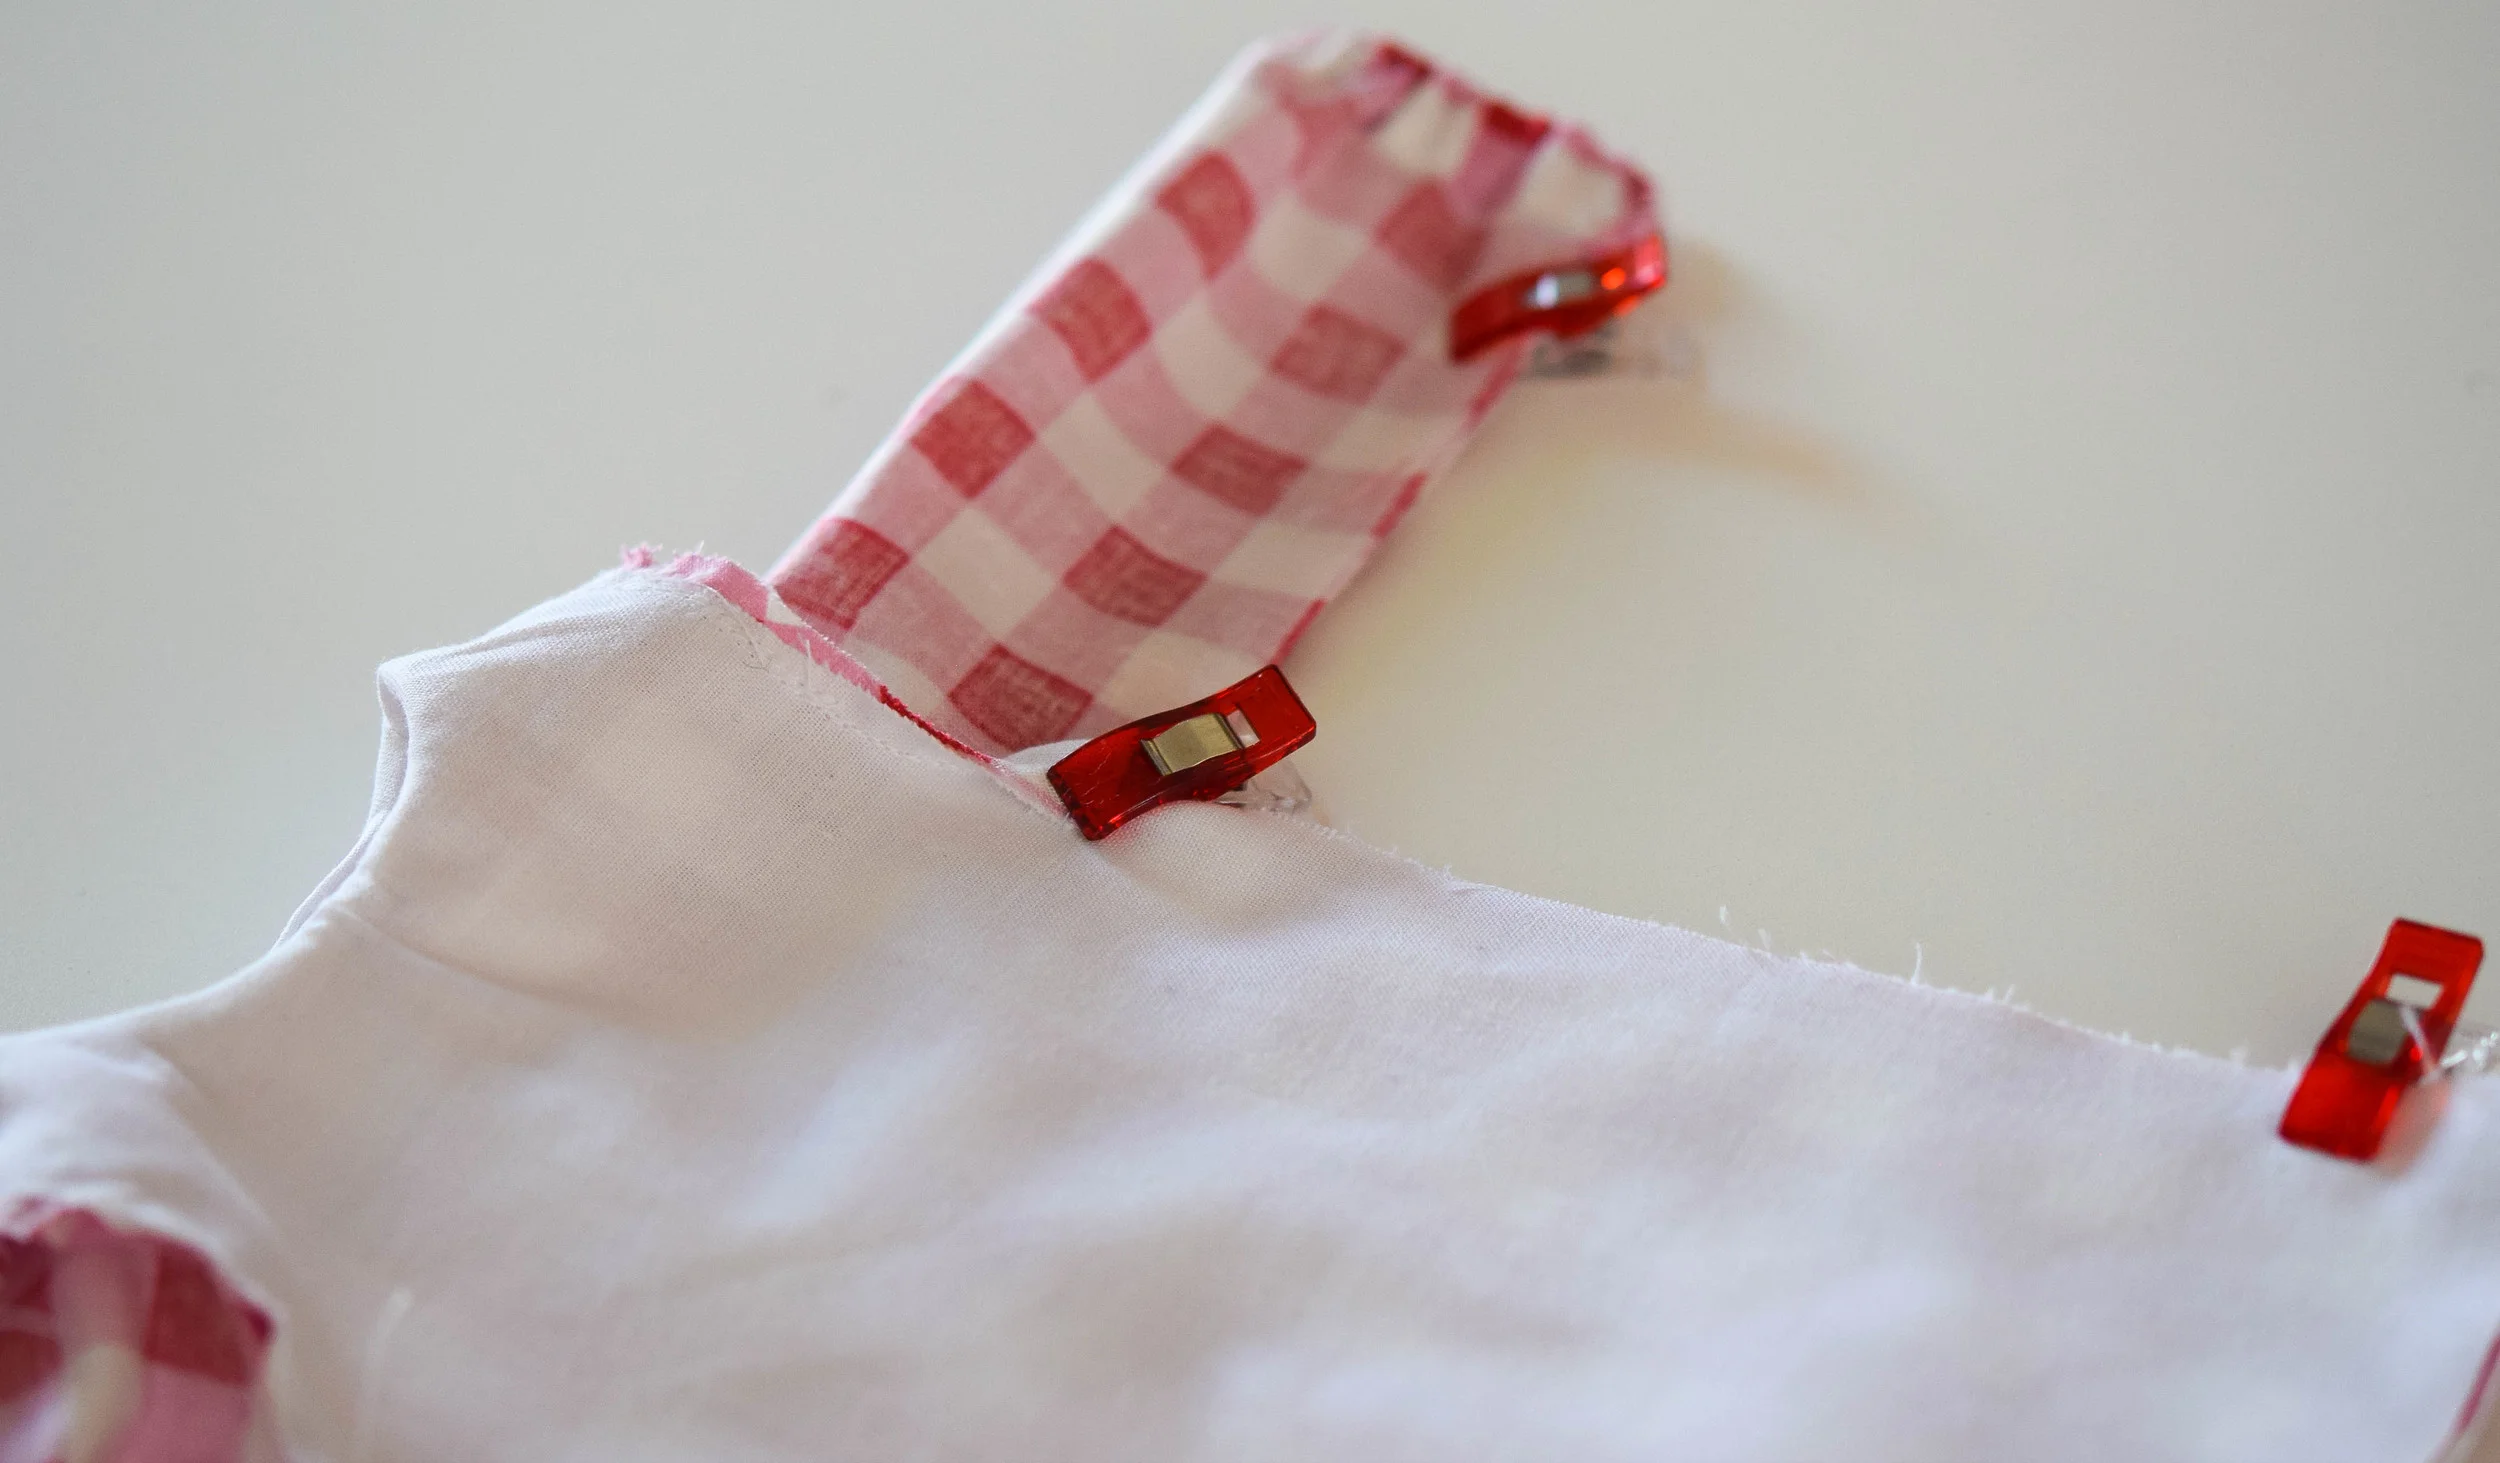
3. Place the dress with the collar on top of the lining with right sides together. Pin or wonderclip up one back edge around the neck and down the other back edge. Sew the lining to the dress making sure you sew deeper than the collar attachment seam so it does not show. Tirn right side out.
Click to enlarge
Sew the sleeve edge of the dress to the sleeve edge of the lining. This is to keep them in place and together when you sew the sleeve on.
Hemming the sleeves and making a casing:
1. Turn the ends of the sleeves up 1/4 inch and stitch.
2. Turn the bottoms up 1/2 inch and stitch again. this is the casing for your elastic for the "cuff" at the wrist.

Making the sleeve casings
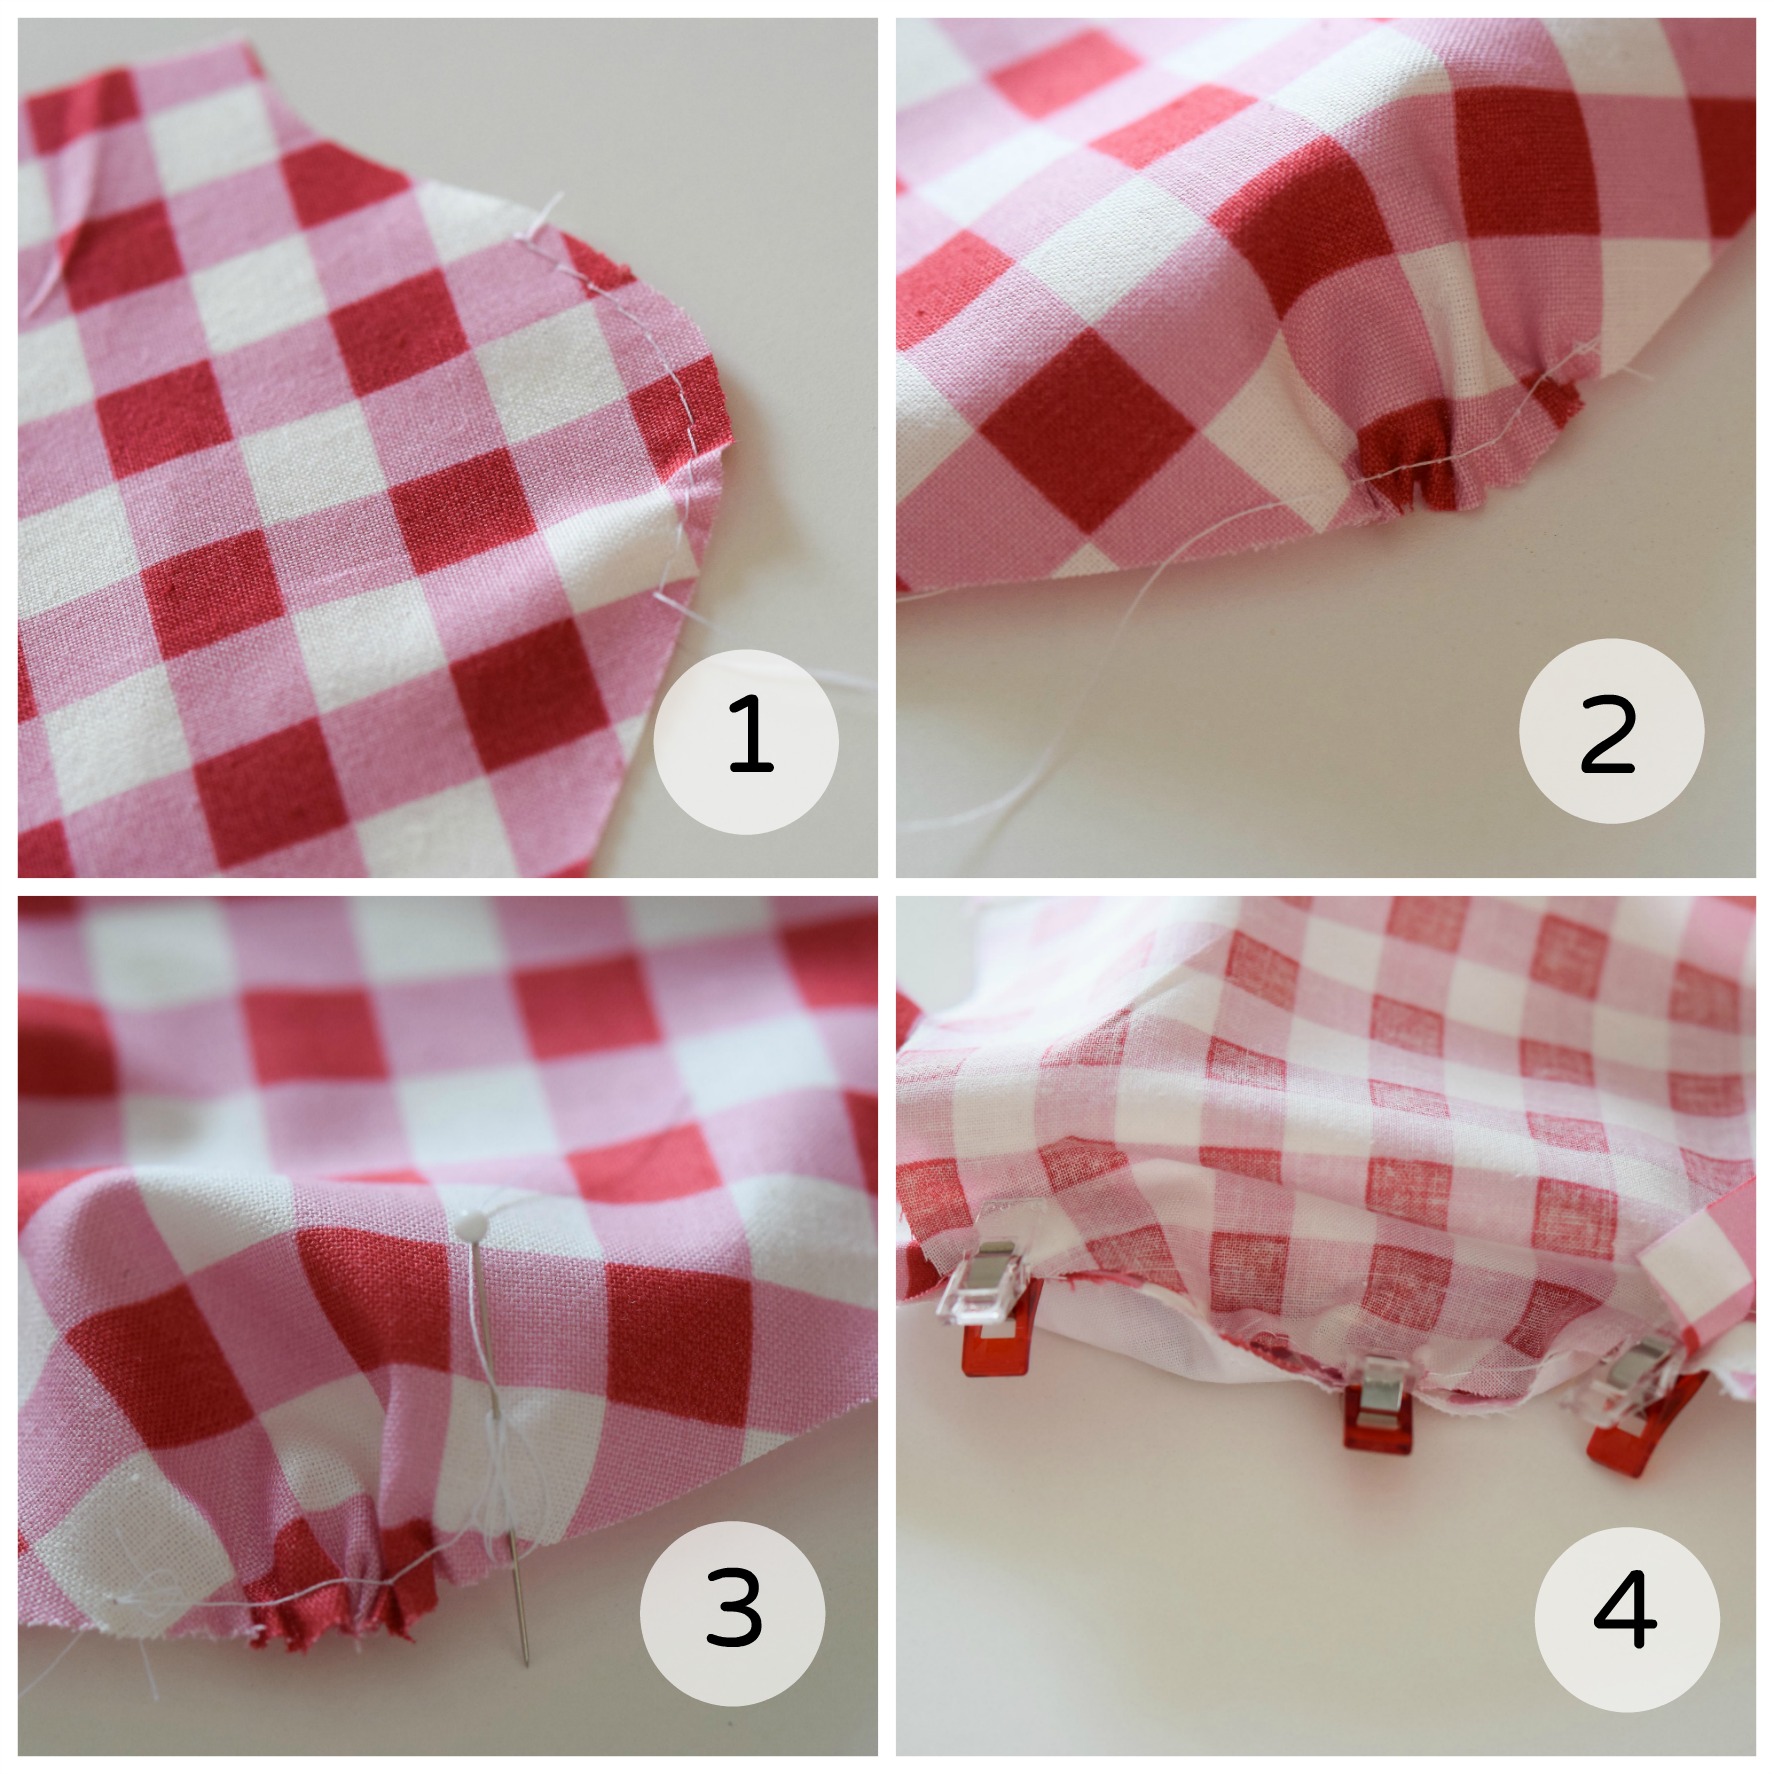
Easing for the Sleeve Cap
The next few steps are similar to the gathering of the sleeve cap done on the puffed sleeve dress. Except this is called easing. Easing is step down from gathering. it is done to get the sleeve to curve slightly better at the shoulder of the armhole, which makes more of a shoulder shape. it is also done to obtain a better fit in the armhole.
1. Stitch about two inches of long stitches at the cap of each sleeve. As in gathering, leave one end without reverse stitching and leave the threads long, so you can pull one.
2. Pull one of the threads slightly to puff the cap of the sleeve slightly.
3. measure the sleeve cap to the armhole, when it seems the right length, secure the thread by wrapping around a pin.
4. Fit and pin into the armhole, adjusting the ease if needed.
Sew sleeves in. make sure you've put your stitch length back to regular.
You are almost done. Next is the sleeve casing for the wrist.
1. Cut two pieces of elastic, each approximately the width of the bottom of the sleeve.
2. You will need to use something to thread the elastic. I use this tool, but a safety pin works fine.
3. Thread the elastic through the casing, securing it at the starting end with a few machine stitches.
4. Pull to desired length. I pull to 4 inches for Phoebe. For Sasha, 3.5 should do. For AG and Waldorf, 4.5-5 inches. stitch done the other end of the elastic to secure.
Click to enlarge
Sew up the side seams, hem and you are done!

The pattern pieces for this dress and all other dresses are available through my newsletter. When you sign up, you will receive a second email asking you to confirm, after you do that you will receive another email with the base pattern downloads and a link to pattern pieces that came through previous newsletters.
Please check your spam first before emailing me if you do not receive this.
The long sleeve pattern piece will be available in this Friday's newsletter.