Some things to think about before you start:
When I was a child I tried to teach my younger sister to sew. I have gone on to teach all three of my children, a few nieces, a few children of friends and a brownie troop to sew. There is almost as much of a learning curve to teaching sewing as there is to sewing.
This post is a first in a series about teaching children to sew. The very first post will be about what to think about when introducing sewing to your child--some thoughts before you begin (or end in frustration).
1. Children have less patience with their parents. If you are teaching your own child to sew, accept a few facts, that as a parent, you probably already have accepted. Children are less patient with their own parents. Children are better listeners when the speaker is not their parents. So if this is your own child, schedule shorter sessions and remember you may need to provide the extra patience.
2. If you look at any sewing manual there appears to be a lot of rules about sewing. For children, and often adults, only bring up a rule when necessary. Too many rules will make sewing boring and daunting. Right sides of the fabric together is a rule worth mentioning, which type of thread and needle to use when, is not.
3. Start with hand sewing. Hand sewing is a better way to introduce the basic concepts of sewing, ie securing thread, right sides together, what is a seam, undoing mistakes, etc... than the machine. Understanding how to work a sewing machine is a whole separate mastery that should be learned after a child understands the basics of sewing.
4. Although a child can learn to sew at any age, and each child is different, ages 6-9 is often a great time. They are young enough to still be keen on mastering new skills, not old enough to think, I'll never be good at this. It is also an age when they still play with dolls and stuffed animals, which brings me to my next suggestion...
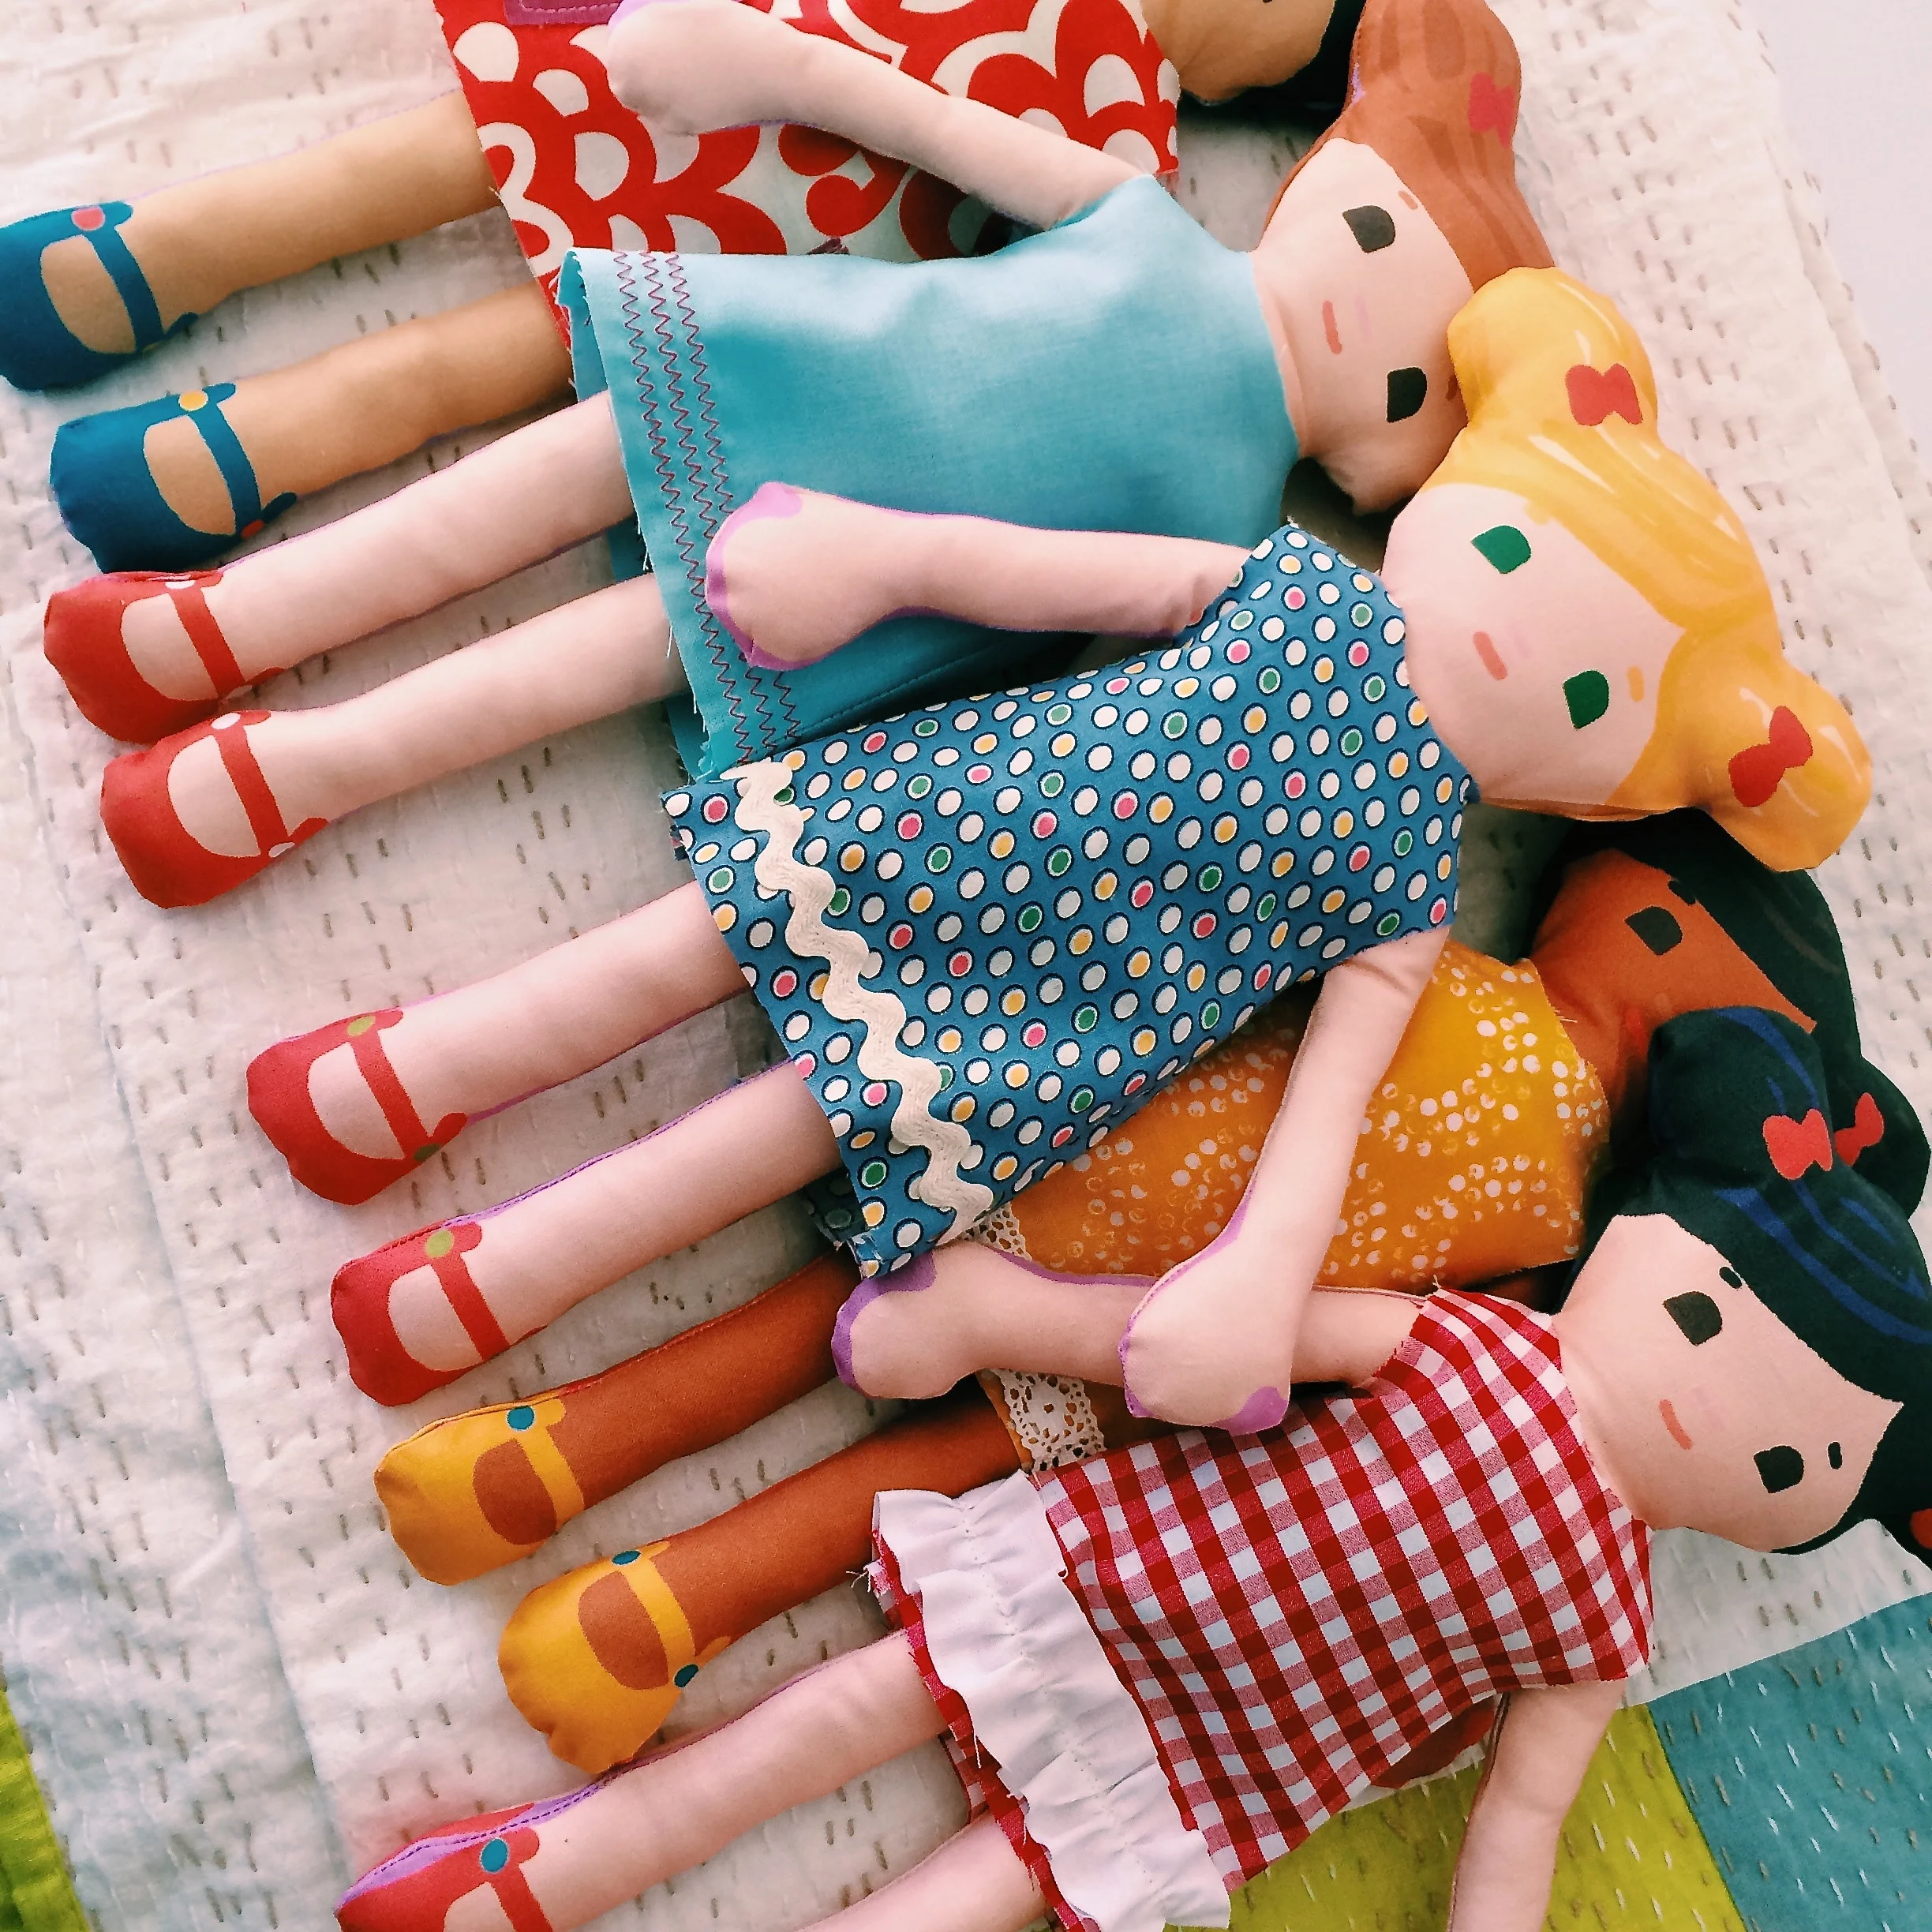
5. Doll clothes are a great way to start. When the project is done, the child has something they want. Unlike pillows, doll clothes require a number of sewing skills. You can start with a simple dress that just requires seaming and basic hemming and build from there. Through doll clothes your child will also learn the basics of garment construction, which will naturally lead into sewing clothes for people.
Division of Labor: Who Does What?
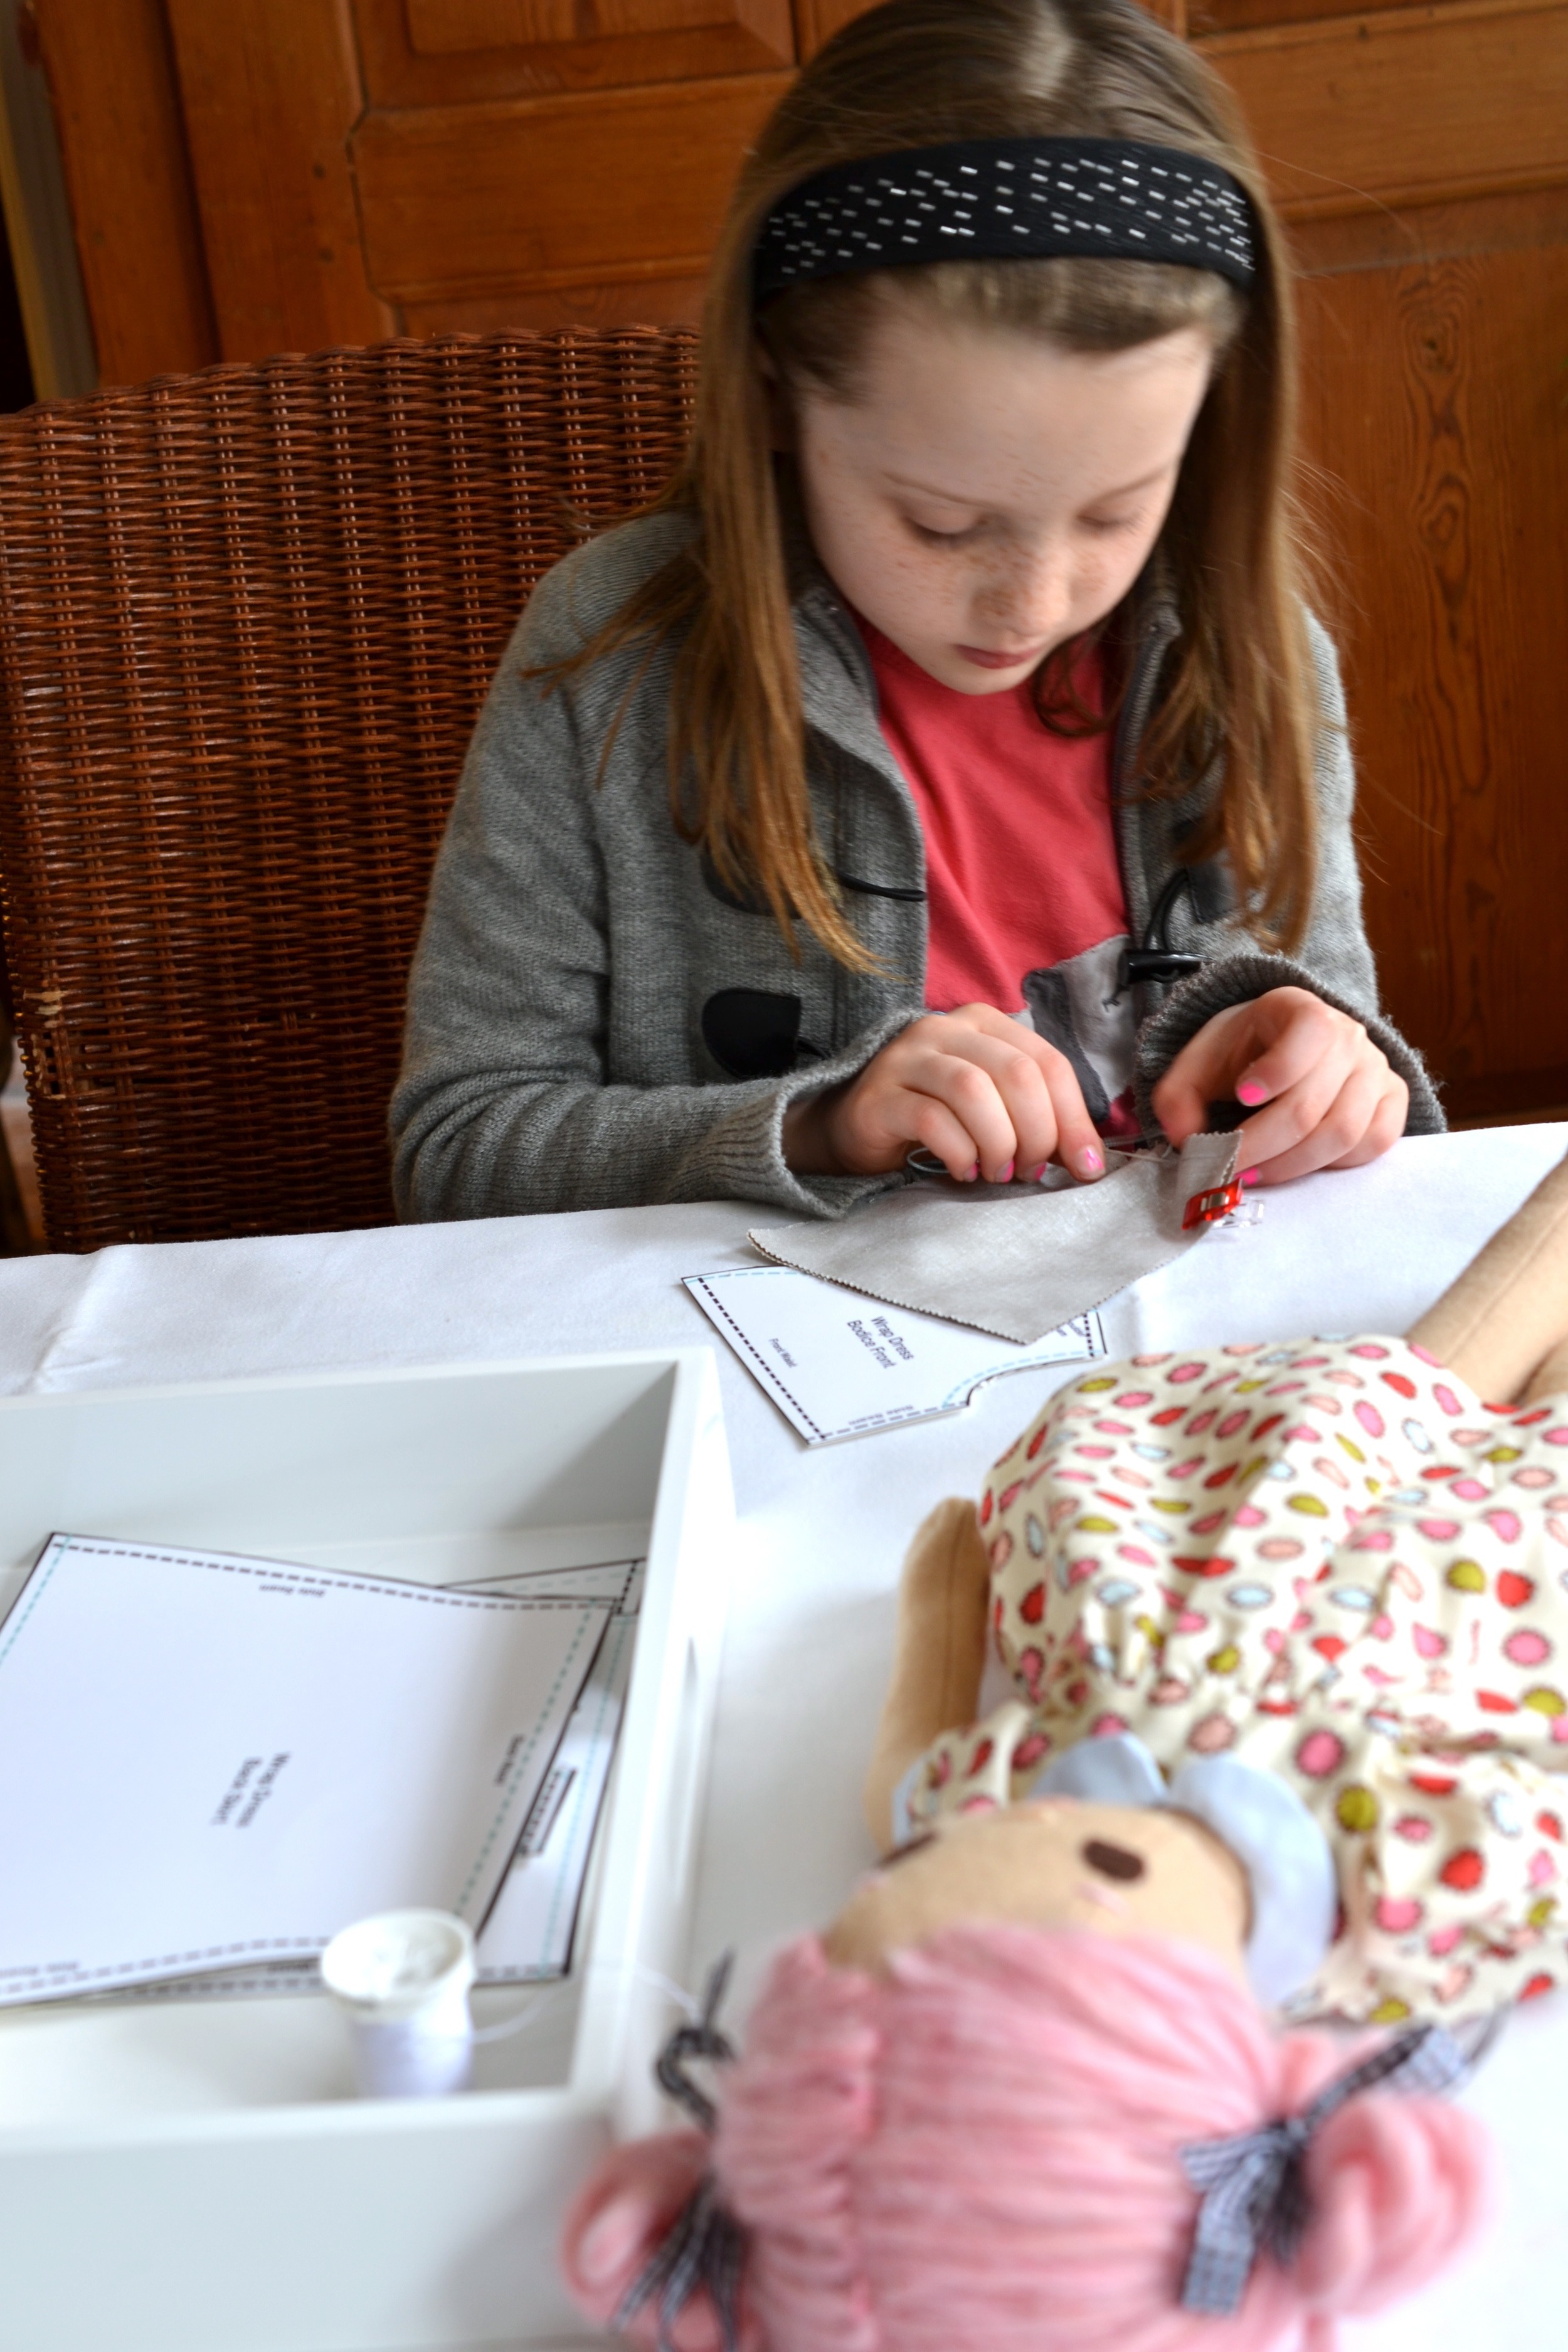
Some parents are tempted to try and have their child learn to do everything right from the start, thread the needle, tie the knots, iron the seams... Others are tempted to do everything. Initially I would divide the labor, so your child can concentrate on stitching. There is nothing wrong with tying knots and threading needles initially. Have your child feel confident with their stitching and then add other skills, one at a time.

Warming Up: Getting the Feeling of Sewing
Your child, like most kids, will be anxious to make their doll dress. Although sewing can be fun, finished products, like doll clothes, are more fun. But before you cut out the pattern, everything will go a bit smoother if you help your child get the hang of stitching.
If they have never sewn at all, they will need to get comfortable with the basic feeling of stitching--putting a needle up and down through fabric. I recommend using a size 1-5 darner needle (my sewing kits will come with one) or something similar like a smaller embroidery needle. These will be just large enough to make the stitching easier for small inexperienced hands. They also have a larger eye if you want to use perle cotton thread instead of basic sewing thread.
You can try to teach your child to knot the thread or you can knot it yourself and teach the knotting later. I LOVE the following knotting method. Easy way to knot thread.
I recommend going double stranded, meaning securing both ends of the thread in the knot. That way the needle won't slide off the thread while your child is sewing.

Now for a Few Tips on Practicing Hand-Stitching:
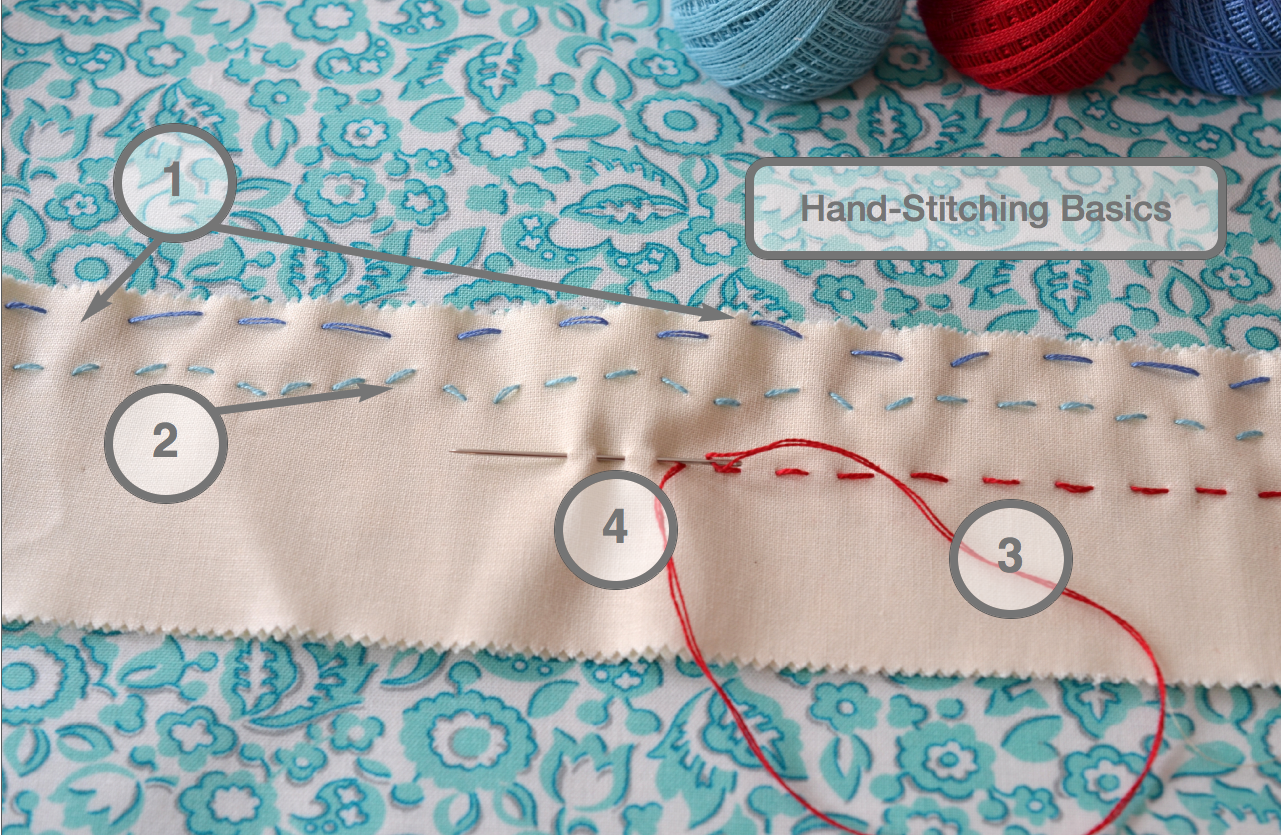
1. Have your child practice sewing two pieces of fabric together. Initially there will be inconsistently sized stitching and they will have trouble staying close to the edge without going off the edge (see arrows). Both of these things will create holes in seams when you are stitching doll clothing. see second graphic.
2. Have them practice getting smaller stitches of equal size.
3. Once they can do that, work on keeping the line straight.
4. Use the needle to do several stitch "bites" at once. This will help with straightness and can help with keeping the size consistent. It also takes the worry out of having the needle below where you cannot see it and have to feel for the right spot.
Once they can do this, they can start making something!

Cutting Out Patterns with Children
There are many ways to cut out a pattern. You can pin the paper pattern pieces to the fabric, you can copy the pattern onto freezer paper and iron it onto the fabric, cut and then peel it off (I'll save this is for another blog post) or you can trace the pattern pieces onto the fabric. You can have the fabric folded in two so you are cutting two pieces at once, or you can have the fabric unfolded, so you are only cutting through one layer at a time.
That's a lot of choices.

Tracing patterns stuck to poster board is the easiest for children under 10.
When sewing with children under 10, I think tracing the pattern onto the back side of an unfolded piece of. fabric works best.
First, why?
- No pins involved.
- Most patterns are printed on regular paper, not tissue paper, which is difficult to pin.
- You won't need to use the iron.
- If the fabric is unfolded it is easier and more to cut one layer at a time.
- This method better preserves pattern pieces, which are secured to poster board.
Here's how to make your pattern pieces:
- Use a copier to copy the pattern pieces onto Matte White Sticker Paper. Roughly, cut the pieces out. #1 in visual below.
- Stick them onto white poster board #2.
- Accurately cut out each piece in the center of the black outlines. When you are done you should have a sturdy tracable poster board piece of each pattern piece. #4
- Sharpen a colored pencil. #3
- Have your child trace the shapes onto the backside of the fabric. If they trace on the front, there is more of a chance that lines that go astray may be visible.
- Next, your child should cut along their traced lines.
- Keep the paper pattern pieces nearby while sewing so you can tell what each piece of fabric is.

Sticker paper, Poster board, together make a nice traceable pattern piece.

Trace with colored pencil directly on the back side of the fabric.

Now you have a cutting line.