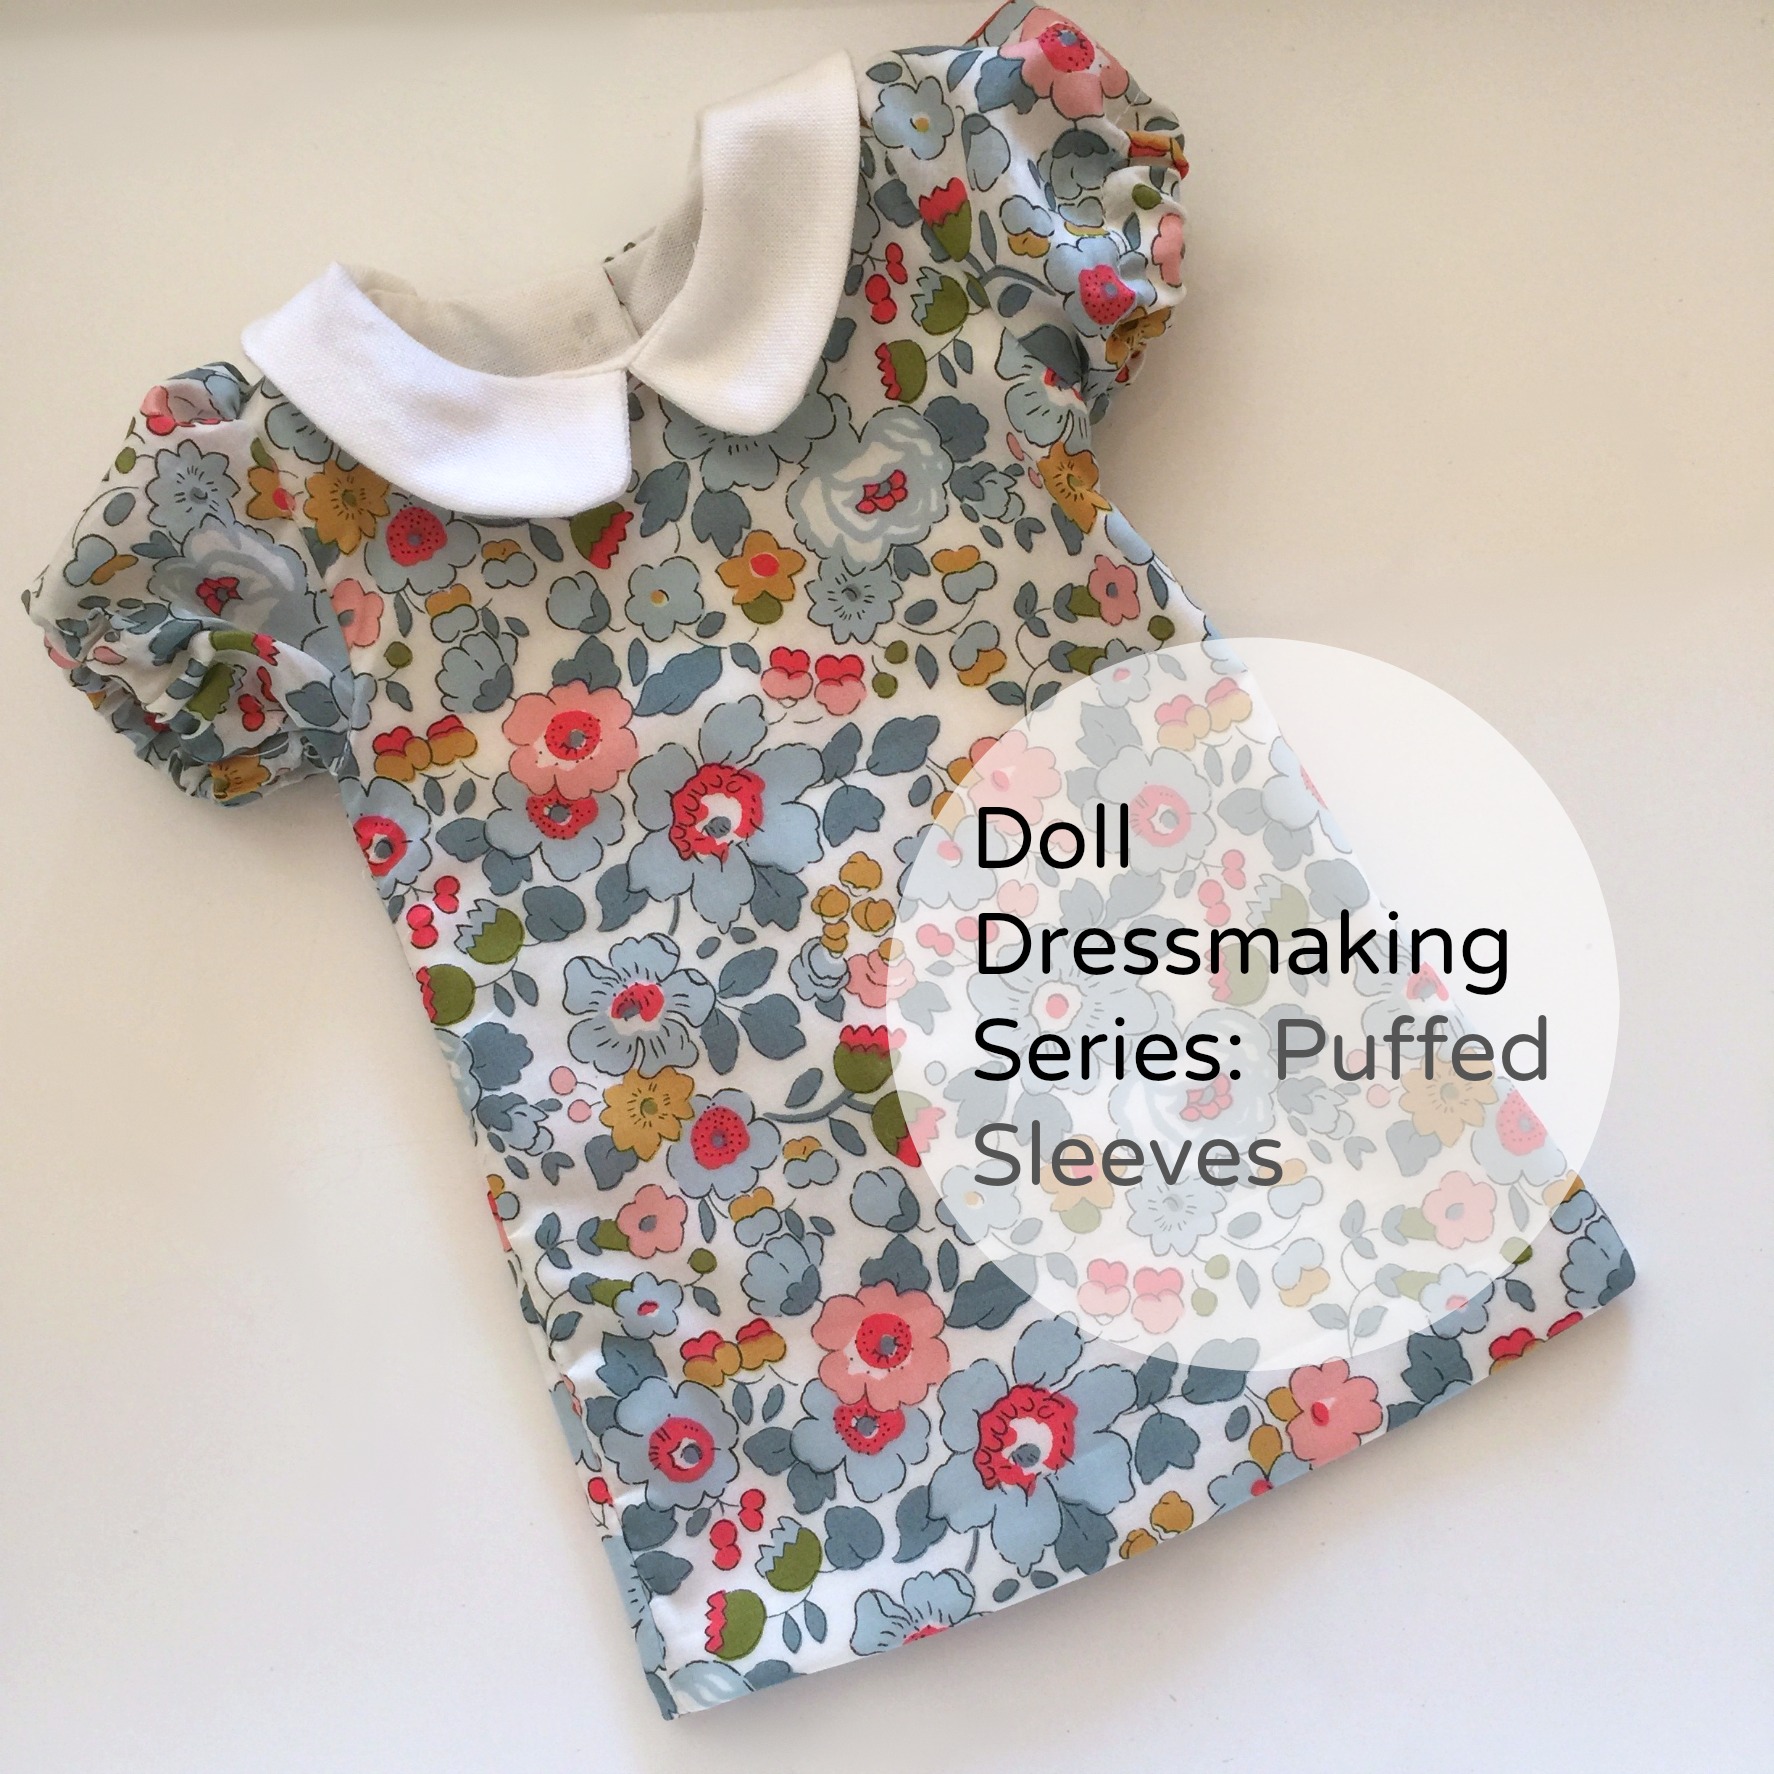
Finally, a new tutorial. And I cut into my cherished Liberty fabric to make it. A double bonus... I hope.
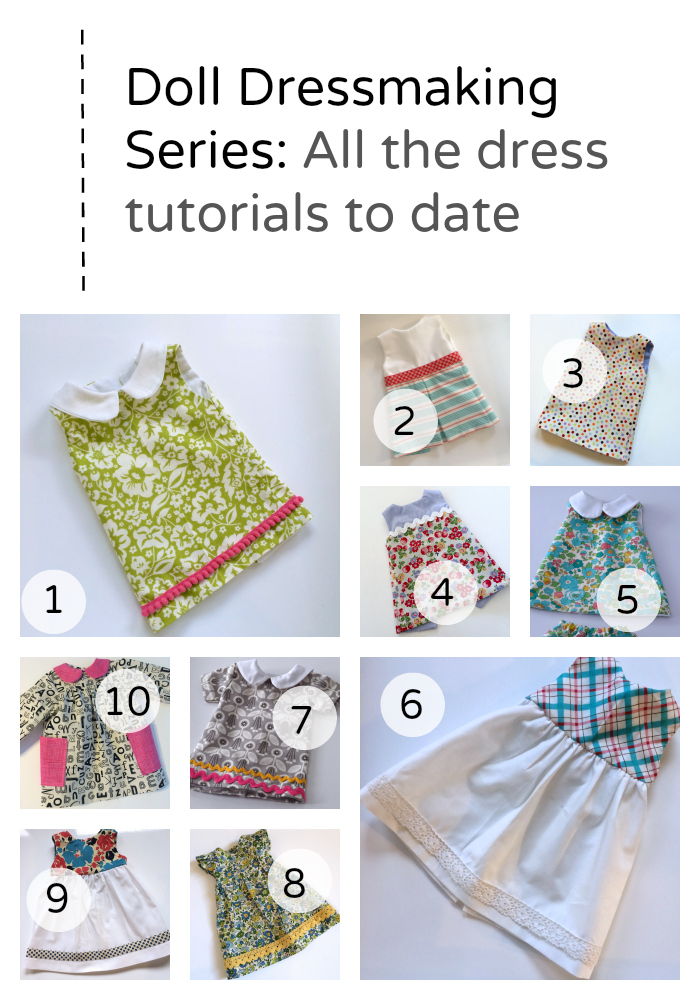
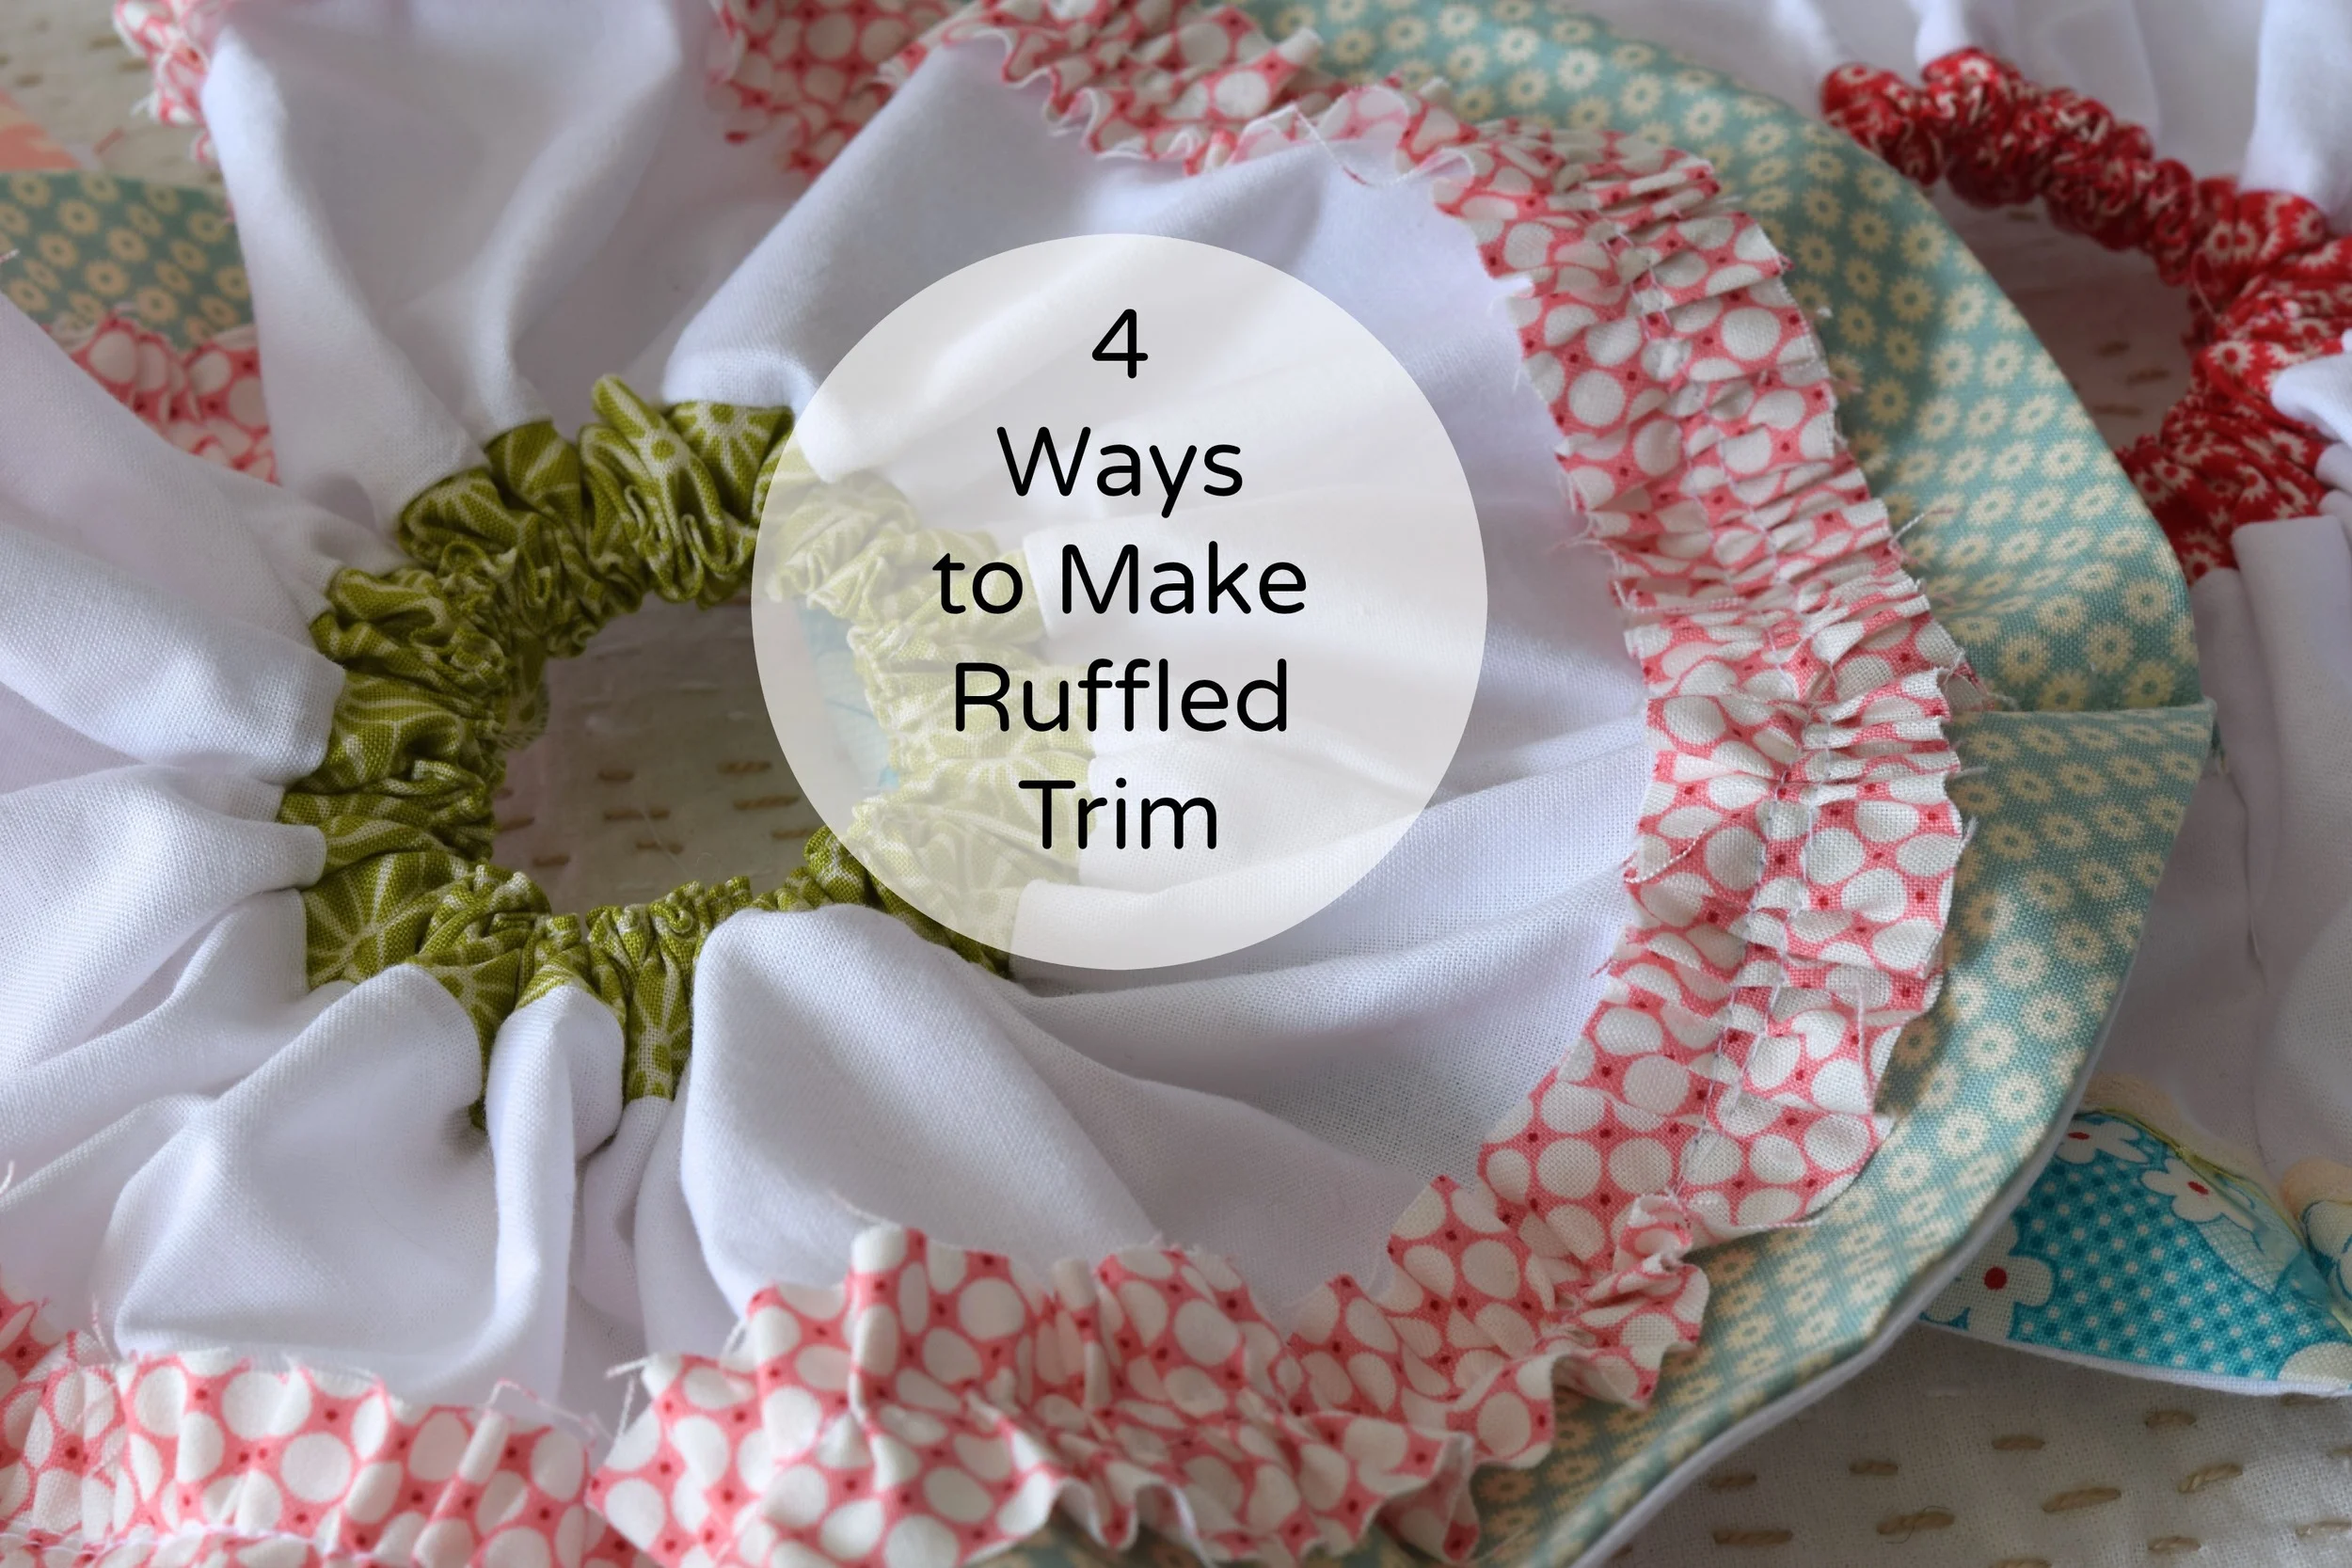
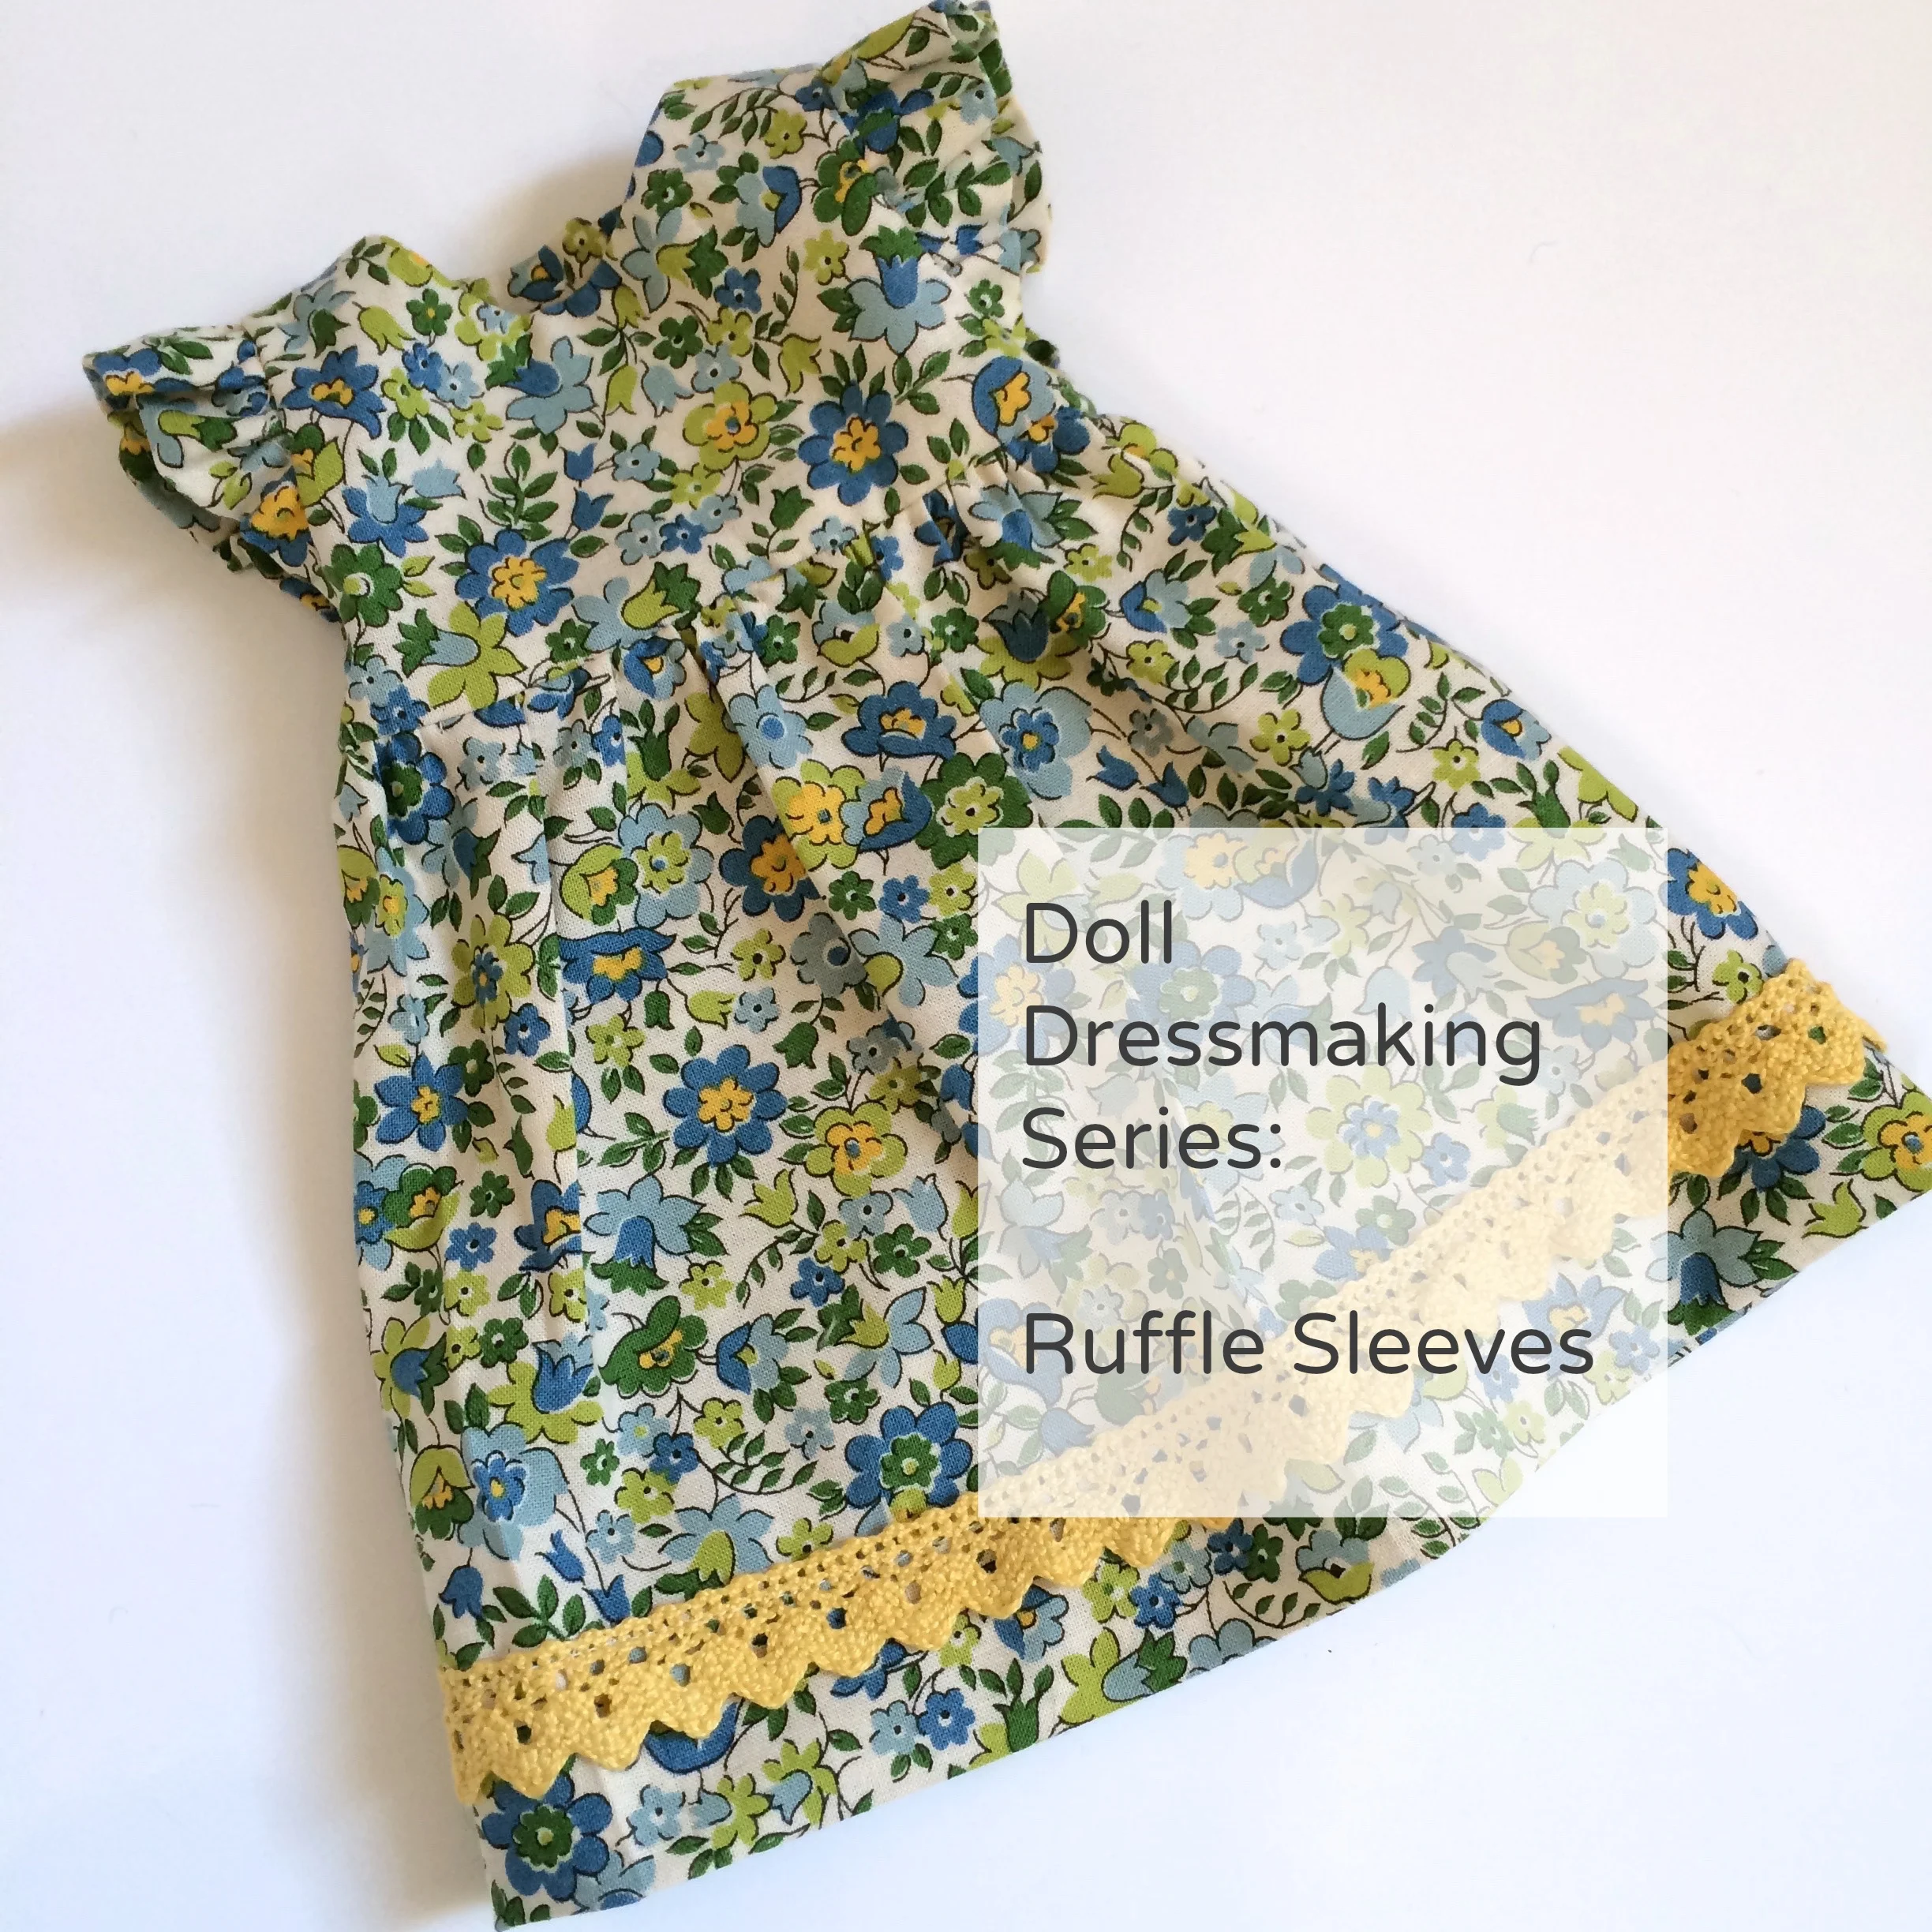
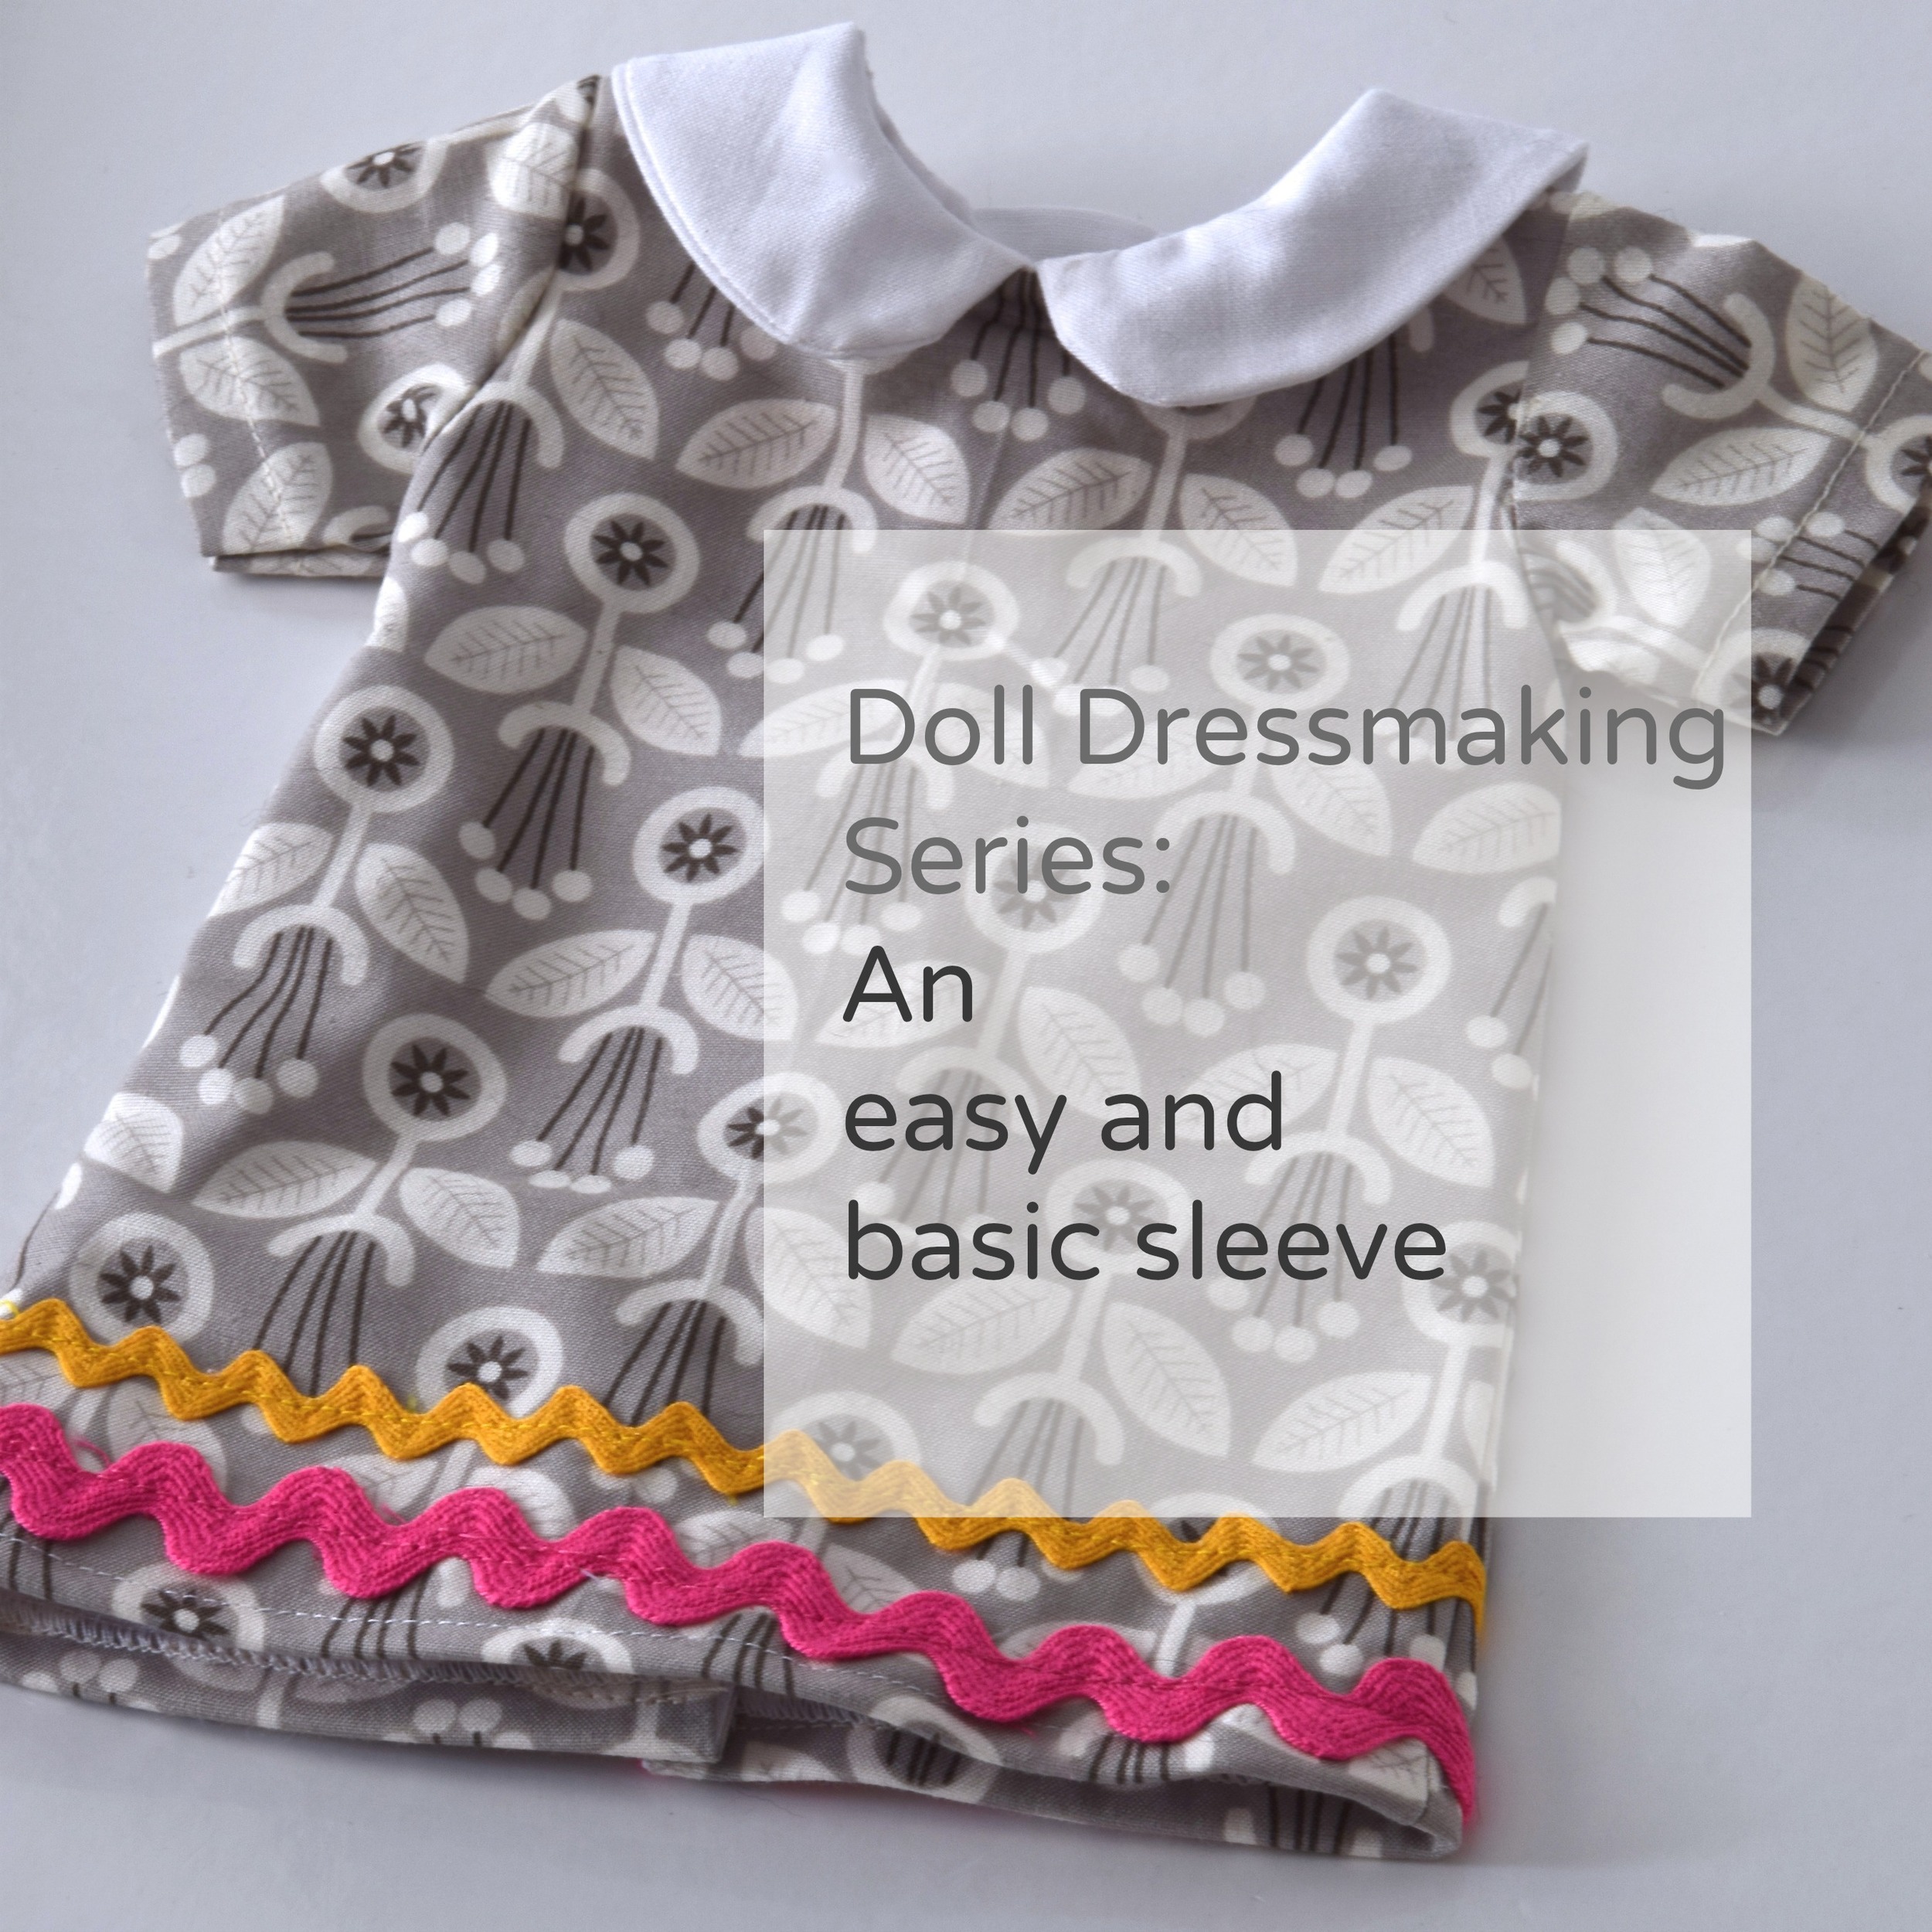
A few months back I showed you how to make a doll dress with a basic sleeve. And a dress with a ruffled sleeve. Puffed sleeves takes those two skills one easy step further.
Form for the puffed sleeve is at the end of this post.
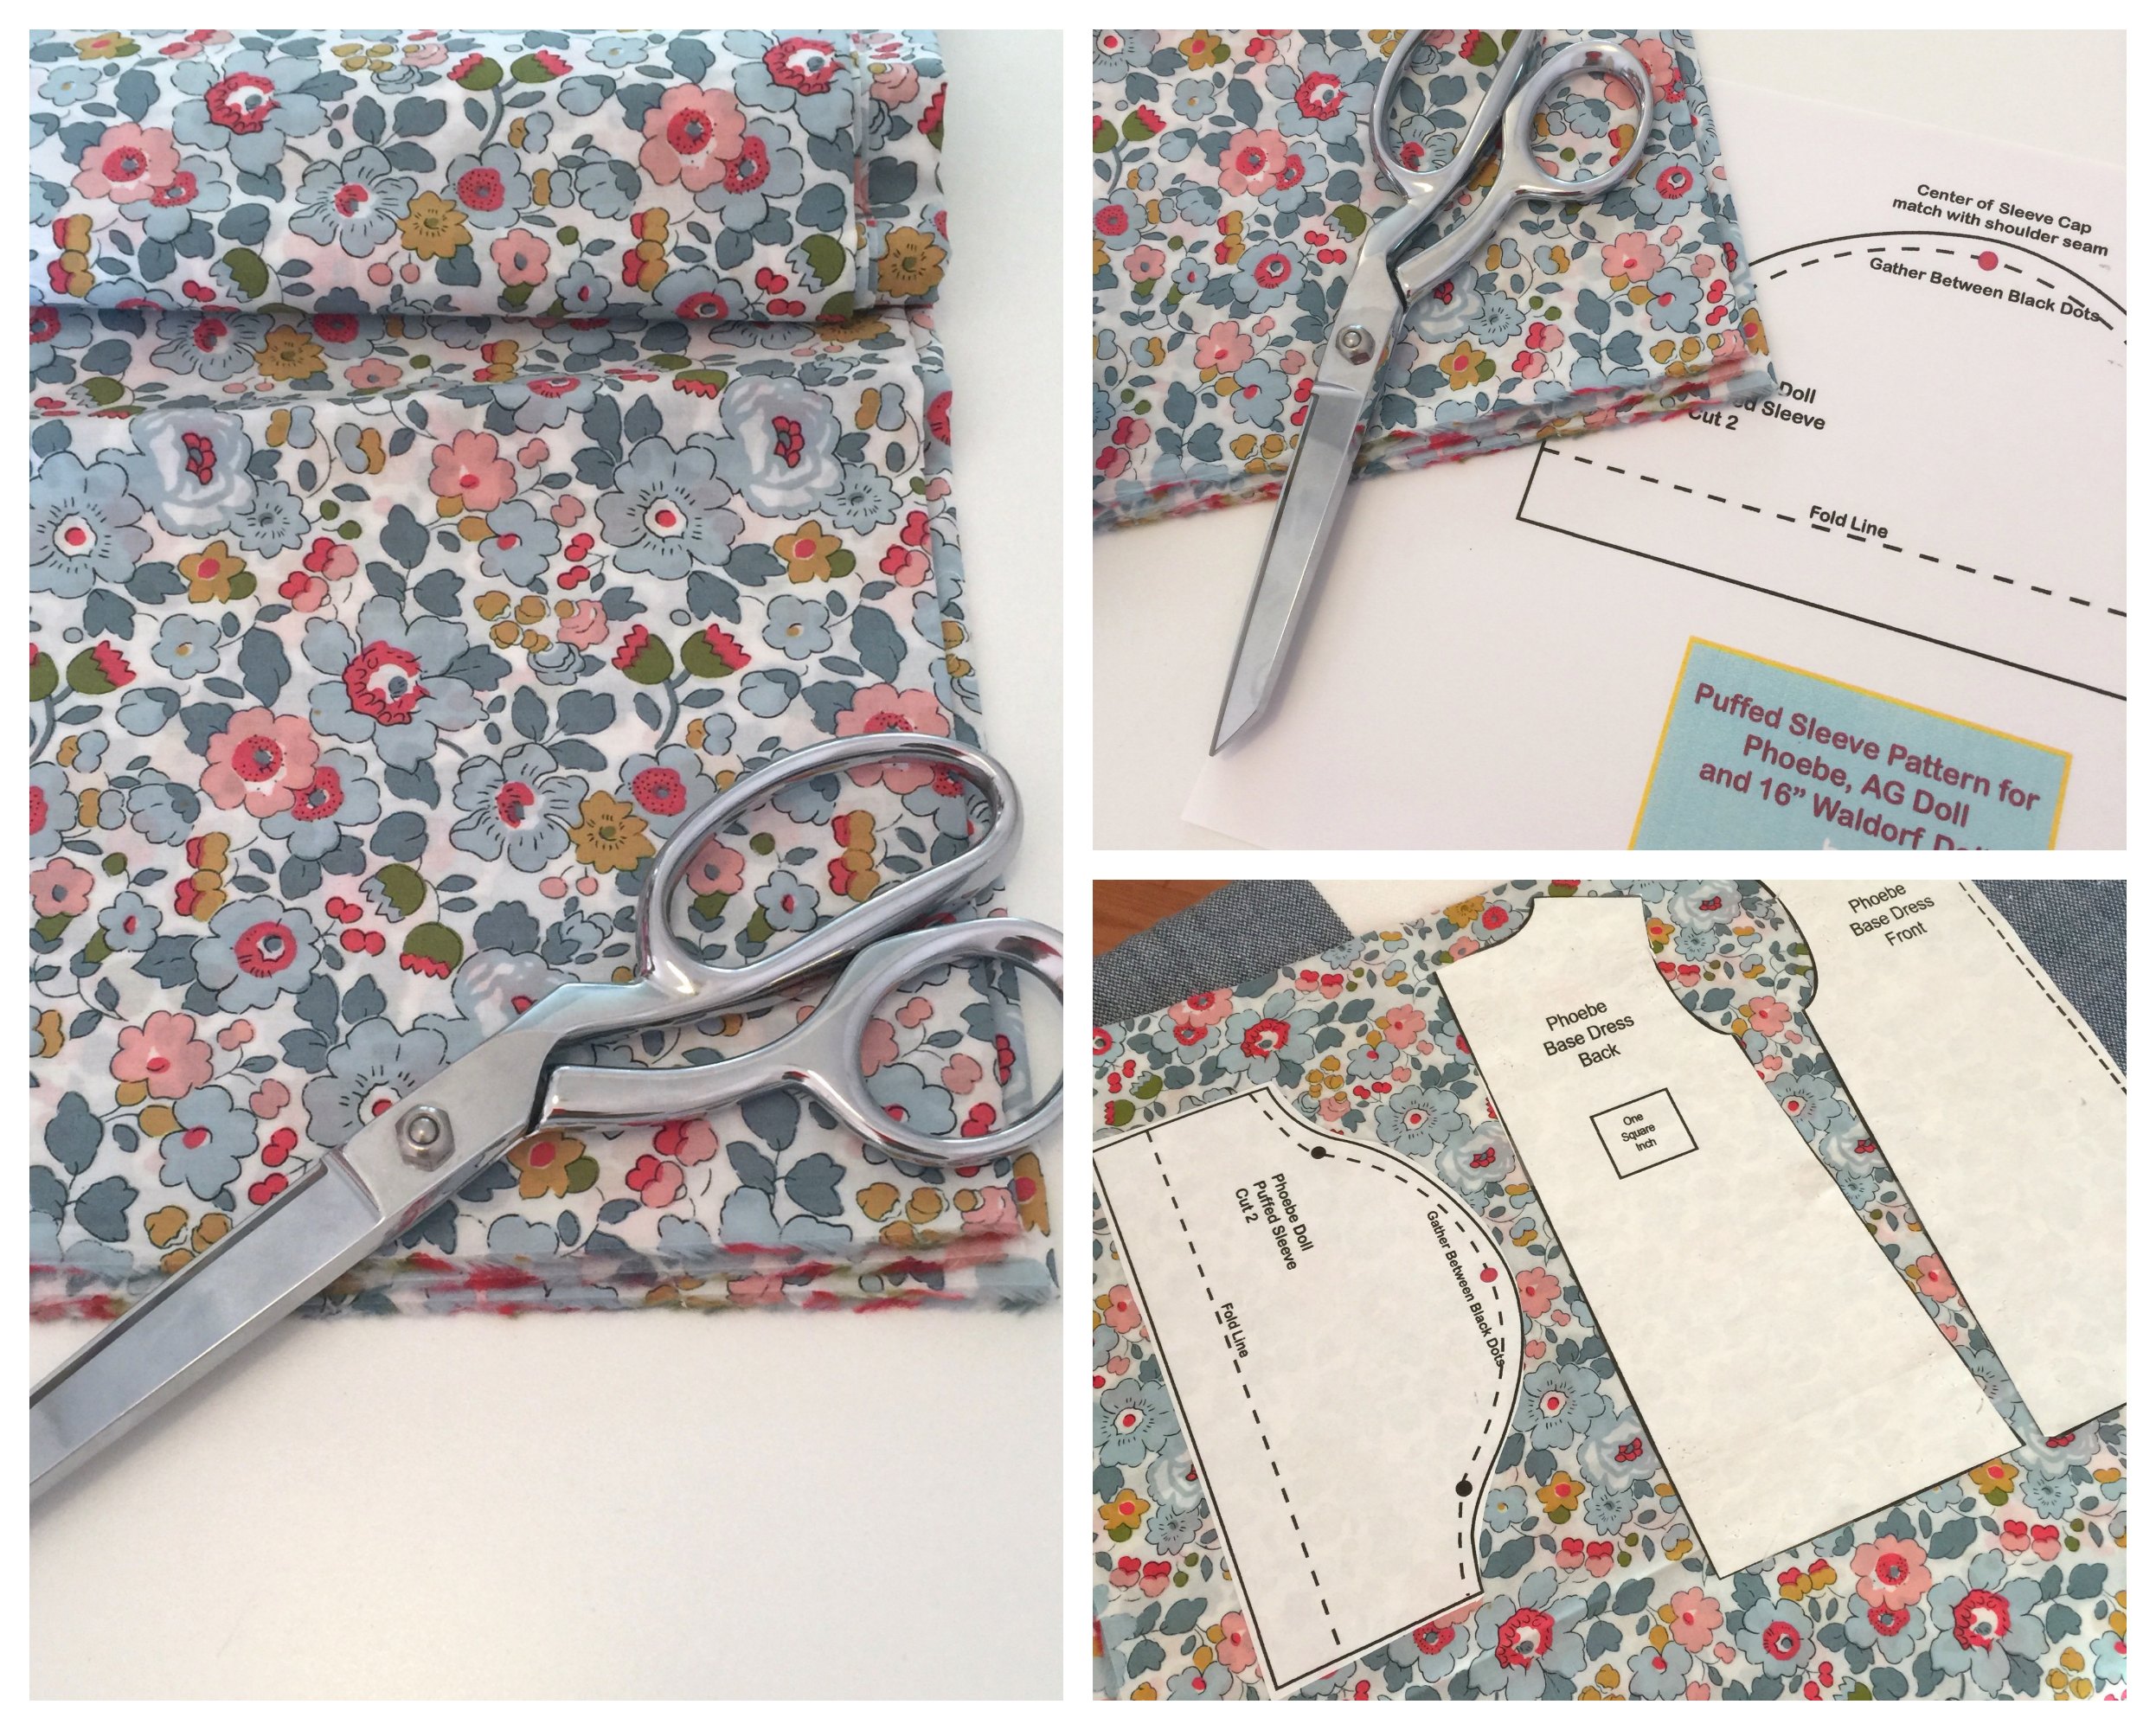
I'm attaching the puff sleeve pattern to the basic dress with a Peter Pan collar pattern. The dress is lined as described in the original tutorial, which can be found here.
So follow the instructions for the basic dress until it is time to make and attach the sleeves.
For puffed sleeves, you have a wider sleeve so the top will be gathered before you attach it to the armhole and the bottom will be puffed by making an elastic casing.
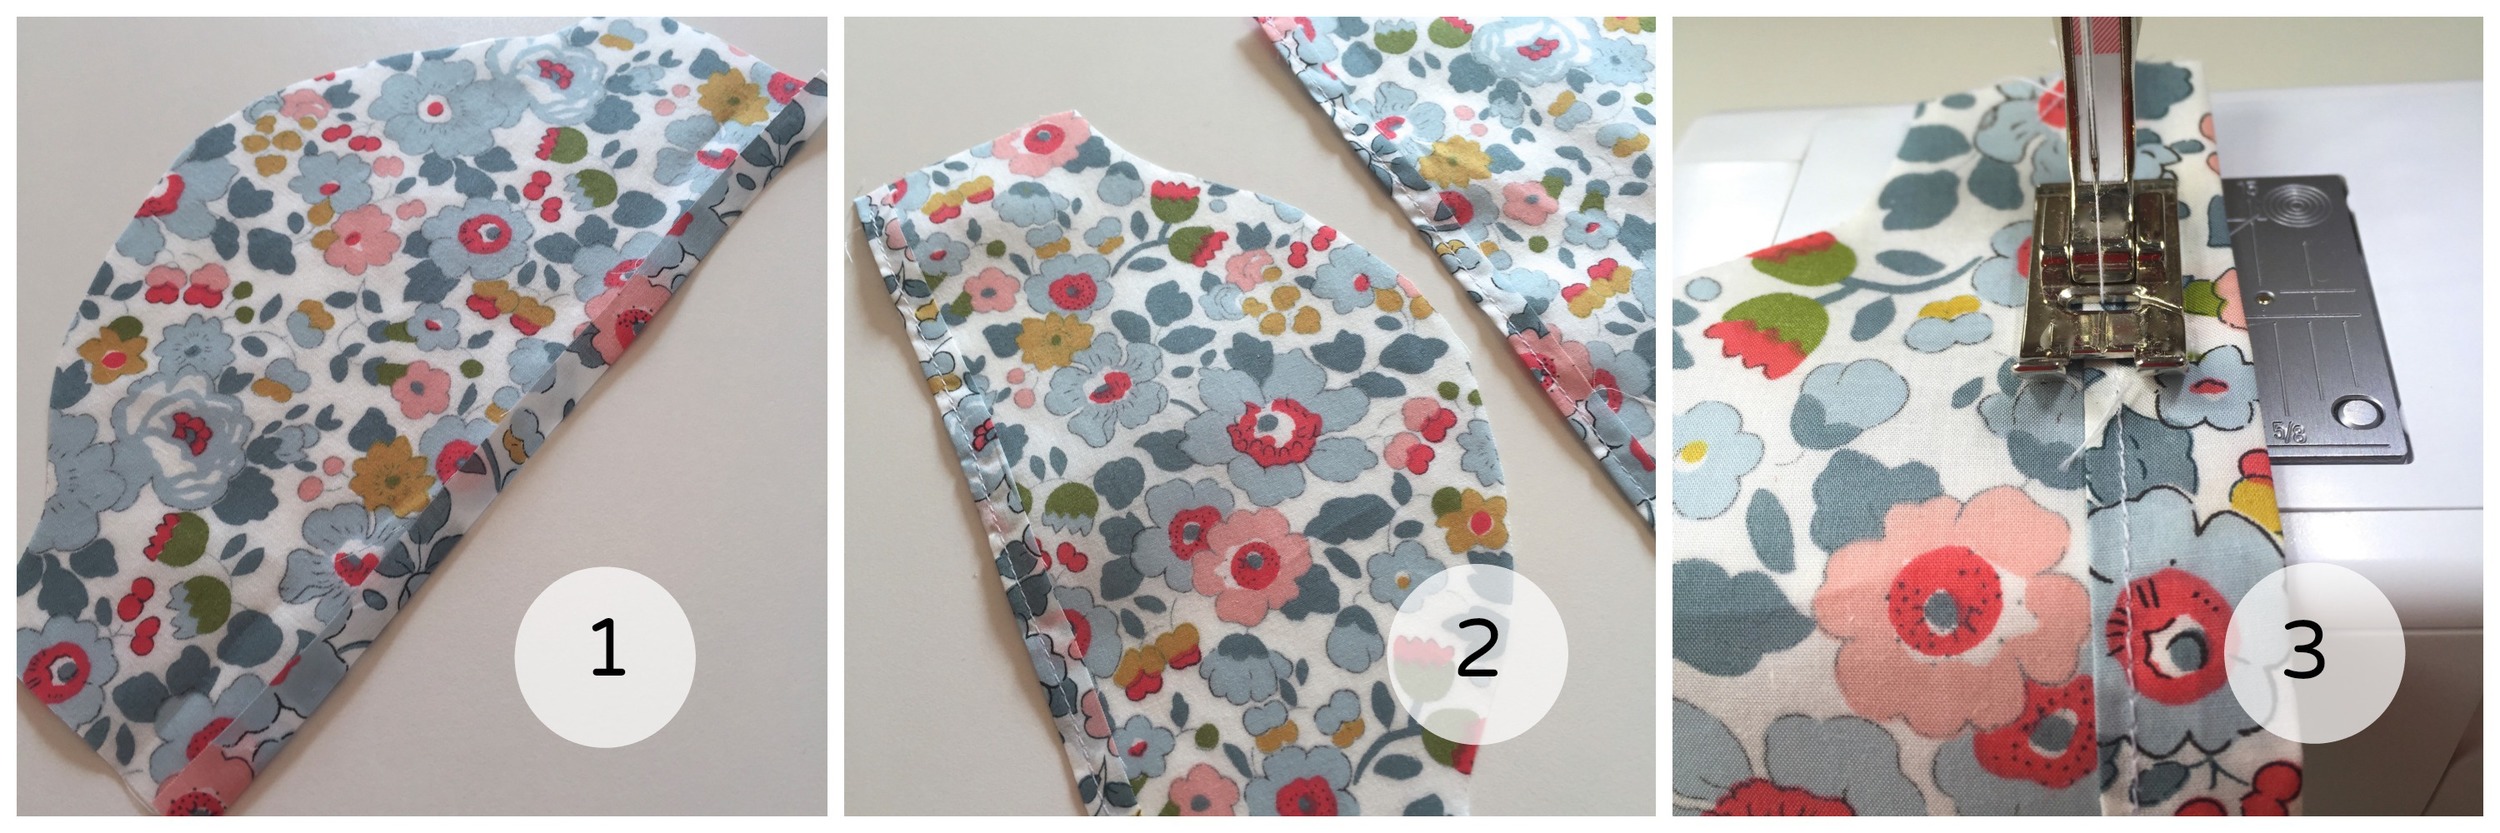
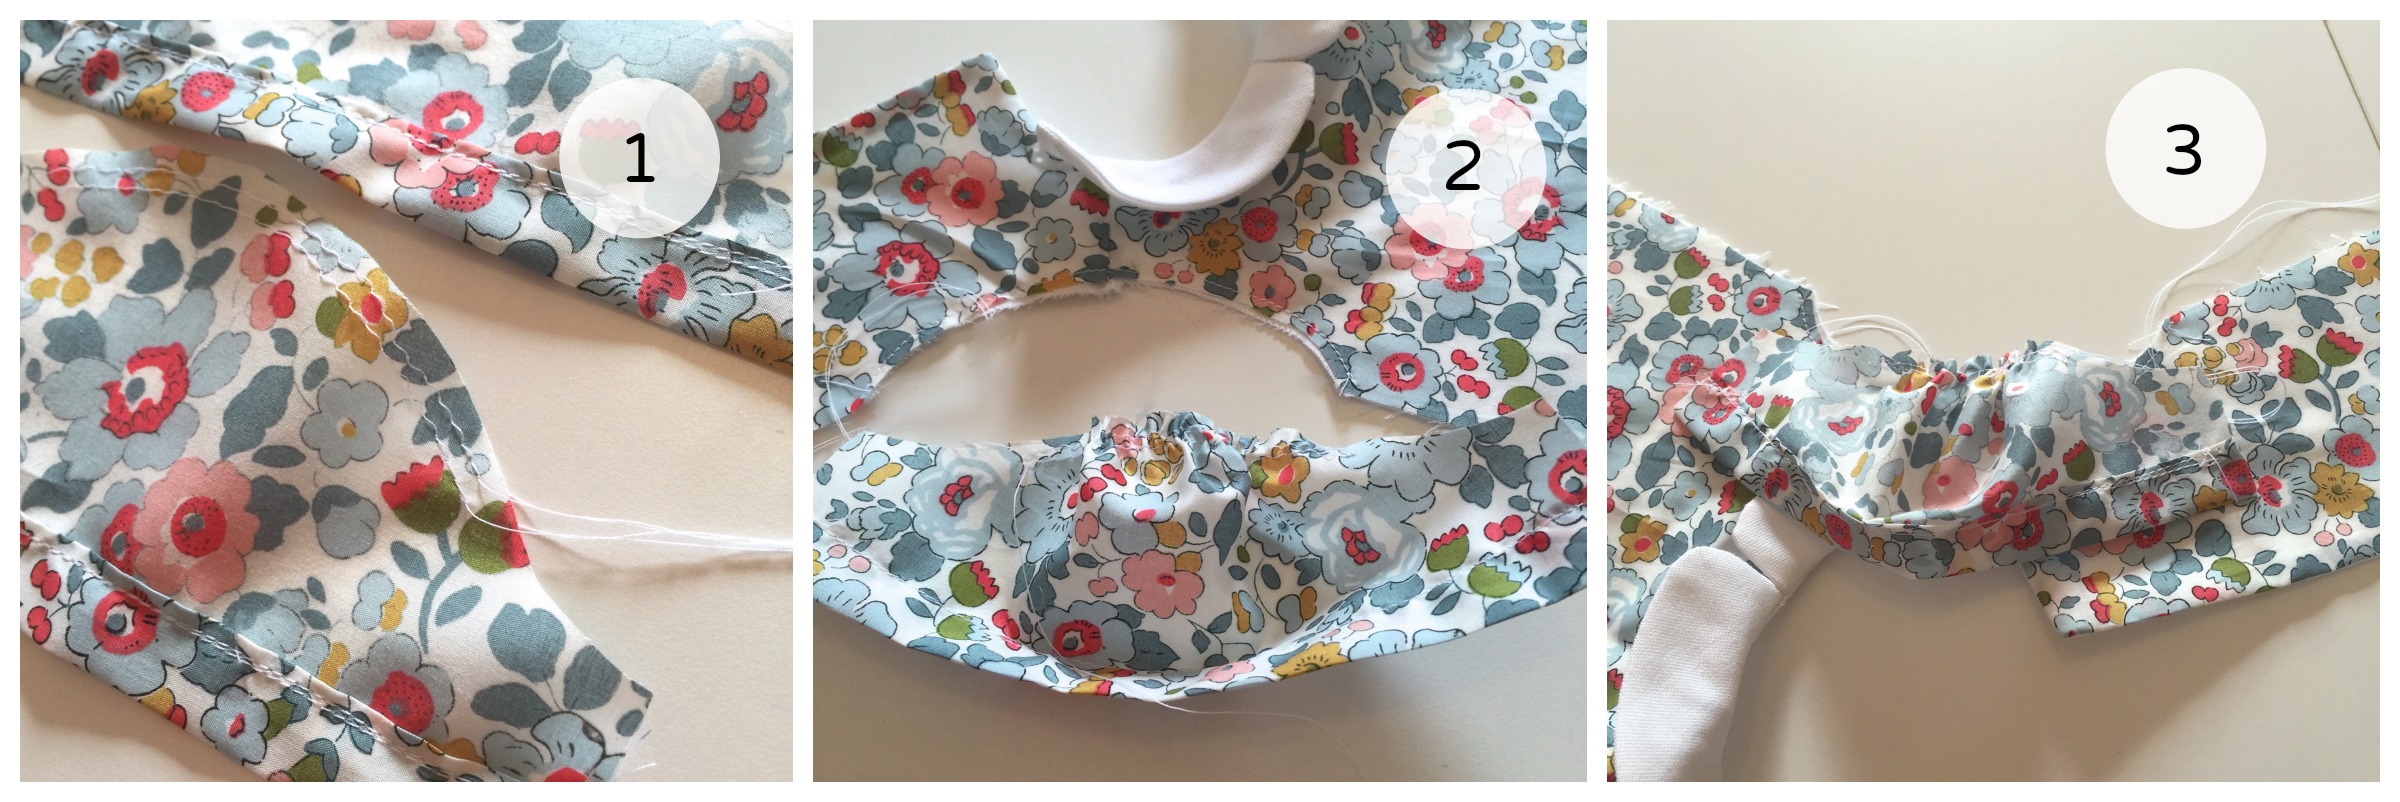
Hemming and making a casing for the elastic.
1. Press the bottom of each sleeve up 1/4 inch.
2. Machine stitch down.
3. Fold up again, about 3/8" and press. Stitch this down. This will form your elastic casing. Later, after you've attached the sleeves you will thread the elastic through this.
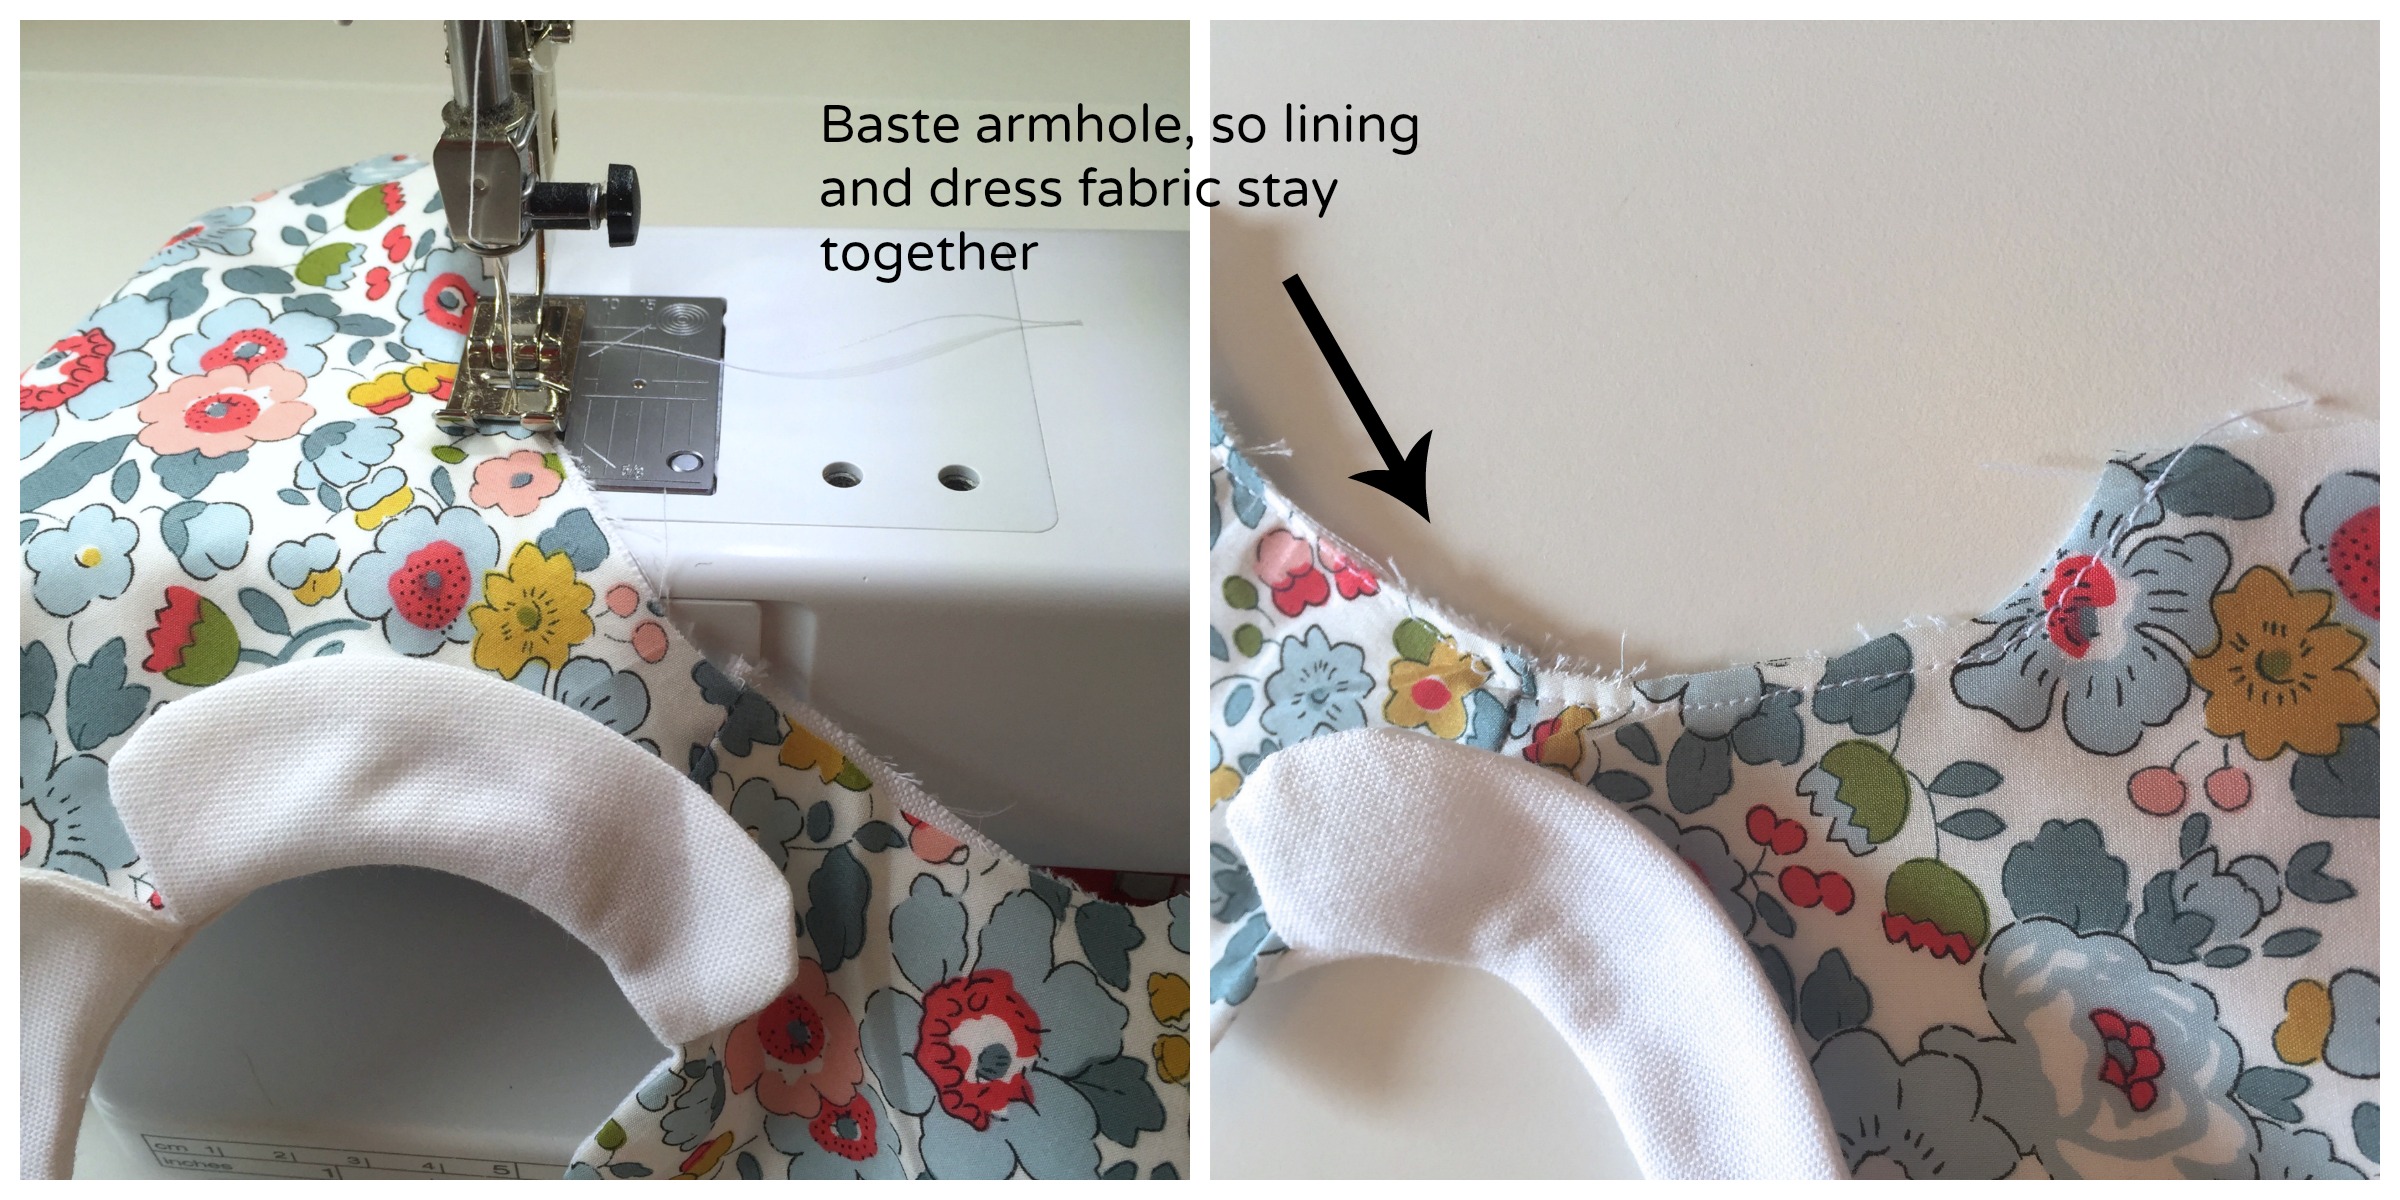
Basting the armhole edges
Baste both of the armhole edges. I do this to make sure the dress fabric and lining stay lined up.
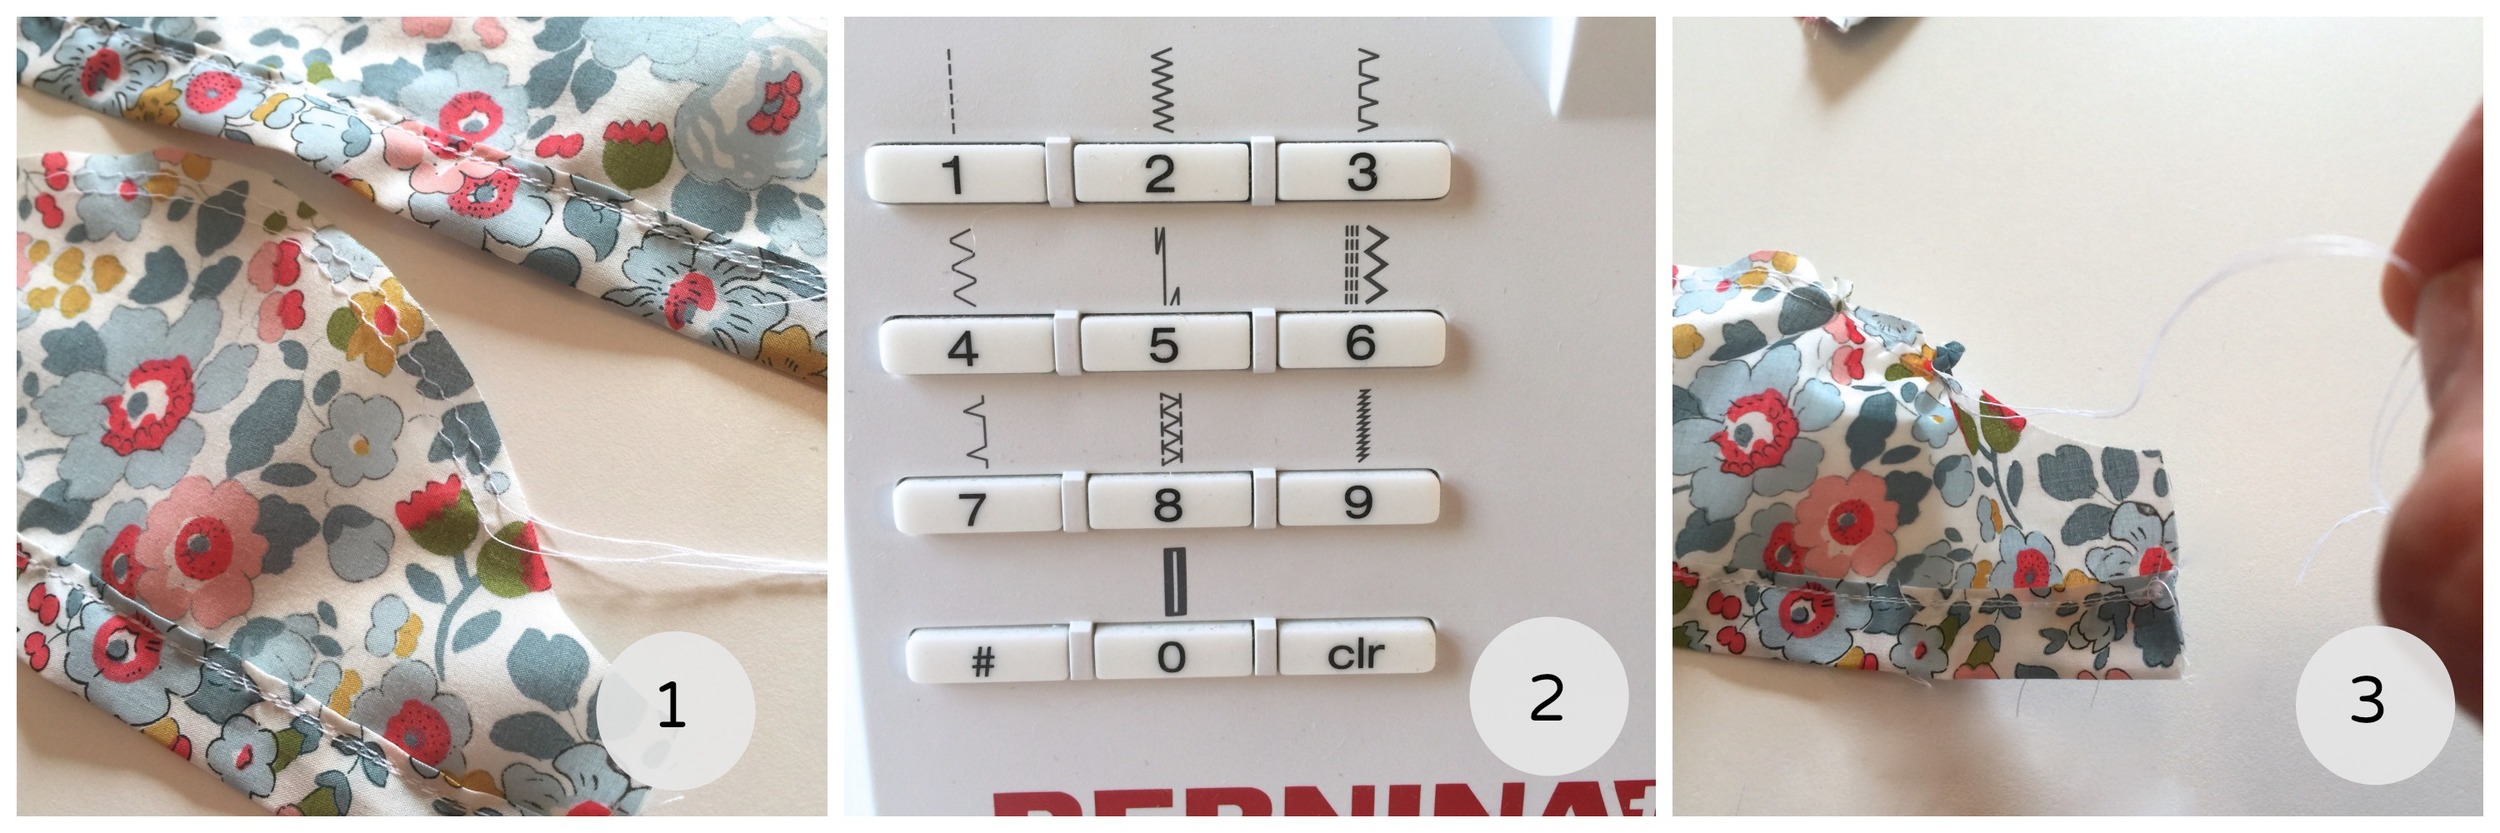
1. Set your stitch length to the longest stitch length and sew two rows of stitches. Do not secure the ends of either of these rows. You will need to pull threads to gather, so leave a long thread at the end of each of these two rows of stitches. For more on gathering, look here. Scroll halfway down the tutorial for the gathering info.
2. After making the gathering rows for both sleeves, remember to clear your stitch length. You want to resume sewing with a regular stitch length, not super long stitches.
3. Pull your long threads to gather the top of the sleeve. It should be gathered until it is the length of the armhole.
Fitting the gathered sleeve to armhole
1. I think this is the trickiest part of sewing a puffed sleeve—gathering until the sleeve cap fits the armhole edge.
2. It's often hard to tall if you hold it this way.
3. I find, putting right sides together and bending it along the curve like this works best.

Attaching the puffed sleeves.
1. Secure threads and gathering (so it doesn't loosen while you are sewing) by winding around a pin, like this.
2. Pin sleeve (or wonderclip).
3. Sew making sure you sew on or below the second row of gathering so it does not show. You can also sew between the two rows and pull out the row that shows.

Threading the elastic
1. Cut two pieces of elastic. For Phoebe they should be at least 5 inches. For AG and Waldorf dolls at least 6 inches. I use 1/4 inch elastic.. The elastic has to be thin enough to slide through the casing you made.
2. You can thread the elastic through the casing with a number of things. Pictured here— a bodkin, a safety pin or an elastic threader.
3 and 4. Thread the elastic through. You will need to secure the elastic on each end as shown below.
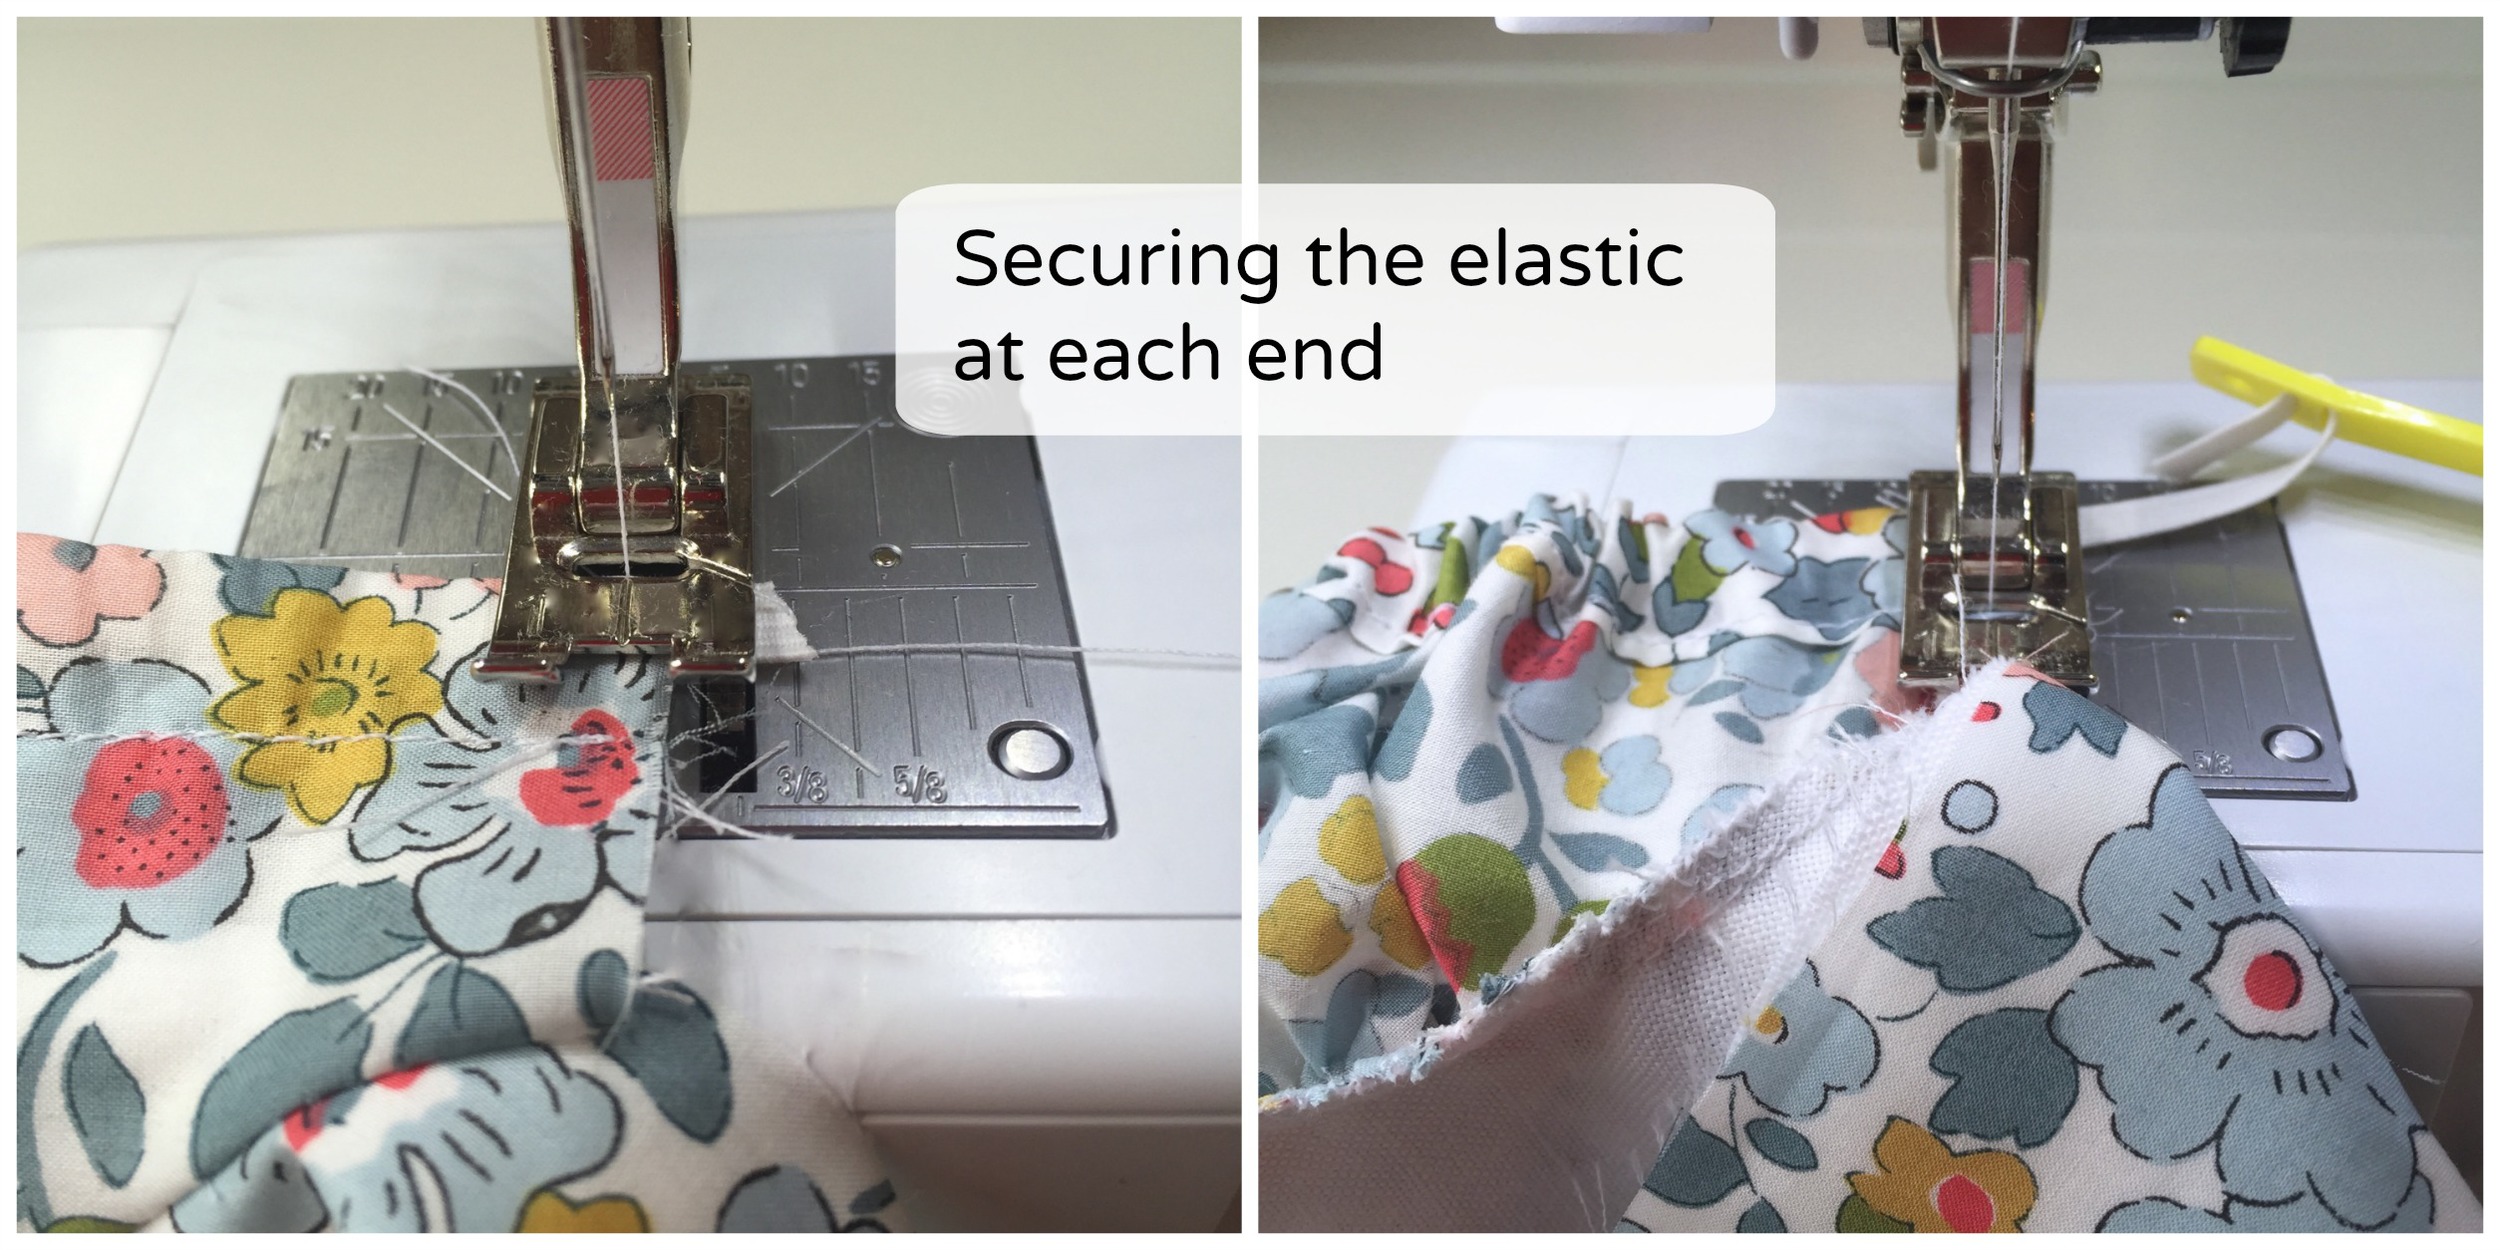
For Phoebe the bottom of the sleeve should end up approximately 4 inches. For AG dolls and Waldorf, probably a little under 5 inches.

Once the elastic is secured, you can sew up your side seams and finish your dress.


Subscribe to our newsletter to get this pattern and all future pattern pieces automatically. Sign up is on the right-hand side of this blog.