The Ups and Downs of Prototyping
Good-bye floppy toddler doll...
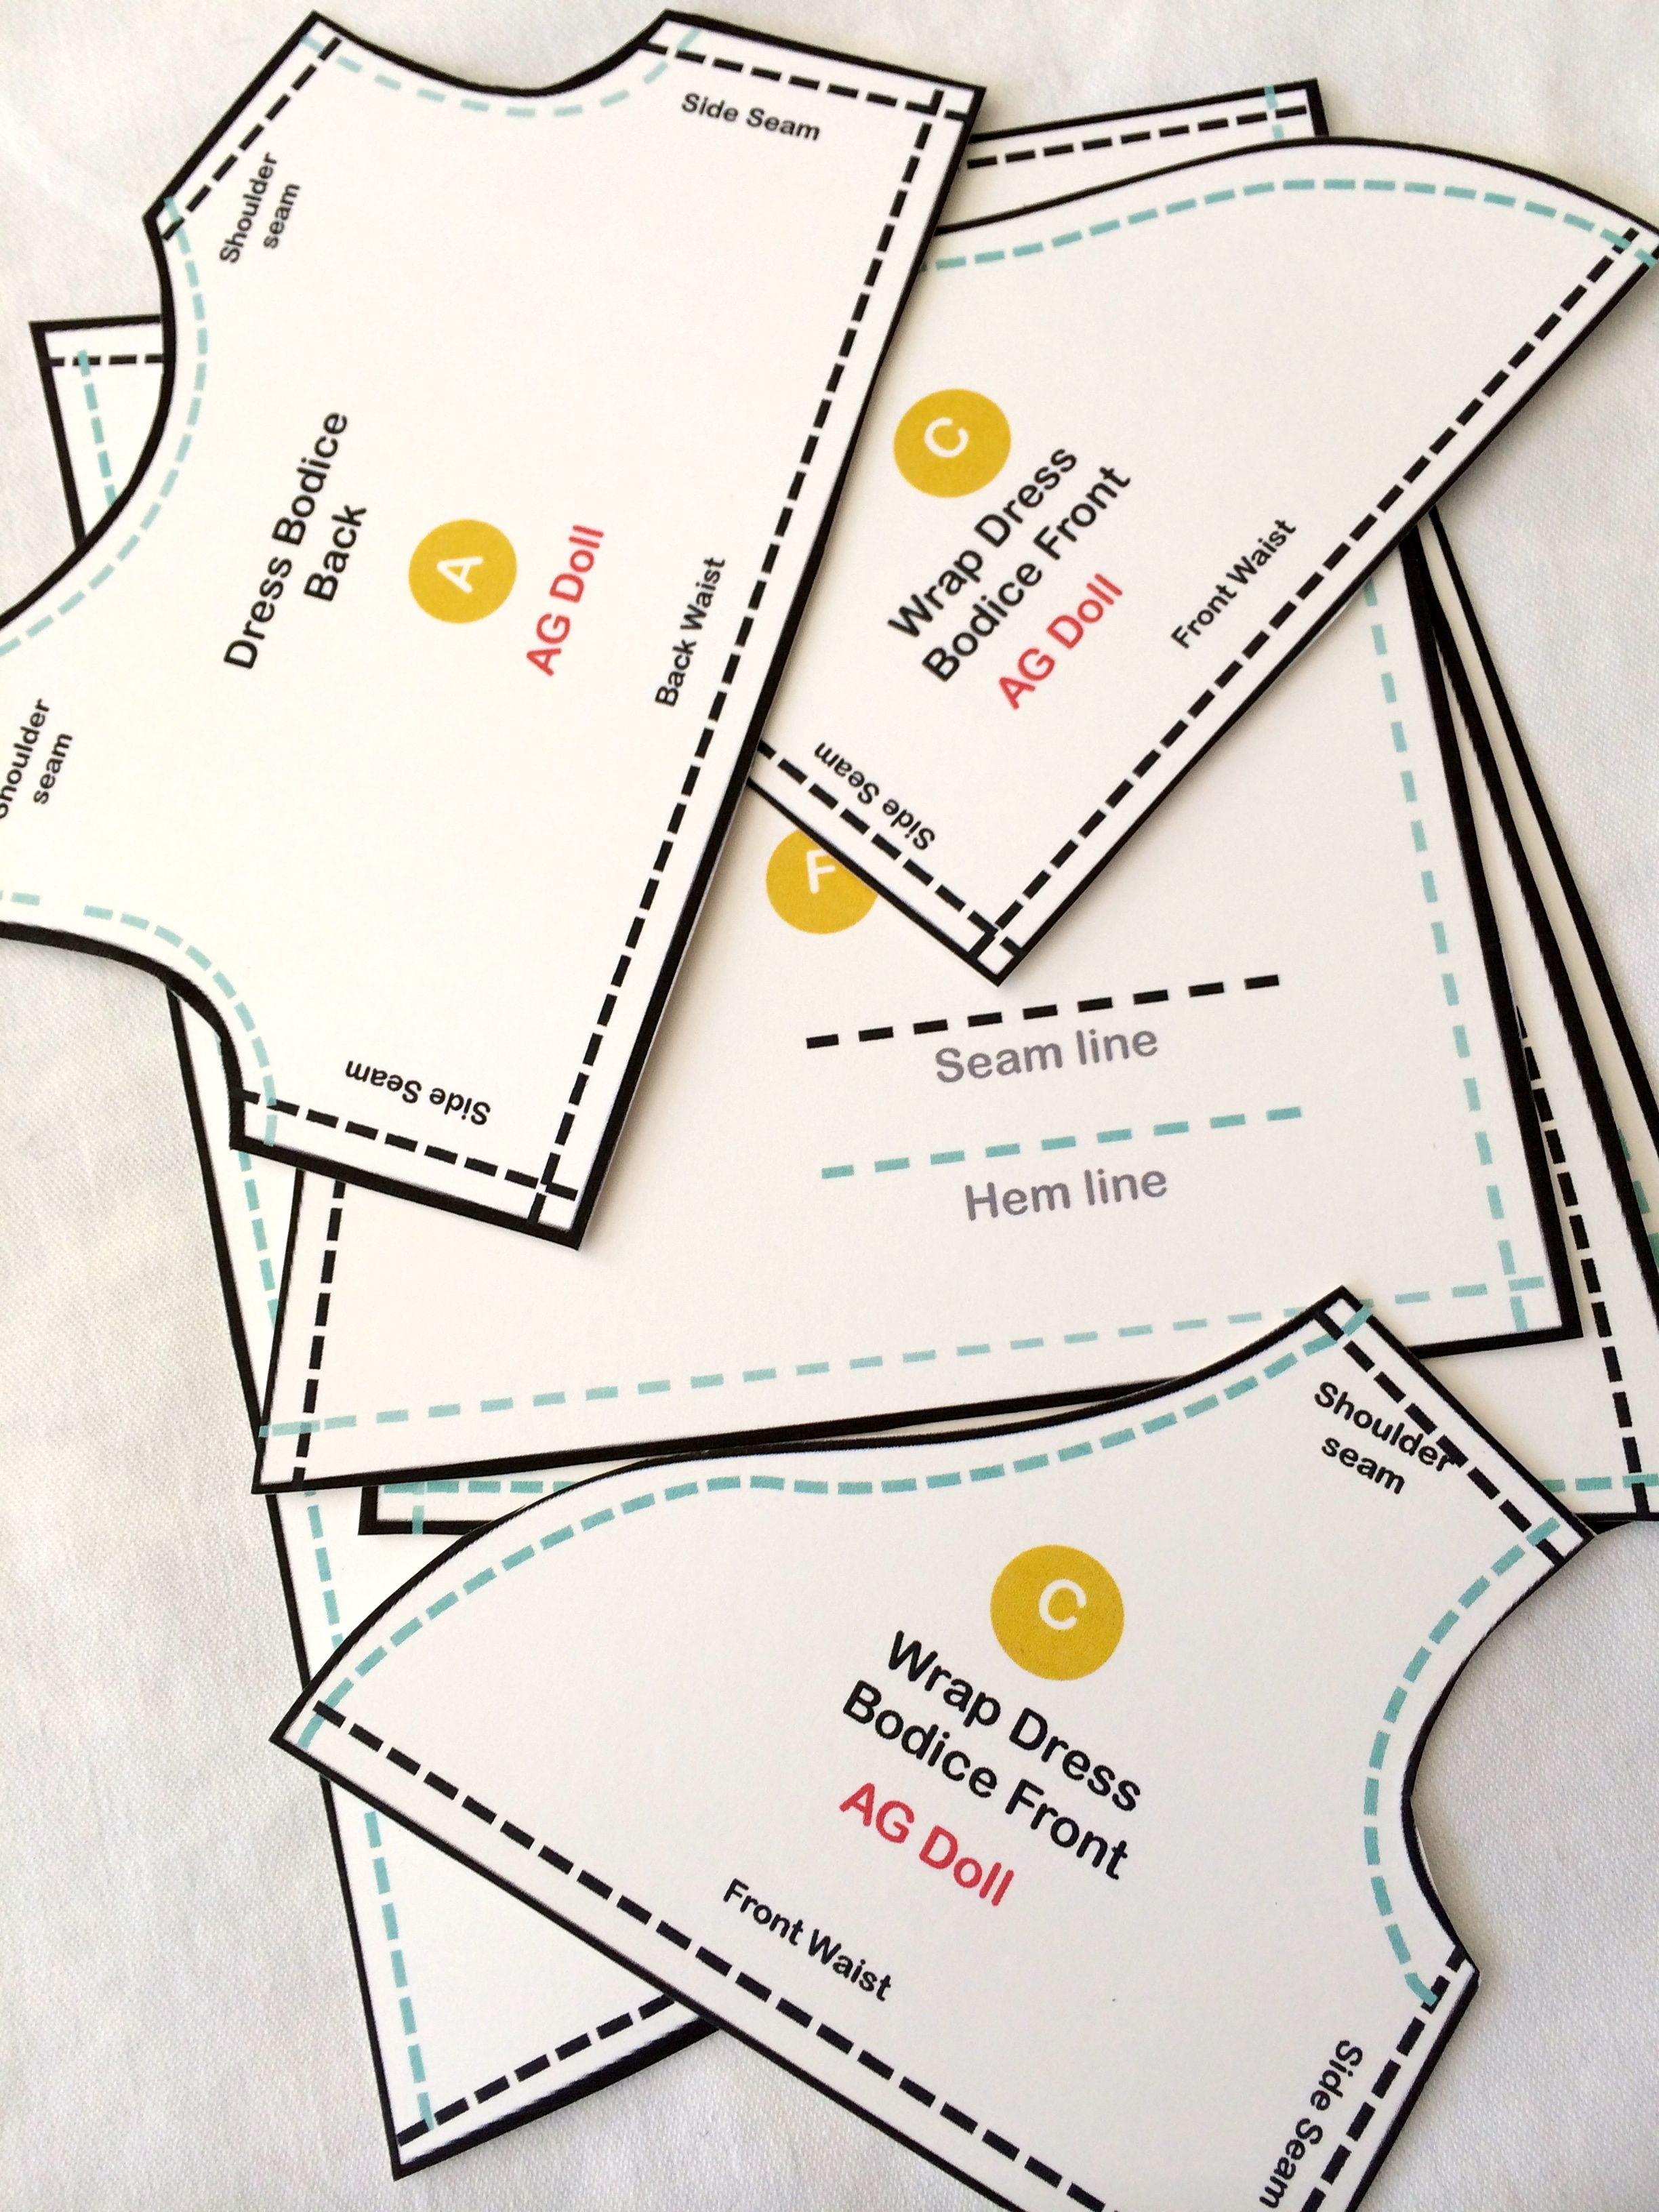
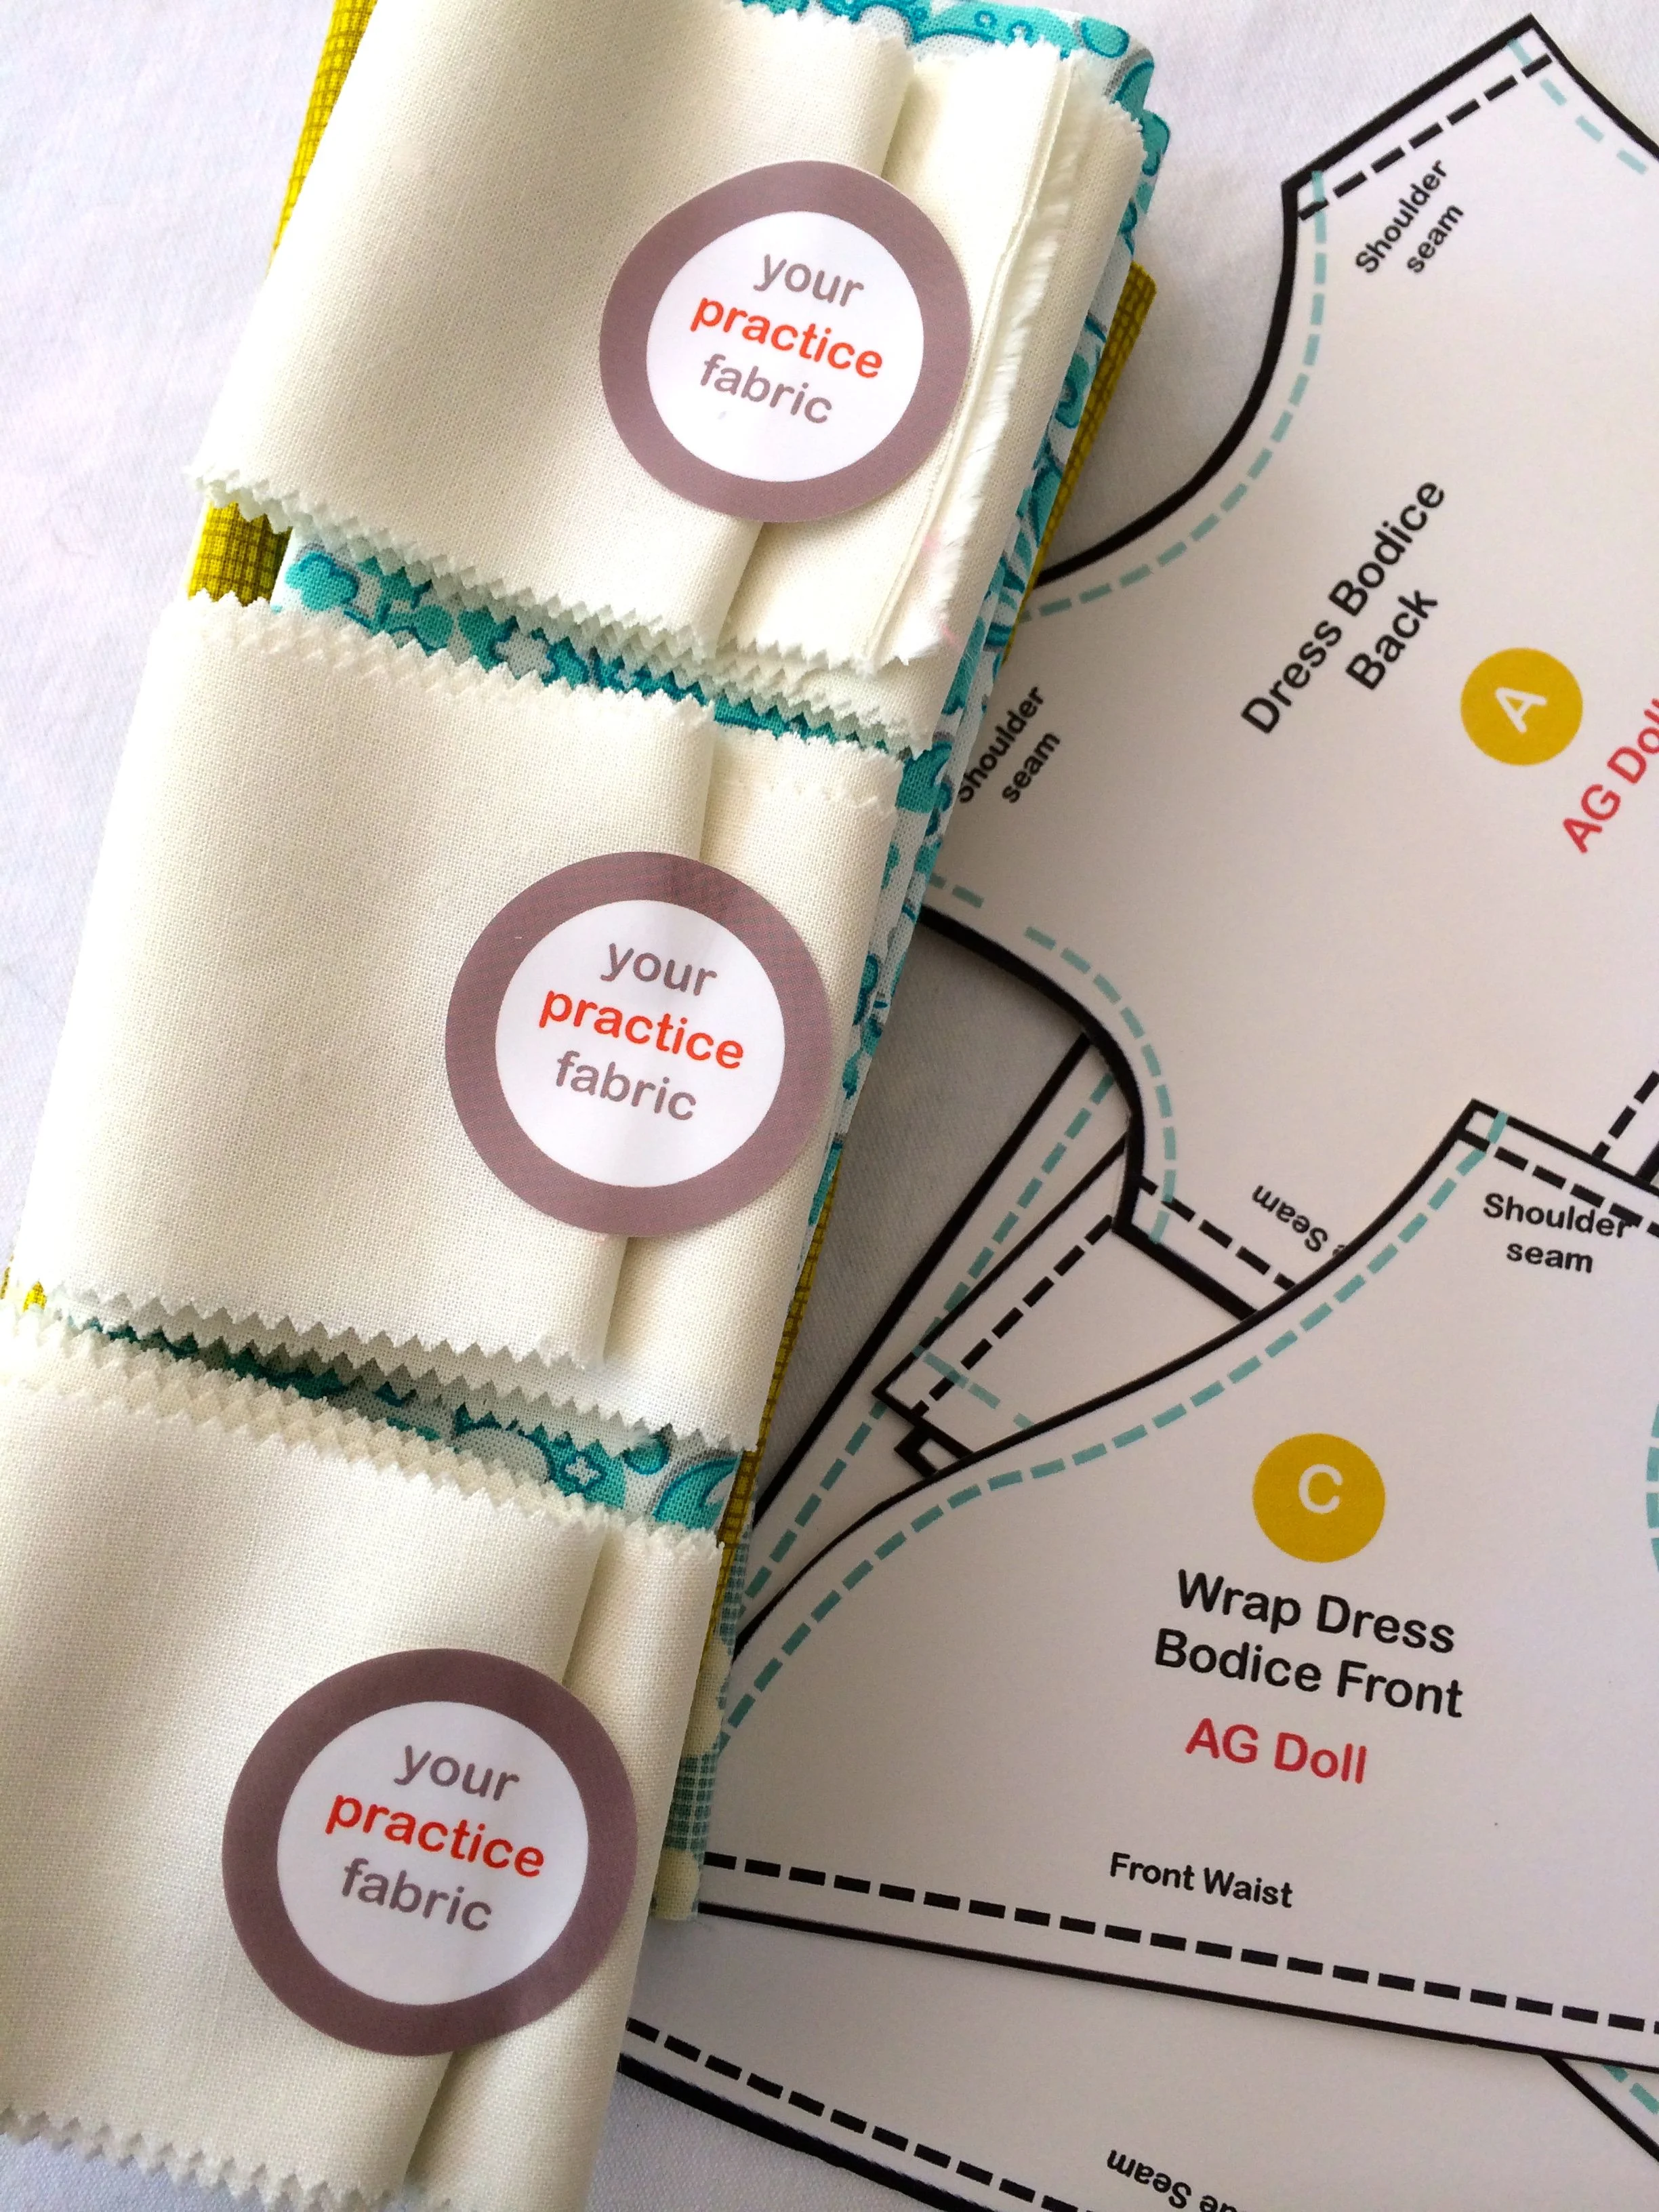
Almost every doll and softie maker has been there. It starts with an image, imagined or inspired from something real. An image of something that does not exist yet—maybe a doll, an animal, a doll dress. It has to be designed and a pattern has to be created. A process that involves lots of paper, lots of cloth and sometimes a copier for scaling. The pattern is necessary because this image rarely becomes your vision on the first try and you will need a starting point from which to tweak.
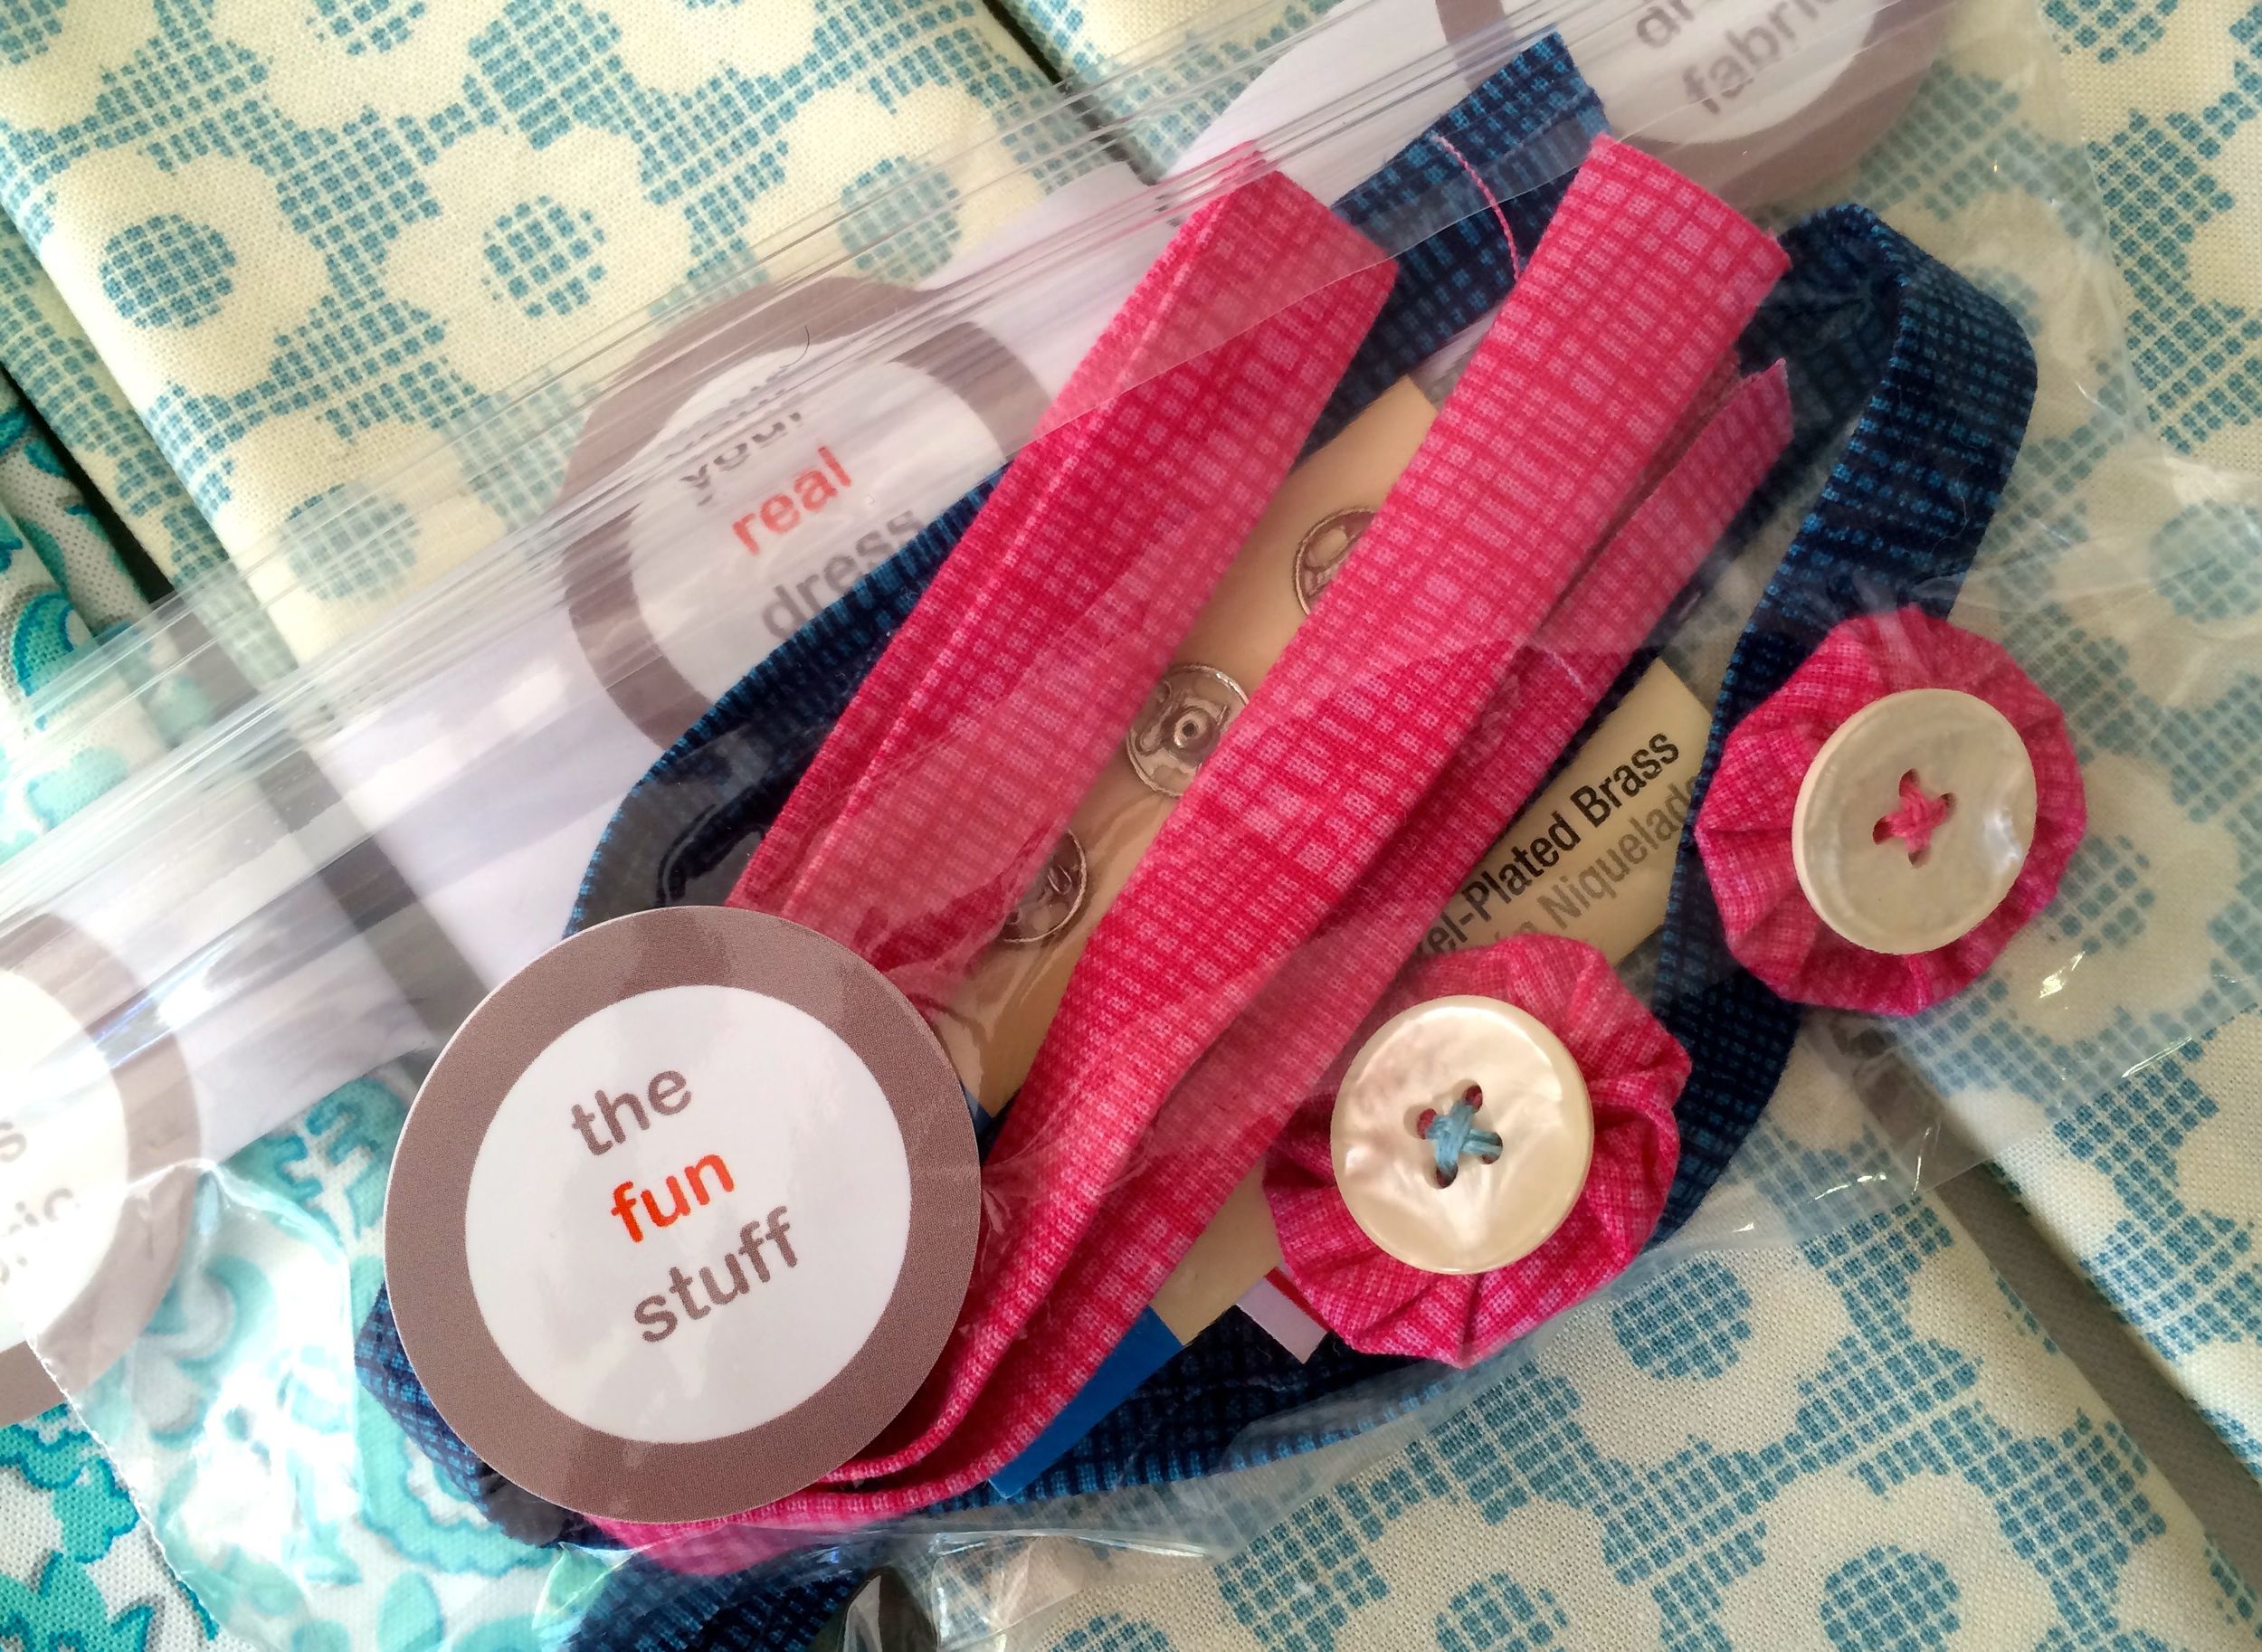
So you tweak, and you tweak, and you tweak. You produce iteration after iteration. What propels you is that you have now invested serious time and materials and you imagine that you are creeping closer. Sometimes you are. You turn that last iteration right side out and have hit that eureka moment, when your vision has become real. You are holding your vision in your hands.. It was time well-spent. You gather your pattern pieces, because you will be sewing this again and again. Yay! Life is good.
But this is not always the prototyping path. It is not always a happy ending. Sometimes the ending is a dead-end. At some point, reality hits you and you start to realize, maybe this is not a wise investment. You reluctantly cut your losses.
When this happens, as it did to me this week-end, I need to realize this dead-end was also a worthy investment. An experiment that had to be explored. I wouldn't have known what could not be done until until I tried. And inevitably, when this happens, and it has more than once, I learn something new about sewing, or the materials, or pattern-making, or my psyche.
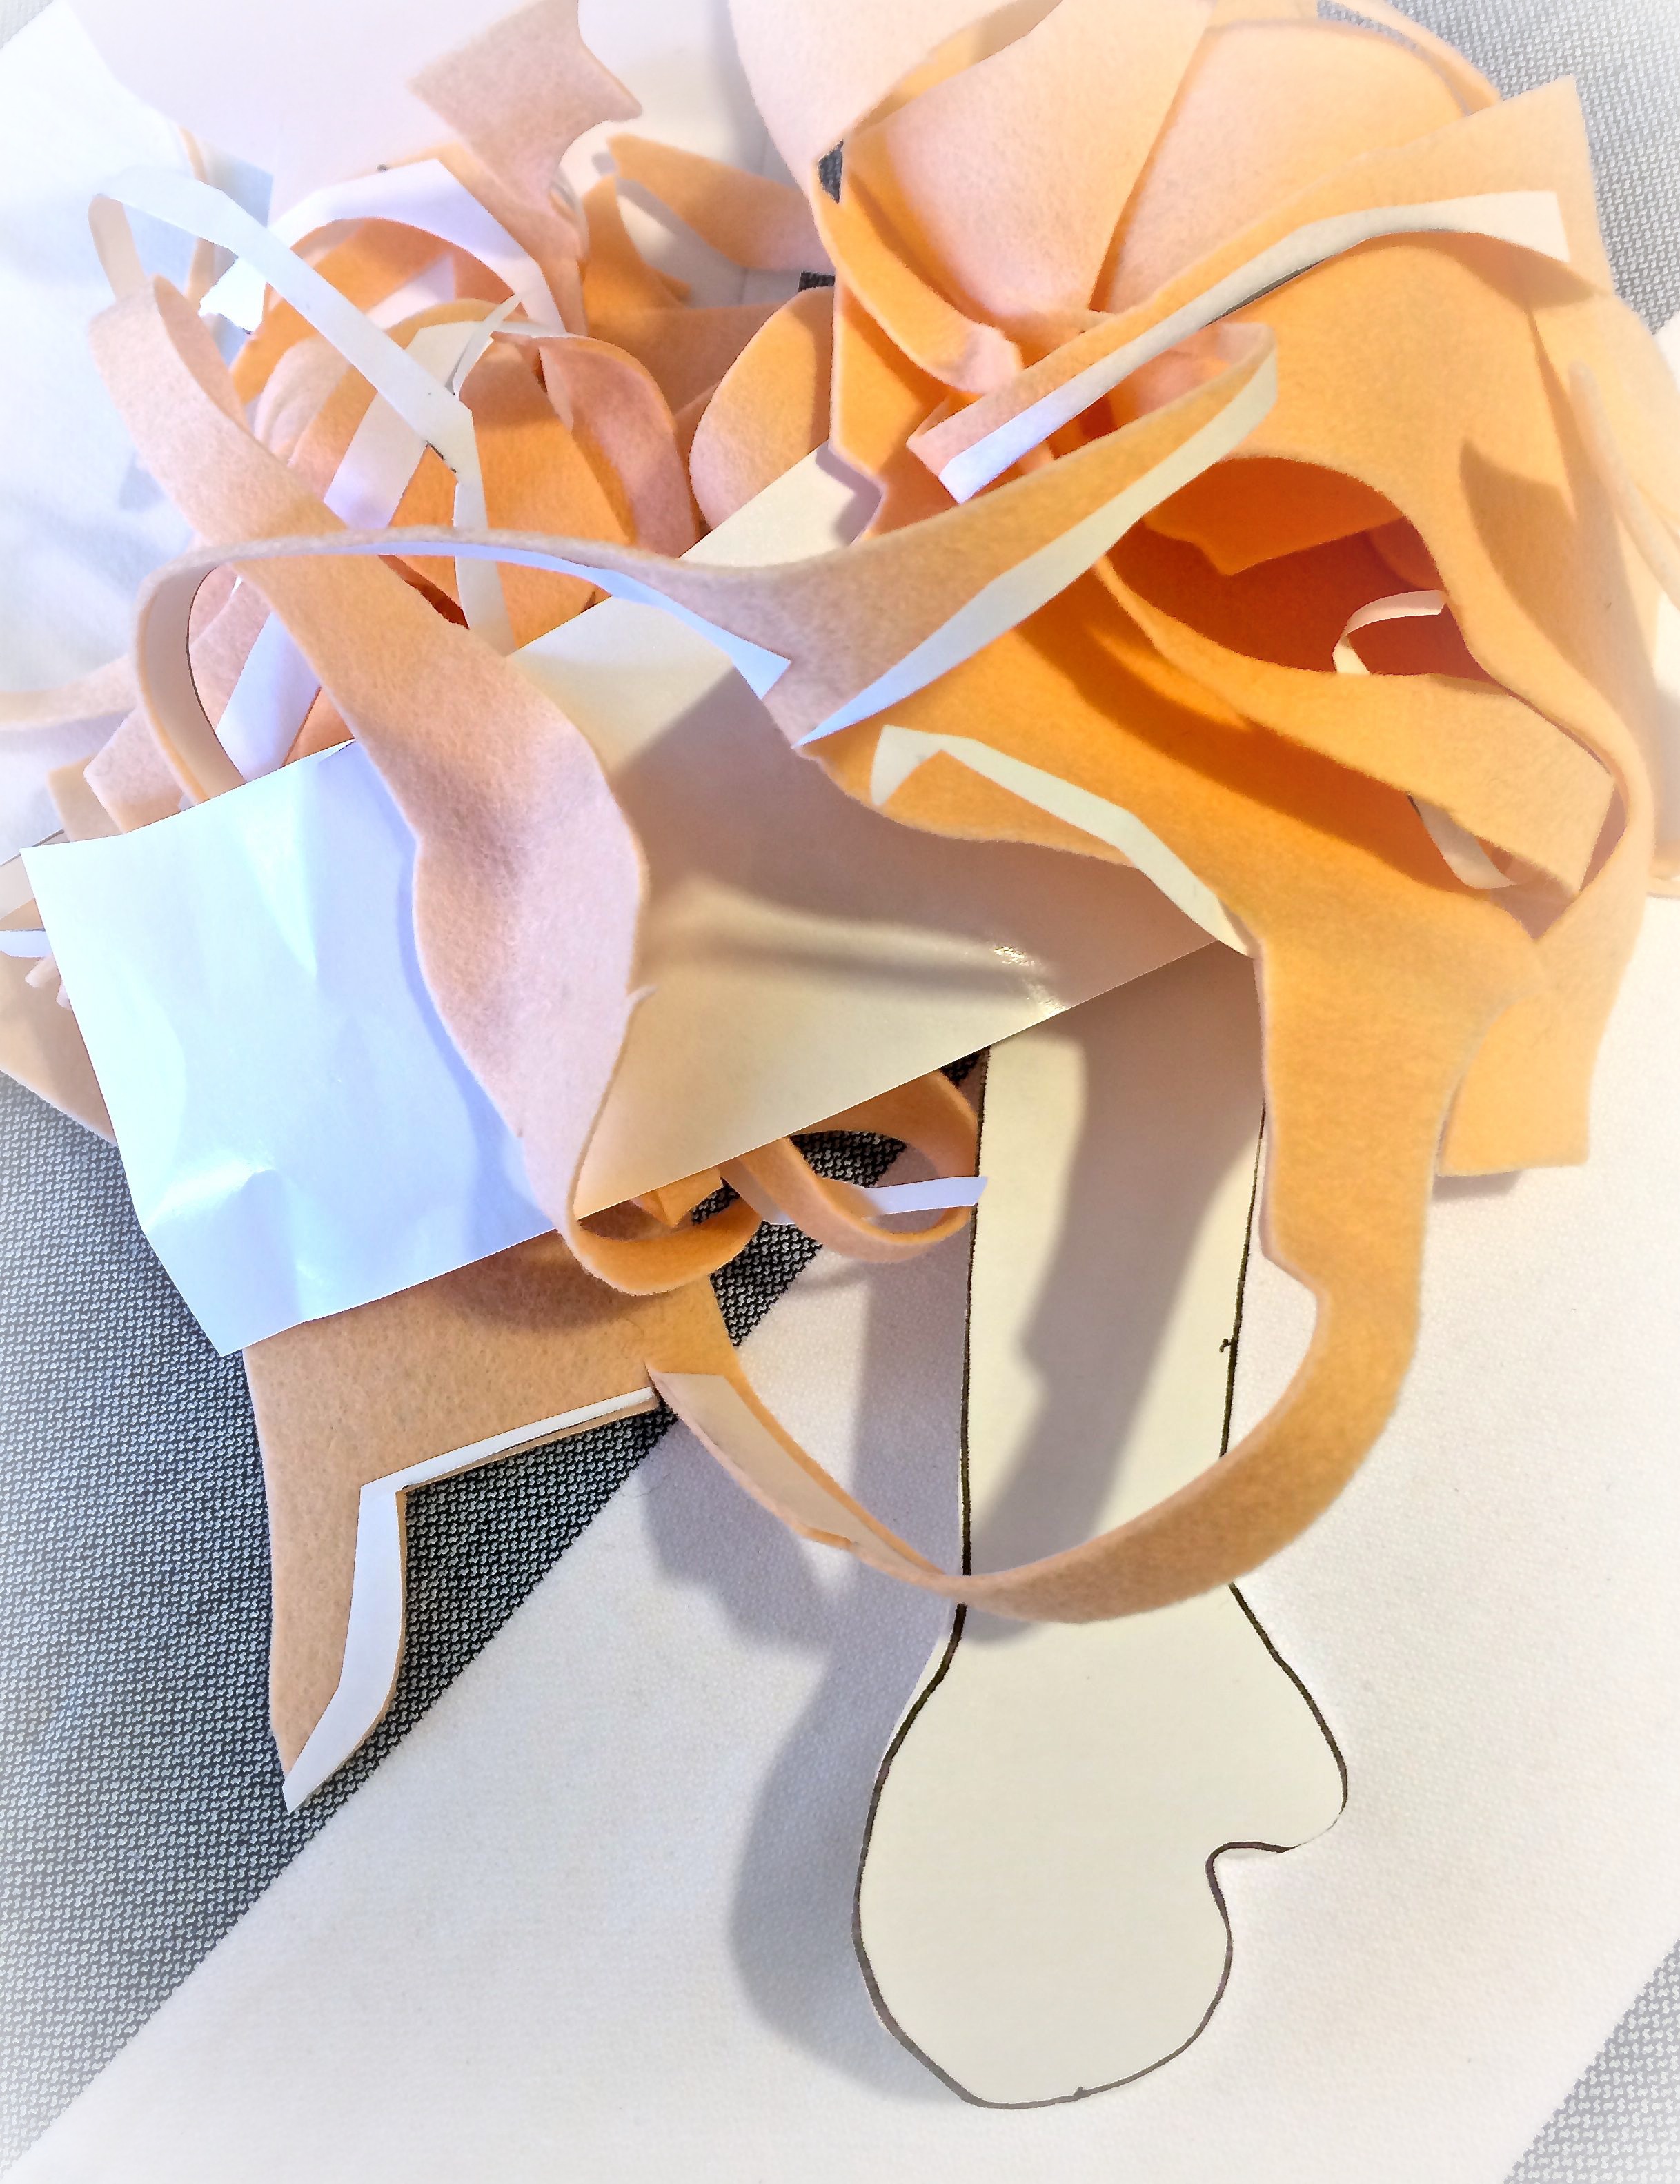
But first I'm in a bit of a funk, feeling like I wasted a lot of time. I throw away all the pieces, clean my studio, strip it of the evidence, so when i start tomorrow, I can think about what is ahead and not lament.
I tried to make a floppy toddler doll. I thought it would be sweet, but I could not get the felt to cooperate at that scale. I did make at least a half dozen iterations of a floppy toddler doll, each a tweak better than the last, but none were good enough to leave my house.
And I did get something out of it—this blog post. I would love to hear the ups and downs of prototyping from the rest of you makers out there. Misery loves company.
A Series of Toddler Phoebe Dolls
What are the first few words that come to mind when you think of your most beloved children as toddlers? Cute, pudgy, squeezable, adorbs, pint-sized. All words of pure affection It is hard not to be smitten with a toddler.
Over the last two months I have made a few custom toddlers. The recipients and their parents were all delighted with the new smaller cuddlier version of Phoebe. (Below is a cherished toddler doll having tea with her lovely owner). So I felt inspired to add the toddler Phoebe to the collection.
The toddler dolls are 16 inches tall, smaller than Phoebe and the perfect size for children under 7 to tote around. They are happy to picnic, play, sleep and do just about everything. They will have their own set of playful simpler clothes and a few other surprises.
Introducing the first few toddlers Phoebes. Enjoy! Today the dolls, tomorrow a few of their clothes. This weekend, hopefully I will have all of this in my Etsy shop.
Toddler Dolls: A sneak peek
I've been working on a line of toddler dolls. I have done a few custom toddlers and have wanted to add them to the Phoebe&Egg collection, but just have not had the time.
The whole process is very exciting and I can't wait to share. Today is just a sneak peek. The drum roll will be tomorrow or Thursday. Enjoy! (and I'd love to hear what you think).
The Learn to Sew a Doll Dress Kit: Actually almost eye candy
My first batch of Learn to Sew a Doll Dress kits are shipping today. Two for an American Girl doll and one for a Phoebe Doll.
I put a lot of time into developing these. I am hoping the kit and the book make it easy and a complete and stress-free experience.
Fabric for practicing sewing, for a practice dress and for a real dress.
Pattern pieces are on cardboard, traceable and reusable for a long time.
Fabric for practicing using the sewing machine
Step by Step instructions,
Pattern pieces can be stored in a glassine envelope at the back of the book.
Waistband, snaps, snap stickers and yoyo flower buttons.
Pinds, needles and Wonderclips.
Sewing on a Snap: My Way
Most doll clothes need snaps. But I had a problem. I dreaded sewing on snaps--not because it was hand sewing. I love hand sewing. They just never looked cute. And I prefer not to use velcro. It can pull apart yarn doll hair. And it isn't cute. And there is something more classic enduring and simple about a snap.
There were several things I hated about snap sewing. The stitching to secure them never looks good if you use sewing machine thread. It looks scraggly. The beginning and ending knots always show.
I needed to find a way to make snaps fun. After all I sew on A LOT of snaps.
I tried changing it up a bit. I used pearl cotton No 12 for thread. It looks pretty and two stitches for each hole is plenty. It also helped with the knot problem. Instead of knotting my thread, I secure it at the beginning and end by passing through a loop and pulling the thread tight. It is completely stable and if you snip the extra thread short enough, barely shows.
Snaps became cute and fun, and not dreaded at all. Just a final punctuation mark.
Below, beginning with a diagram of the two parts of a standard snap, I have diagramed my snap sewing method.
Next post, sewing snaps onto clothes and my weapon for great placement.
My step by snap sewing guide:
Images enlarge if you click on them.
Taking a few steps back
Over the last few months, I've heard from many of you. I've heard from buyers, browsers and friends in the crafting world. Of course I appreciate the compliments, but I especially value questions and input. And this has propelled me to take a few steps back. Both a step back in the process of developing a doll and a step back in looking at my business as a whole.
What I've heard is that many of you would like a less expensive Phoebe.
I get that. Handmade dolls are not inexpensive and the more labor that goes into the doll, often the higher the cost. The prices on my current line of Phoebe's reflect the number of hours it takes to make a doll and the materials I use. I love my materials, and will keep that the same. However, the jointing of her limbs and creating the hairstyles takes a lot of time, a real lot of time. And I'm not sure those are features everyone wants. So why pay for extras that you do not want.
Introducing a slightly more chill Phoebe. She still has the look and feel of the Phoebe&Egg brand. She is made out of the same materials and fits Phoebe's clothes (although I plan some spunky, less detailed clothing too) but she is not jointed, and she has a very cute but less labor intensive hairstyle.
When I originally developed my Phoebe doll, she did not have joints and had a hairstyle similar to this, but then I refined her. And some of you don't want all of the refinements, so I'm stepping back a bit to an earlier Phoebe body that I had tried.
I'm eager for feedback on where I'm going. Email, comment or let me know on FB.
A newer kind of Phoebe
The first Learn to Sew Kits are available!
Wrap Dress that kits American Girl sized Doll in the "practice" fabric.
Phoebe models her wrap dress
Four sets available, plus each kit has the practice dress fabric, as modeled on the American Girl doll
What is a kit compared to a pattern?
Most patterns come to you via email as a PDF. Yes, that is quick and easy but not always what you want when teaching your child to sew. As dreamy and creative this experience may sound, teaching your child to sew will involve a bit of stress. I've tried to take as much of the stress out of this adventure as possible, so it may be a better introduction to the world of sewing for your child and for you as their teacher.
Why a wrap dress?
- It is a style dress that looks chic on a number of dolls.
- It has a forgiving fit, If the seams are too wide or narrow, it will still look good.
- A first sewing project should not involve sleeves, facings or linings. Later kits will teach the sewing concepts behind each of those features.
- There are many ways it can be embellished I started with the contrasting waistband and yoyo-flower button.
- It can be made with a fat quarter.
Each kit contains;
- A detailed instruction booklet. Color photographs of each step of the process, plus written instructions and a side bar of "Things to think about"
- The pattern pieces. Each piece is on poster board so it can be traced onto the wrong side of the fabric.
- The "Pins and Needles" Booklet contains several darning needles, enough pins and Wonderclips to make the projects.
- Practice material. The dress needs a Fat Quarter of Fabric and is embellished with a contrasting waist band and a YoYo Flower and button. You even get a practice waistband and YoYo Flower. You never know that first practice dress may come out just fine and in that case, your doll will need to wear it.
- The fabric for your real dress, and of course the embellishments.
- Four large snaps and practice machine sewing strips. (Sorry, I forgot to put them in the photograph)
- Email support line, if you still are a bit confused or have questions about changing things up.
All the recipient has to supply is thread, scissors, tape (I'll explain that later) and the doll.
What is in the Learn to Sew kit?
My Learn to Sew kits are for children who want to Learn to Sew. As I've mentioned in earlier posts, I think simple doll clothes is a good place to start. The first two kits are for a simple wrap dress that can be embellished a number of ways. One kit will be for Phoebe dolls the other for American Girl sized dolls.
I have been working on the kits for over a month now. I know, I know, I should be done by now, but I want to make sure I have thought of everything. Everything, a child would need to make the project and that the instructions are thorough. Nothing puts a damper on a sewing project quicker when the adult helping the child is totally confused. Trust me, I've been there.
So you don't go there, here is what a kit contains:
- A detailed instruction booklet. Color photographs of each step of the process, plus written instructions and a side bar of "Things to think about"
- The pattern pieces. Each piece is on poster board so it can be traced onto the wrong side of the fabric.
- The "Pins and Needles" Booklet contains several darning needles, enough pins and Wonderclips to make the projects.
- Practice material. The dress needs a Fat Quarter of Fabric and is embellished with a contrasting waist band and a YoYo Flower and button. You even get a practice waistband and YoYo Flower. You never know that first practice dress may come out just fine and in that case, your doll will need to wear it.
- The fabric for your real dress, and of course the embellishments.
- Two large snaps, (Sorry, I forgot to put them in the photograph)
- Email support line, if you still are a bit confused or have questions about changing things up.
All the recipient has to supply is thread, scissors, tape (I'll explain that later) and the doll.
Most kits will have the same practice fabric as shown here, but there will be a selection of "real" fabrics.
Next blog post, samples of the wrap dress and fabric choices.
The Practice Fabric set
A Real Fabric Set, this is just one selection.
Pattern Pieces
Learn to Sew Kit: a peek
Just a quick teaser from my Learn to Sew kit. The pins and needles booklet. The kit will come with three darning needles (easier for young hands), a page of pins and yes Wonderclips! So your child does not have to use pins. Wonderclips are great even if you aren't eight.