

A while back, I did a tutorial for capris. Making pants is the same as making capris, with one exception, the American Girl doll pants have a side seam. If you are sewing for an AG doll and need help sewing the side seam or determining order of sewing the seams, this tutorial includes side seams. The capris tutorial is here, and can be used with the pants patterns just sent out with this newsletter for pants or capris.
Pattern pieces for these pants and other tutorials can be obtained by subscribing to my newsletter. Subscription box is on the right of this blog post.
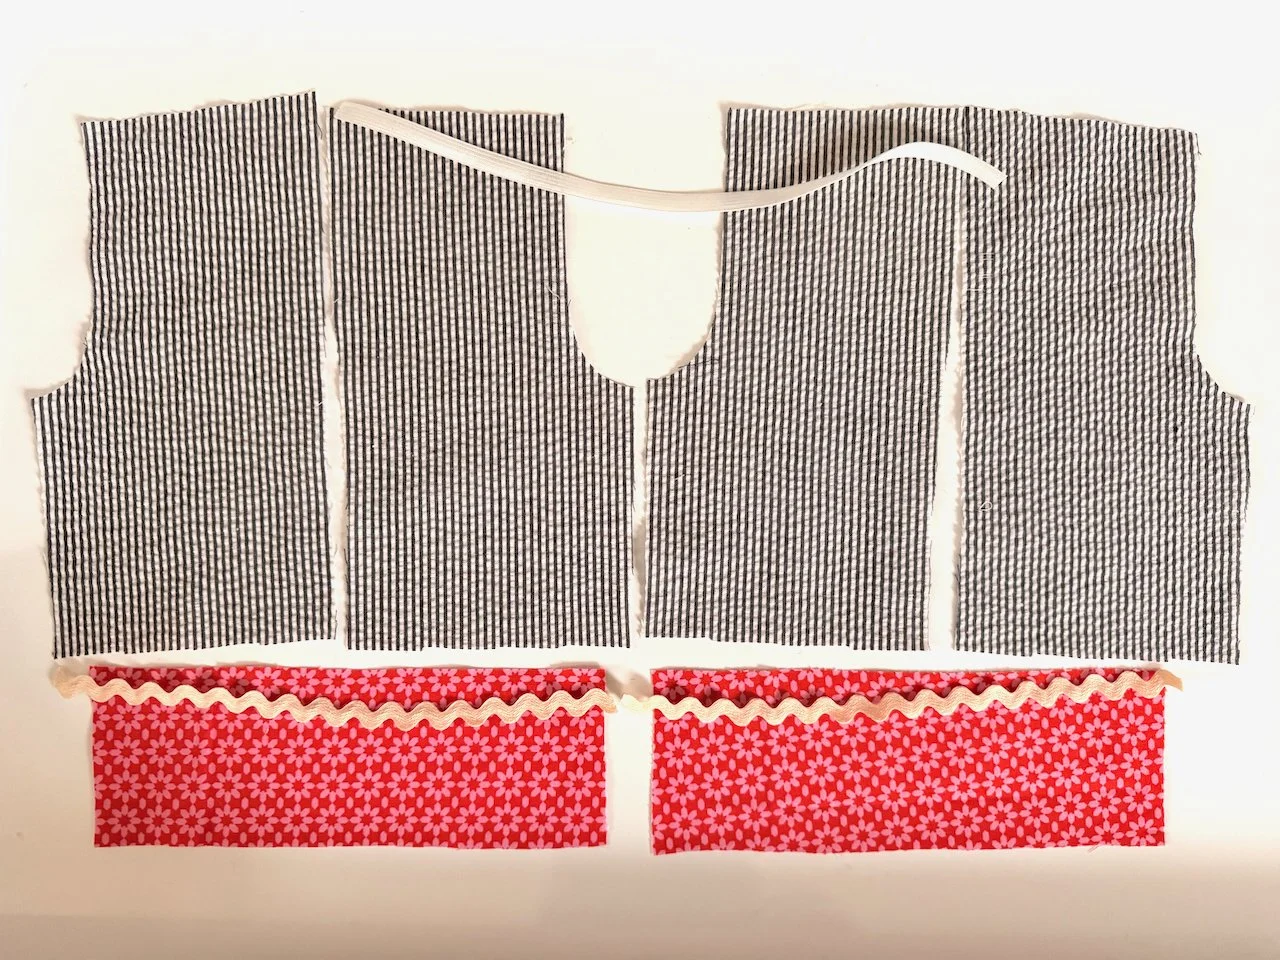
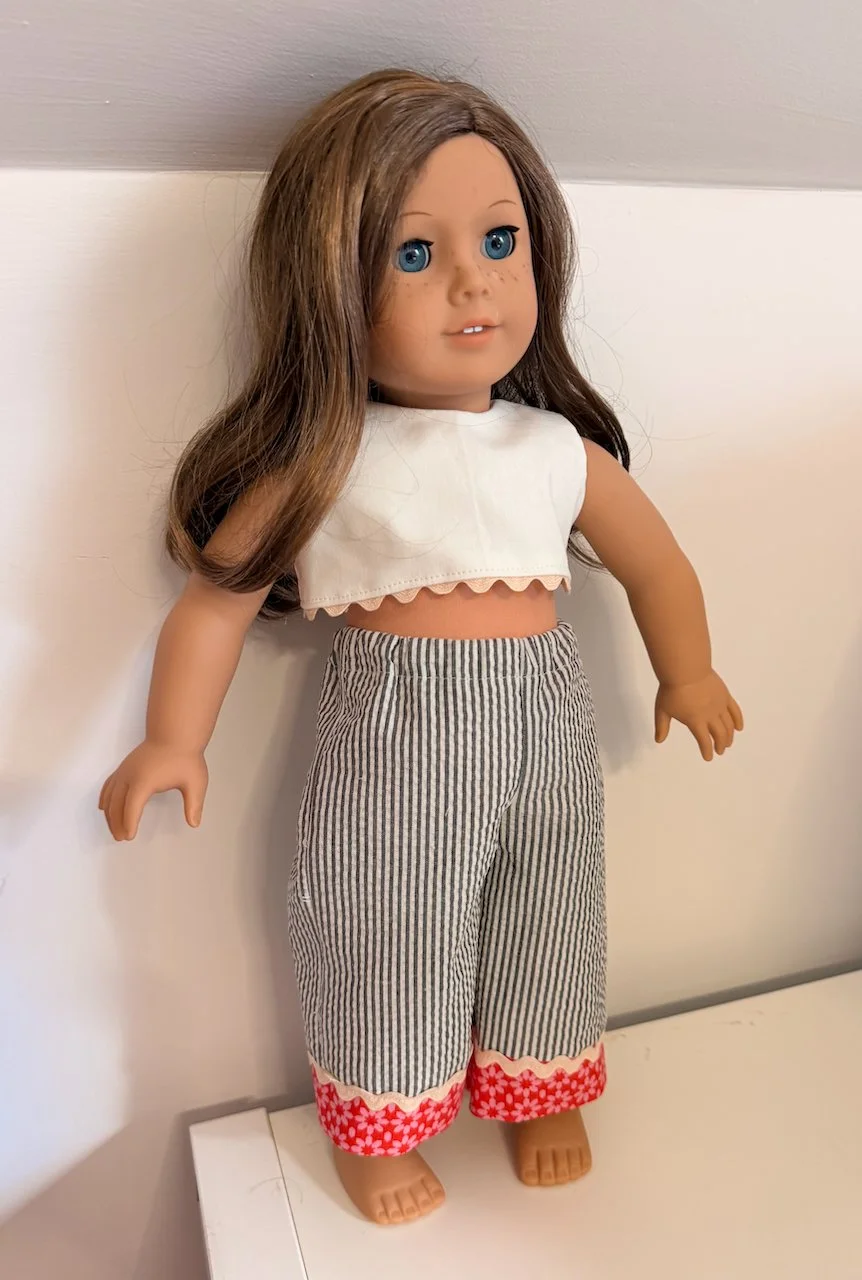
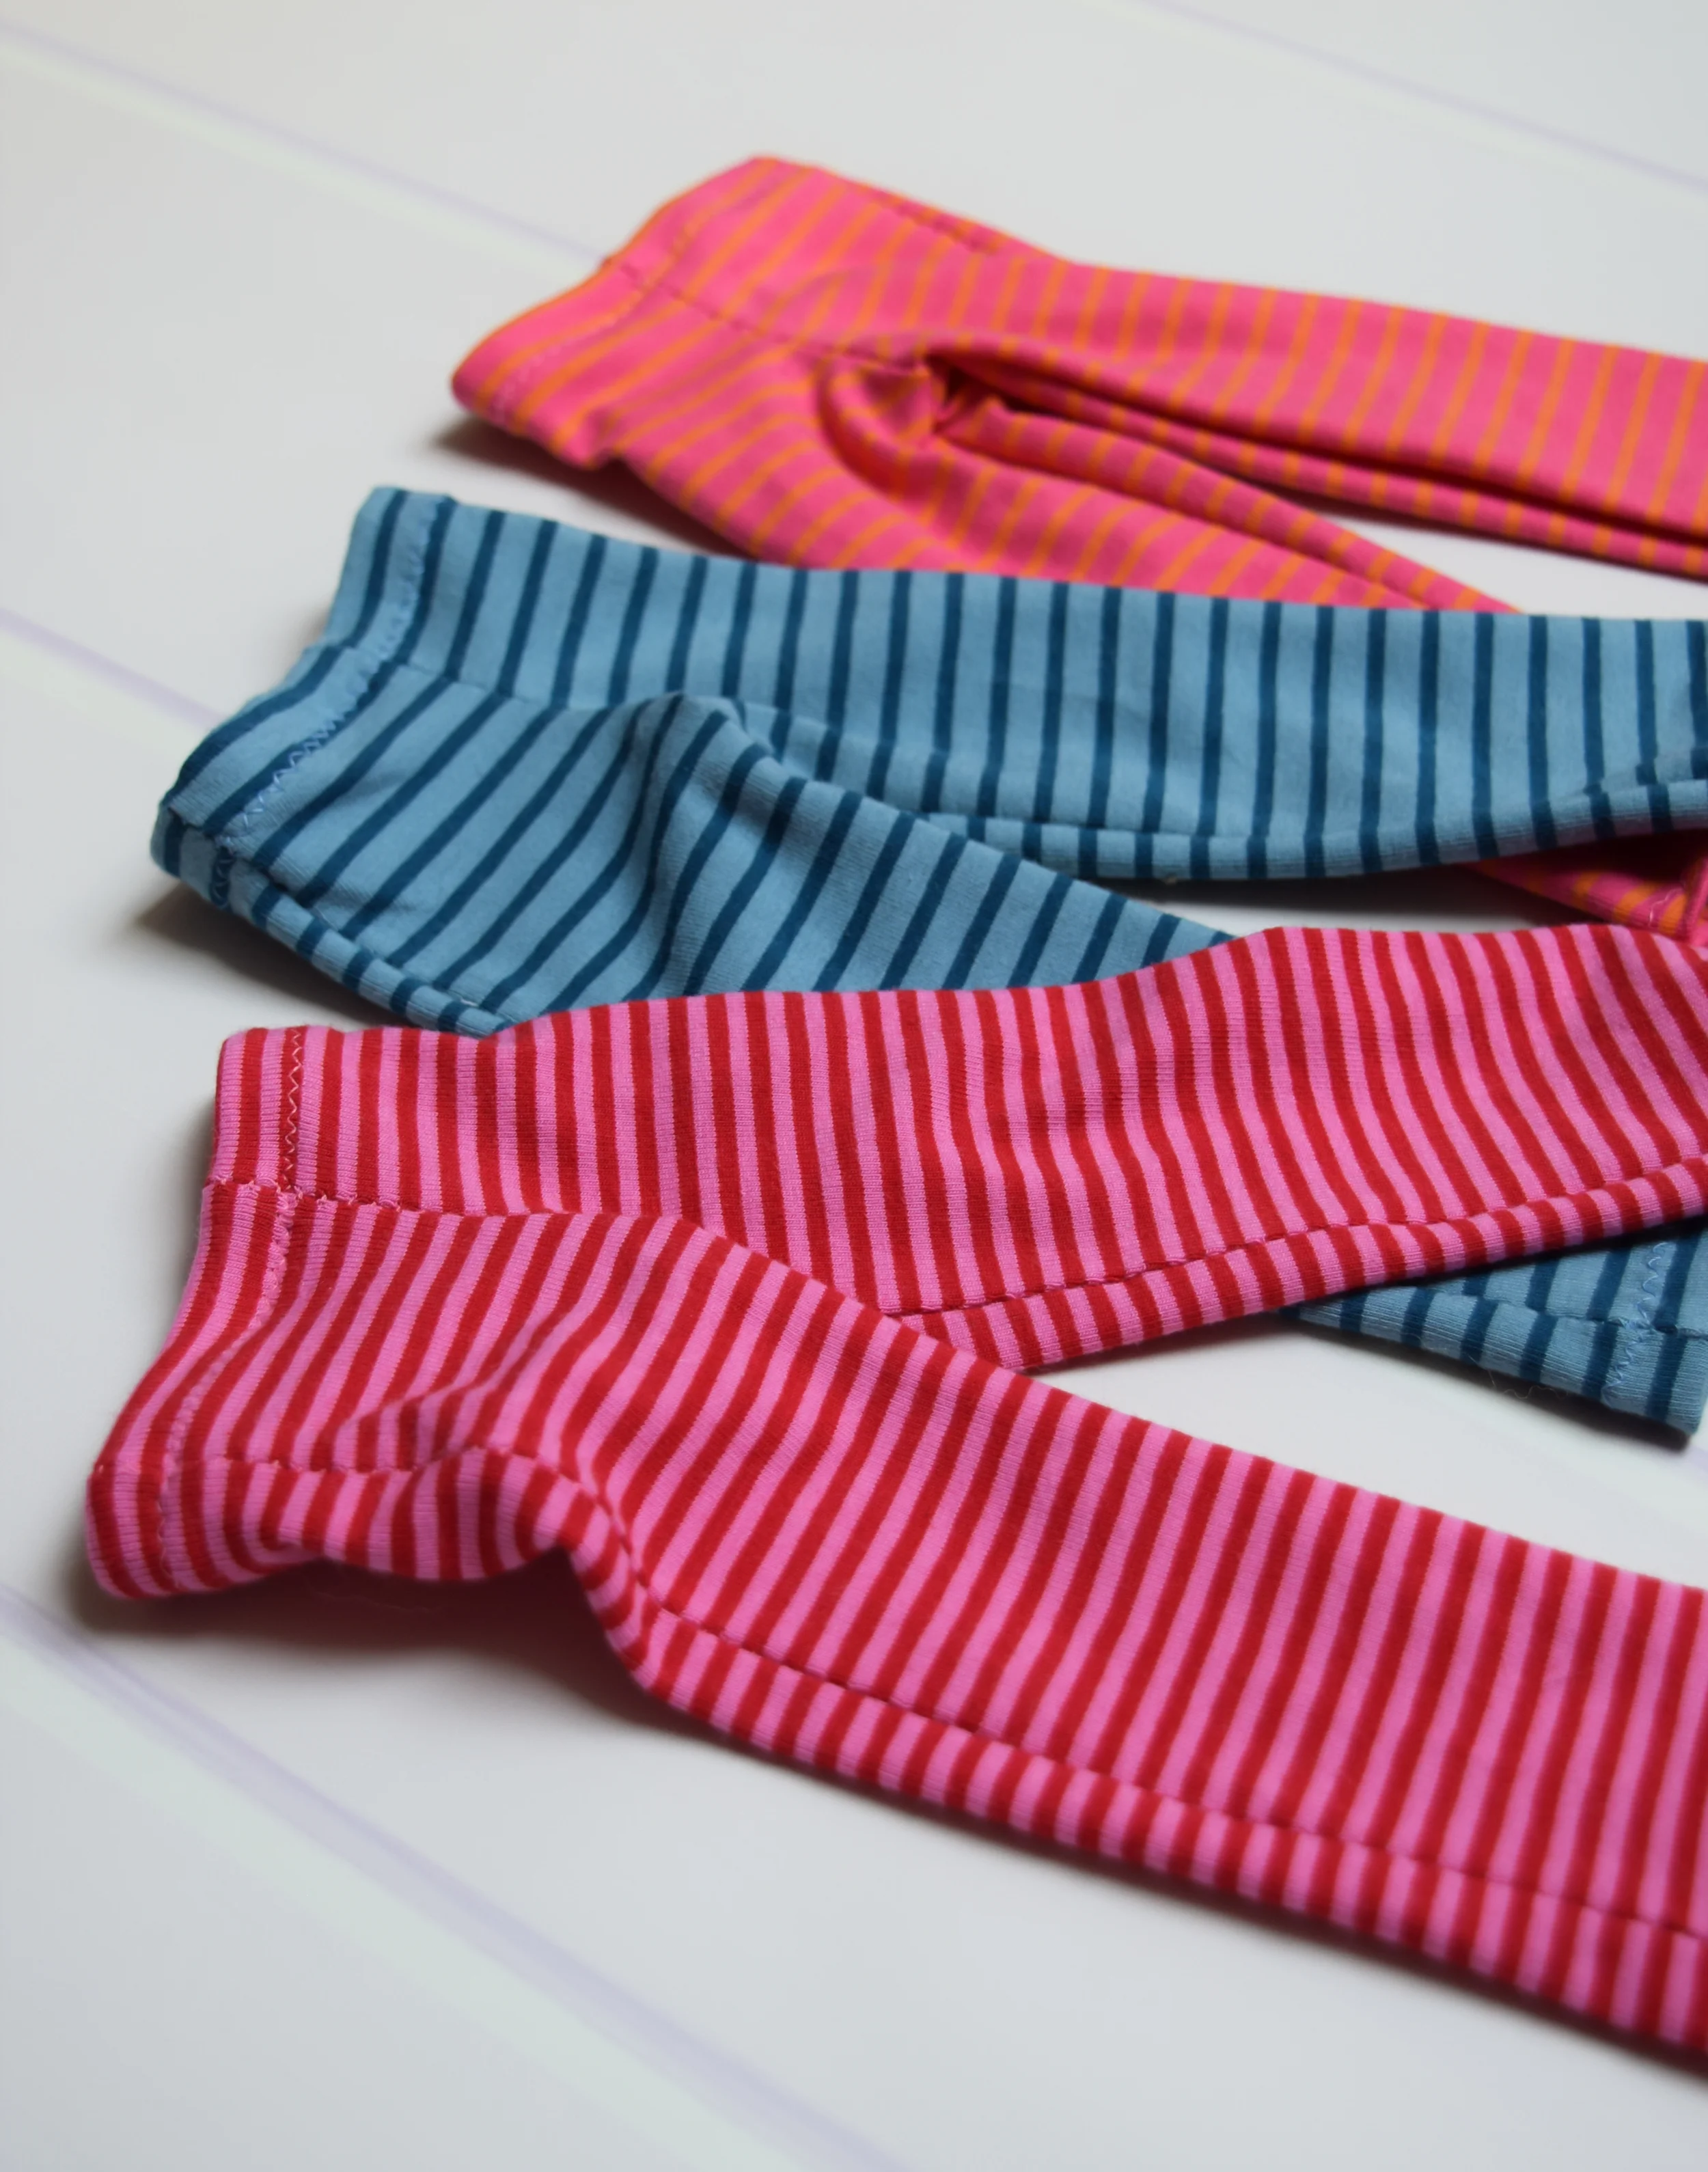
To make these pants with the trim at the bottom, you will need to cut out the capris-length pants.
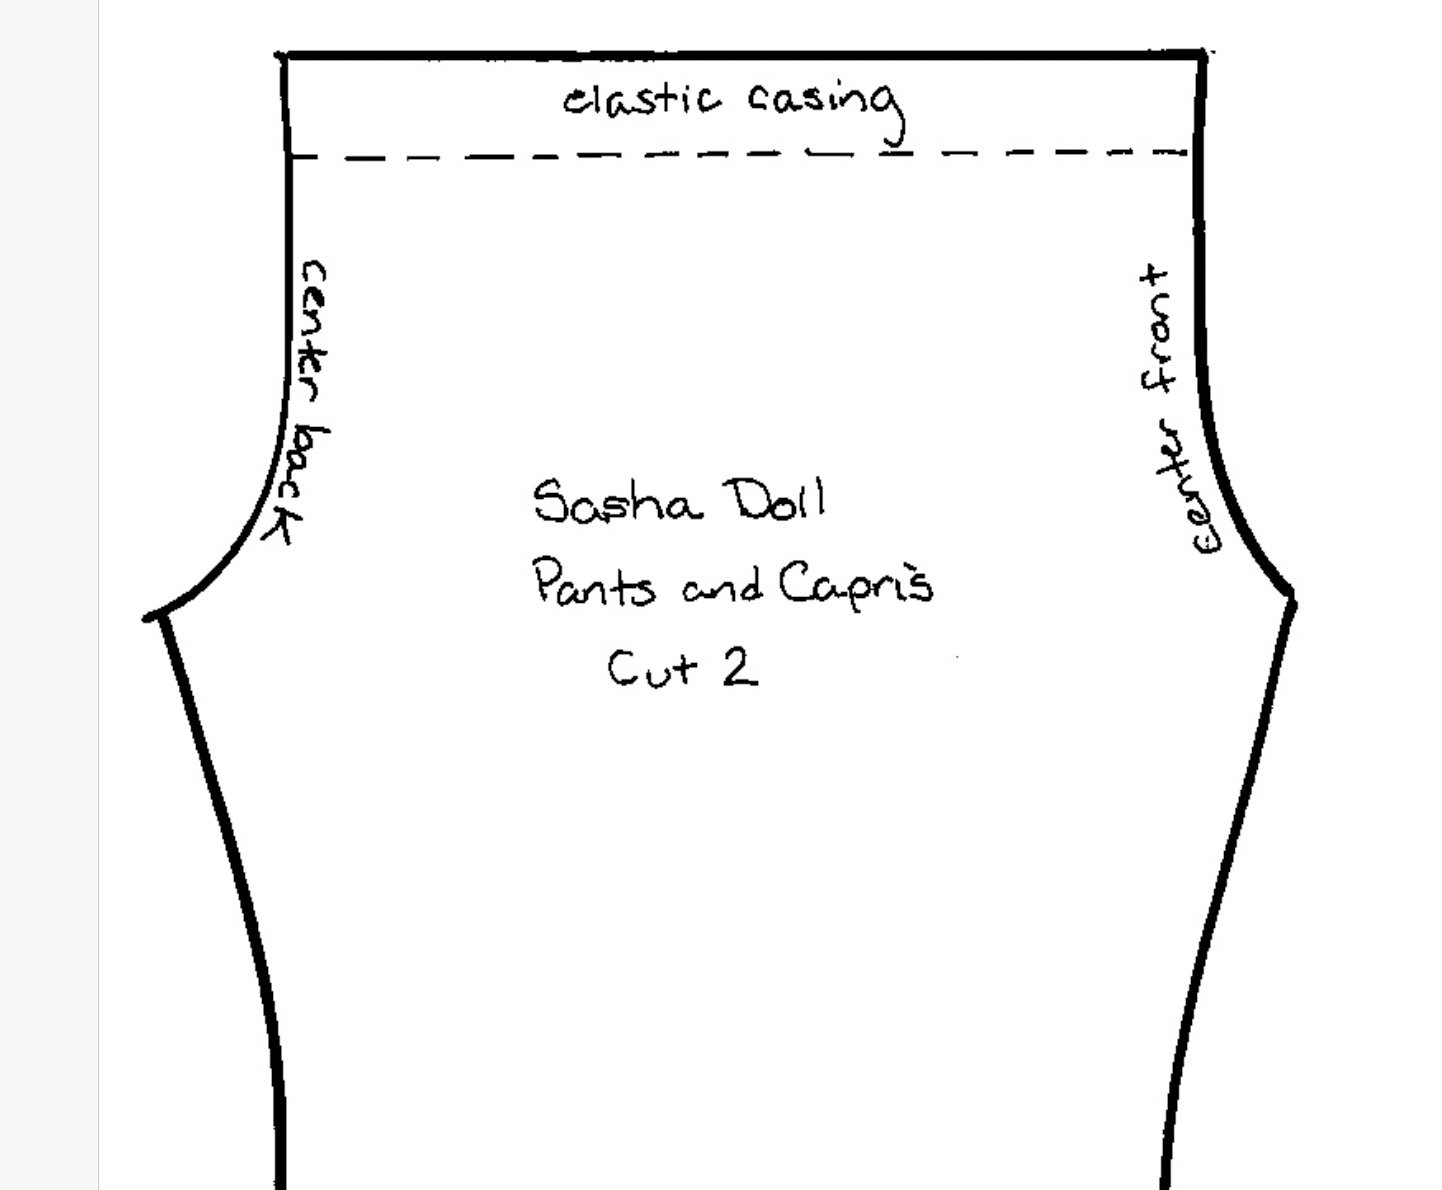
First, apologies, I chose a fabric that is the same on the wrong side as the right side. To try to lessen the confusion, I have tried to mark in the tutorial which is the wrong side and which is the right. This is what the American Girl Pattern Pieces look like:
Wellie Wishers, Sasha, both sizes of Phoebe pattern look like this and do not need a side seam and look like this:
For the American Girl Pattern, first sew the side seams with right sides together. All other pattern sizes, after the side seams, your directions are the same
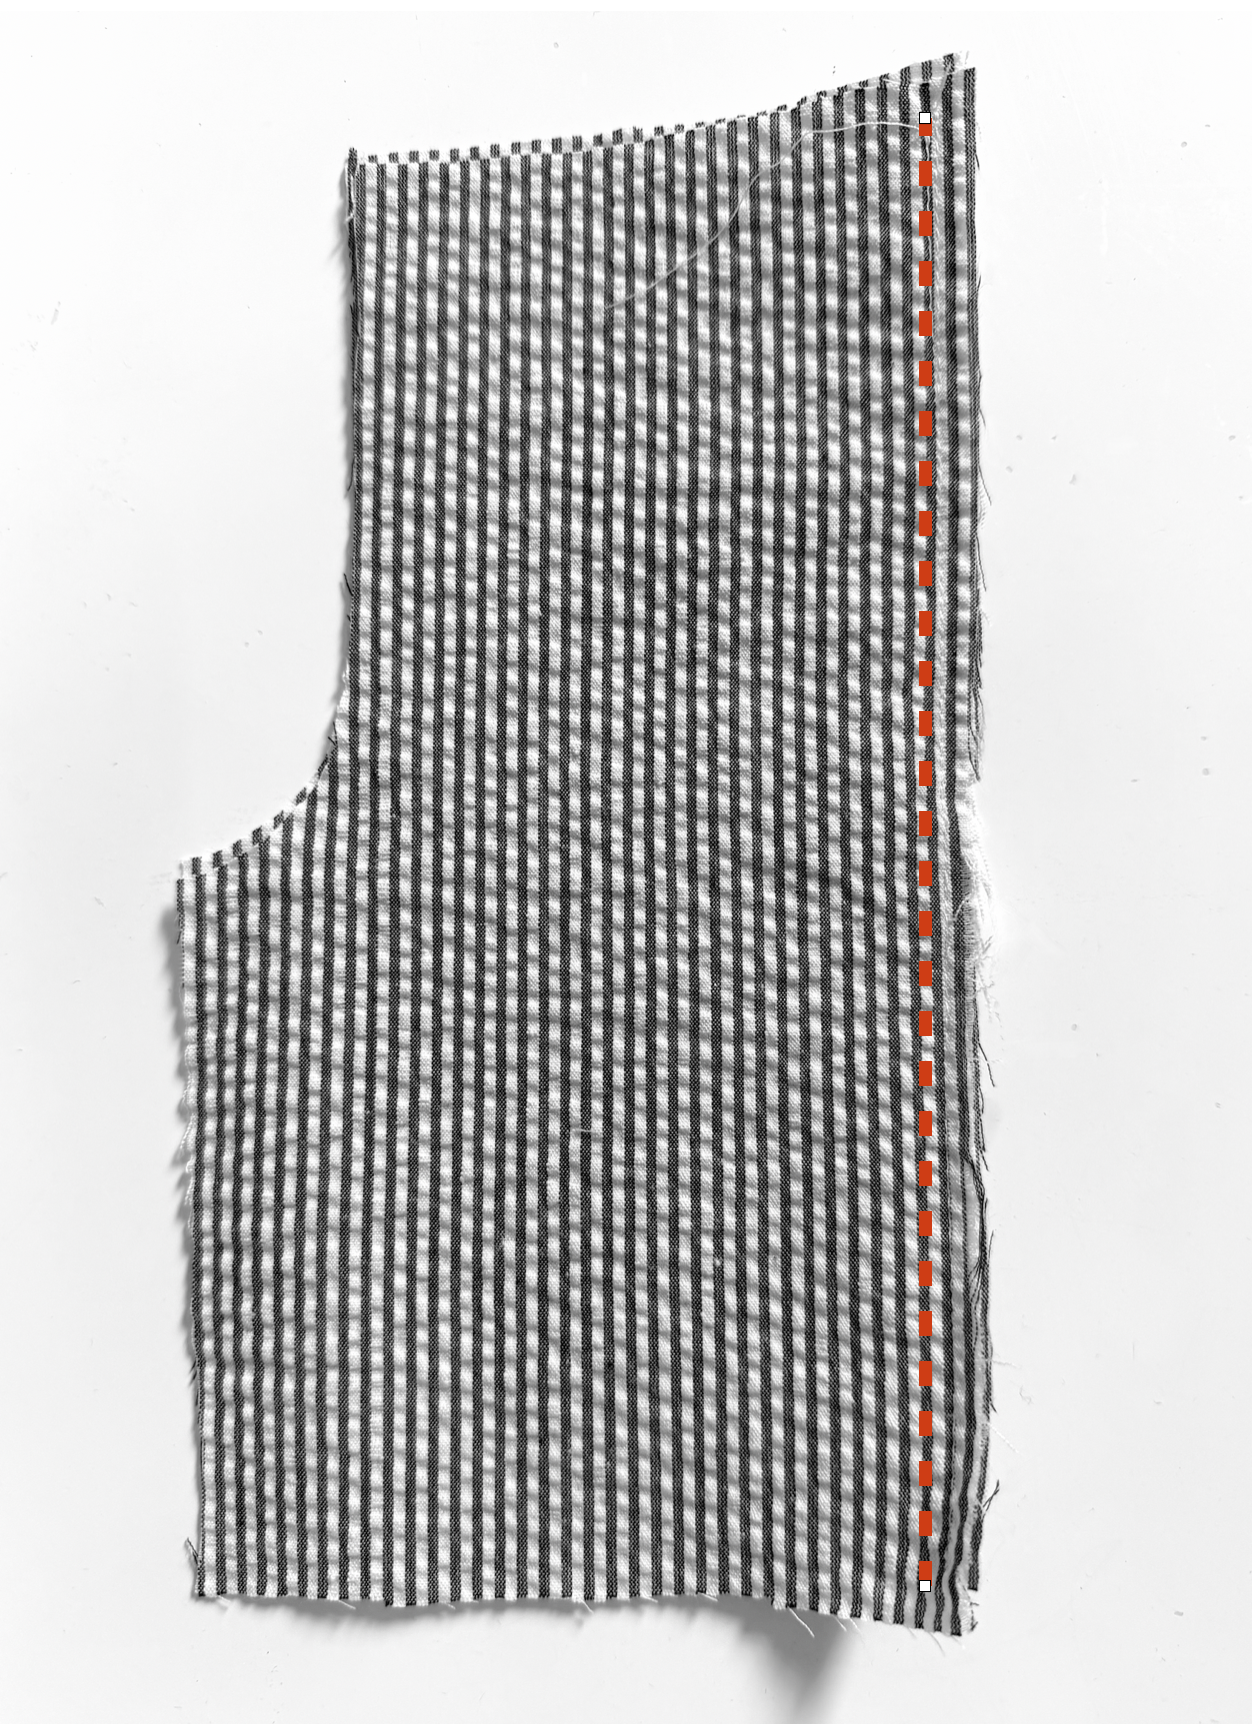
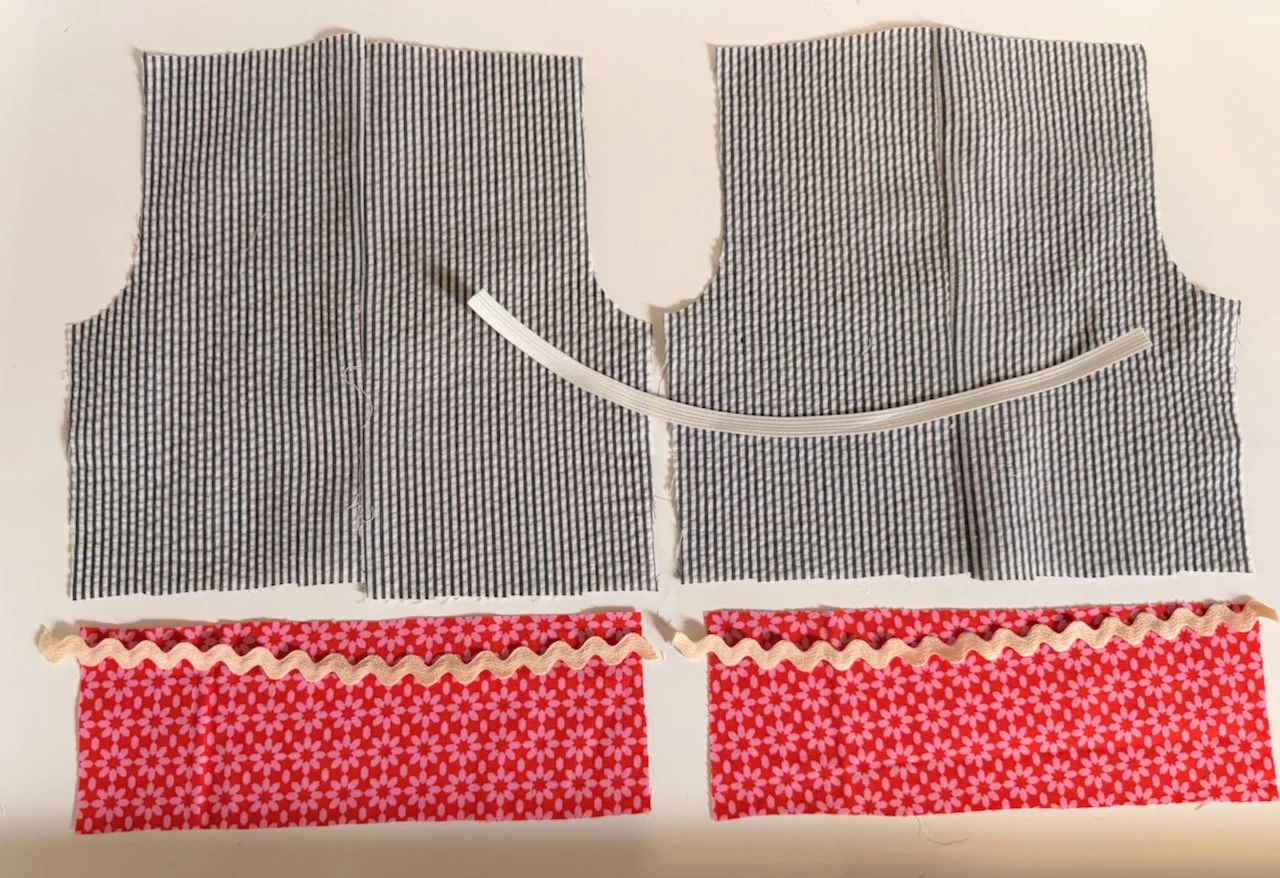
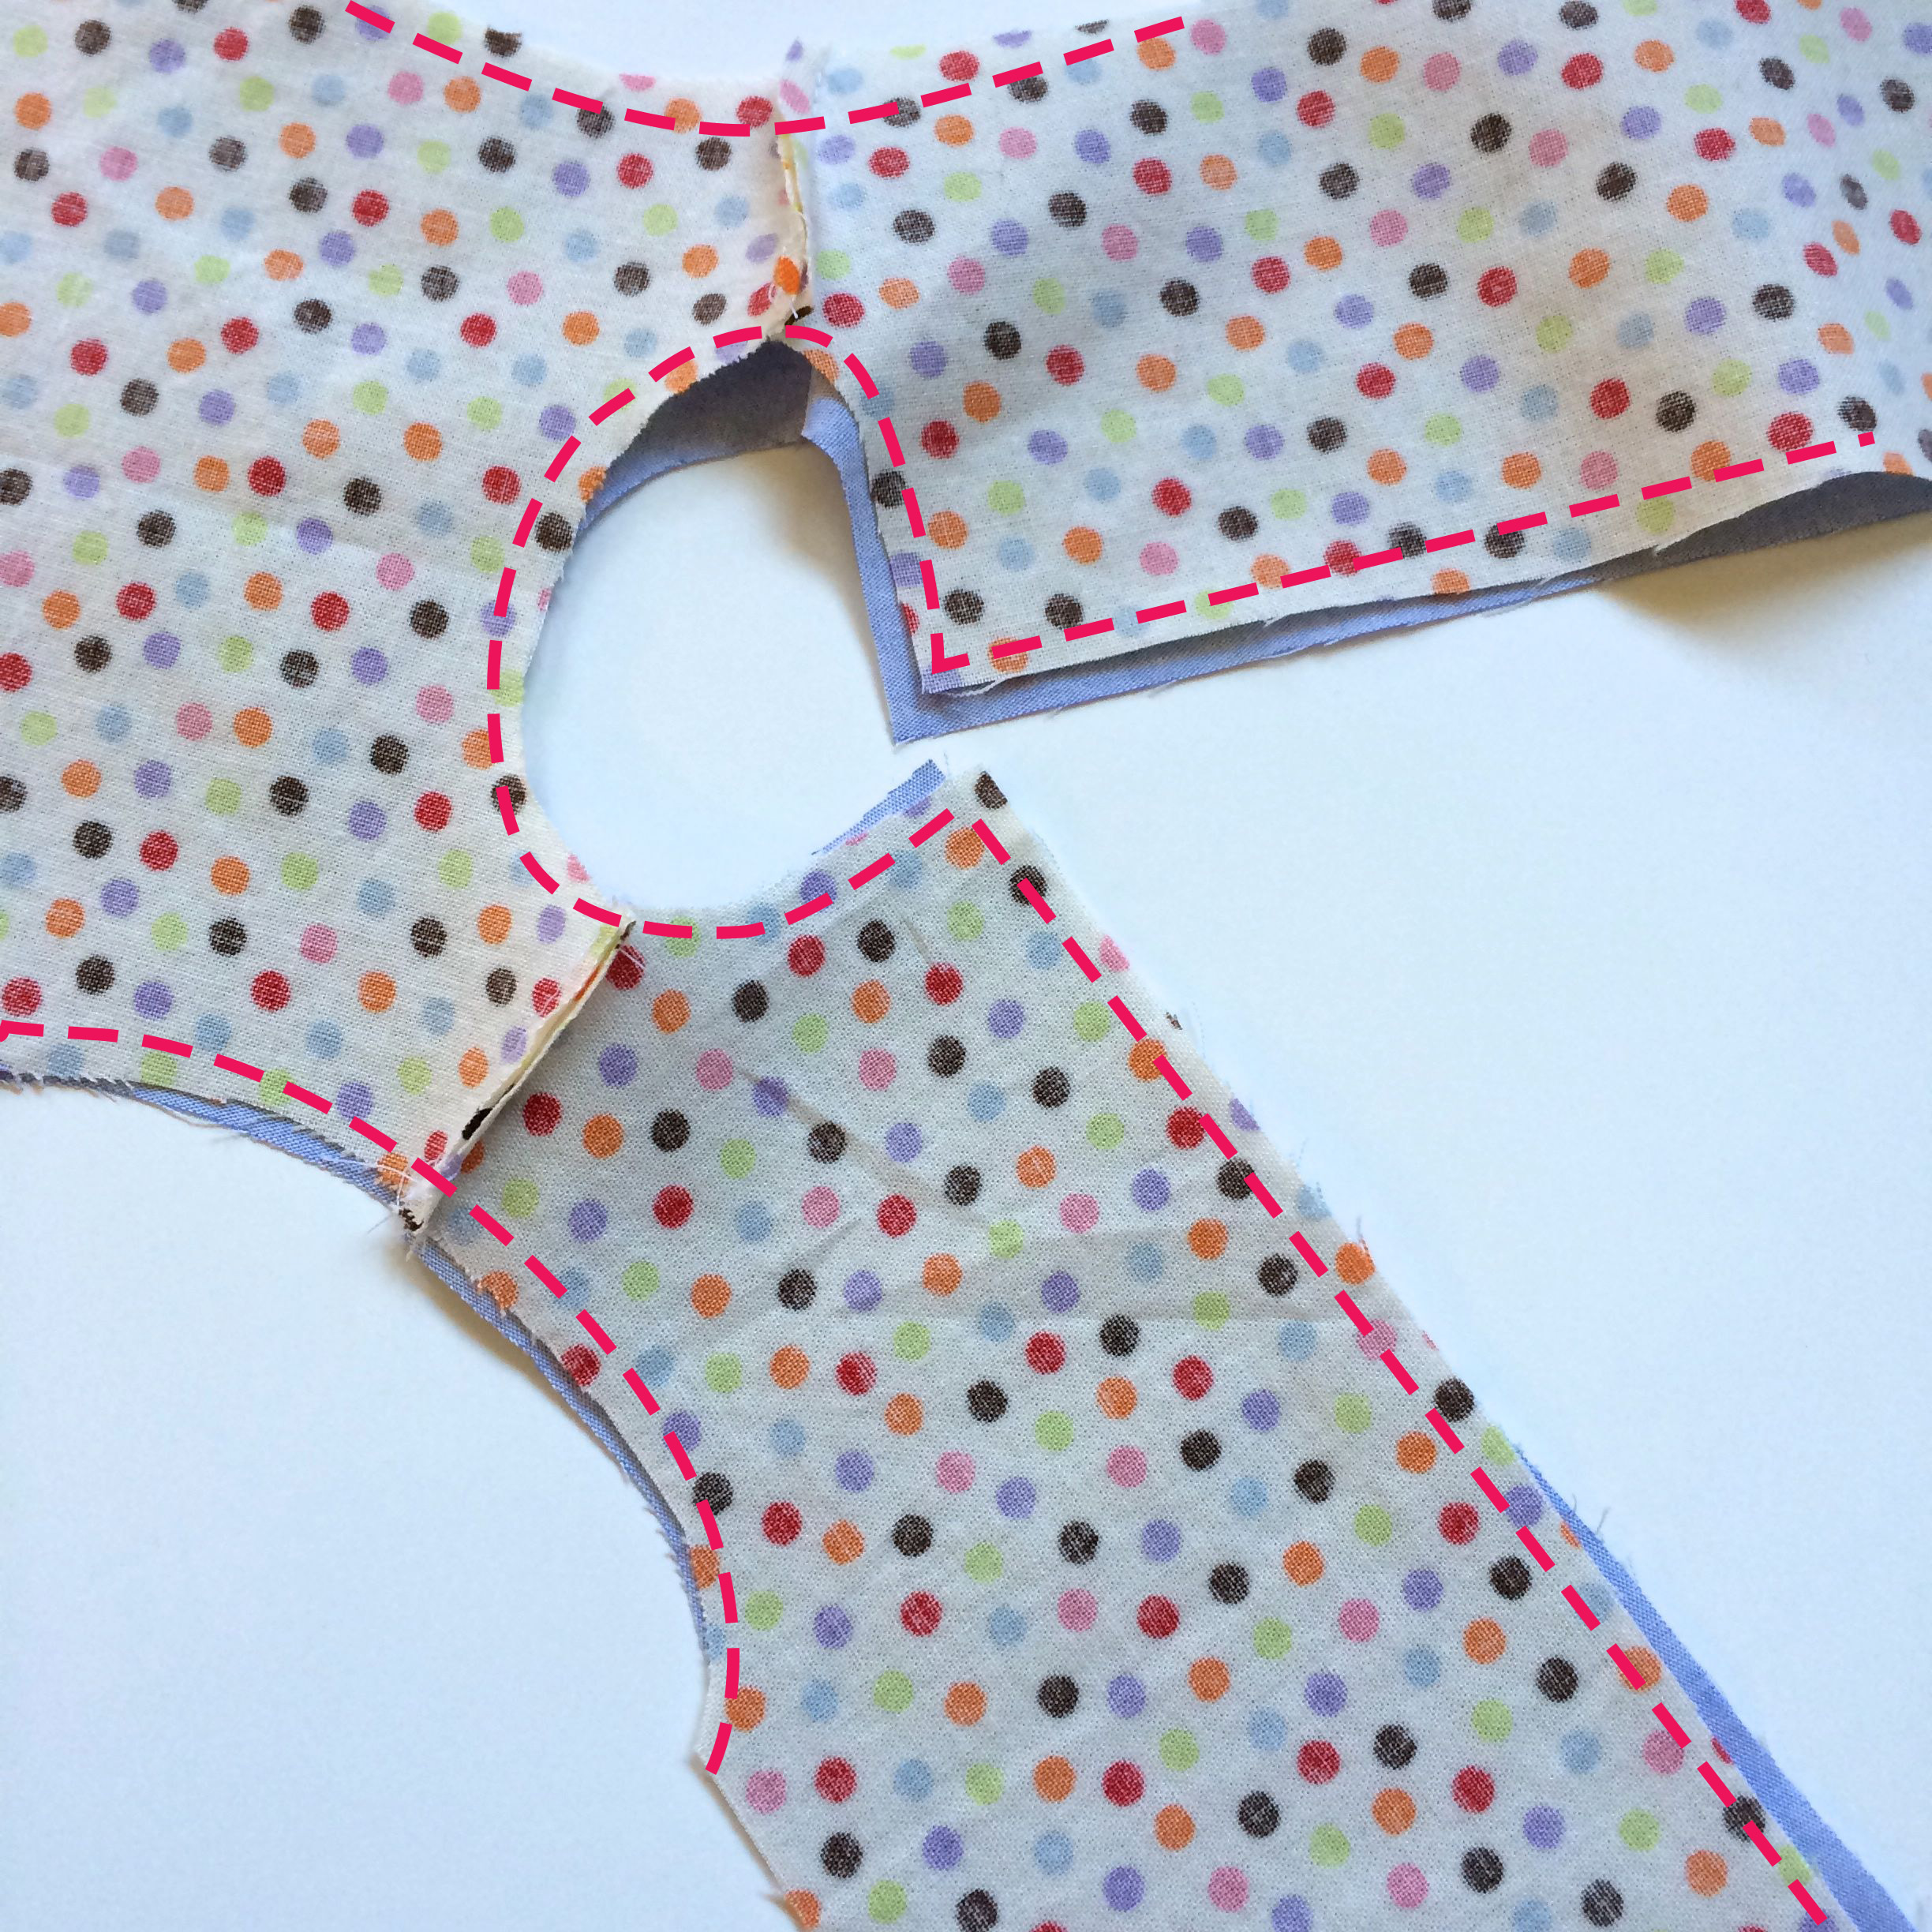
Next, you will sew the front center seam with right sides together.
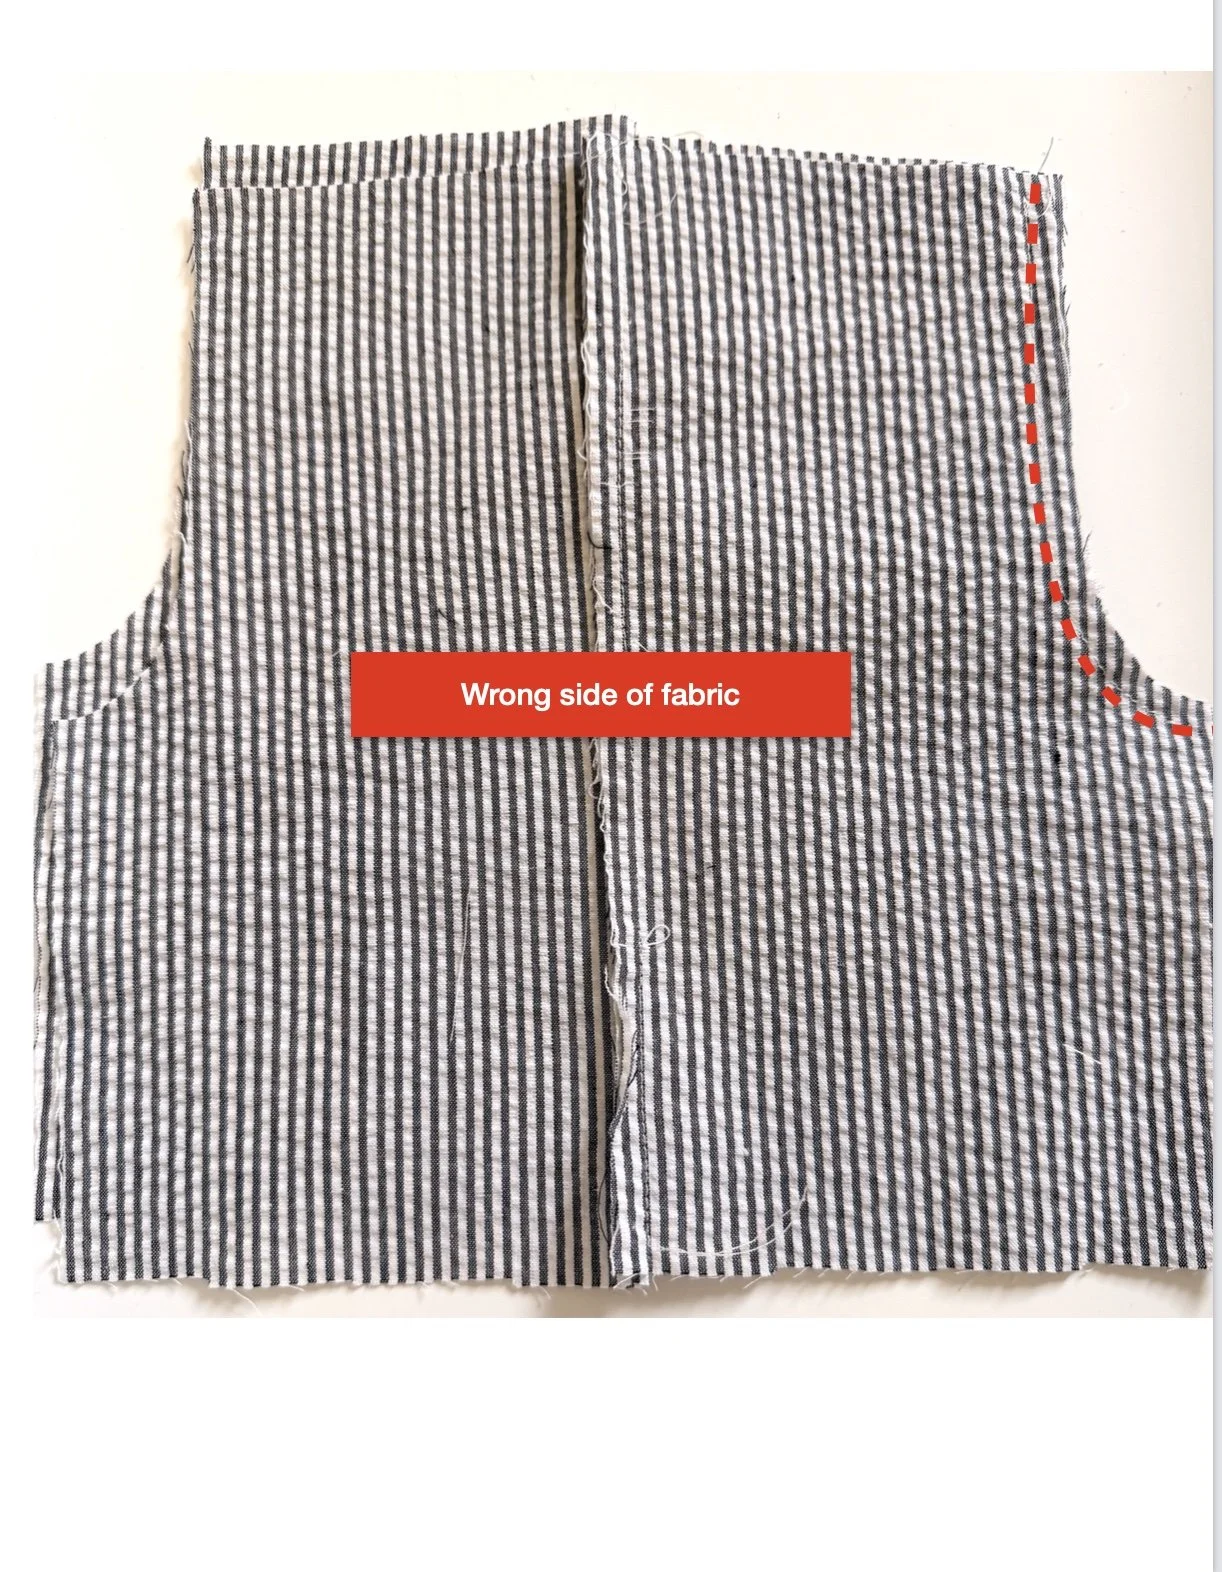
Sew Center Front seam.
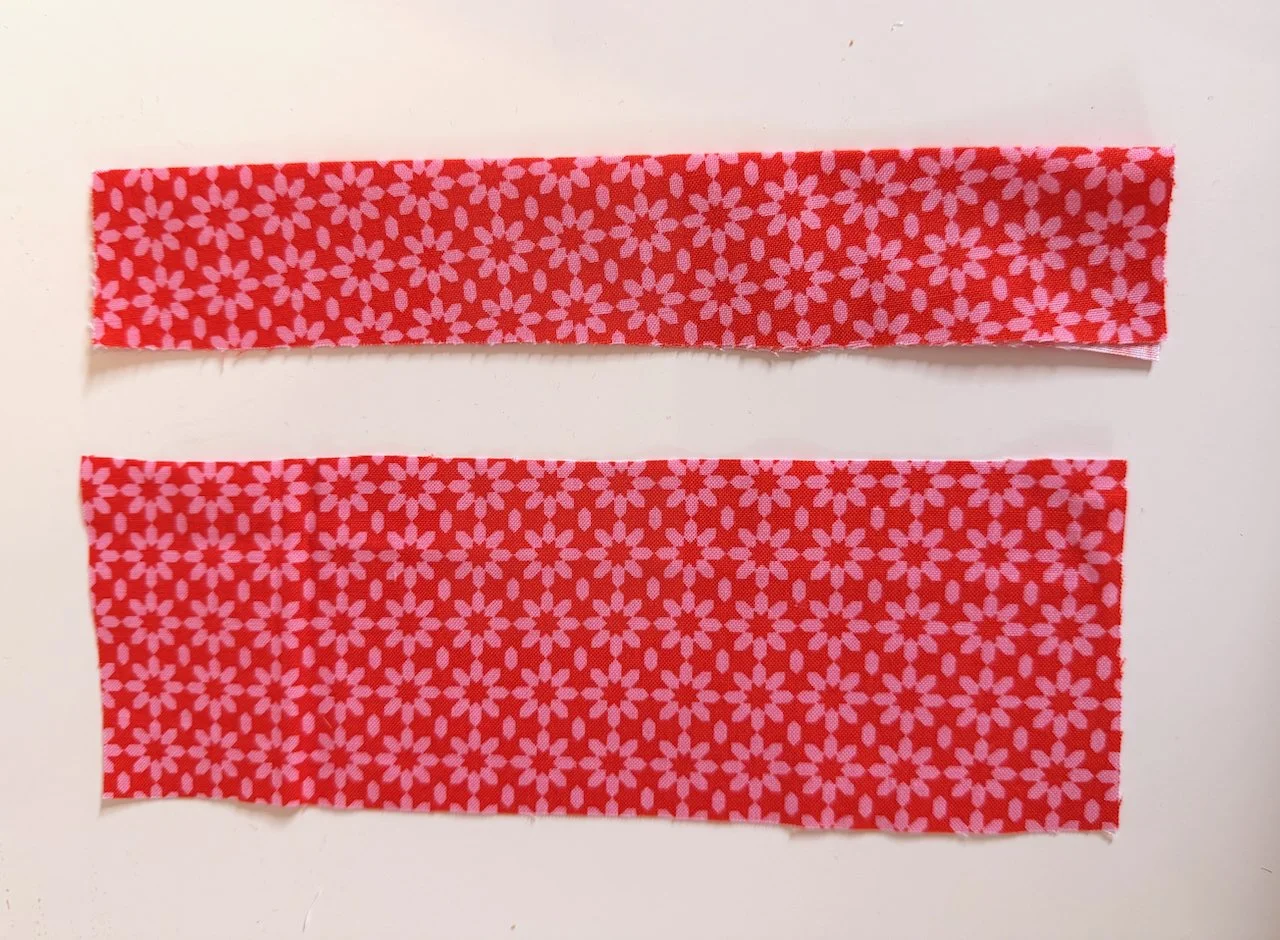
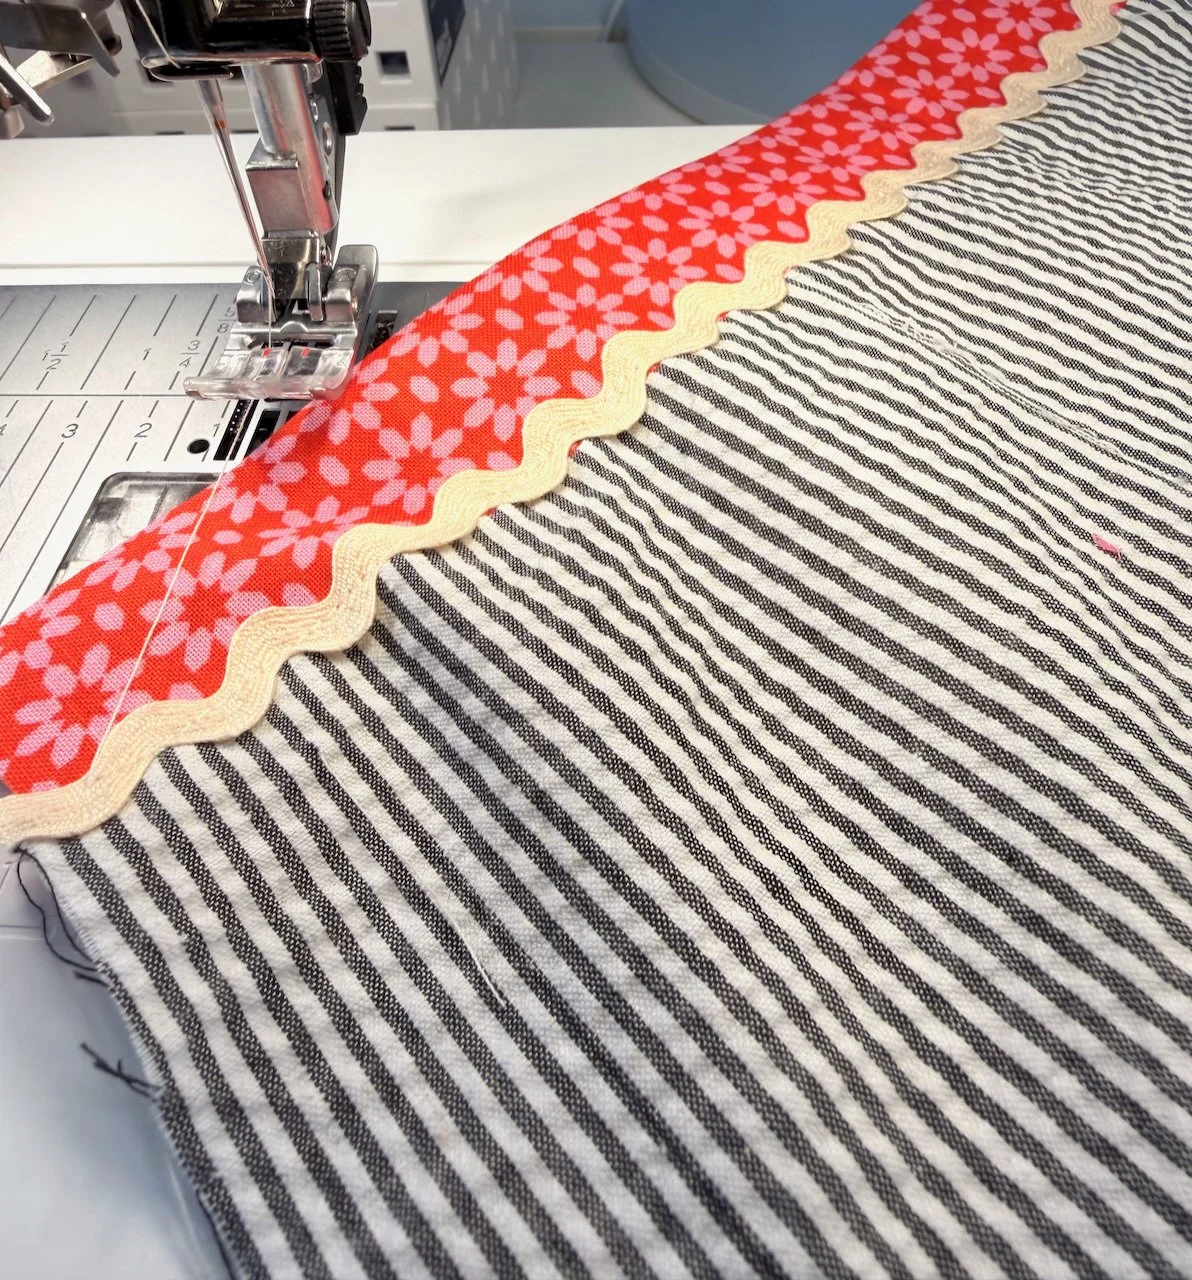
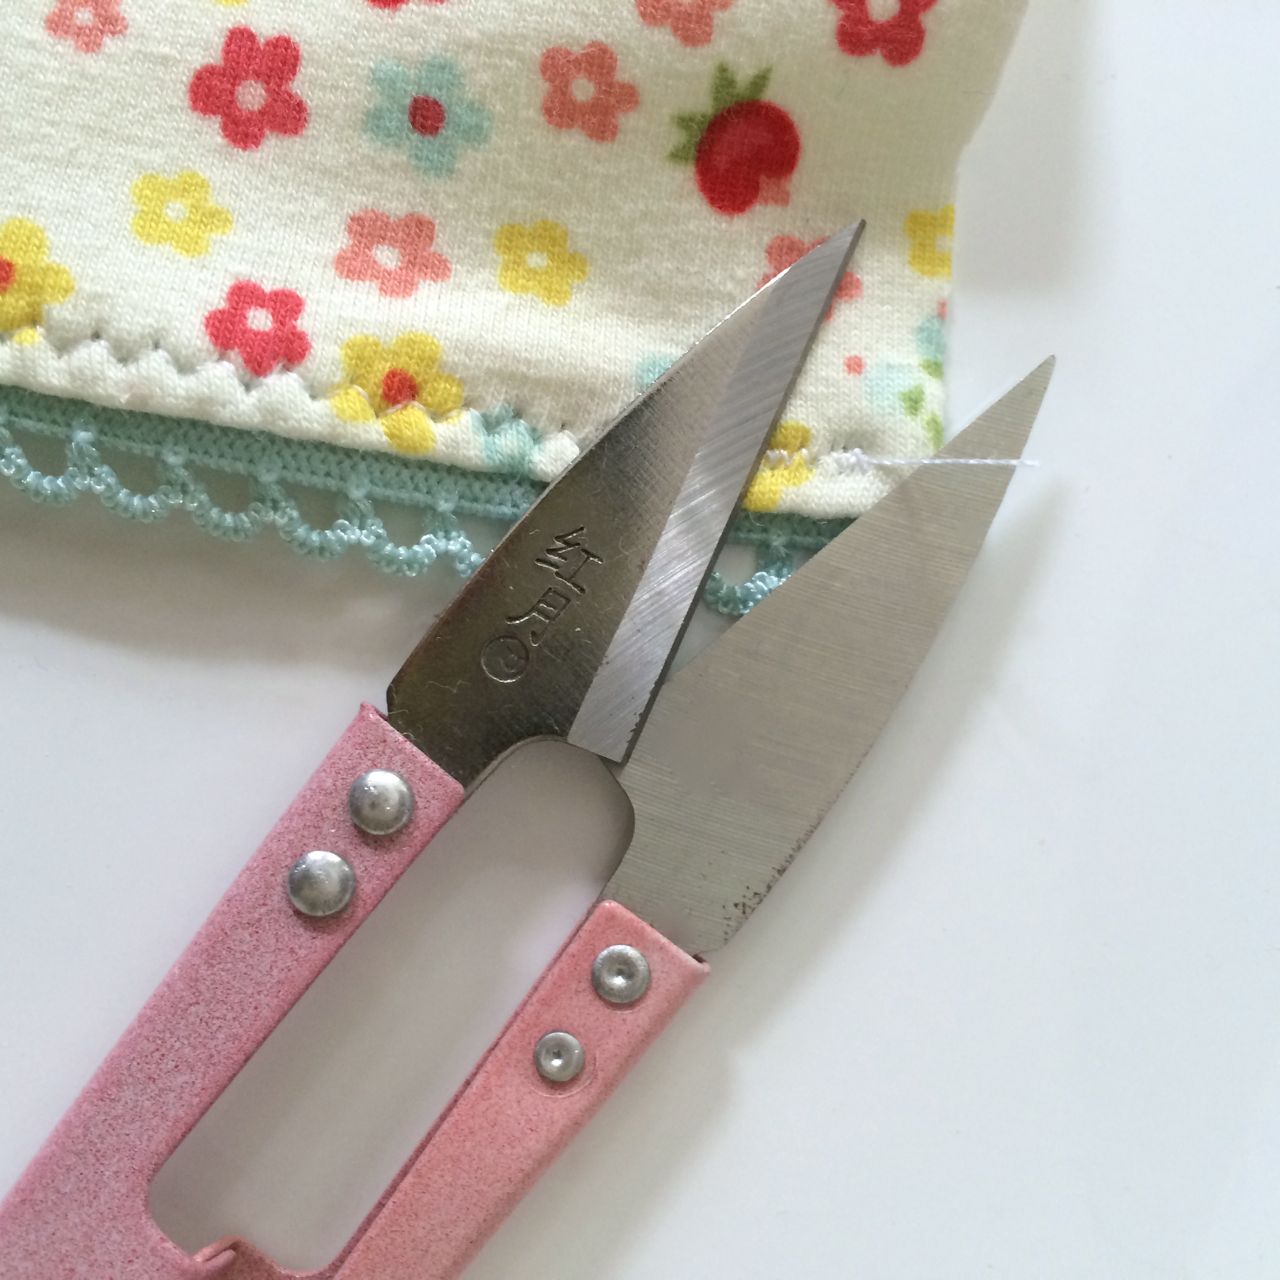
If you are adding the trim flourish, fold each piece of trim in half, wrong sides together.Next, we will sew on the trim at the bottom of each leg.
Sew the trim pieces to the bottom of each pant leg, right sides together. Keep the trim pieces folded when you sew/attach them.
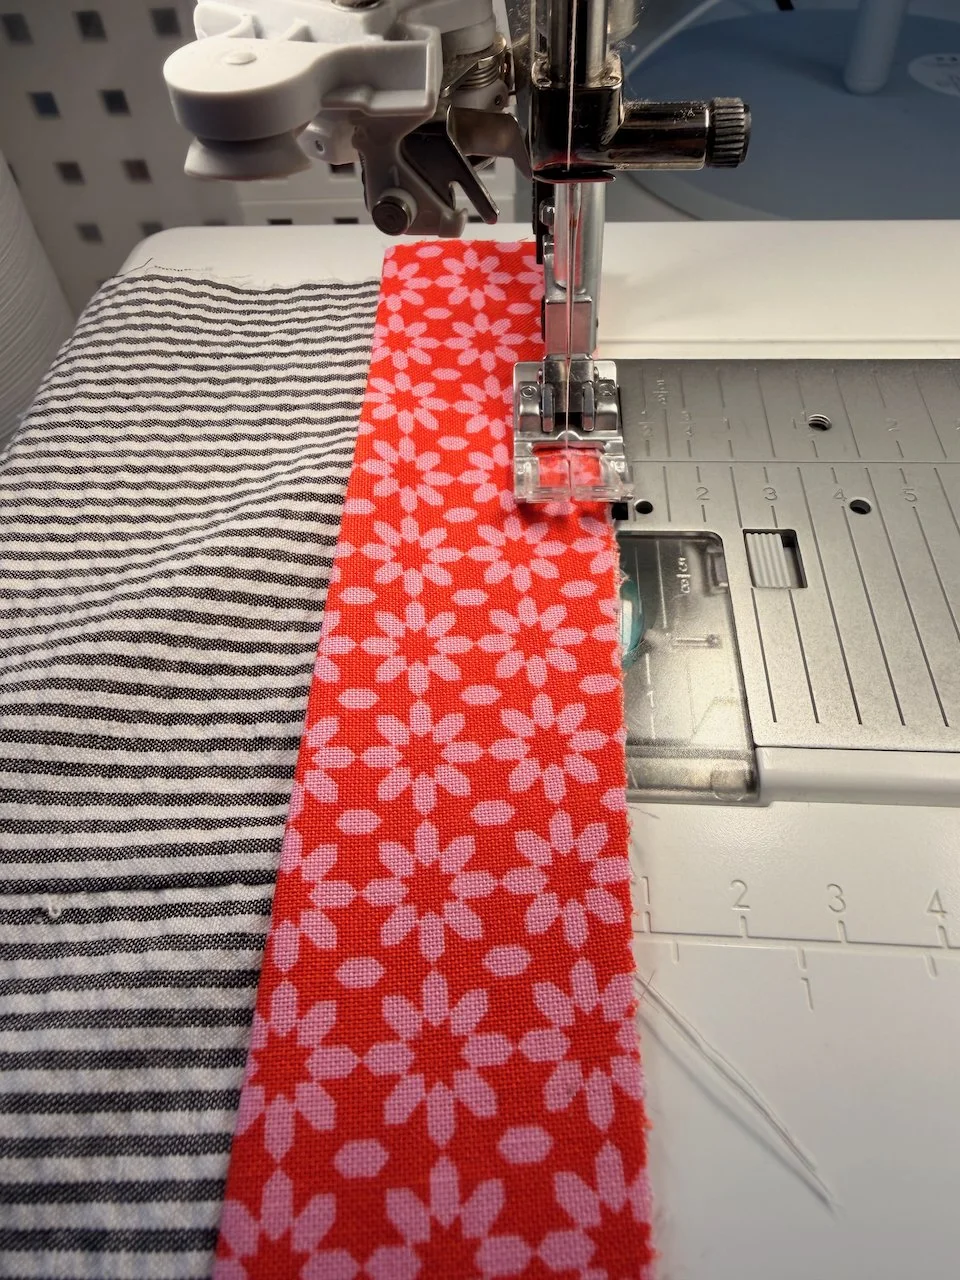
Sewing trim piece to bottom of pants leg.
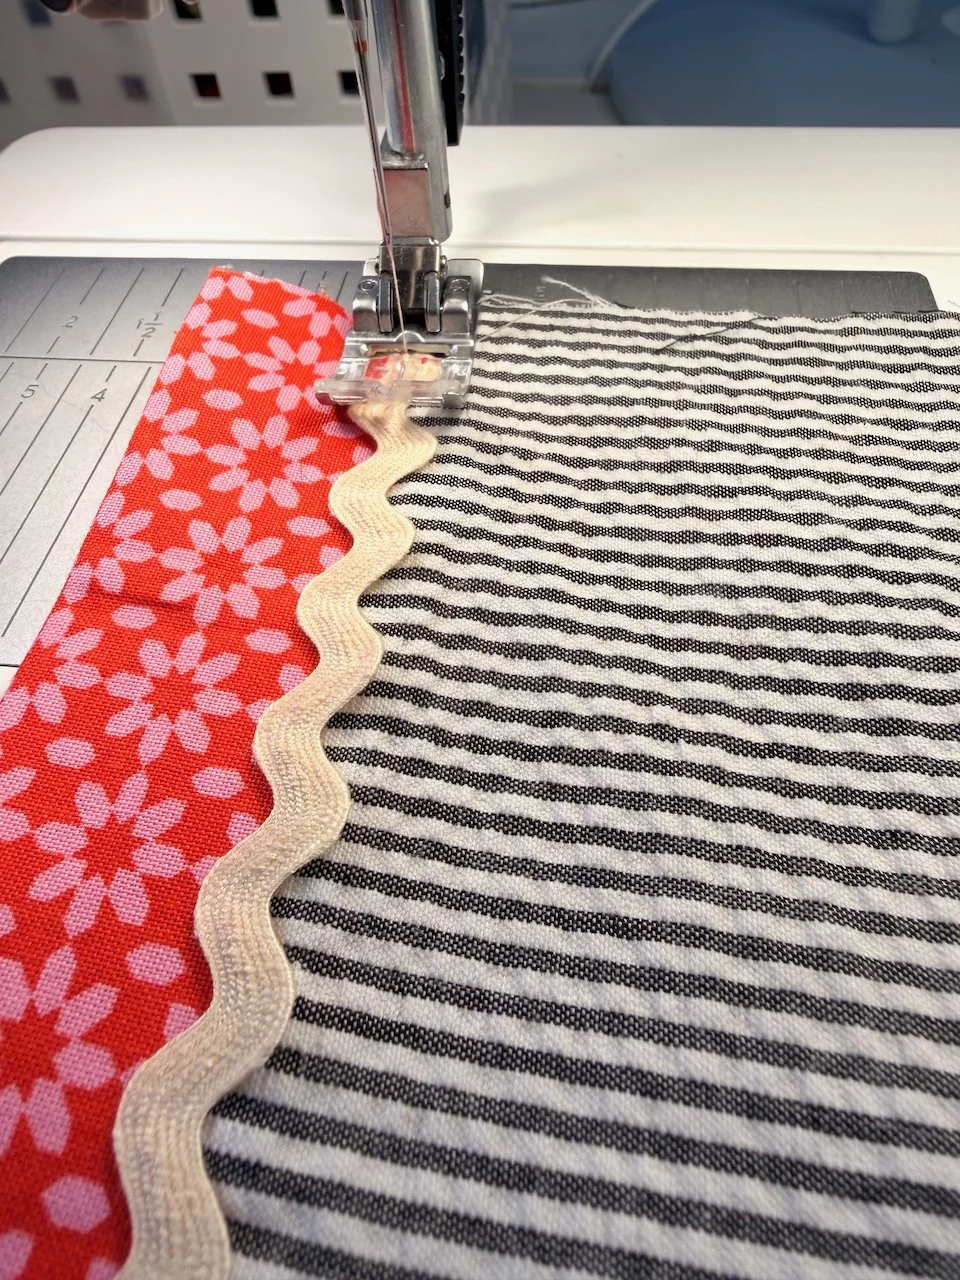
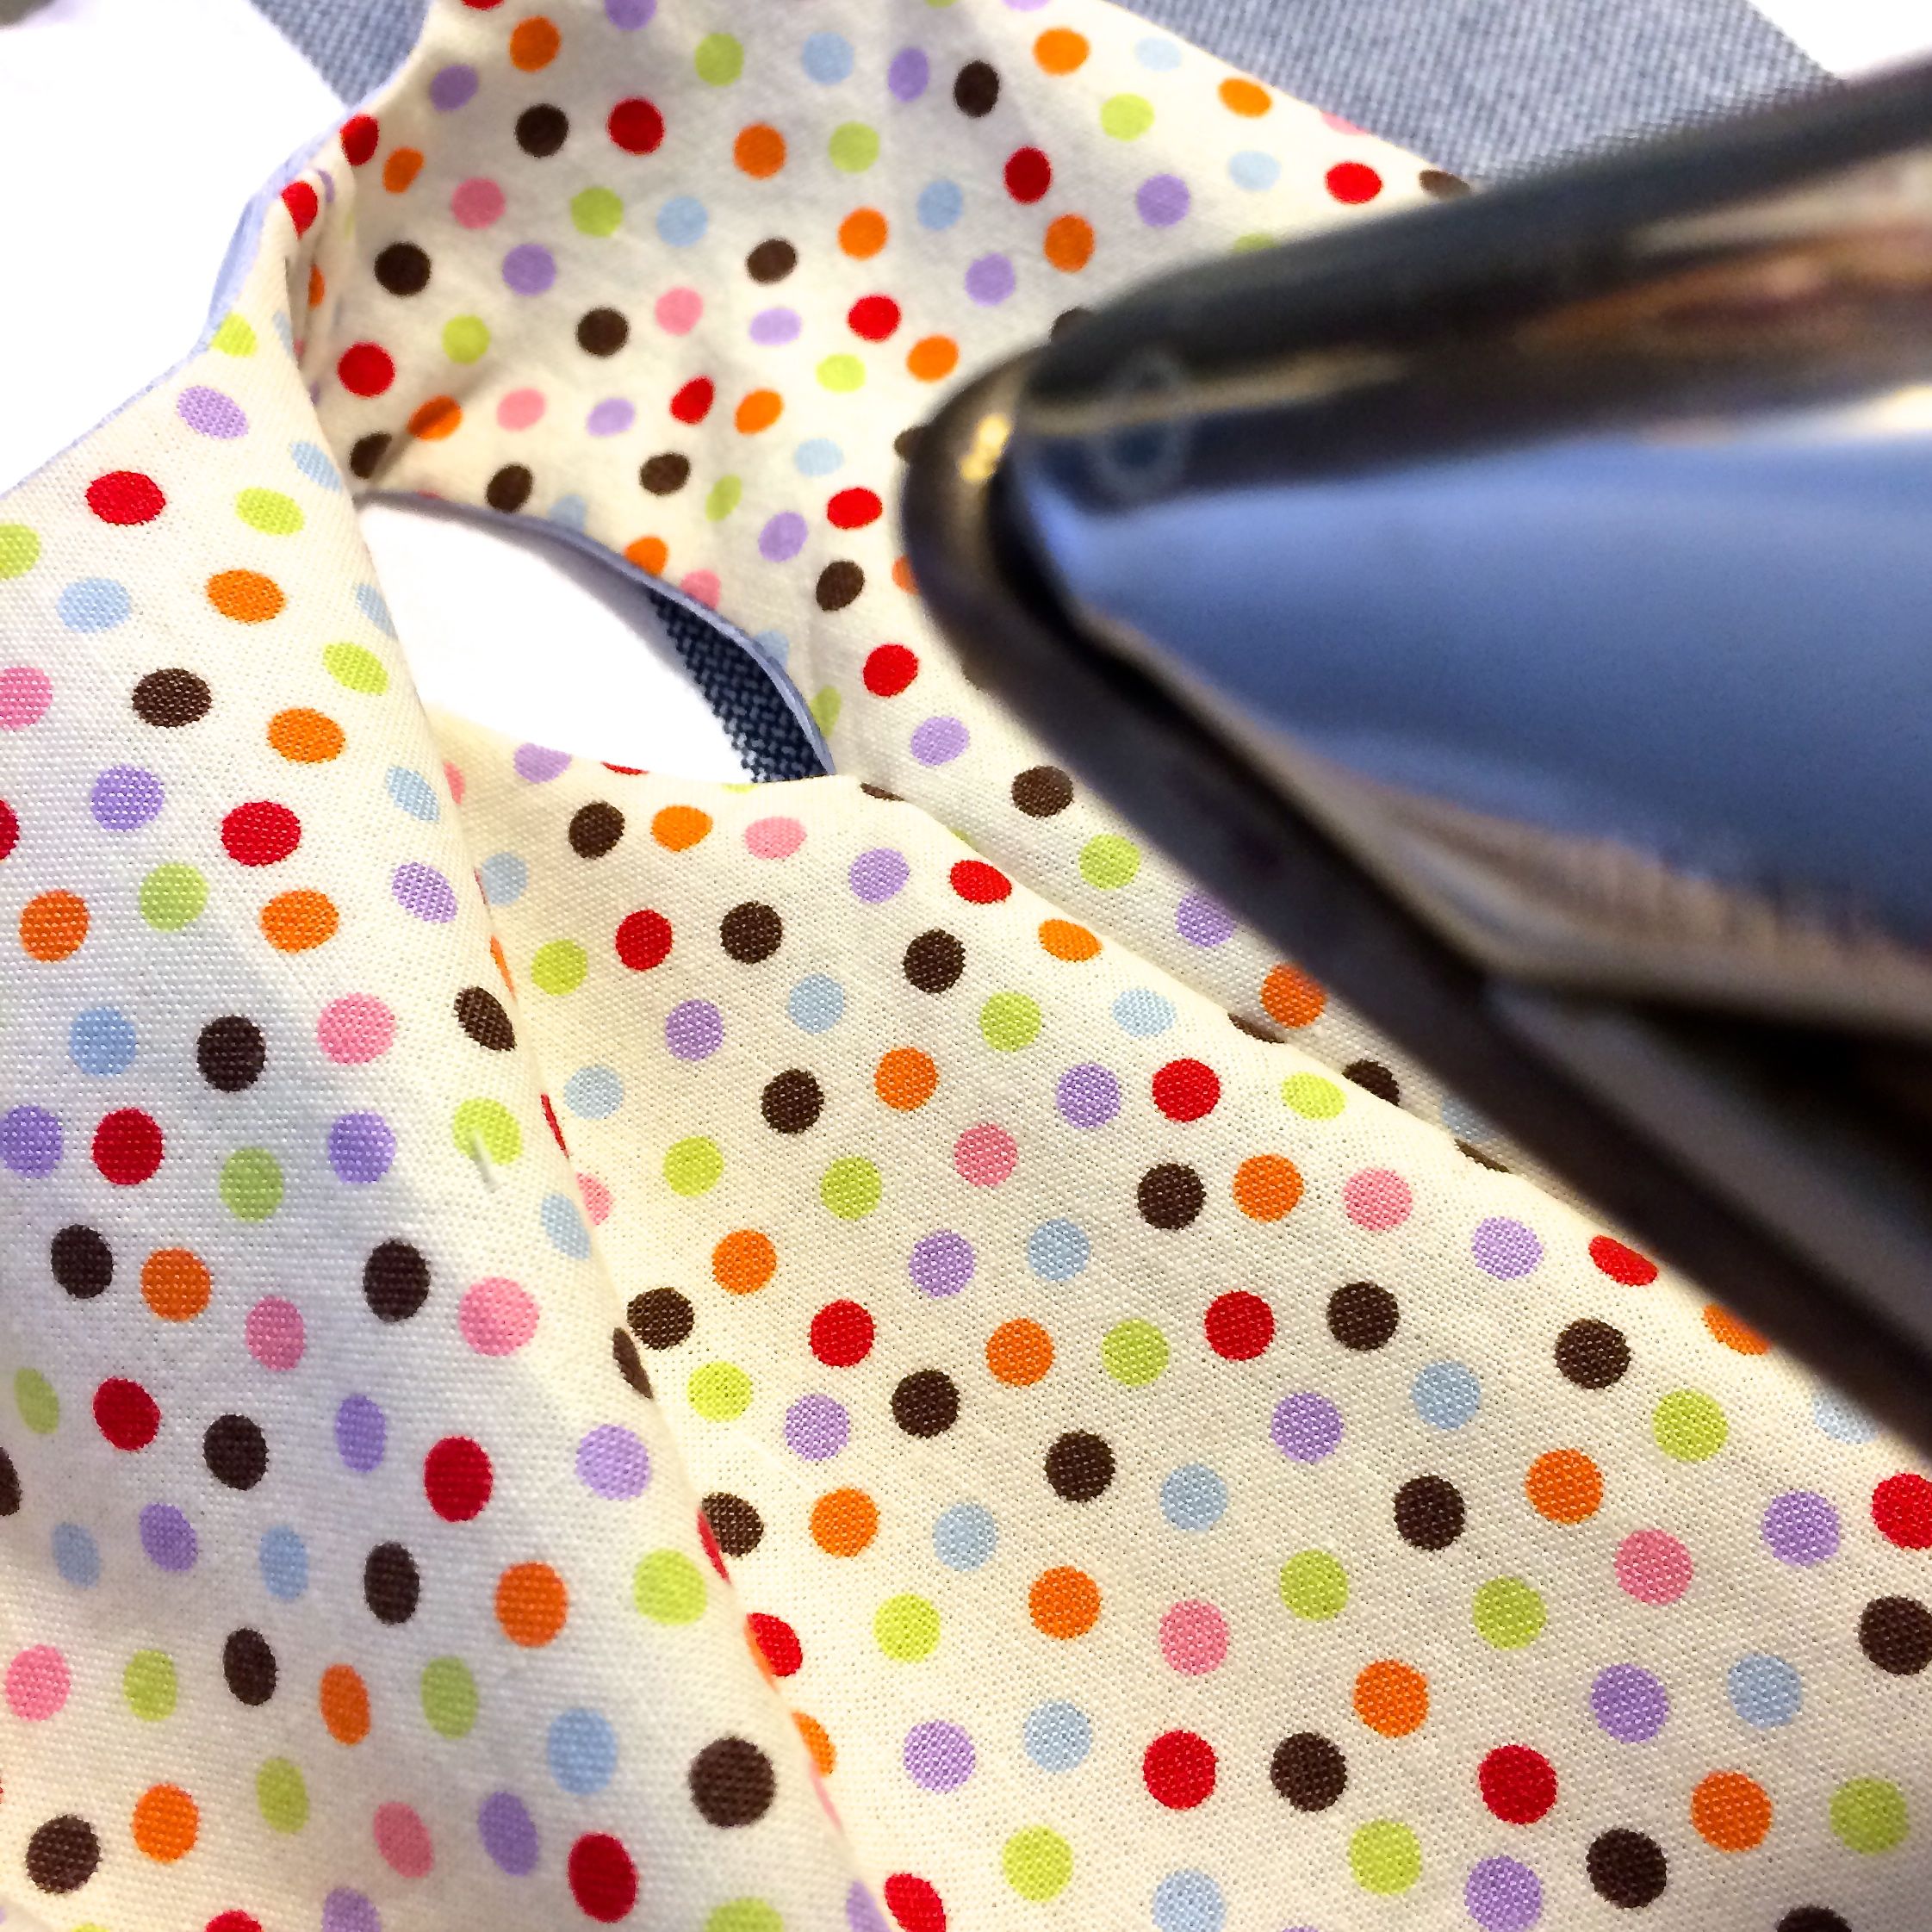
Open and iron. If you want to add rick rack or another trim (completely optional), sew that on.
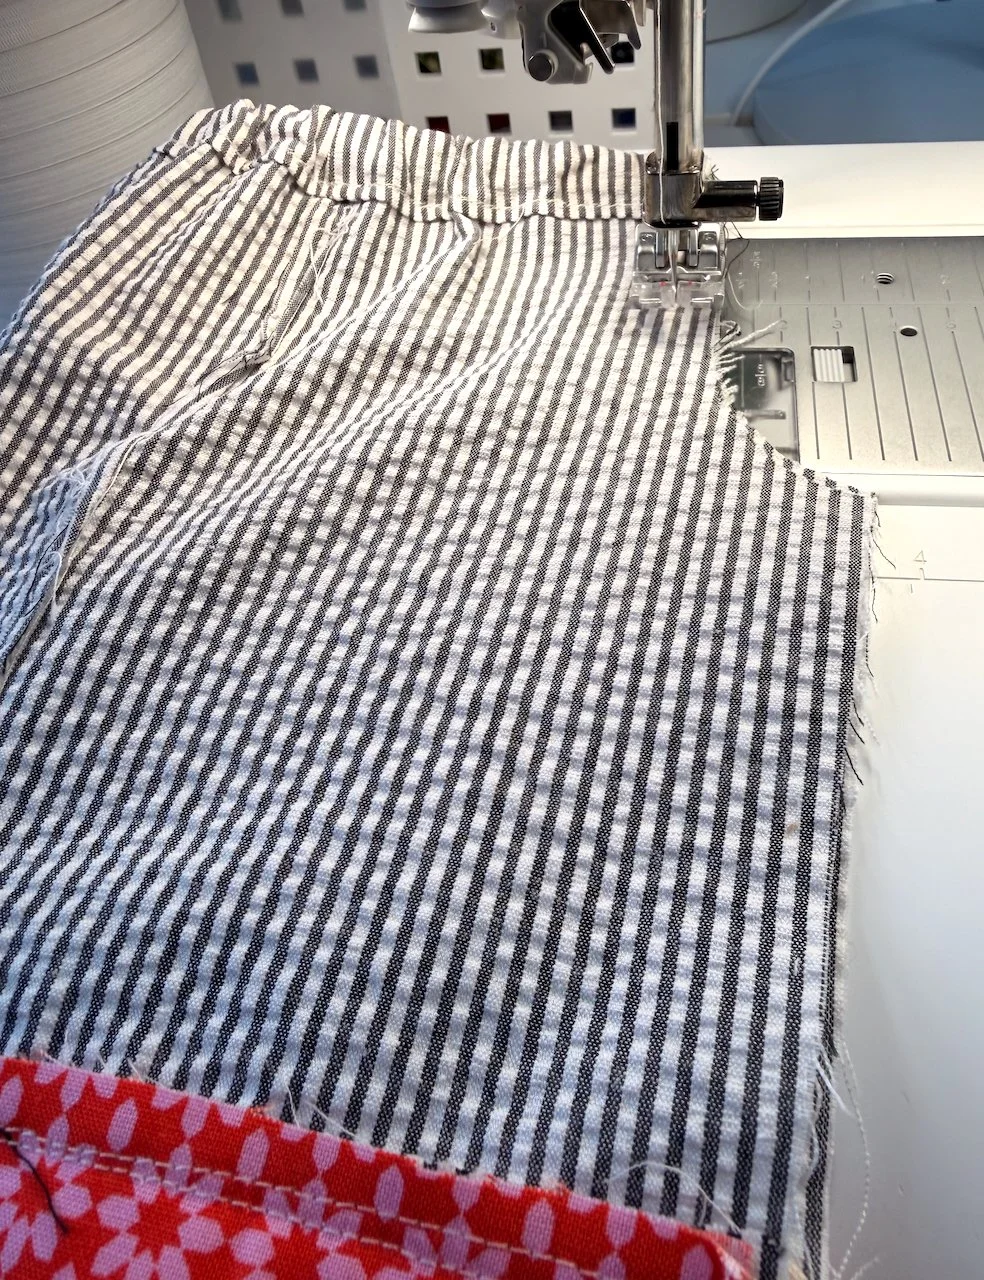
Next, you will sew the casing for the waist elastic and tunnel in the elastic. To determine the elastic length, measure the waist of your doll and cut the elastic. The waist elastic needs to be slightly shorter than her waist, and once you sew it in, it will be. I used 3/8 inch elastic. Directions for tunneling your elastic are here.
To make the casing, first hem your fabric 1/4 inch. Then fold it over about 1/2 inch and sew.
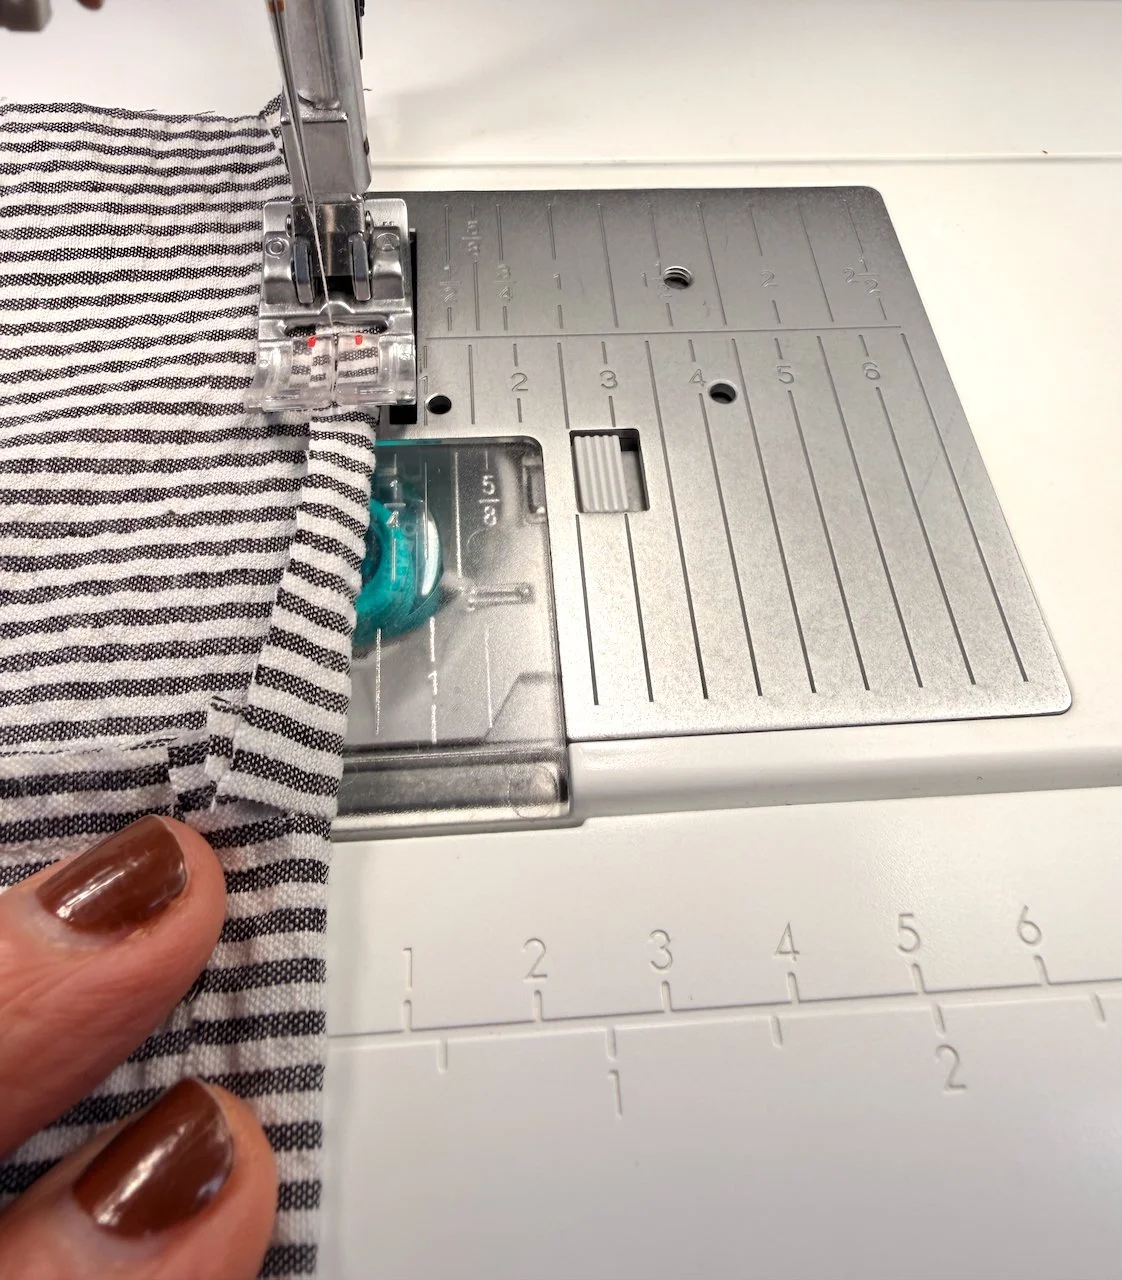
Hem ¼ inch to start elatic casing.
Next, fold over enough to encase the elastic.
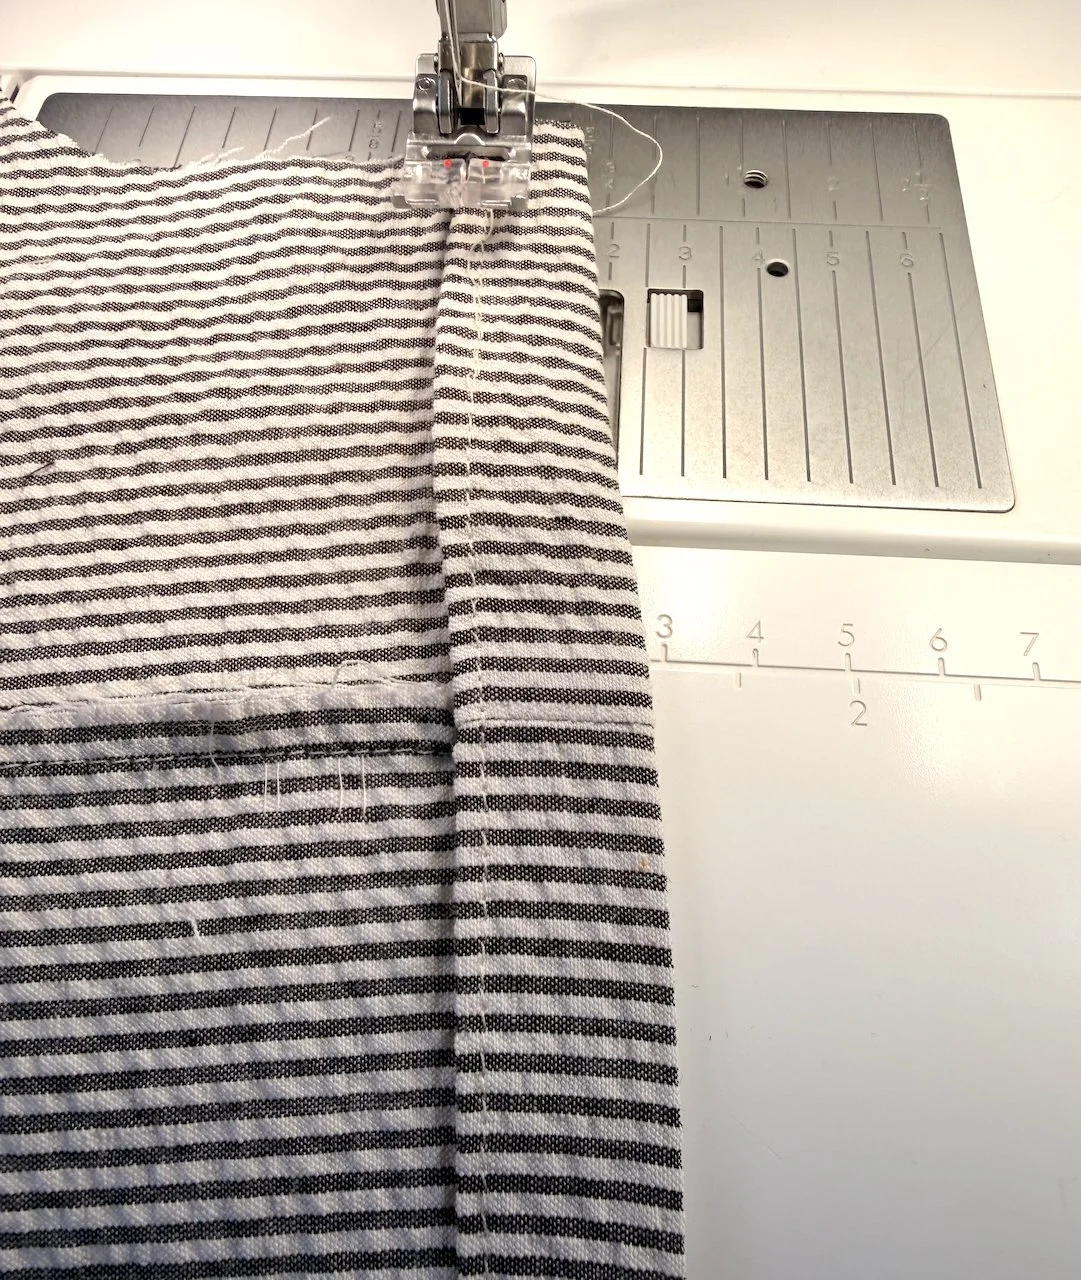
Tunnel elastic through the casing. Directions are in this capris tutorial. The photo below also shows you how. Be sure to stitch the first end of the elastic so you don’t accidentally pull it out.
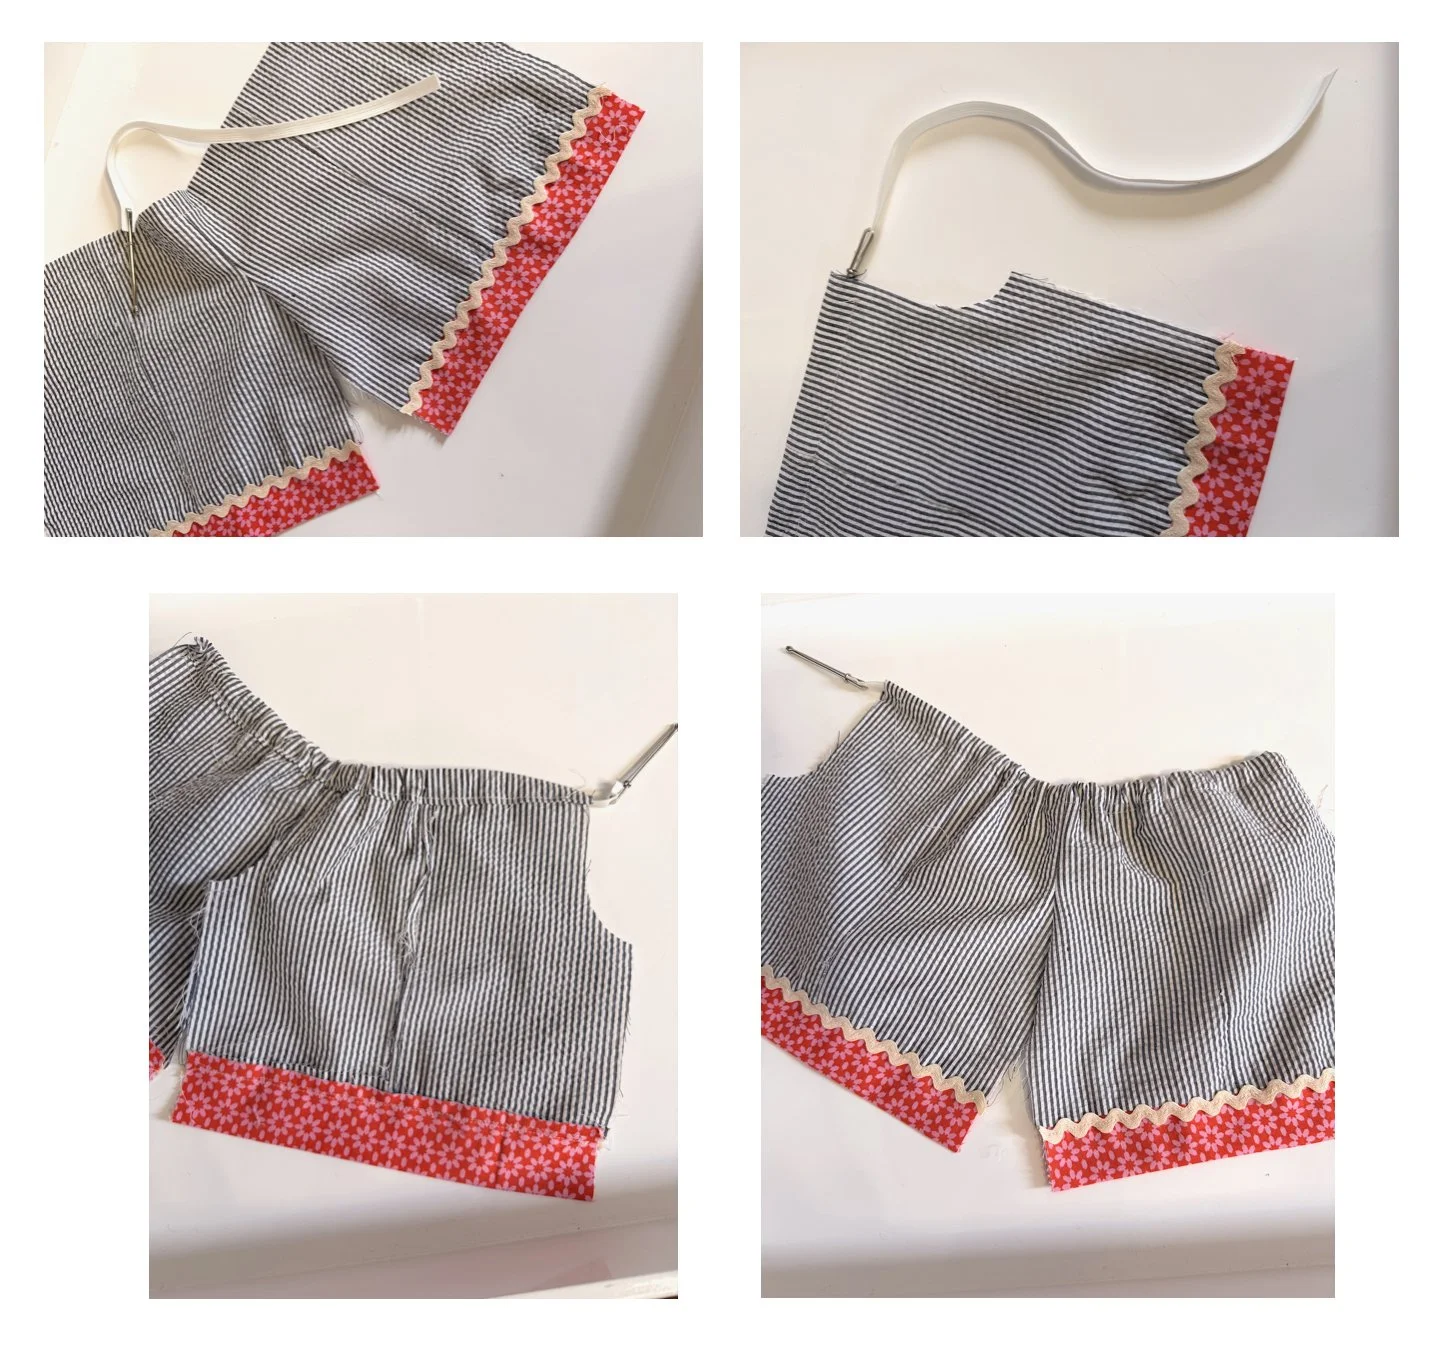
Sew the back center seam.
Sew the center leg seams and flip right side out.

You are done! The pants are ready to wear! I added a matching top made out of the bodice pattern in the basic patterns. I will have a tutorial for that next time.


