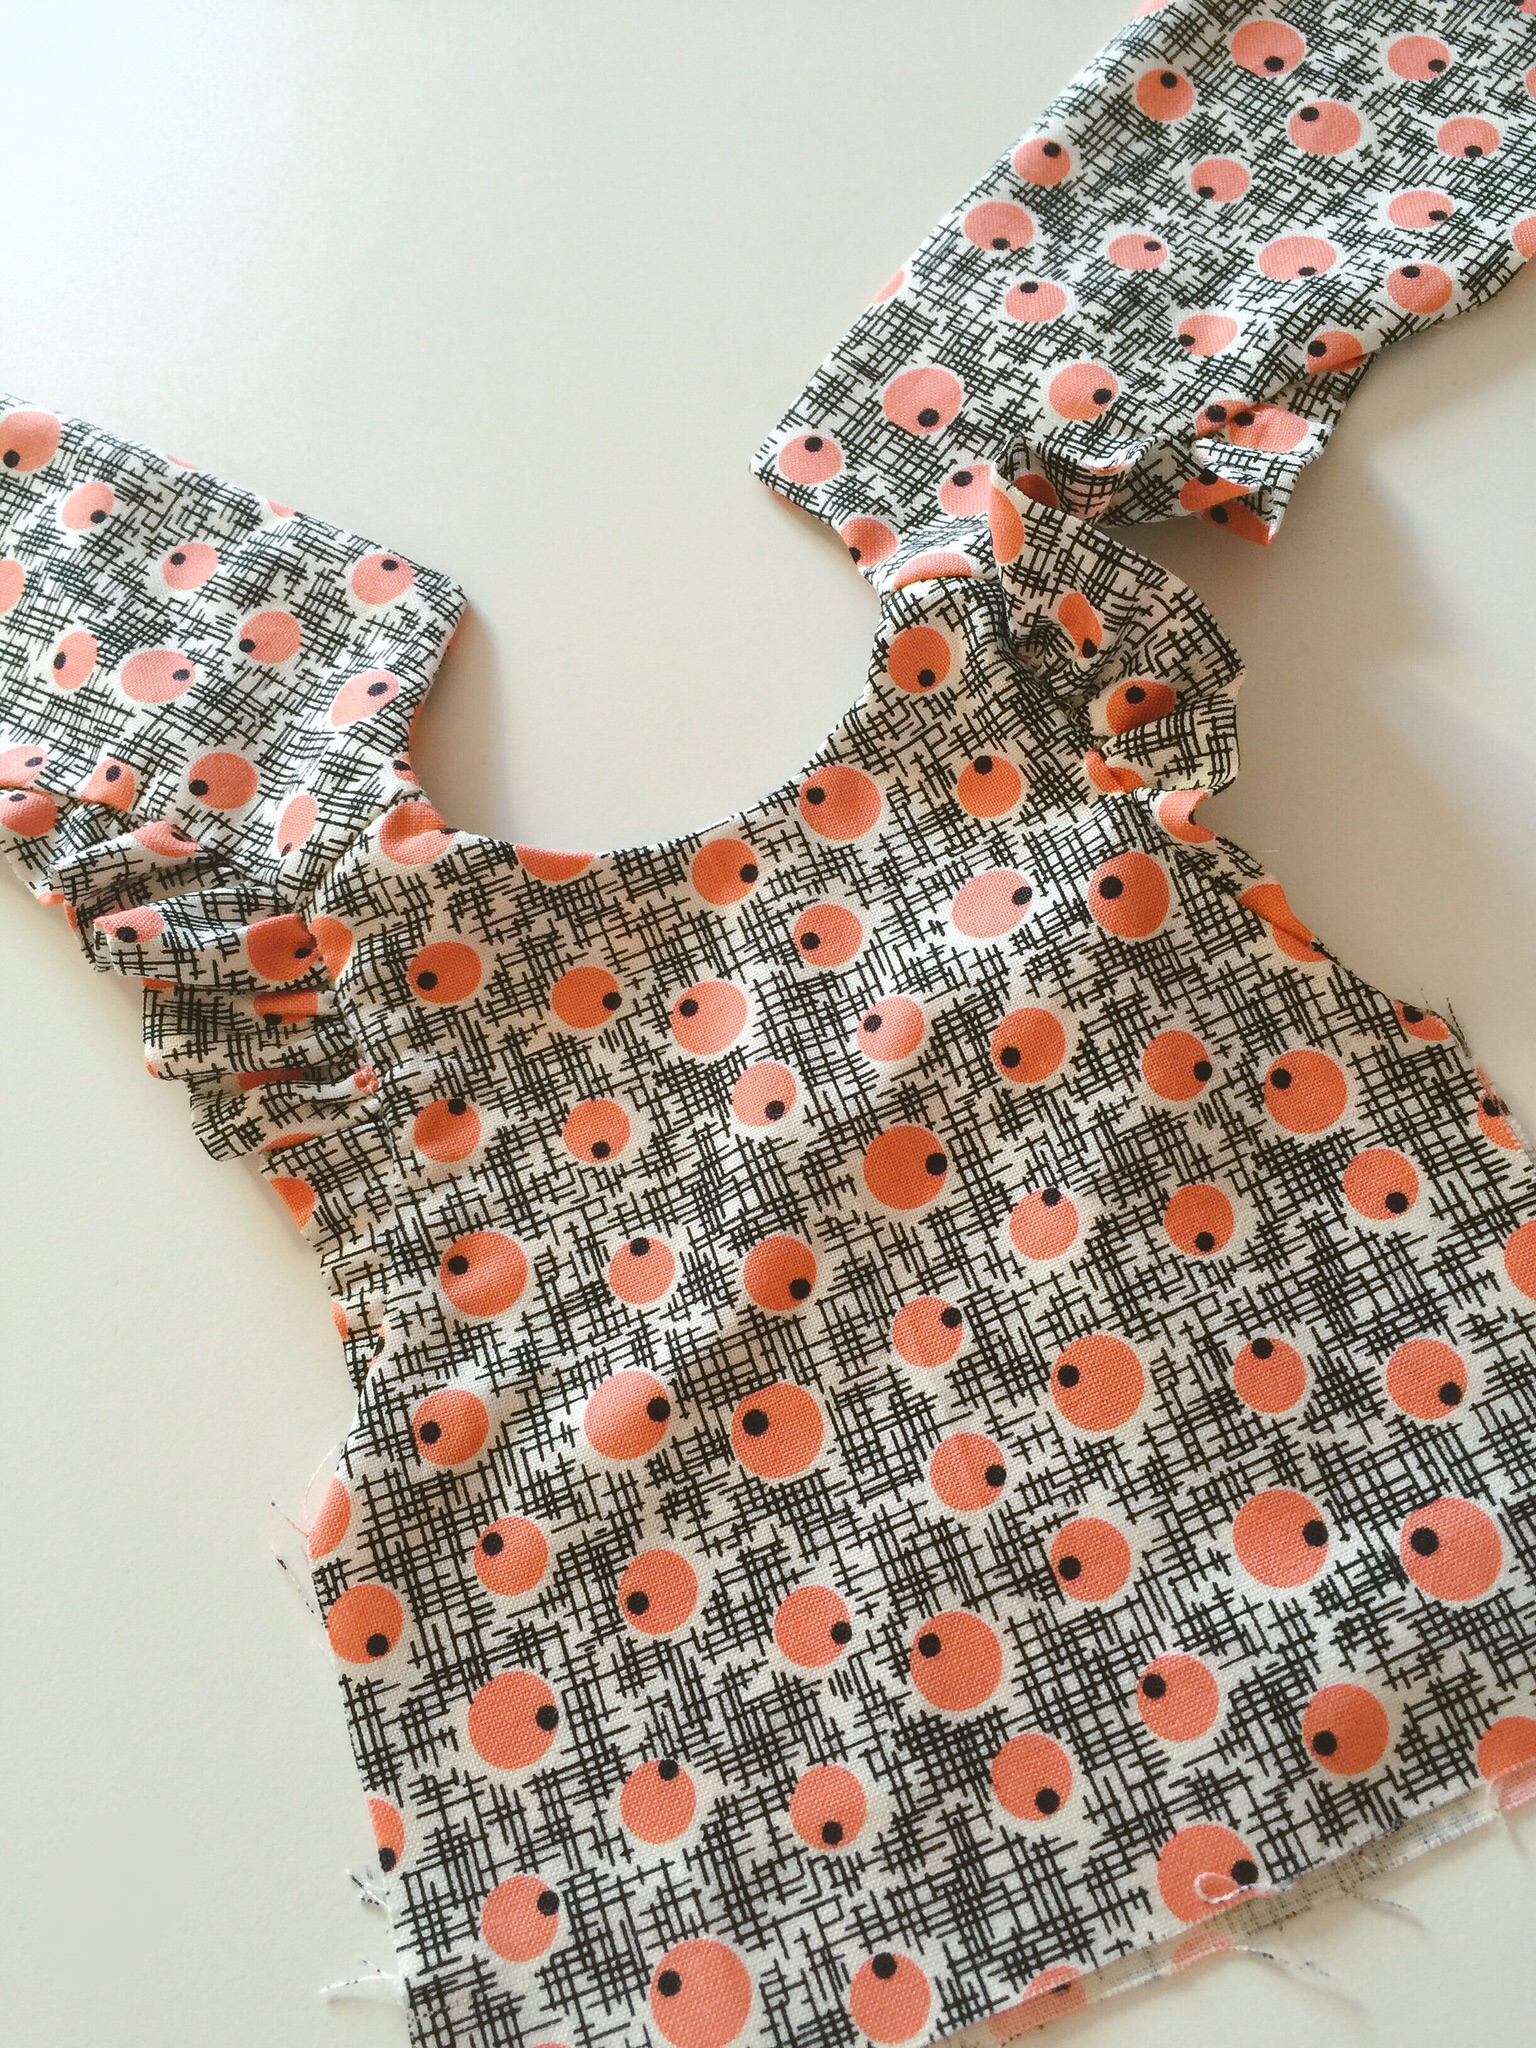
There are several fun (and simple) things you can do with the drop waist dress pattern. One is to embellish the front. Pintucks, small stitched down pleats, on the bodice, are one way to change the pattern up.
Since doll dresses, especially their bodices, are small, it is easier to sew the tucks in the fabric before cutting out the bodice.
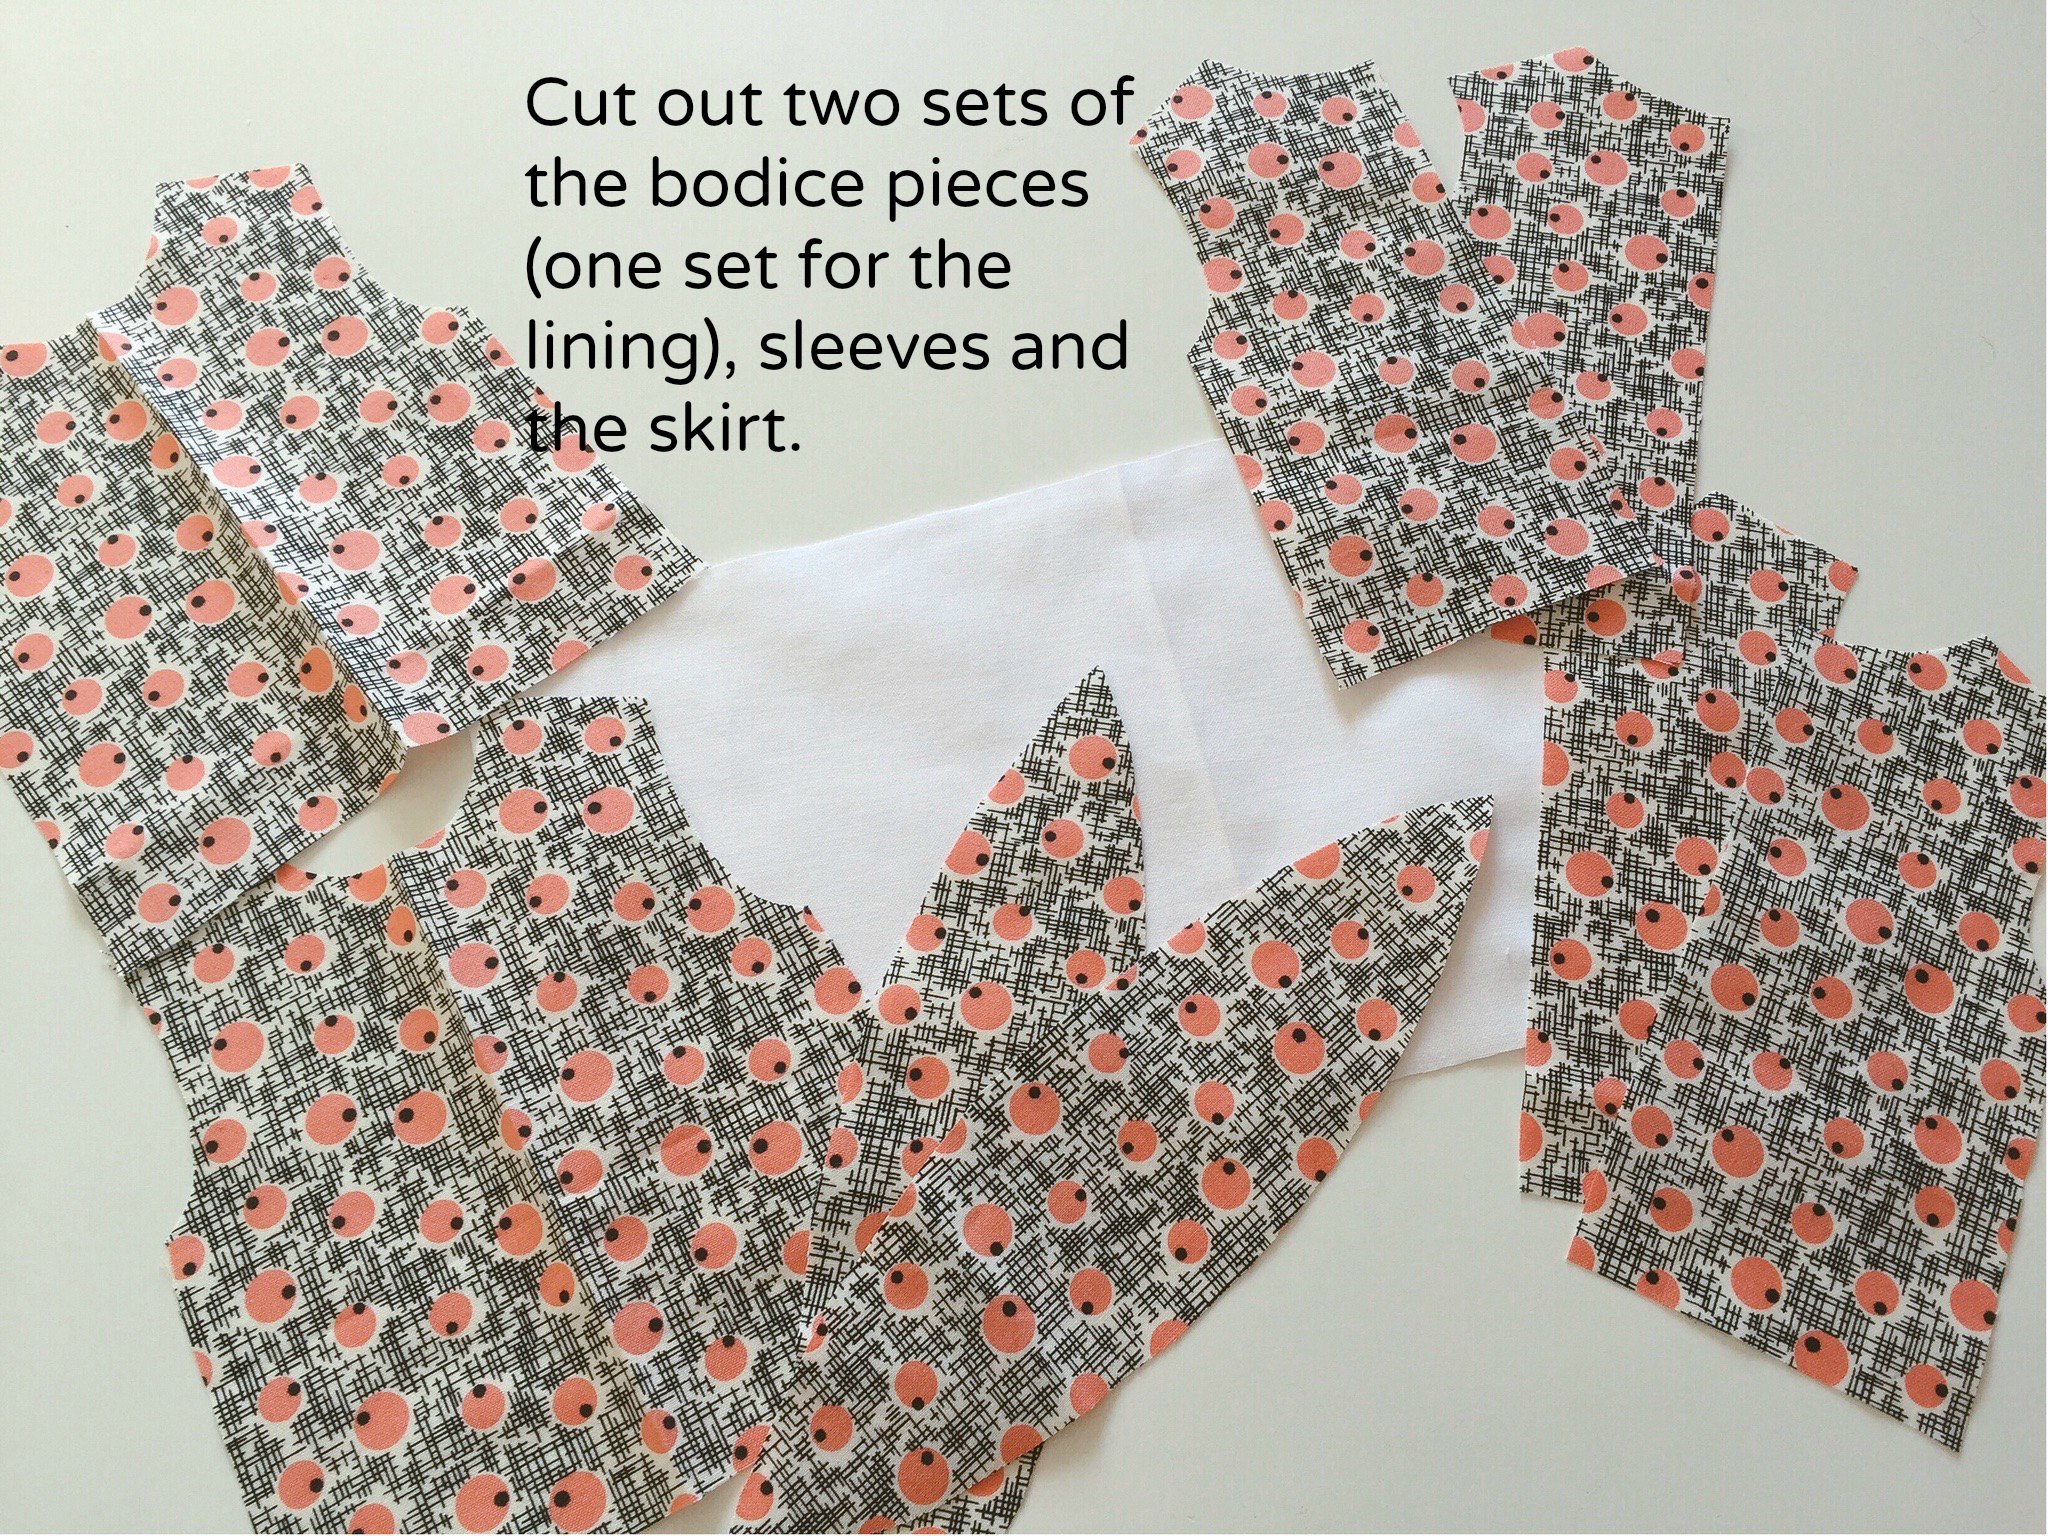
Cut a rectangle of fabric slightly taller than your bodice and at least three inches wider.
Fold it in half vertically to mark the middle. You will want to keep your pintucks centered.
I use a ruled piece of paper to mark where the pintuck folds will be (I will provide this in the newsletter patterns). It's kind of a pintuck cheat. Place the ruled piece of paper on your fabric. Center it.
Cut small snips at the end of each line on your cheat sheet. This is for marking where to fold and iron. Fold and iron along each line making sure all of your folds are on the same side of your fabric.
Snipping and folding
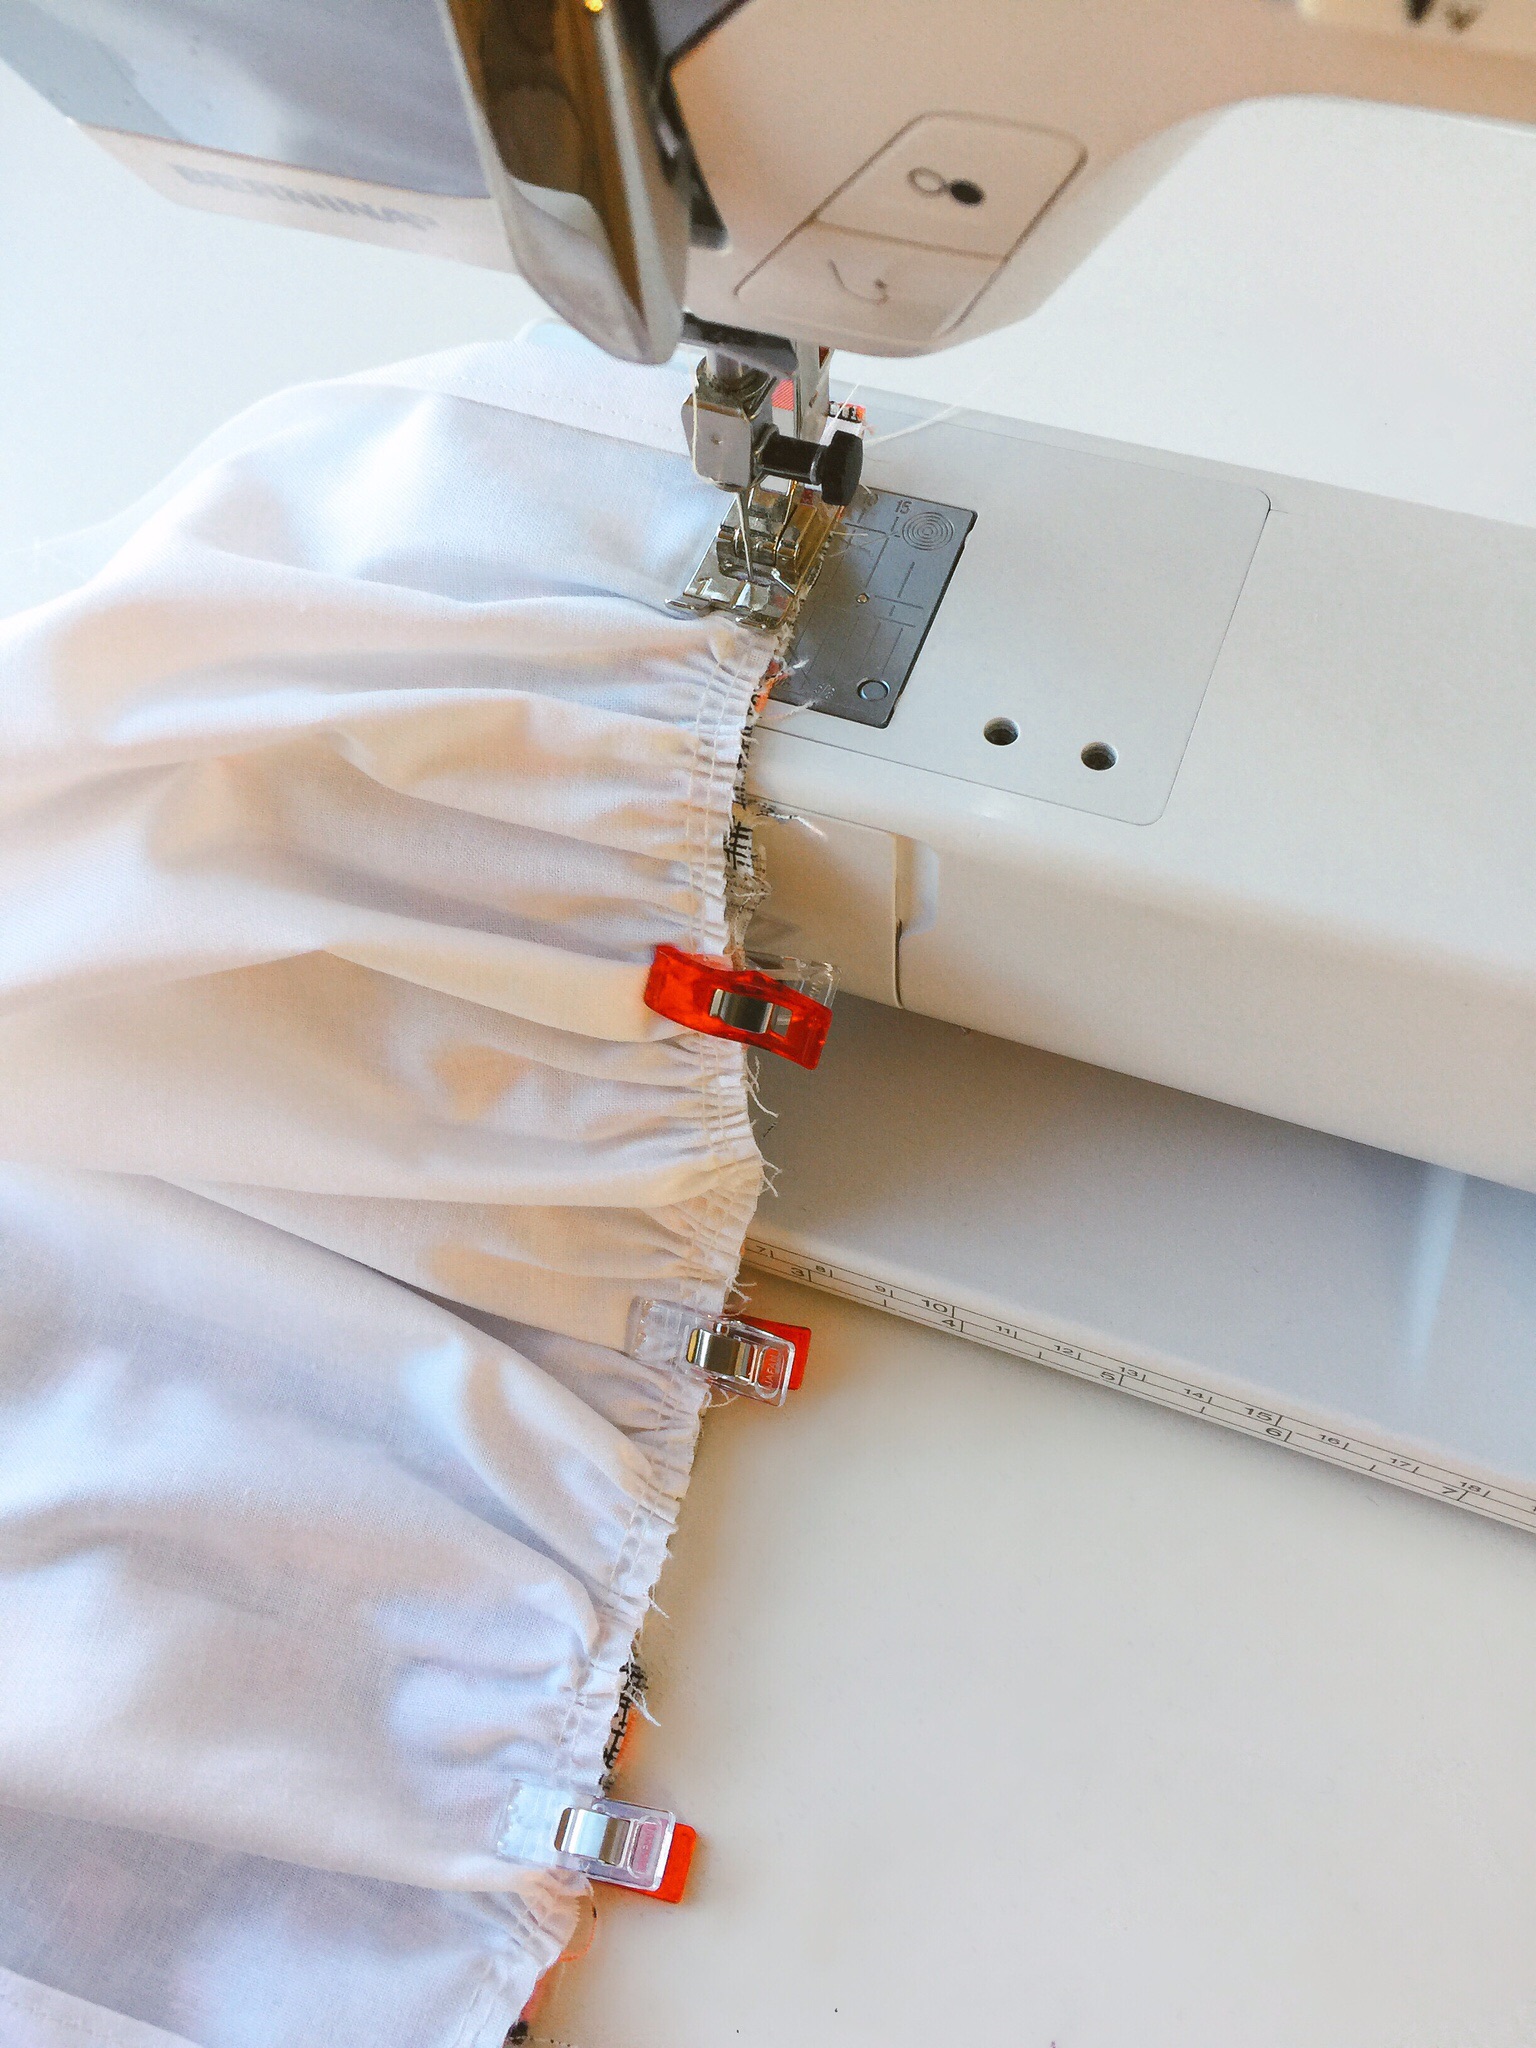
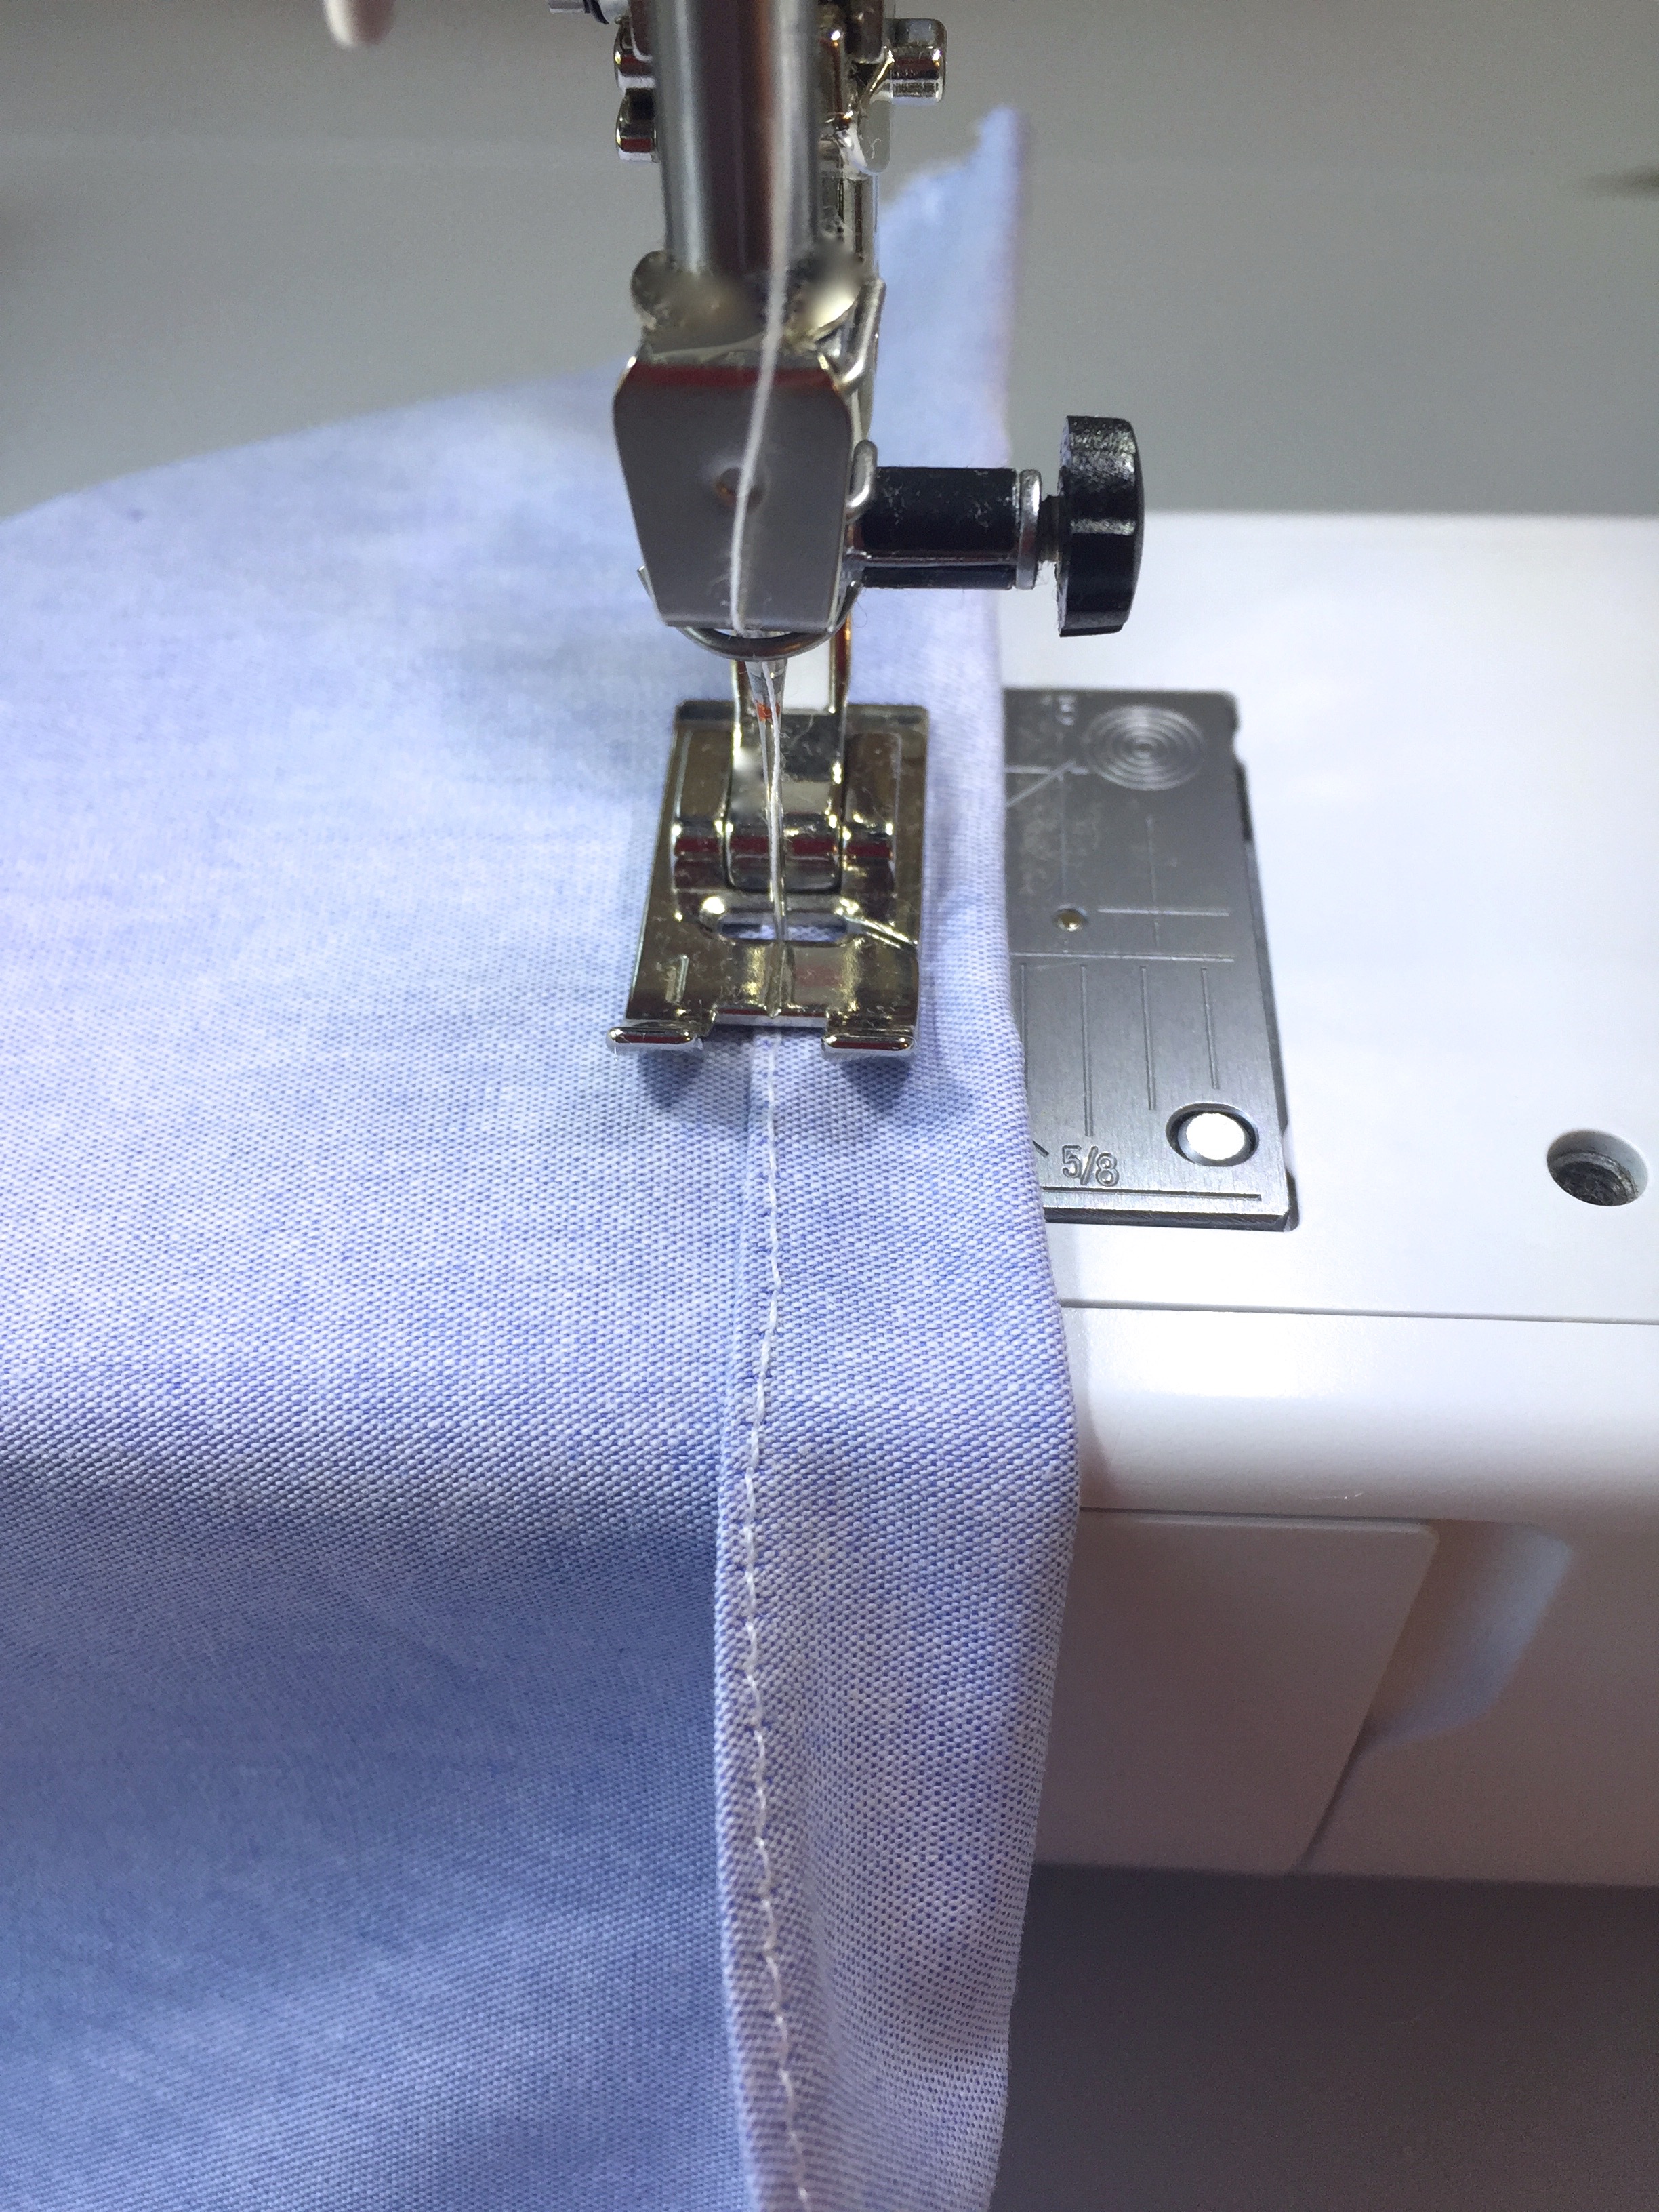
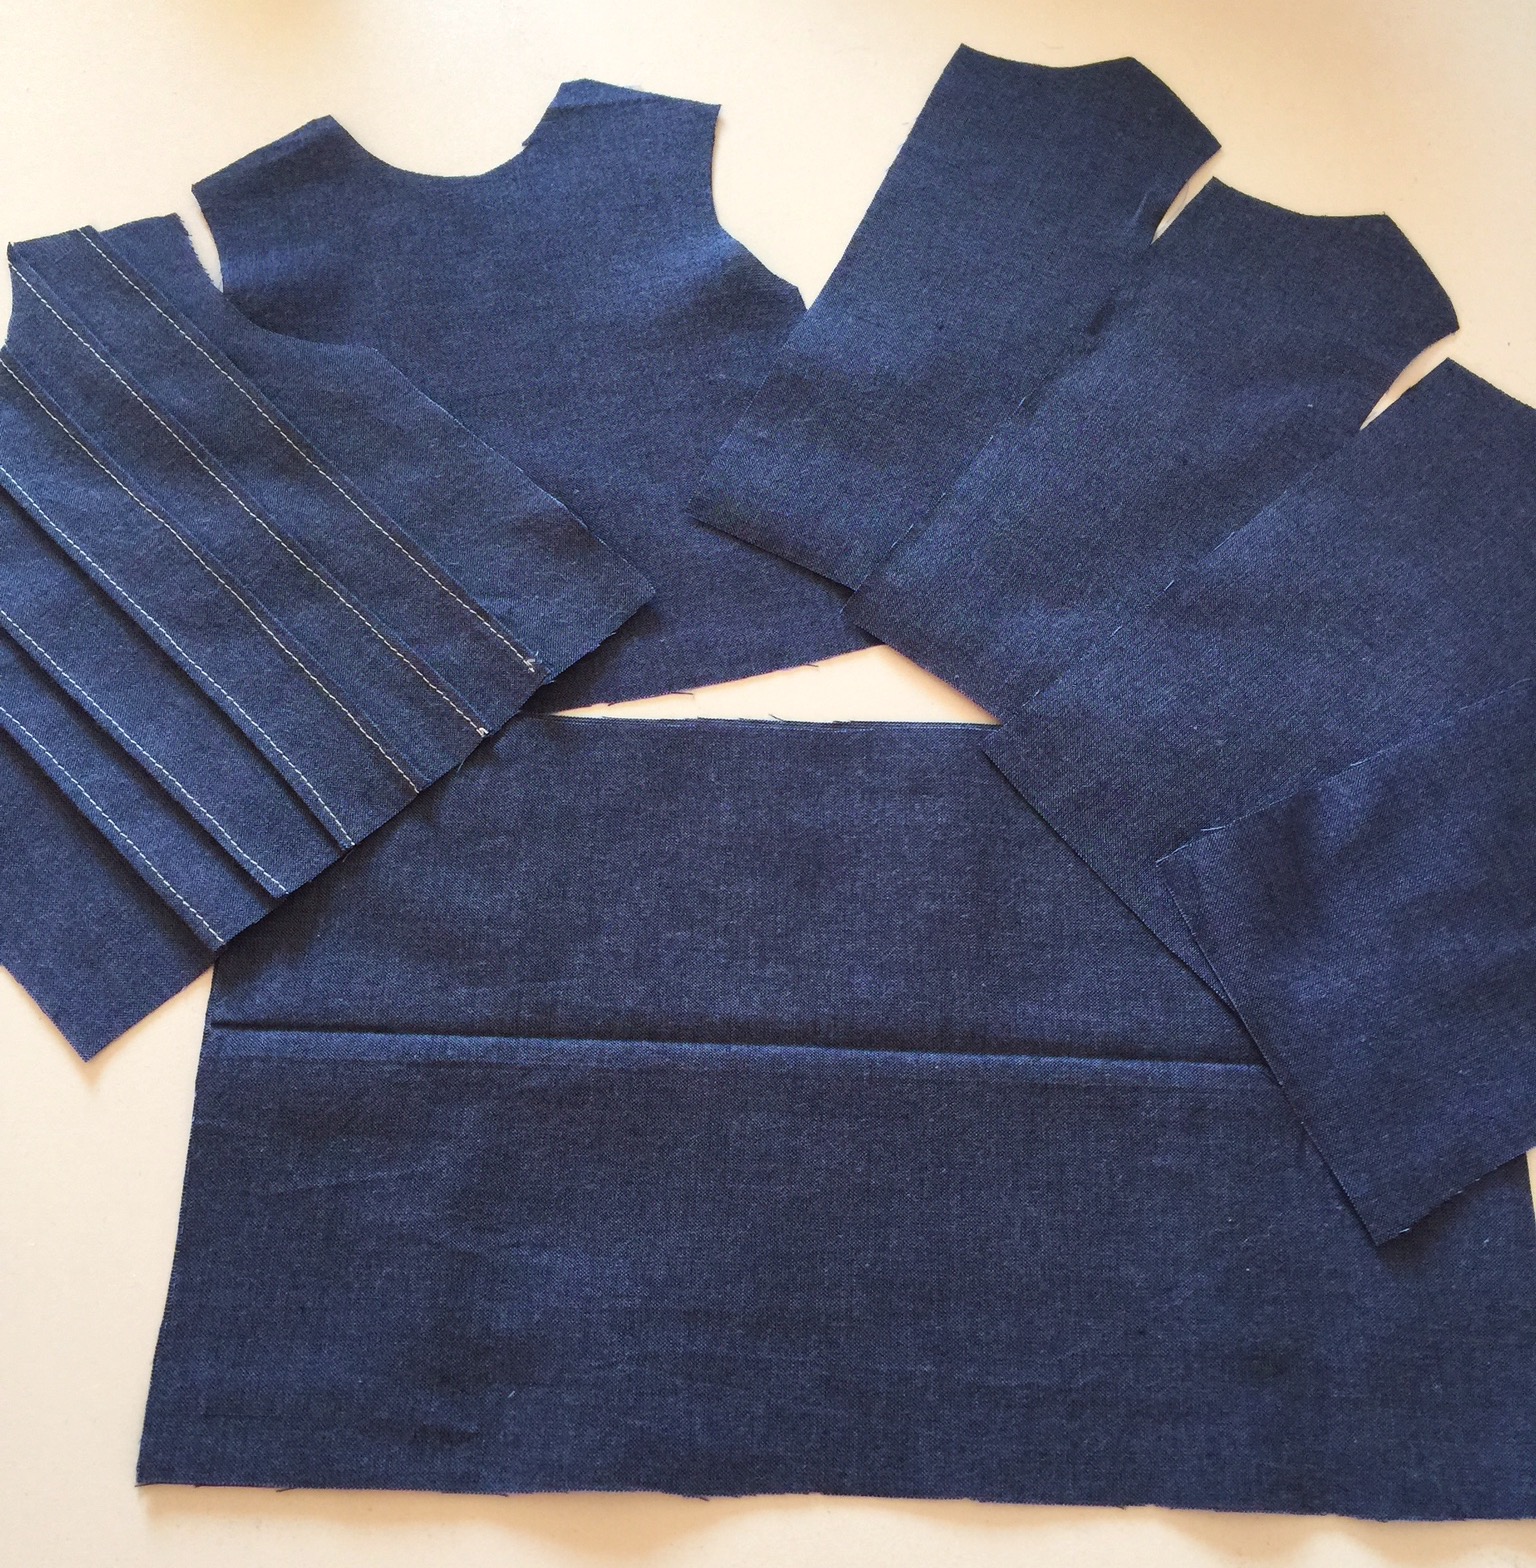
After pressing the folds, you will stitch each one with a contrasting thread a tiny bit in from the fold. I used the interior edge of my presser foot as my guide for keeping the pintucks straight and even. See arrow.
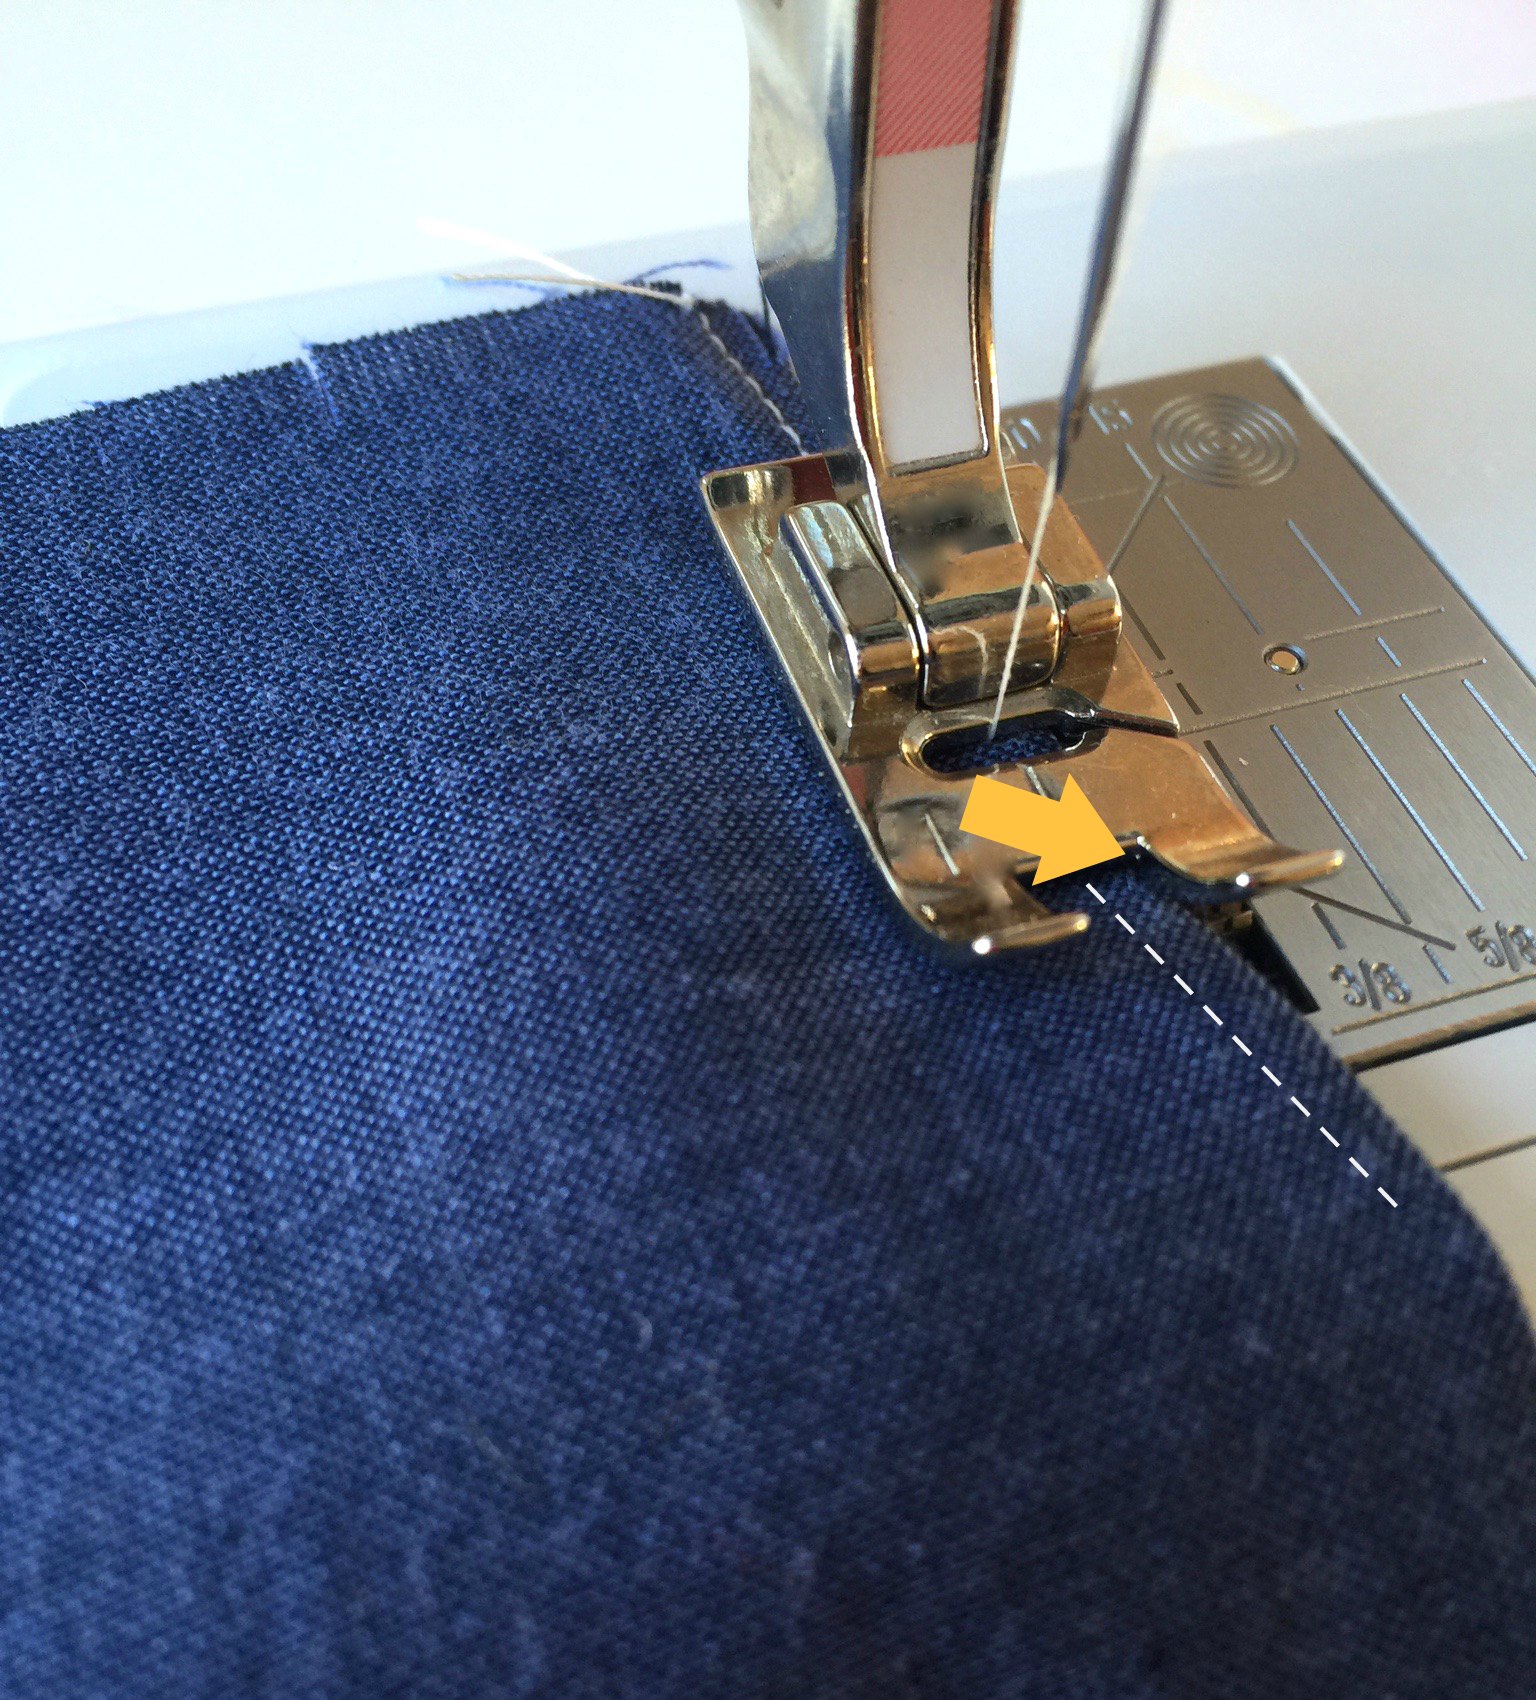
Using your presser foot to keep the pintucks straight and even.
Repeat this for all six of the pleats, paying attention to making sure they are coming out all on the same side of the fabric.

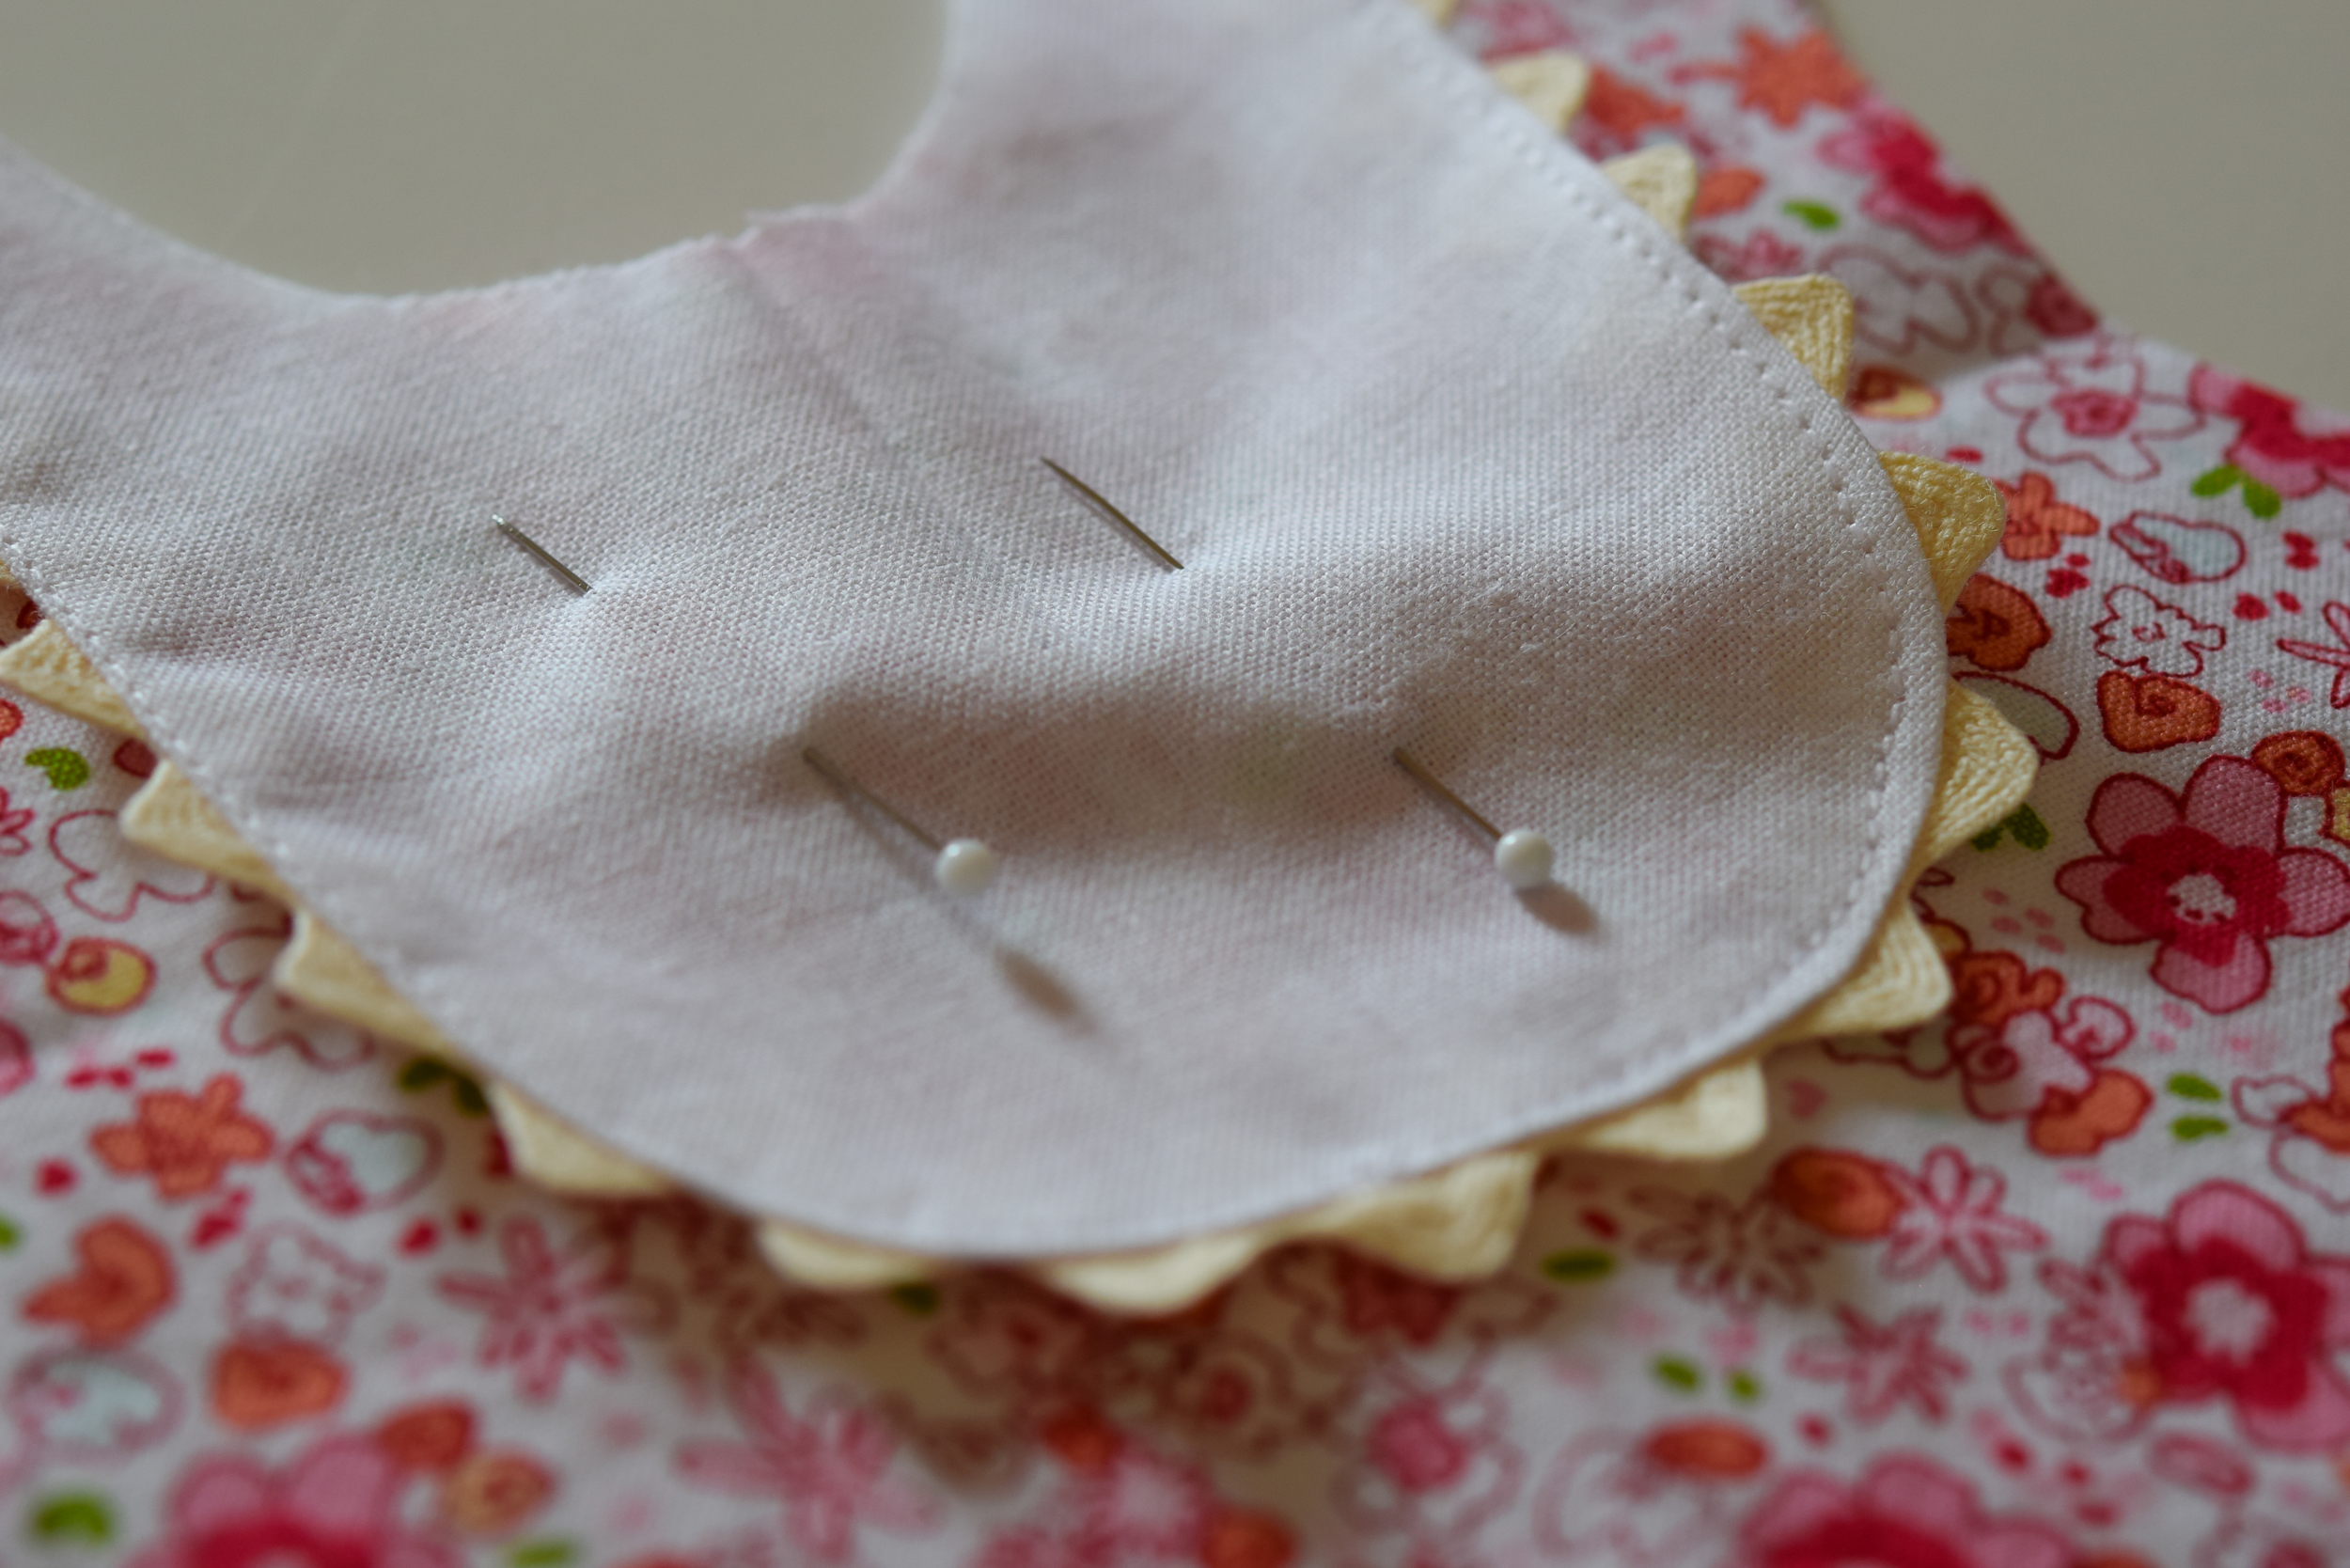
When you are done, press the pleats so they are all facing out from the center and then staystitch across the top of the fabric so they stay pressed in the correct direction while you cut out your bodice.

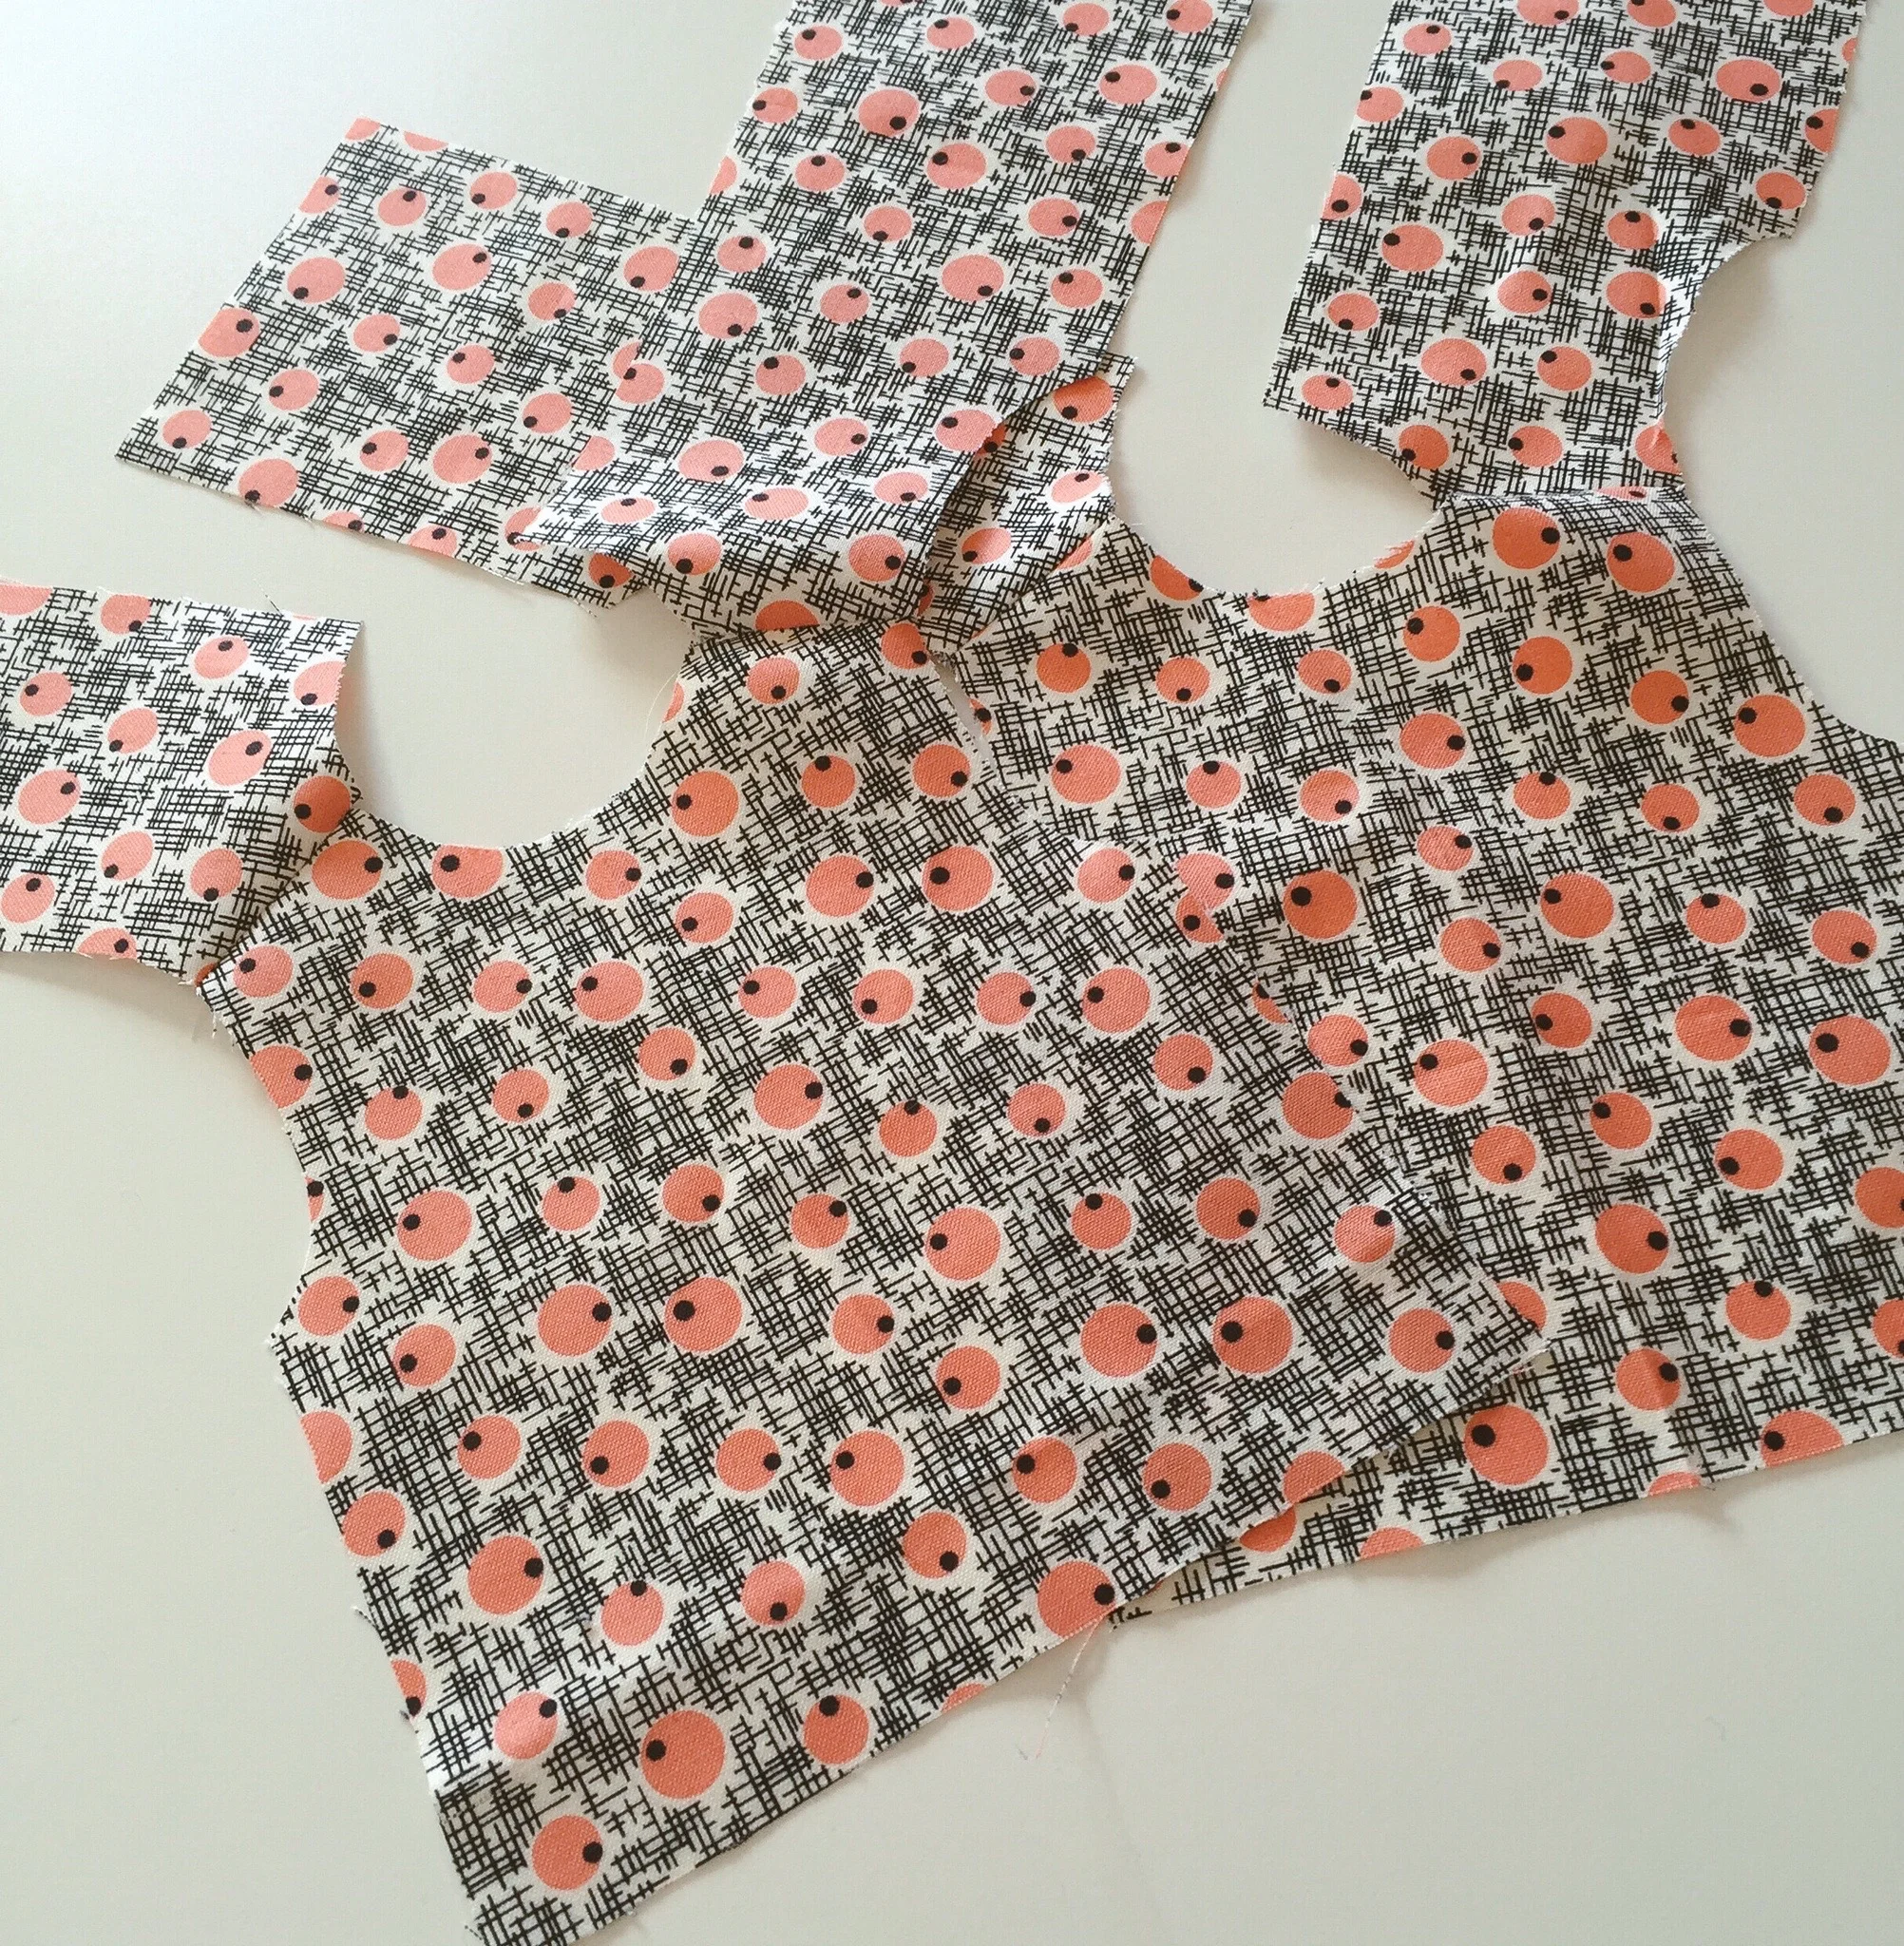
Now that your bodice fabric with tucks is made, you are ready to cut out the bodice. Since I use freezer paper, I ironed mine on and cut. Pins also will work. Make sure your pleats are centered underneath before cutting.

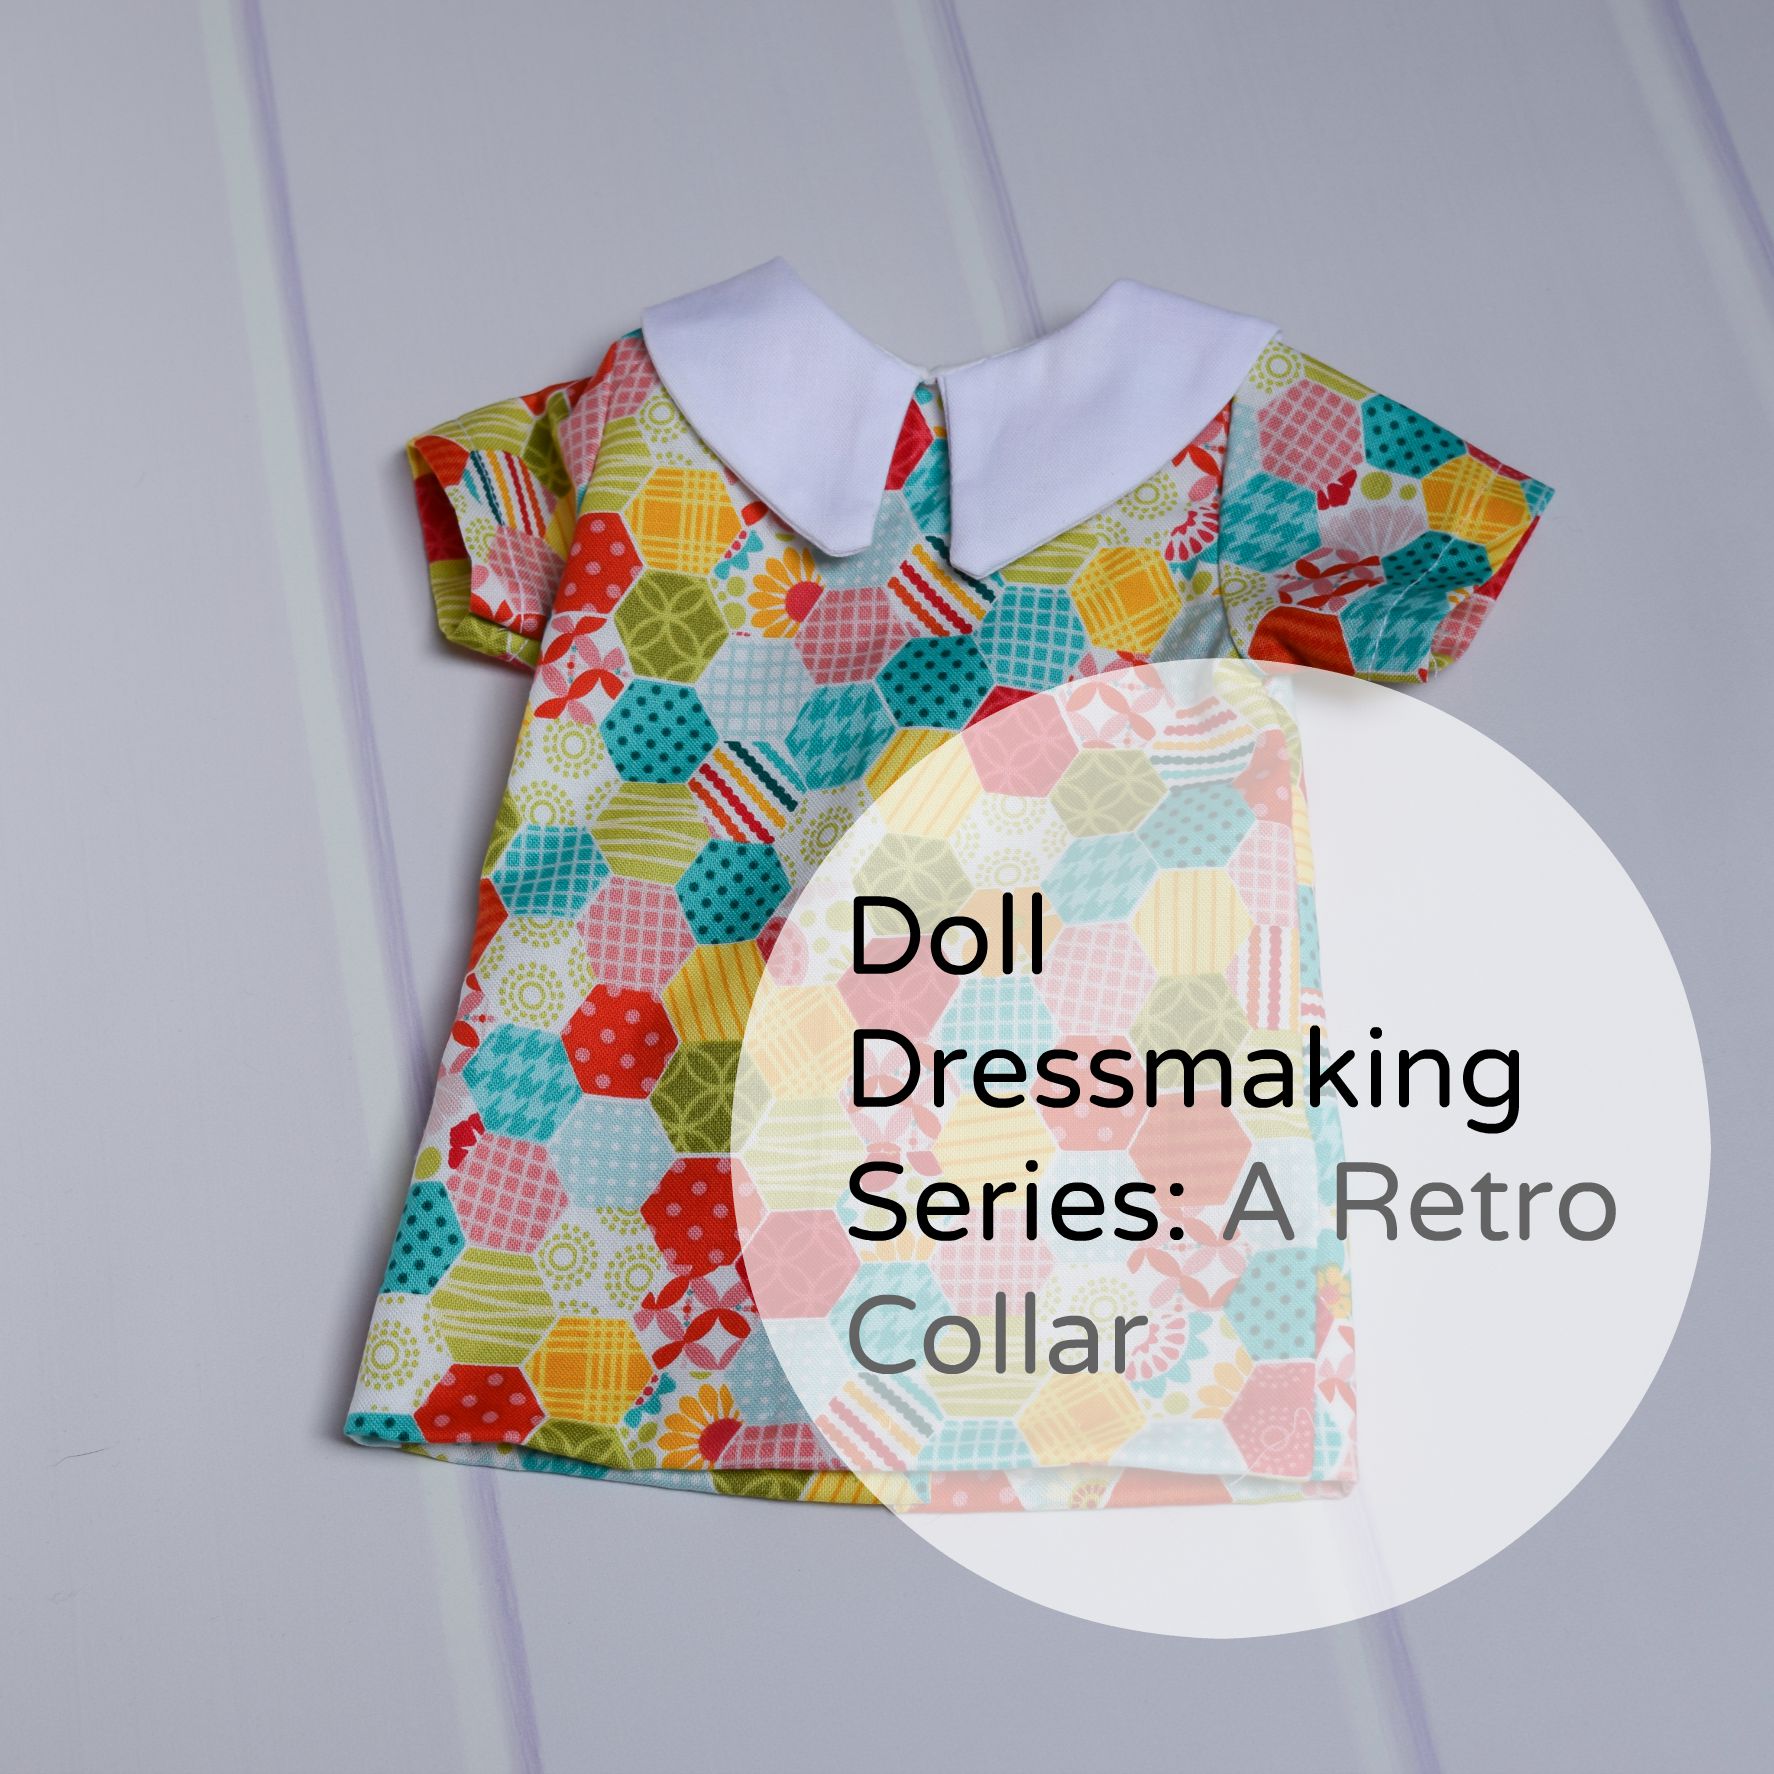
Next sew your dress together following the dropwaist instructions. I did this one without the ruffle sleeves and I machine hemmed it with contrasting thread to match the pintucks.
For this pattern, the drop waist pattern and all of the other patterns in the series, subscribe to the Phoebe and Egg newsletter. Sign up is below.

Sign up for the newsletter and receive a set of the base patterns and receive patterns as they come out, plus useful links and more. Sign up is on the right-hand side of this blog.