
In my last post, I showed you how make a facing for a basic doll dress. A facing is one way to finish raw edges. When you line a simple sleeveless dress, you something extra, a reversible dress. Cute, simple and a bit magical from a child's point of view.
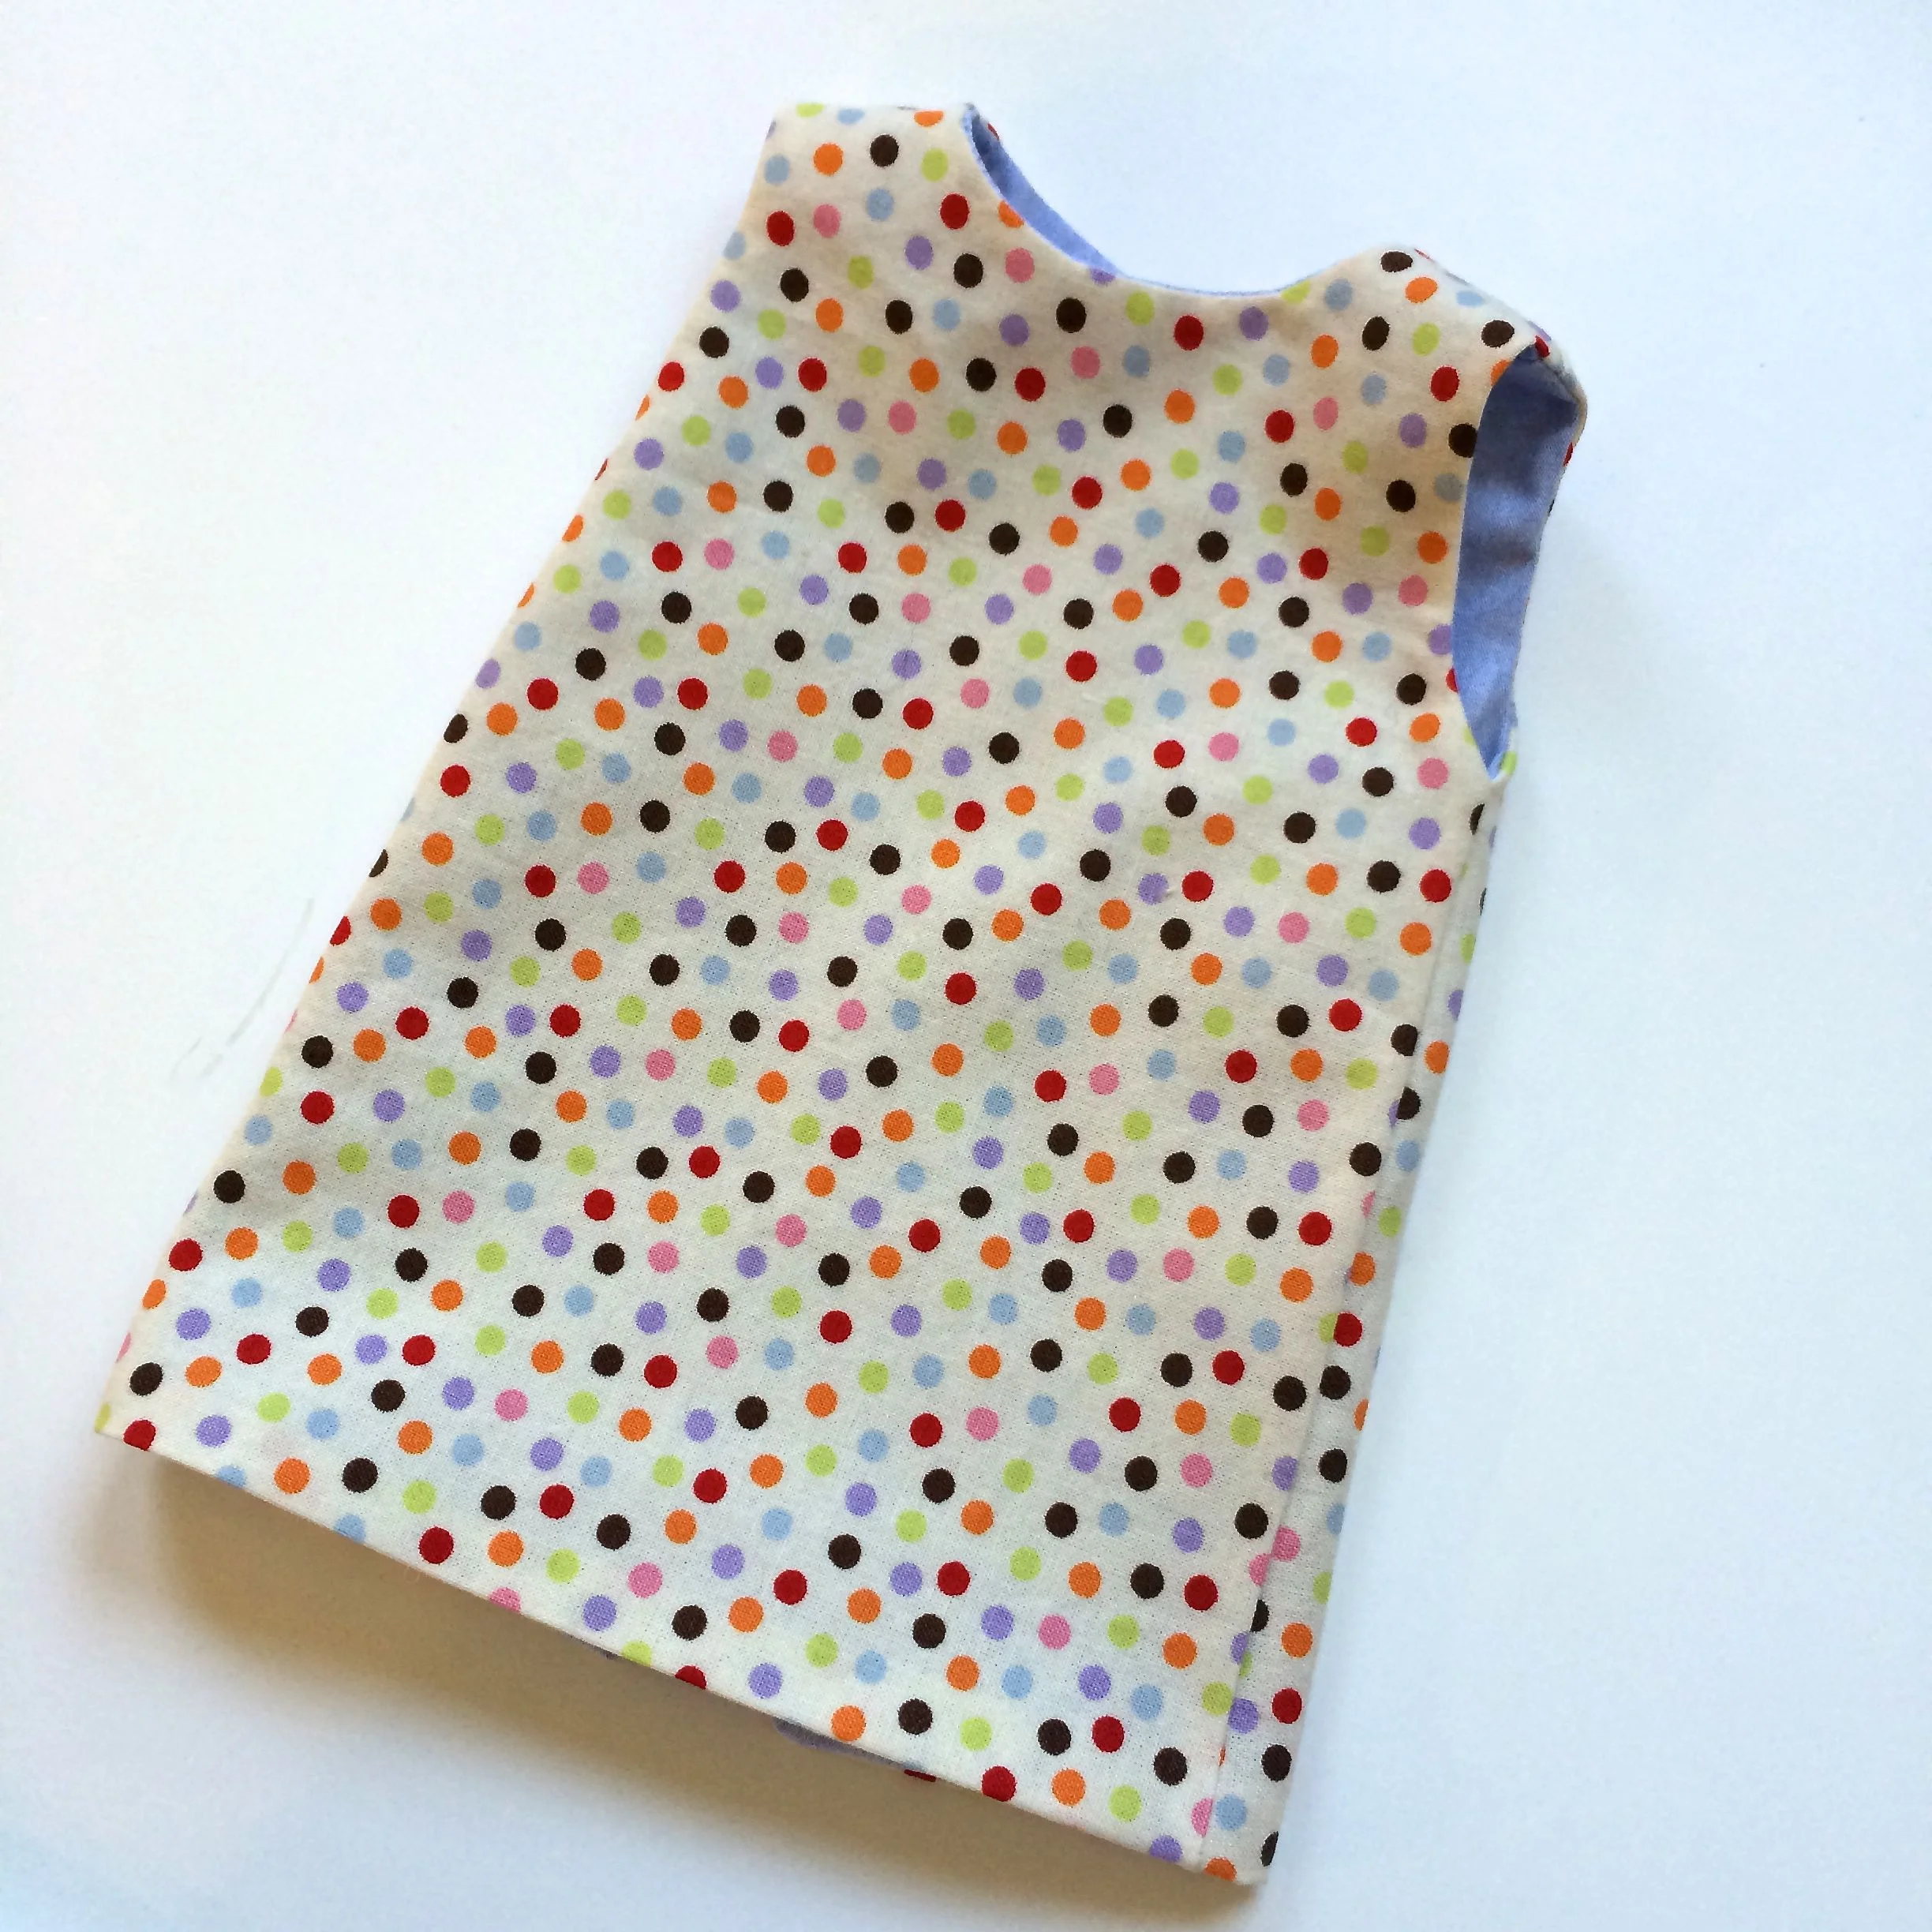
How to line a simple doll dress. Makes a sweet reversible dress.
There are several things to consider when choosing your two fabrics:
- Fabric weight. Quilting cotton is as heavy as you can go. Two layers of anything heavier at a doll's size will be too bulky and the seams will get bunchy.
- Color. Quilting cotton is not completely opaque. So choose fabrics where you won't see one fabric through the other. Bothe light or both dark.
- If you just want a lining, white is fine. White cotton lawn is good too, since it is so lightweight.
- Don't choose something that shreds or unravels too easily, like many linens. With a quarter inch seams, you may have some unraveling seams and once the dress is finished and "sealed up" you have no way of going back in and fixing any seam gaps. For one fabric I used quilting cotton, but for the other I used oxford cloth shirting, which does fray a bit.
Make two copies of your basic dress pattern and pin and cut one out of each fabric.

There are several things to consider when choosing your two fabrics.
Next sew together the shoulder seams for each fabric as though they were two independent dresses. Press the seams flat.

Pressing seams is a good habit and makes everything look better.
- Place the two dresses together with rich sides together lining shoulder seams up to match.
- Sew the two dresses together starting from the hem edge of the back opening up the back opening, around the neck and back down the other side of the back (see closeup below). Next sew each armhole edge together (see close up below). Carefully clip curves and cut sharp edge off of the corner.
- Turn inside out by pushing/pulling back halves through the shoulder hole.
Click to enlarge image
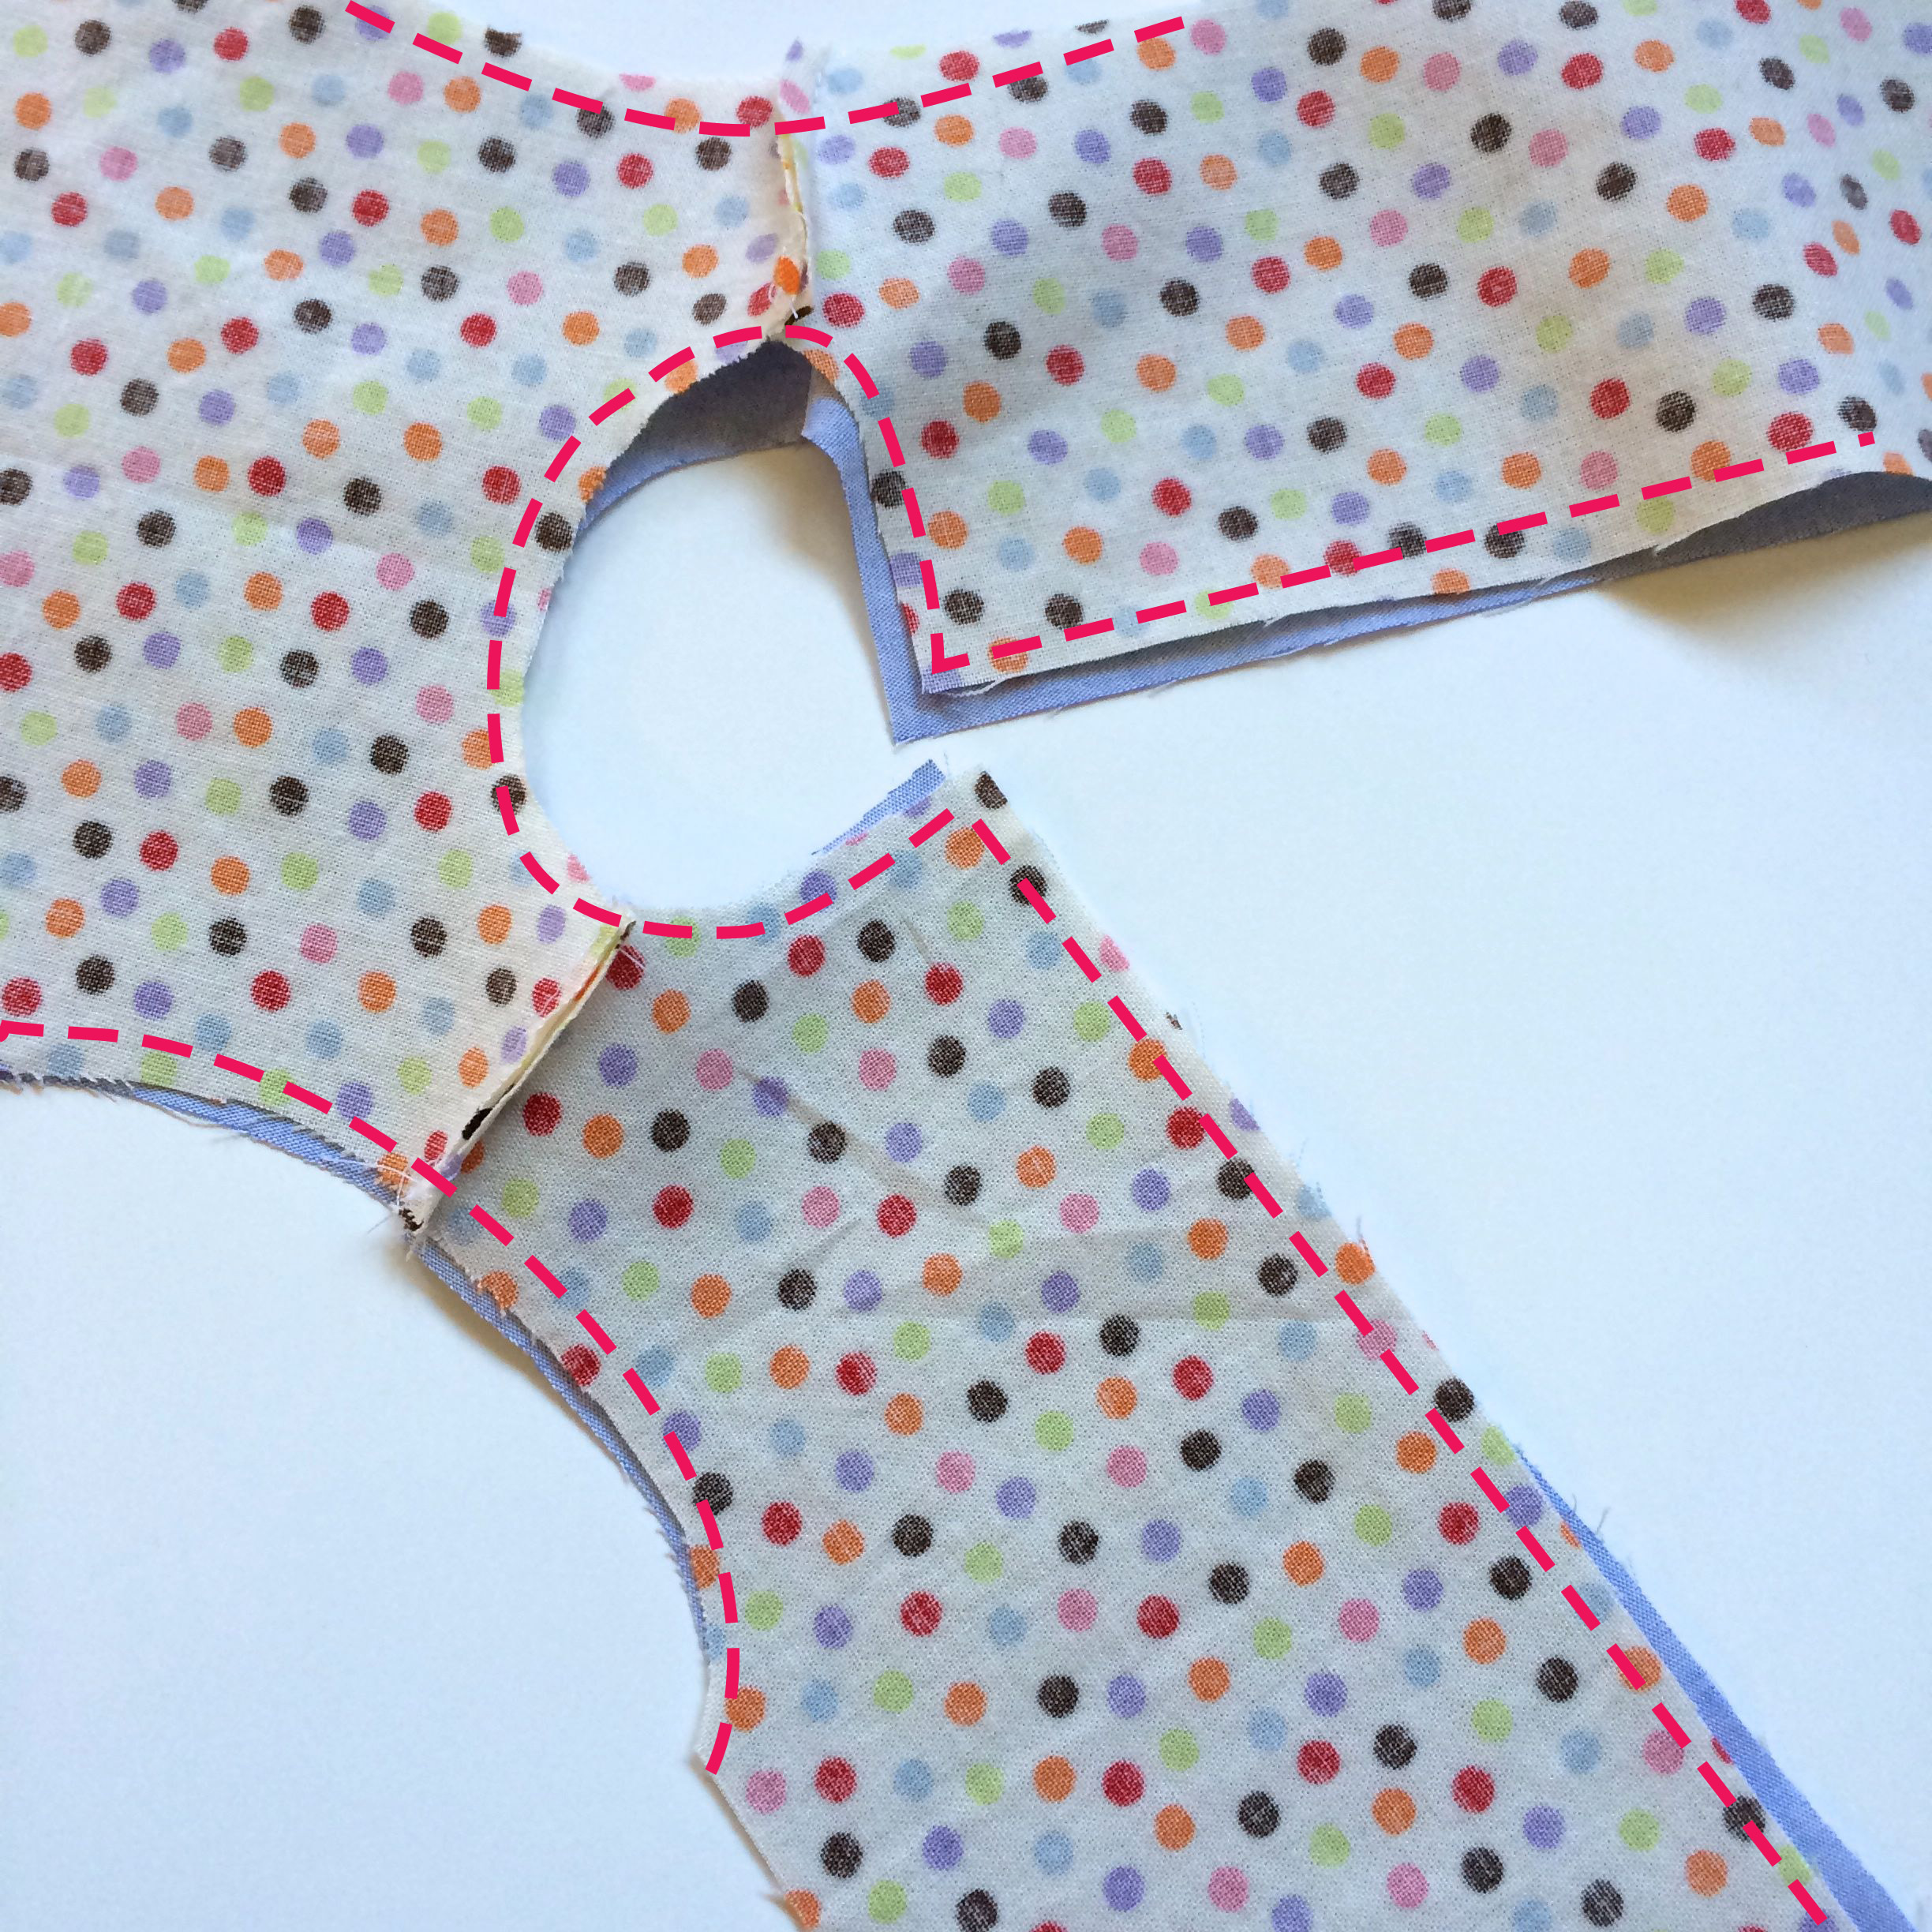
Close-up of where to sew your two dresses together.
Once the dress has the right sides out, you will need to neaten things up a bit. First use a semi-pointy something to push your corners out, so they look like corners and not curves. I use a tool called The Purple Thang. But there are a number of things that will work. A size five knitting needle if it isn't too pointy. You don't want to poke straight through the fabric. then press so the edges of your seams are flat.

Use a semi pointy something to push your corners out.
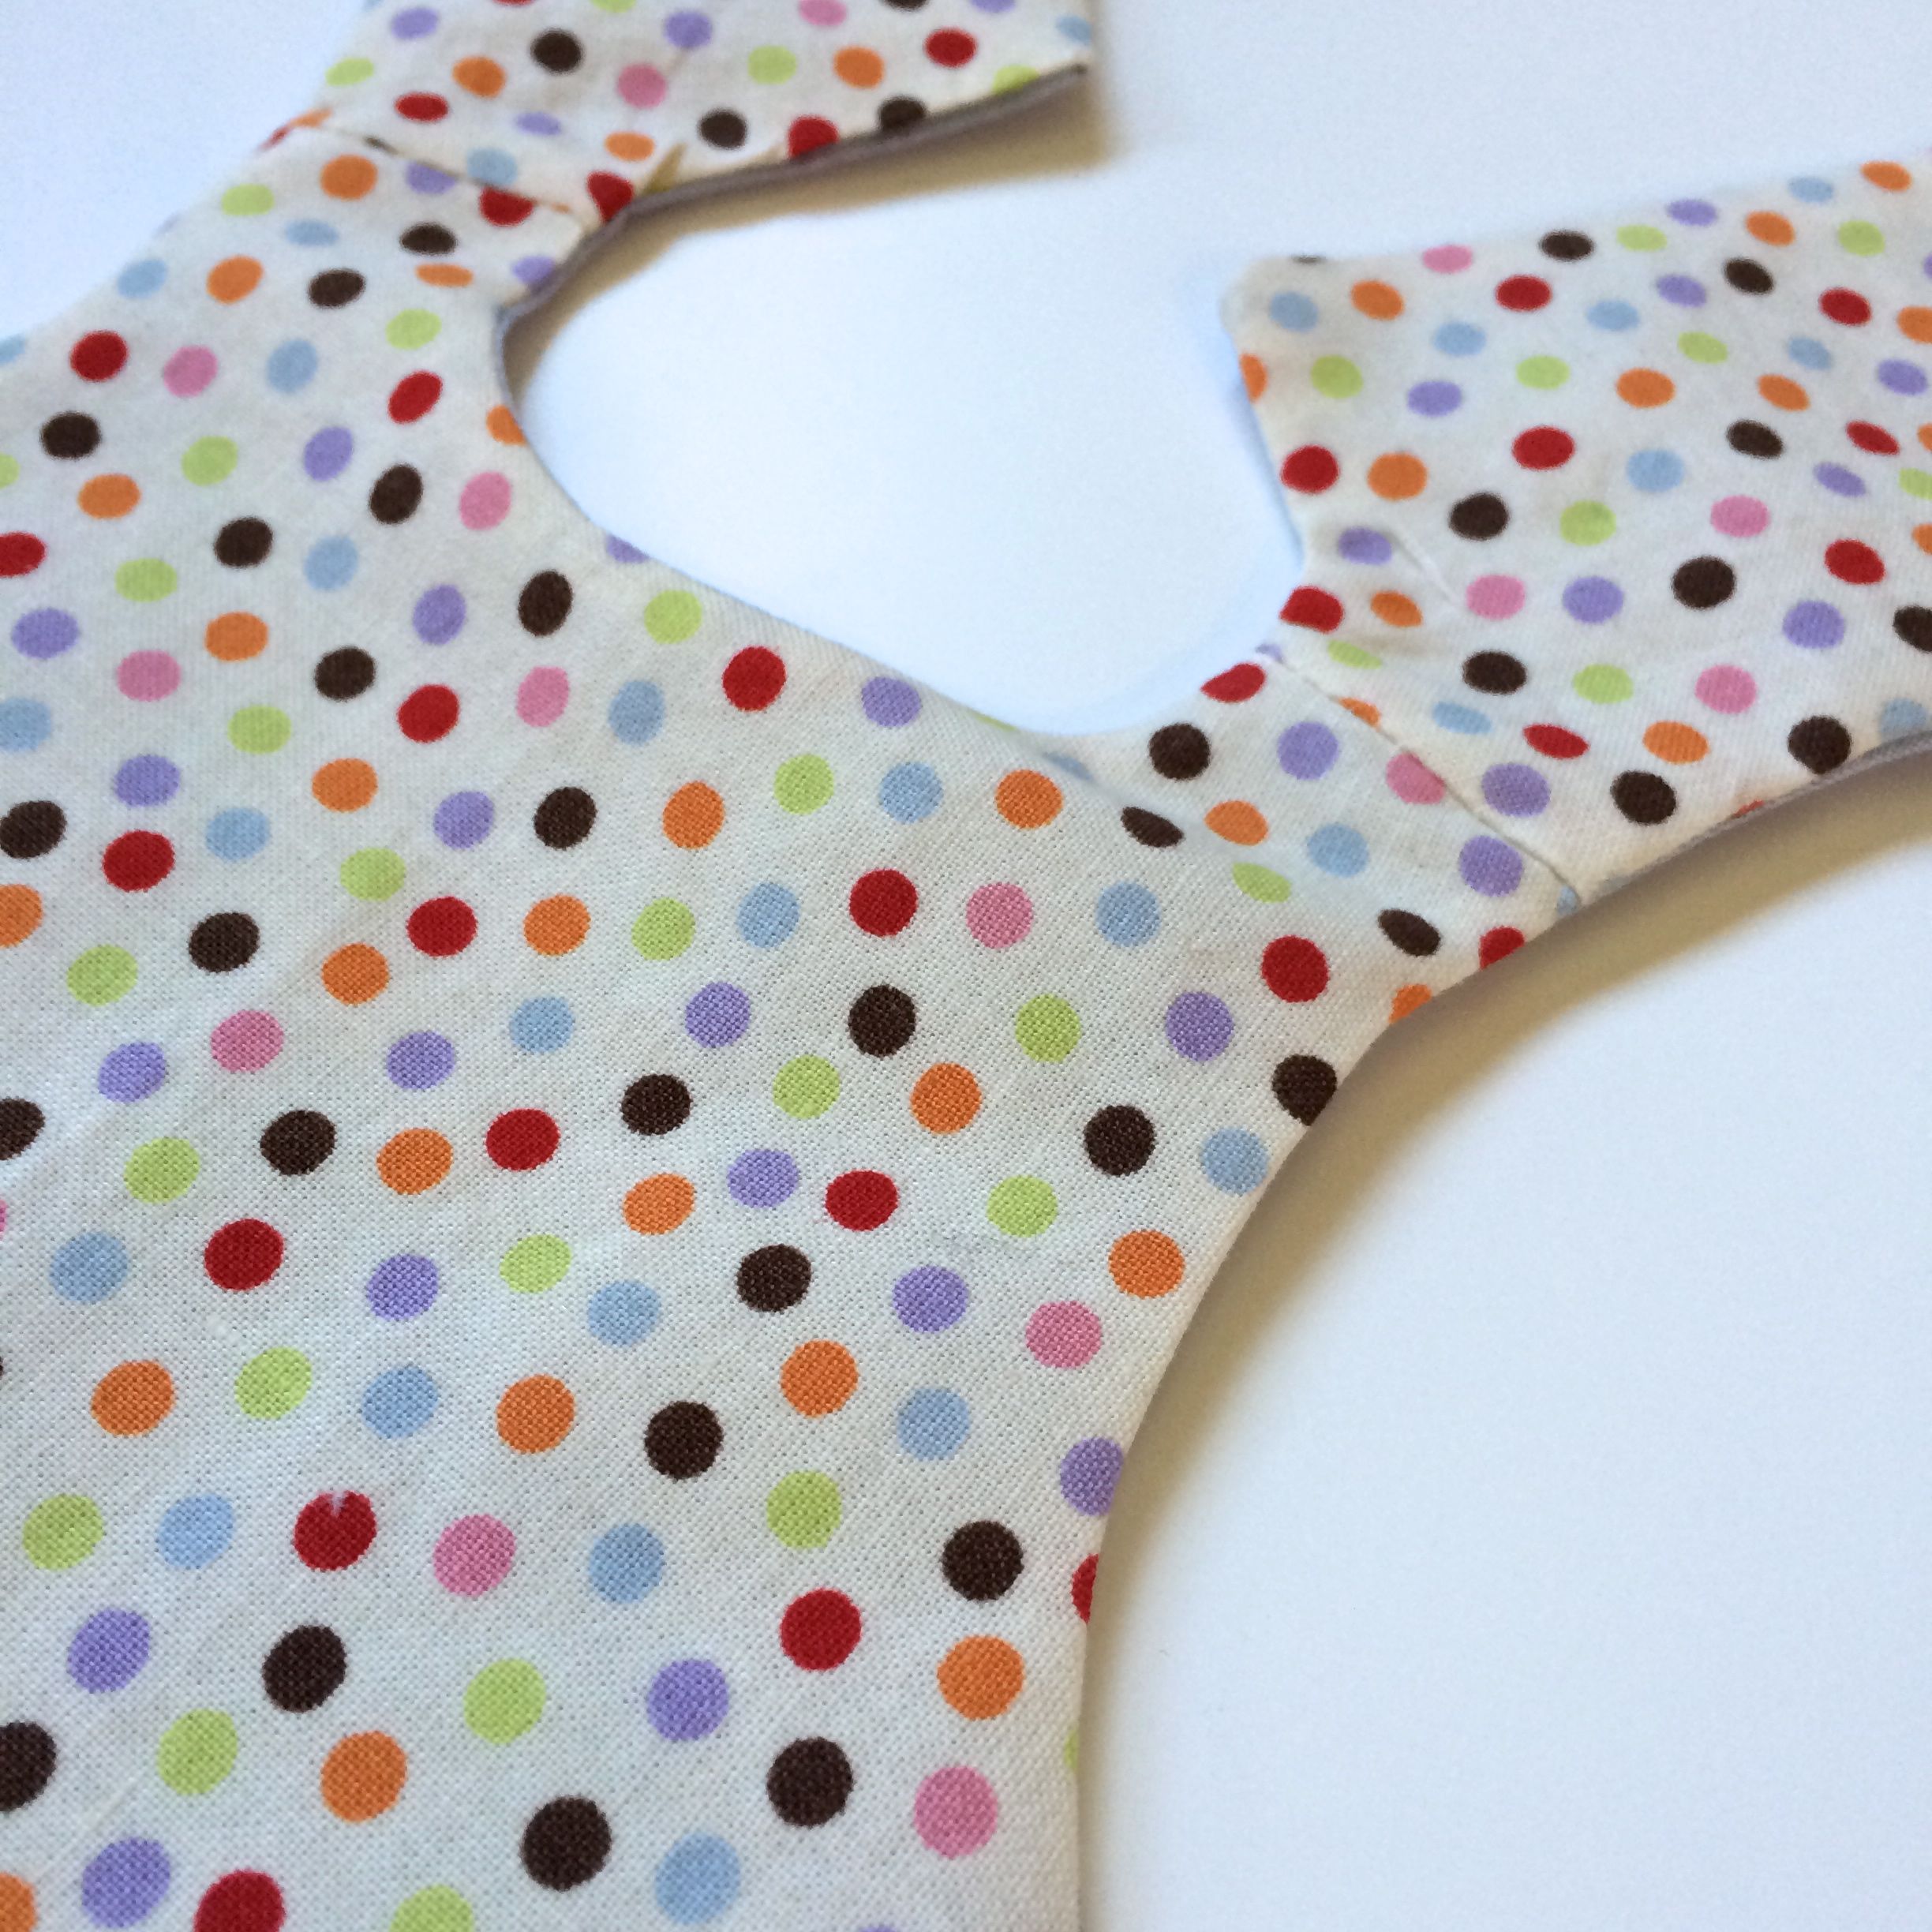
Press the neck and armhole seams.
Next you will be sewing up the side seams, but this is done so in the end the side seams will be hidden. in other words, no inside of the dress with fraying or messy or even visible seams:
Your dress now has four bottom of armhole seams. Two on the right side of the dress, two on the left. Find them.

Match bottom of your armhole seams.
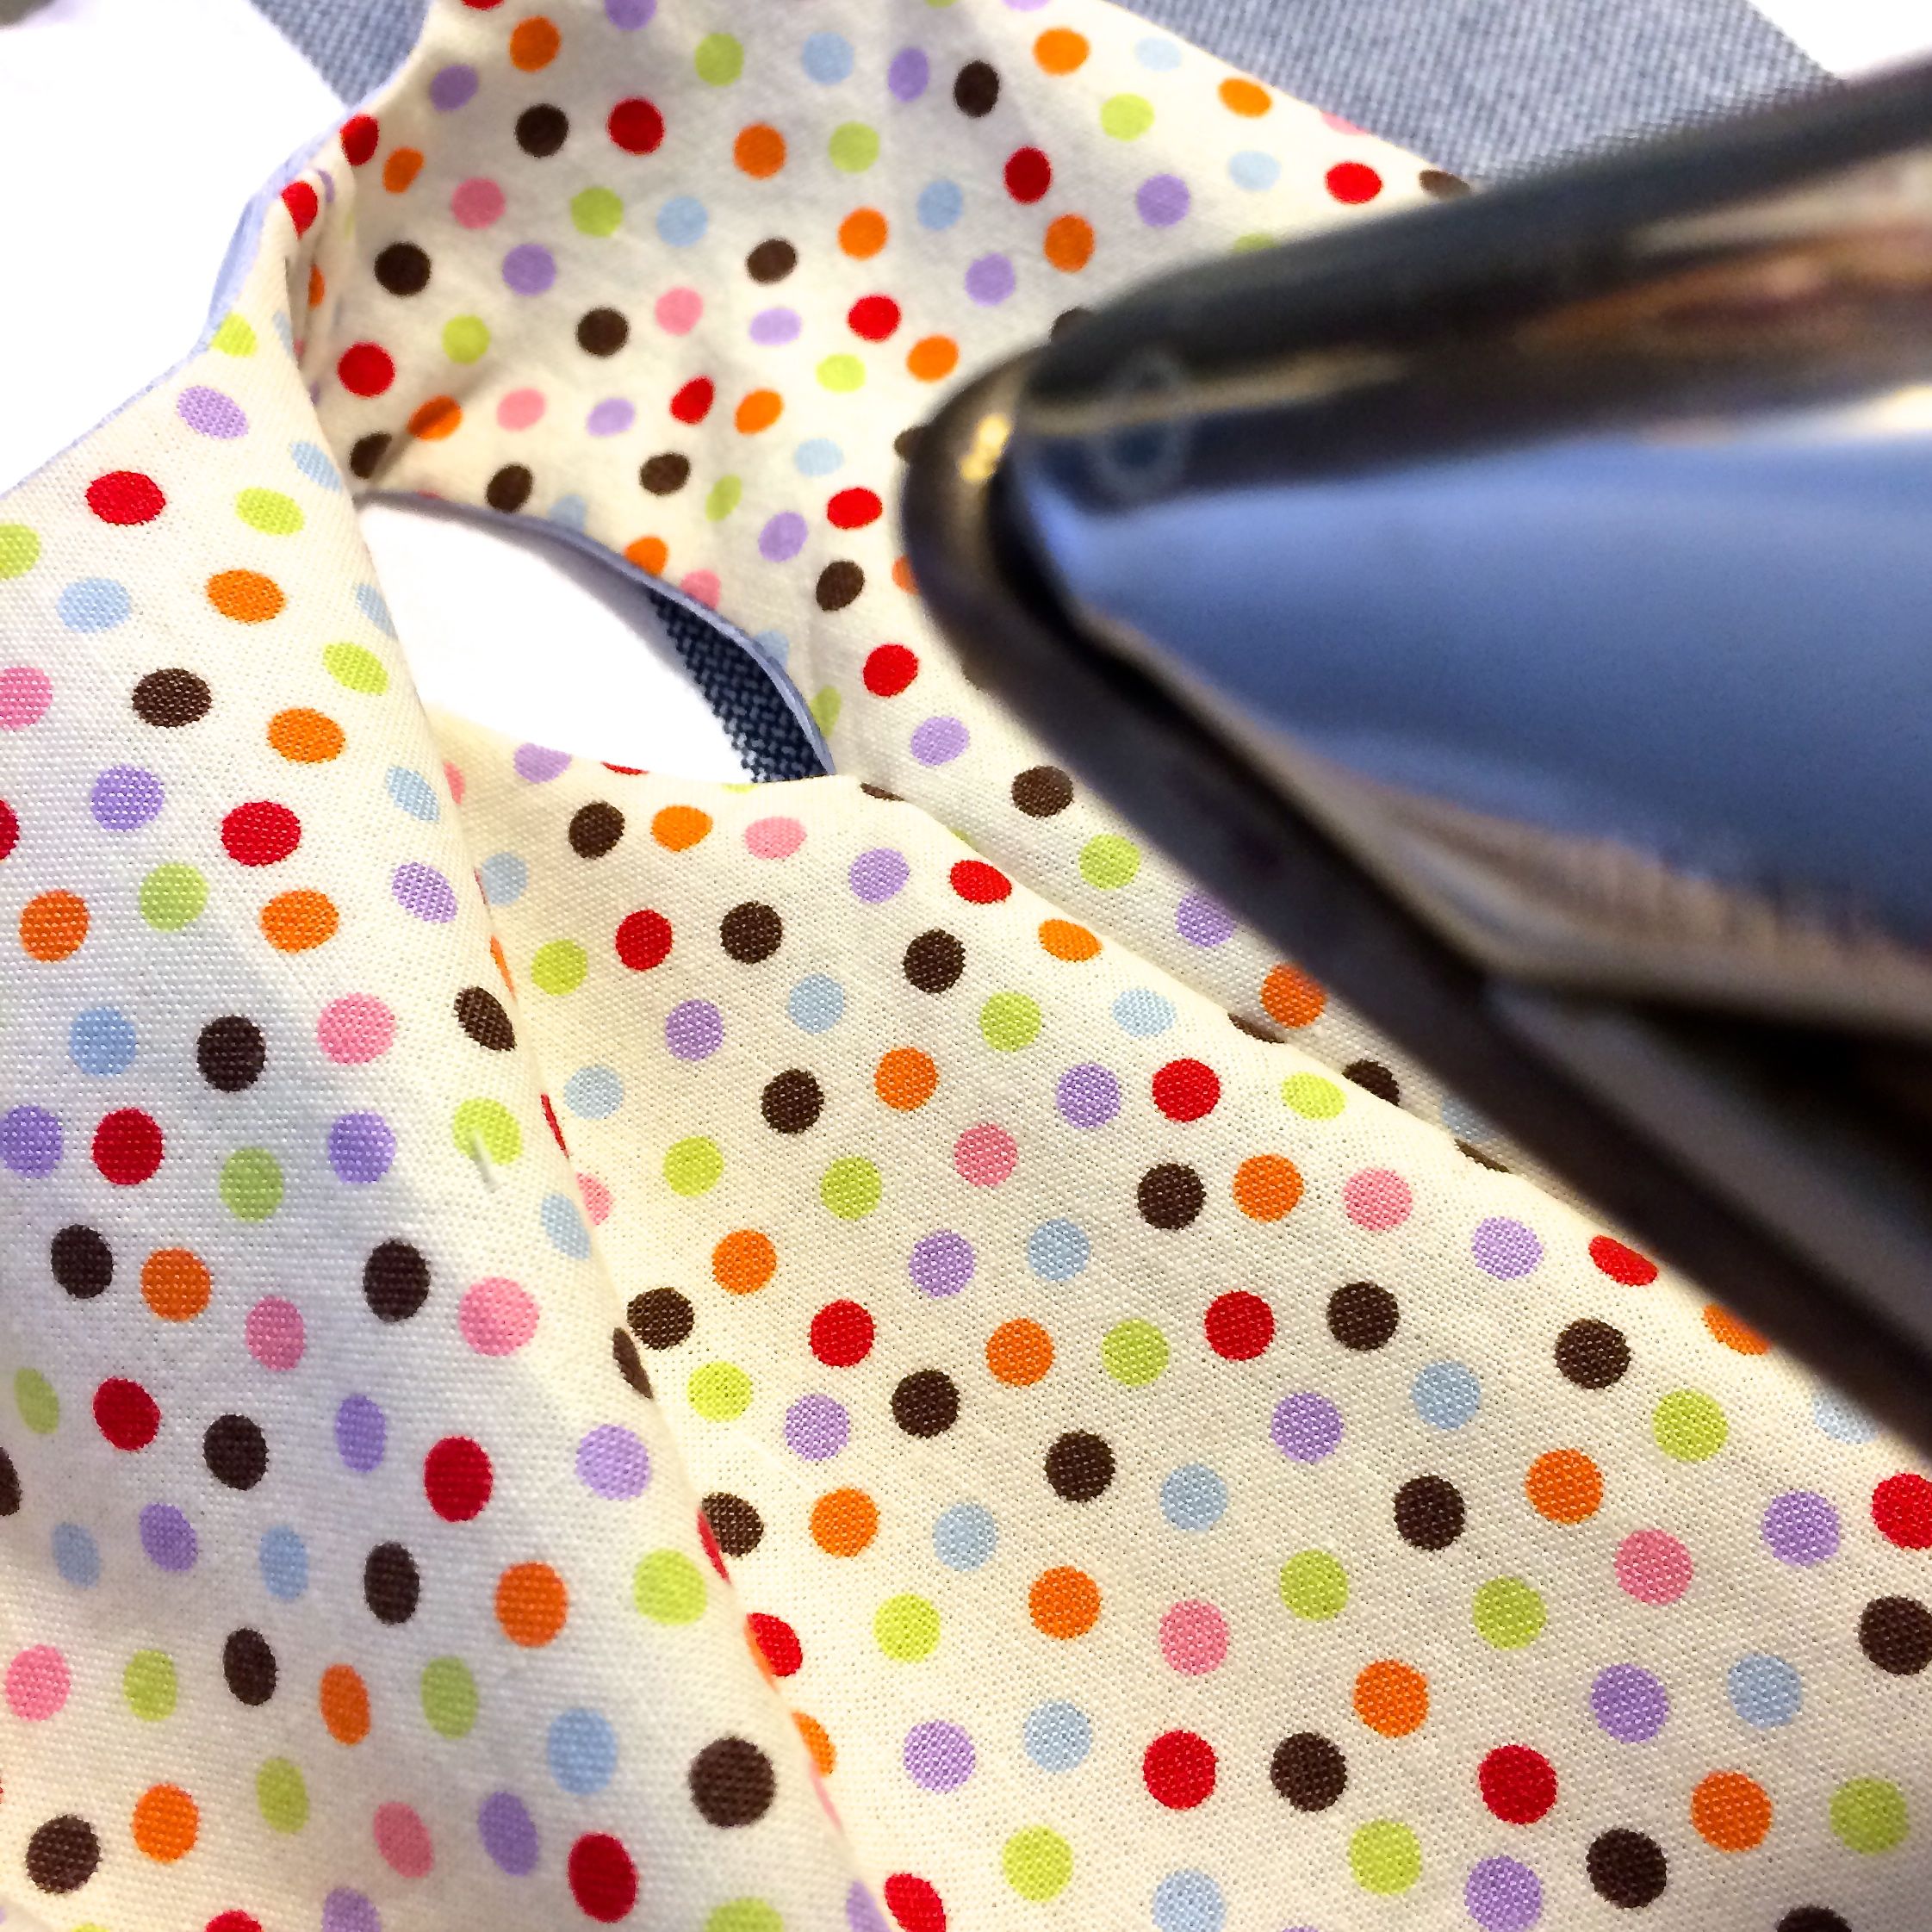
Pin your two right armhole seams together with right sides of the fabric together. Do the same for the left side. Pin the side seams together from hem to armhole. Notice on my fabric, I've pinned blue to blue, and dotted to dotted.

Now you will sew from the blue hem to the dotted hem with your pinned together armhole seam in the middle of these two. repeat for the other side of your dress.
Click to enlarge image
Flip your dress right sides out and press. Now only the hem and snaps are left. You've finished all of the tricky parts. Hopefully they weren't that tricky.
You are so close to done with your reversible doll dress.
- After pressing flip dress back inside out. Pin and sew hems together leaving a gap for turning back right side out.
- Fix your hem corners.
- Hand stitch up the small remaining gap in the hem. You can use whip stitch, ladder stitch or edge stitch.
- Add snaps and you have a dress, or kind of two.
Would love to hear back from anyone who makes a reversible or lined dress. Send photos or...problems and questions.