• Home
  • Blog
  • Featured on Etsy
  • About the Dollmaker
  • About the Handmade Dolls
  • About the Doll Clothes
  • Scrappy Phoebe's Page
  • Reviews
  • Shop
  • My Etsy Shop
  • Doll Dressmaking Series
  • Teaching A Child to Sew
  • Dress Patterns for your Phoebe Doll
  • Scrappy Phoebe's Page (Copy)
  • Contact
  • Shop
Menu

Phoebe&Egg

Street Address
City, State, Zip
Phone Number
handmade dolls and doll clothing

Your Custom Text Here

Phoebe&Egg

  • Home
  • Blog
  • About
    • Featured on Etsy
    • About the Dollmaker
    • About the Handmade Dolls
    • About the Doll Clothes
  • Scrappy Phoebe's Page
  • Shop and Reviews
    • Reviews
    • Shop
    • My Etsy Shop
  • Doll Dressmaking
    • Doll Dressmaking Series
    • Teaching A Child to Sew
    • Dress Patterns for your Phoebe Doll
    • Scrappy Phoebe's Page (Copy)
  • Contact
  • Shop

Doll Dressmaking Series: 10 Dresses

April 23, 2015 Lisa Press
Ten Doll Dresses

1. How to make a Peter Pan Collar

2. How to make a pleat

3. How to make a reversible/lined dress

4. A trick for embellishing

5. Playing with fabric and scale

6. Making a bodice with a gathered skirt

7. How to make short sleeves

8. How to make ruffle sleeves

9. How to make bias trim

10. A simple trick for patch pockets

At the moment I have made pattern pieces for Phoebe, American Girl doll size and 16" Waldorf.

Pattern pieces are free. Fill out the form for all pieces to date and to all new receive links, tutorials and pattern pieces.

Subscribe to our mailing list

* indicates required


In Doll Dressmaking 1
7 Comments

Doll Dressmaking Series: Adding a Pleat

April 10, 2015 Lisa Press
Doll Dressmaking: Making a Pleat

Pleats are classic. And used in a doll dress they can be classic cute.

They are also simple. There are also variations on the pleat theme. One pleat in the center, two pleats on the side, pleats in the front and back, lots of pleats...

This first tutorial is for a simple center pleat.

At the end of the email, I have included a form for requesting the pattern for this, which includes the bodice and skirt with a center pleat.

Start with making the bodice, which is made like the beginning of the reversible dress or dress with a bodice.

But do not sew up the side seams!

Sewing the bodice

Next cut out the skirt. Mark the top and bottom of the skirt pleat basting line with a tiny cut (less than 1/8 of an inch)

Do not cut the pleat line, just make small snips at either end to mark it, or mark the ends with pencil.

Do not cut the pleat line, just make small snips at either end to mark it, or mark the ends with pencil.

Next you will make the center front pleat.

1. Fold the front skirt piece in half, with the right side in the fold, or wrong side out. Lightly iron.

2 and 3. Use very large basting stitches to stitch from the nick and the top of the skirt to the nick at the bottom.

4. Your skirt should look like this.

Click to enlarge

Next you want to iron the pleat and "set" it. or get it to stay. Use steam and the cotton setting. Press pleat from the back side as shown. Flip over, press some more.

When you feel like your pleat is stable, you can take out the basting stitches. Leave a few at the top to hold the pleat together while you stitch it to the bodice.

Setting the pleat

The last few steps will seem familiar.

1. Finish center edges of the skirt back pieces.

2. Sew skirt front and backs to their appropriate bodice pieces.

3. Press

4. Sew side seams and hem.

Click to enlarge.

I added some bias trim along the waist seam.

I have finished drawing the Phoebe pattern in Illustrator. I hope to have the other two done by the end of the weekend. Form for requesting the patterns is below.

Subscribe to our newsletter to receive all of the patterns.

Subscribe to our mailing list

* indicates required
In Tips, Doll Dressmaking 1
9 Comments

Doll Dressmaking Series: A Simple Trick

March 31, 2015 Lisa Press
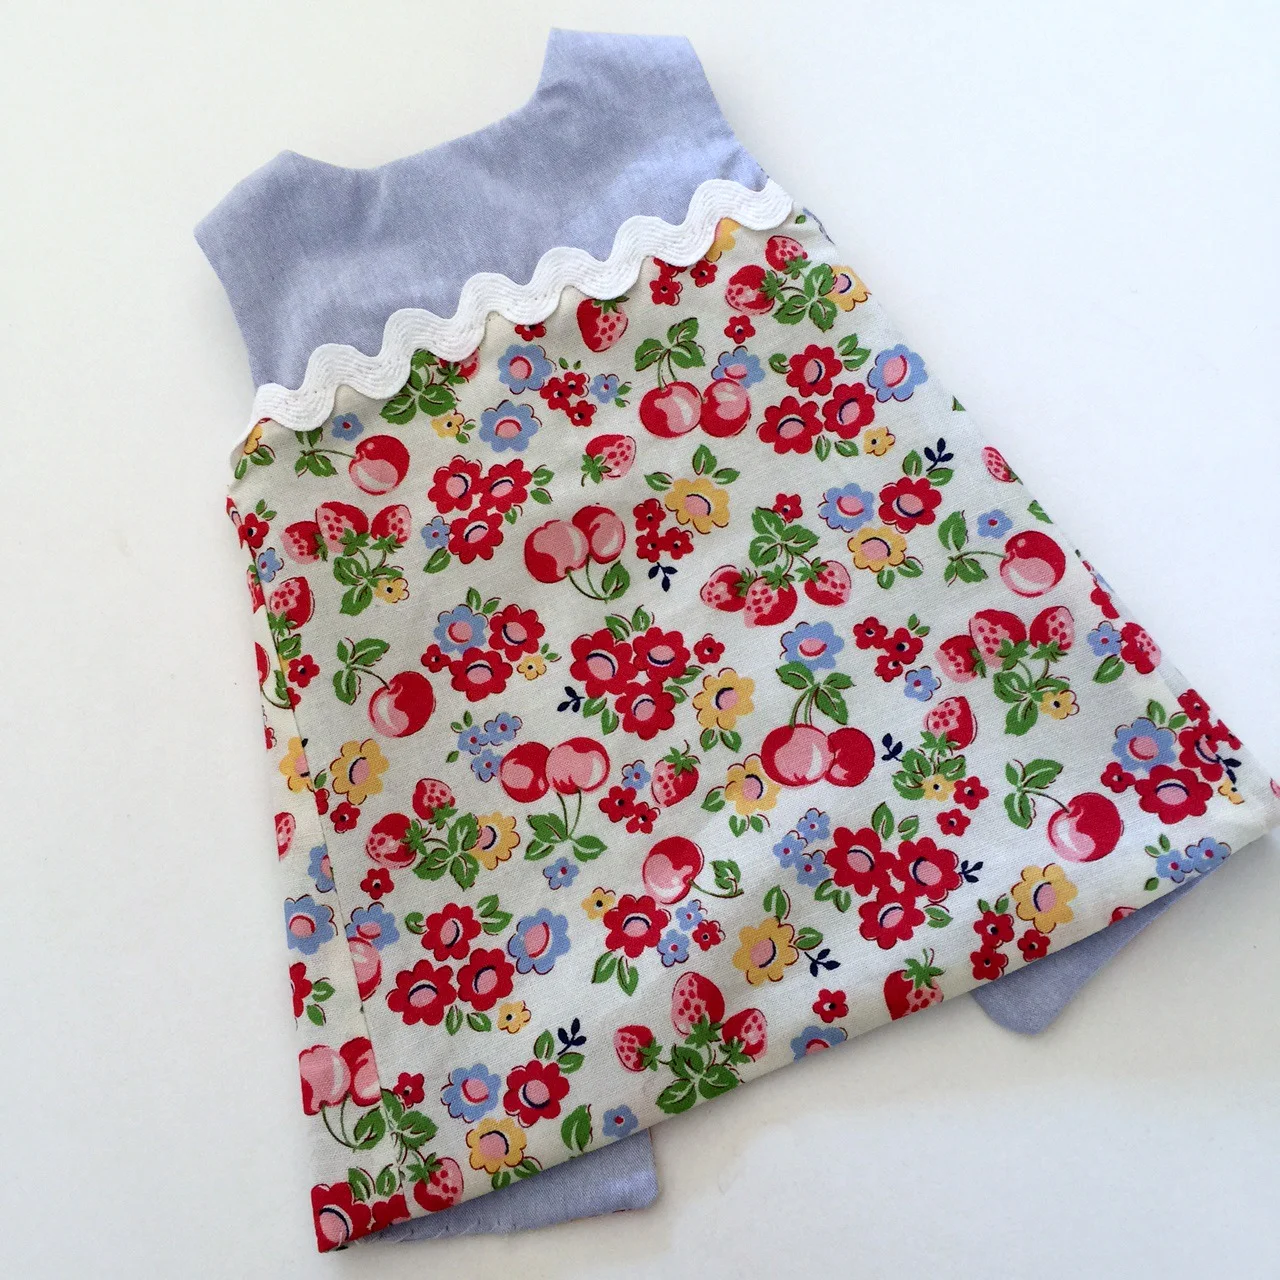
Doll Dressmaking a simple trick

There are a lot of easy ways to change up a doll dress. This trick can be used in a number of sewing situations, but I'll start with showing you how on the reversible dress. After you see how easy it is, you may want to try it with sleeves or a collar.

You will see this is an excellent way to use scraps of fabric.

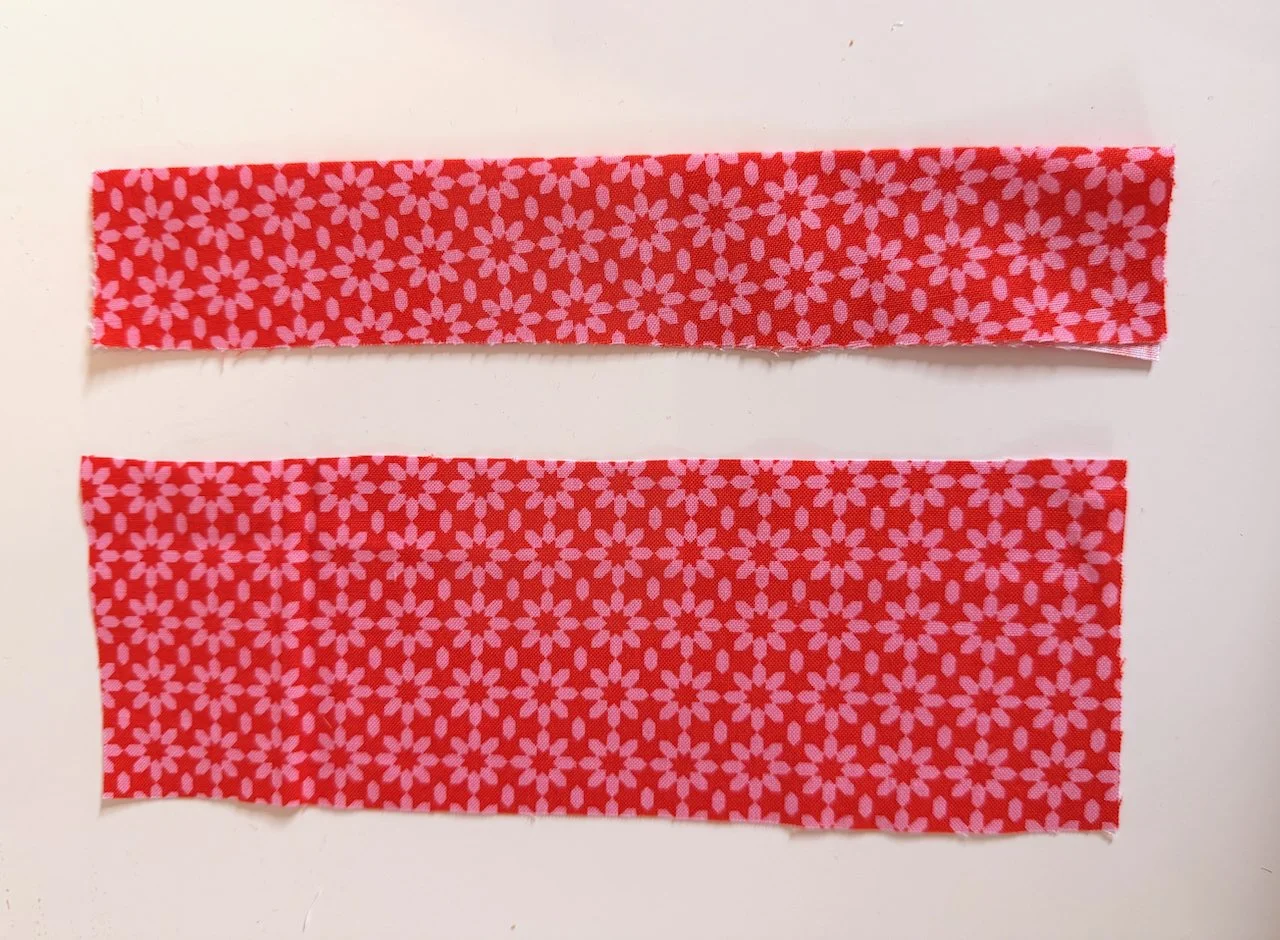
Start with two pieces of fabric that you like together.

two fabrics together

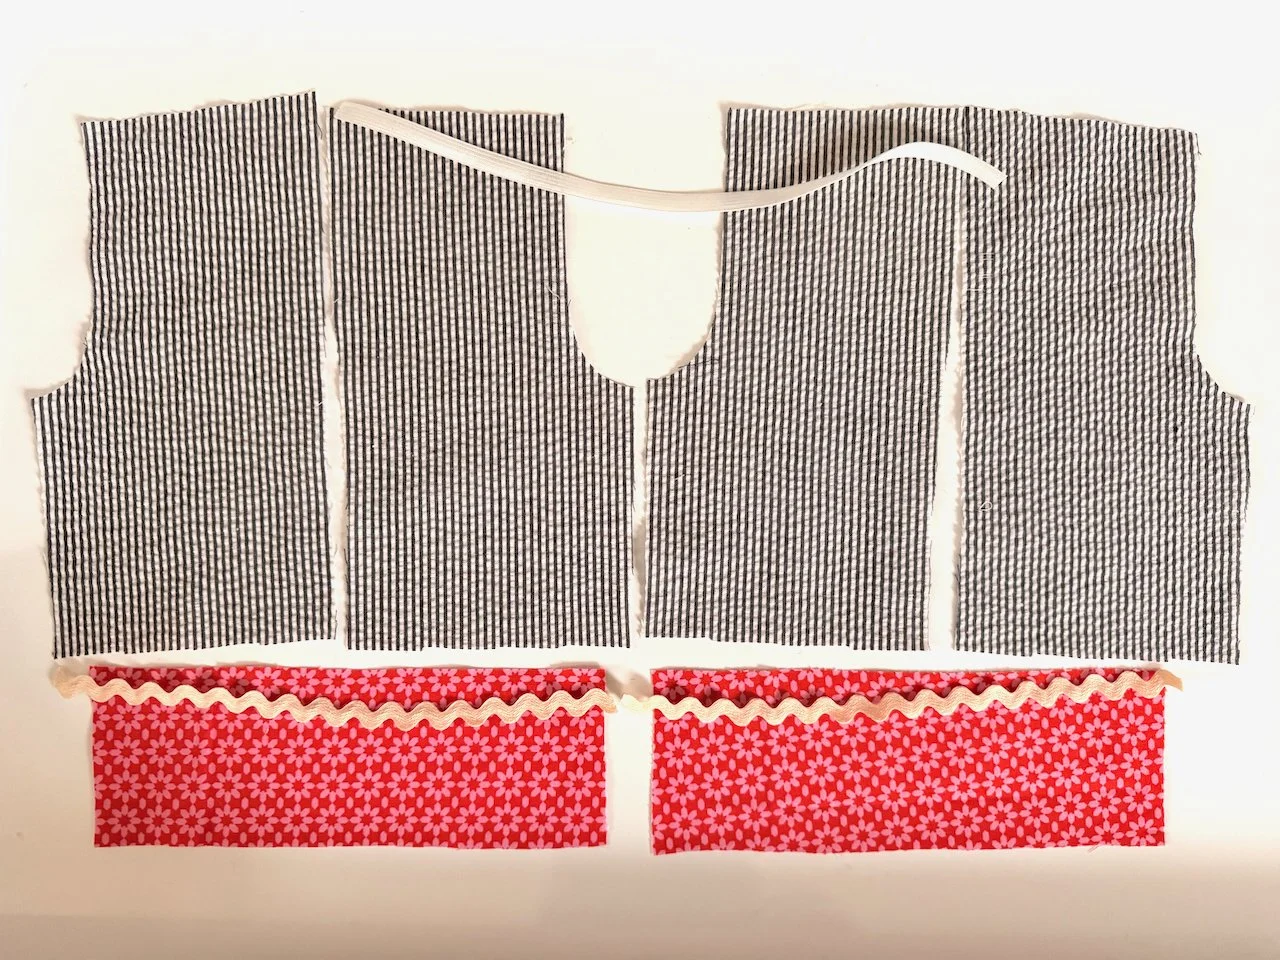
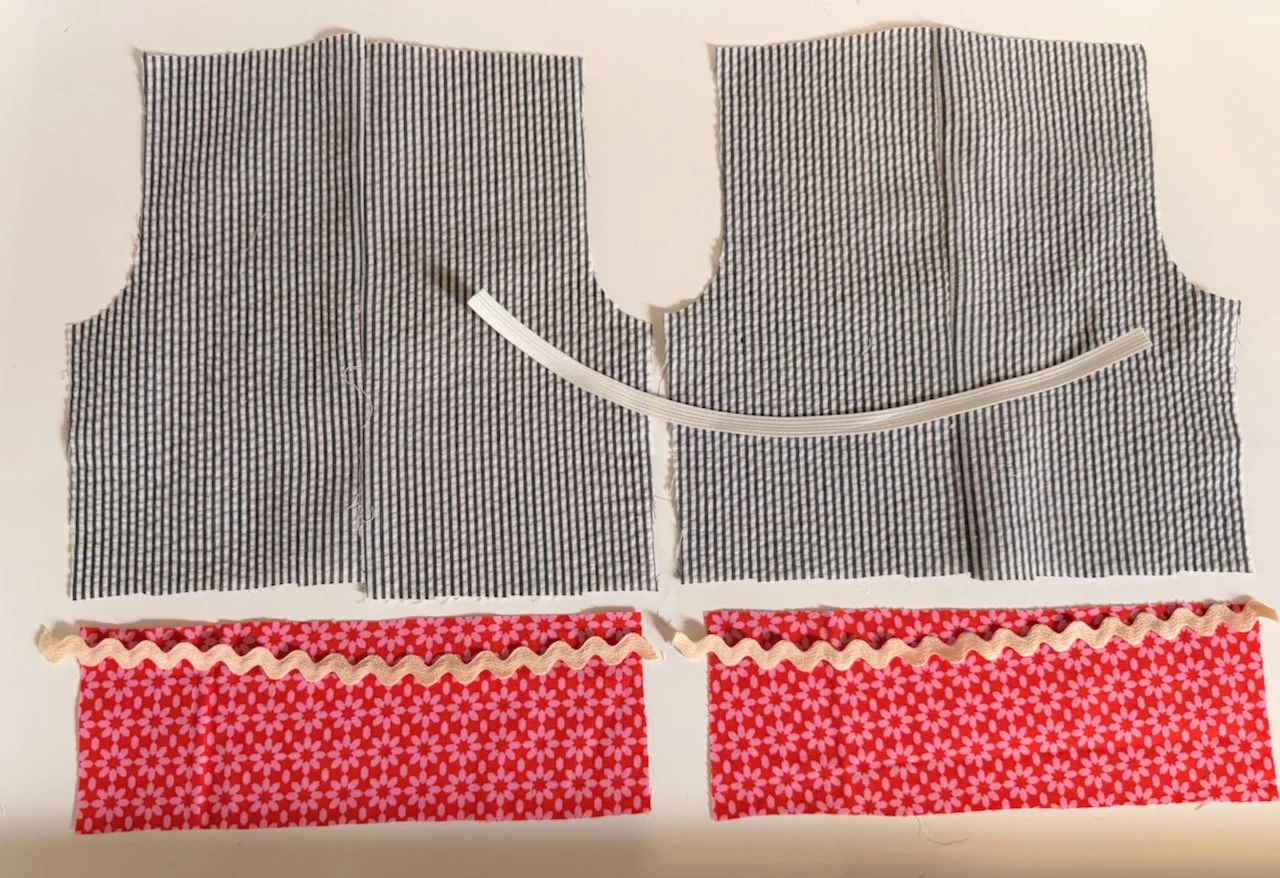
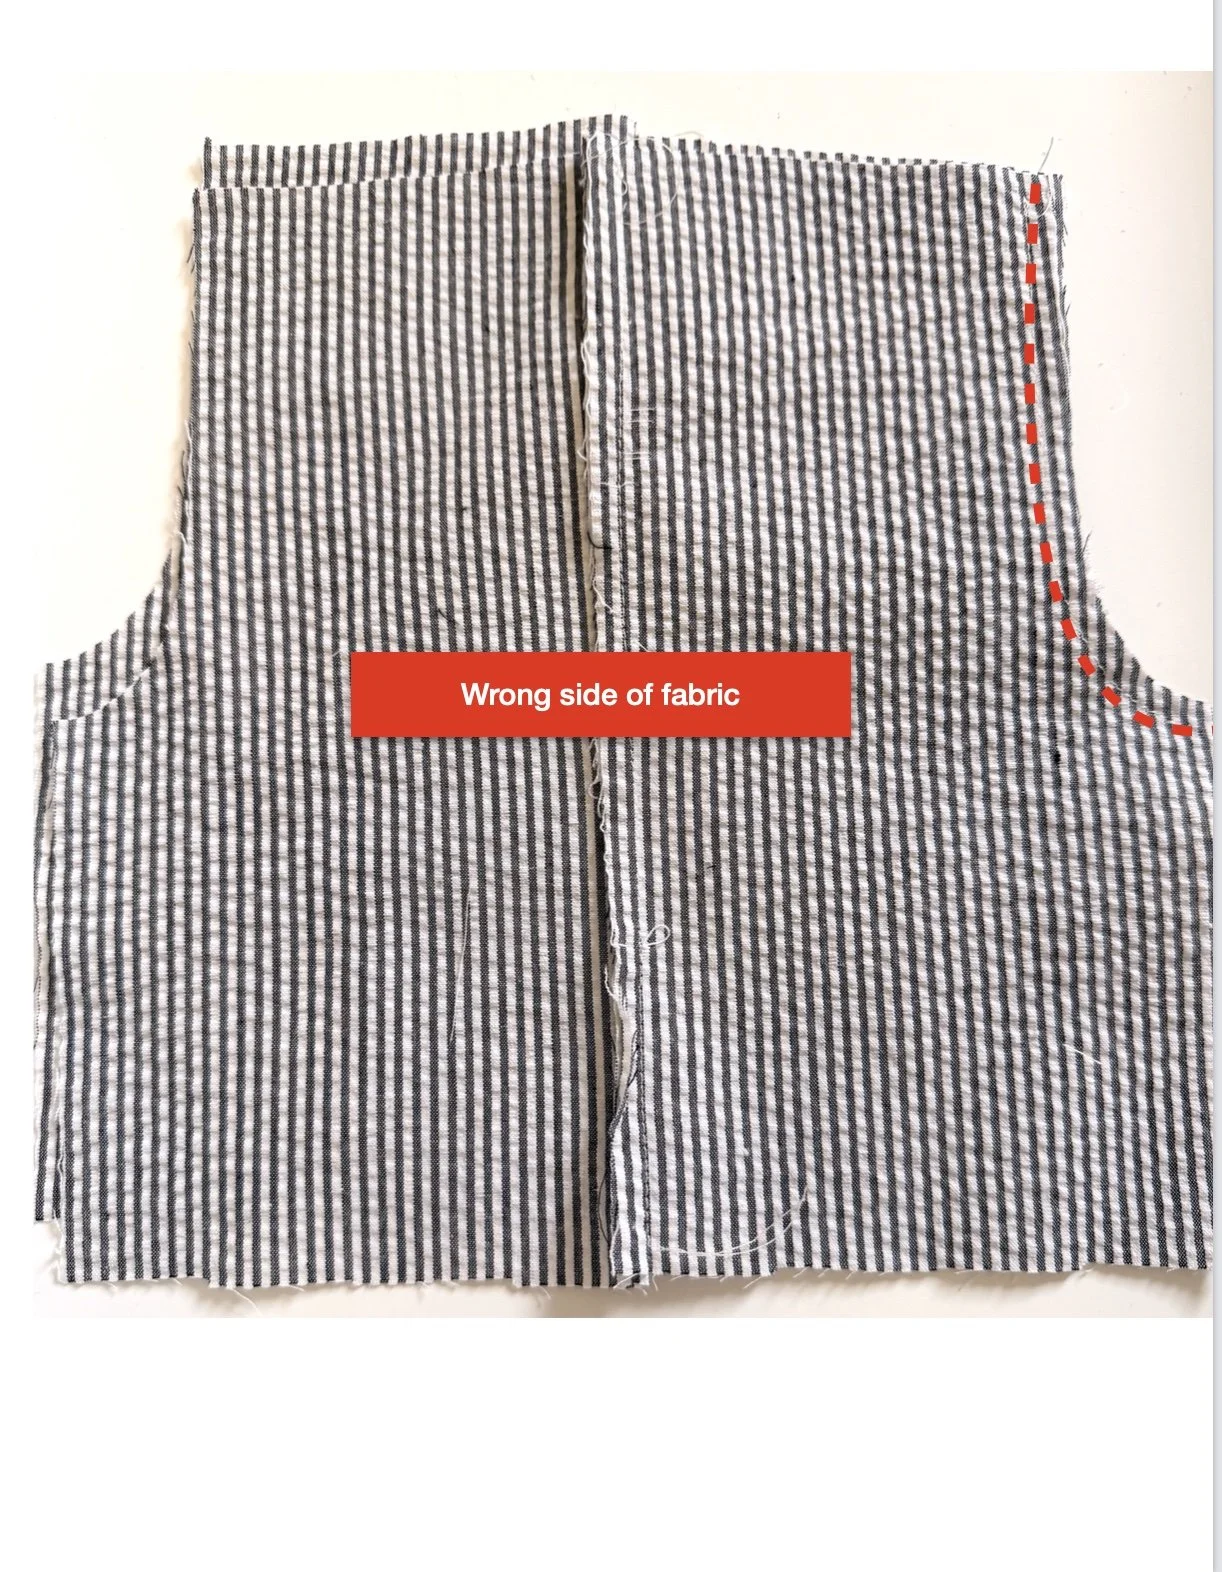
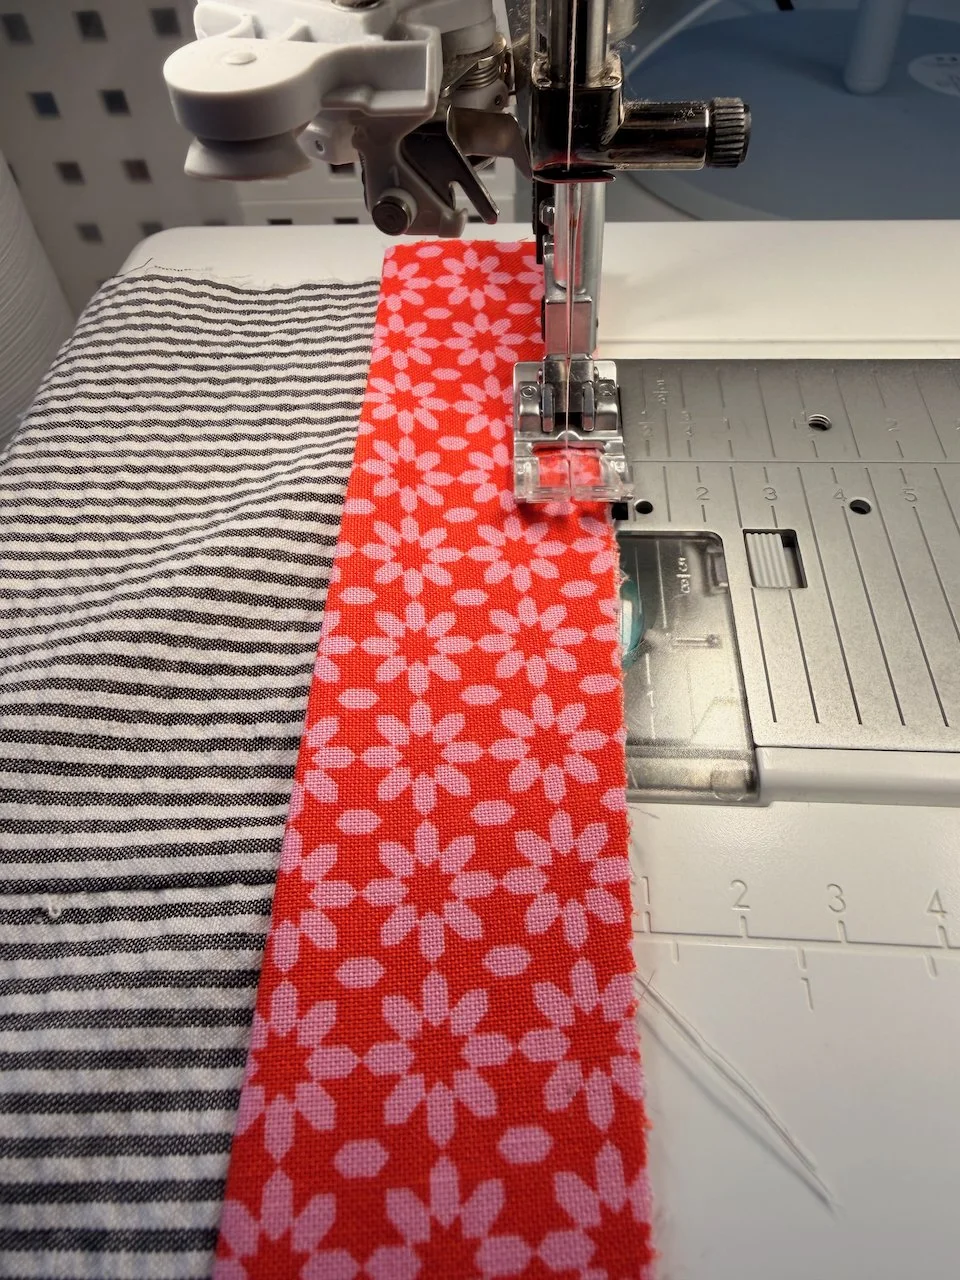
Sew the two pieces length wise. Your goal is to create a piece of fabric large enough to cut the outside of the reversible dress pattern from.

sew fabrics together

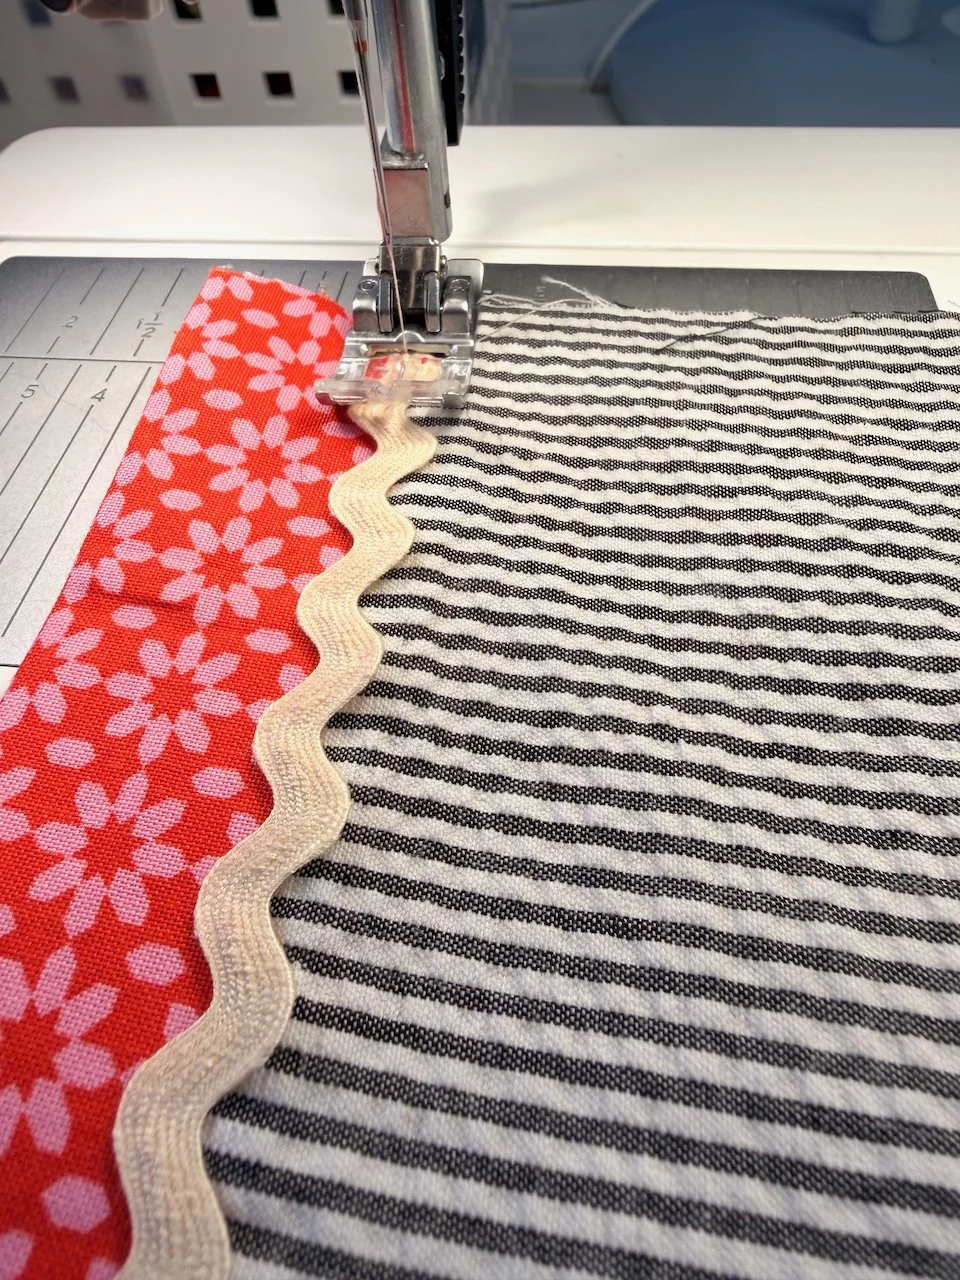
Once you've sen them together, you may want to add trim, but you don't have to.

adding ric rac to simple doll dress

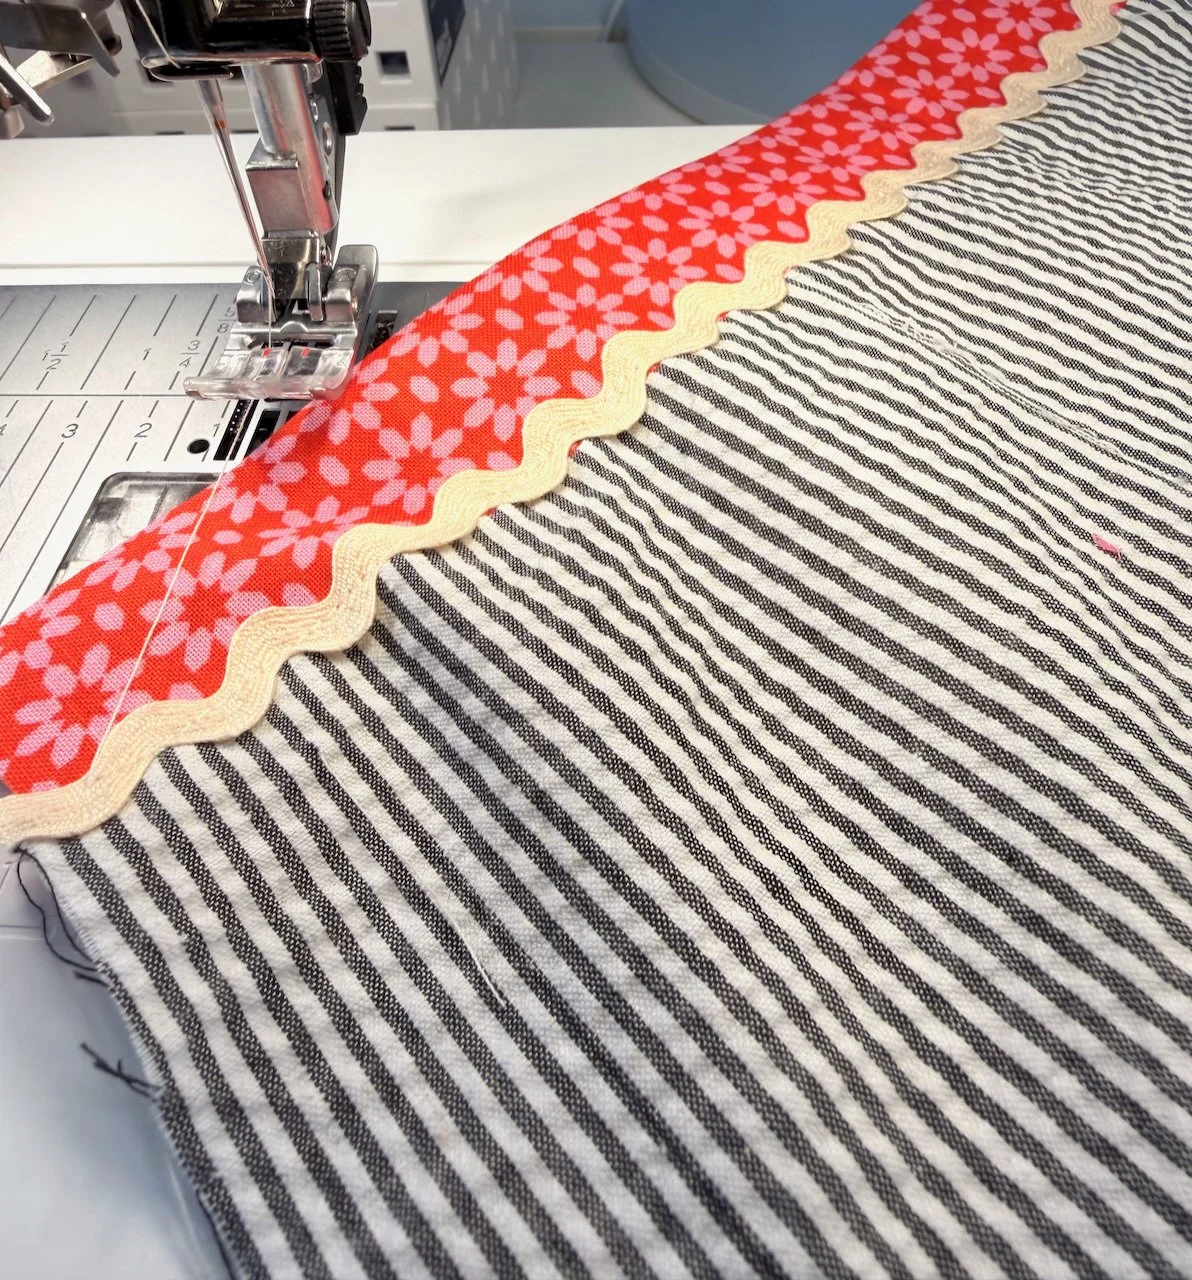
Sew trim along the seam you just created.

sewing on ric rac

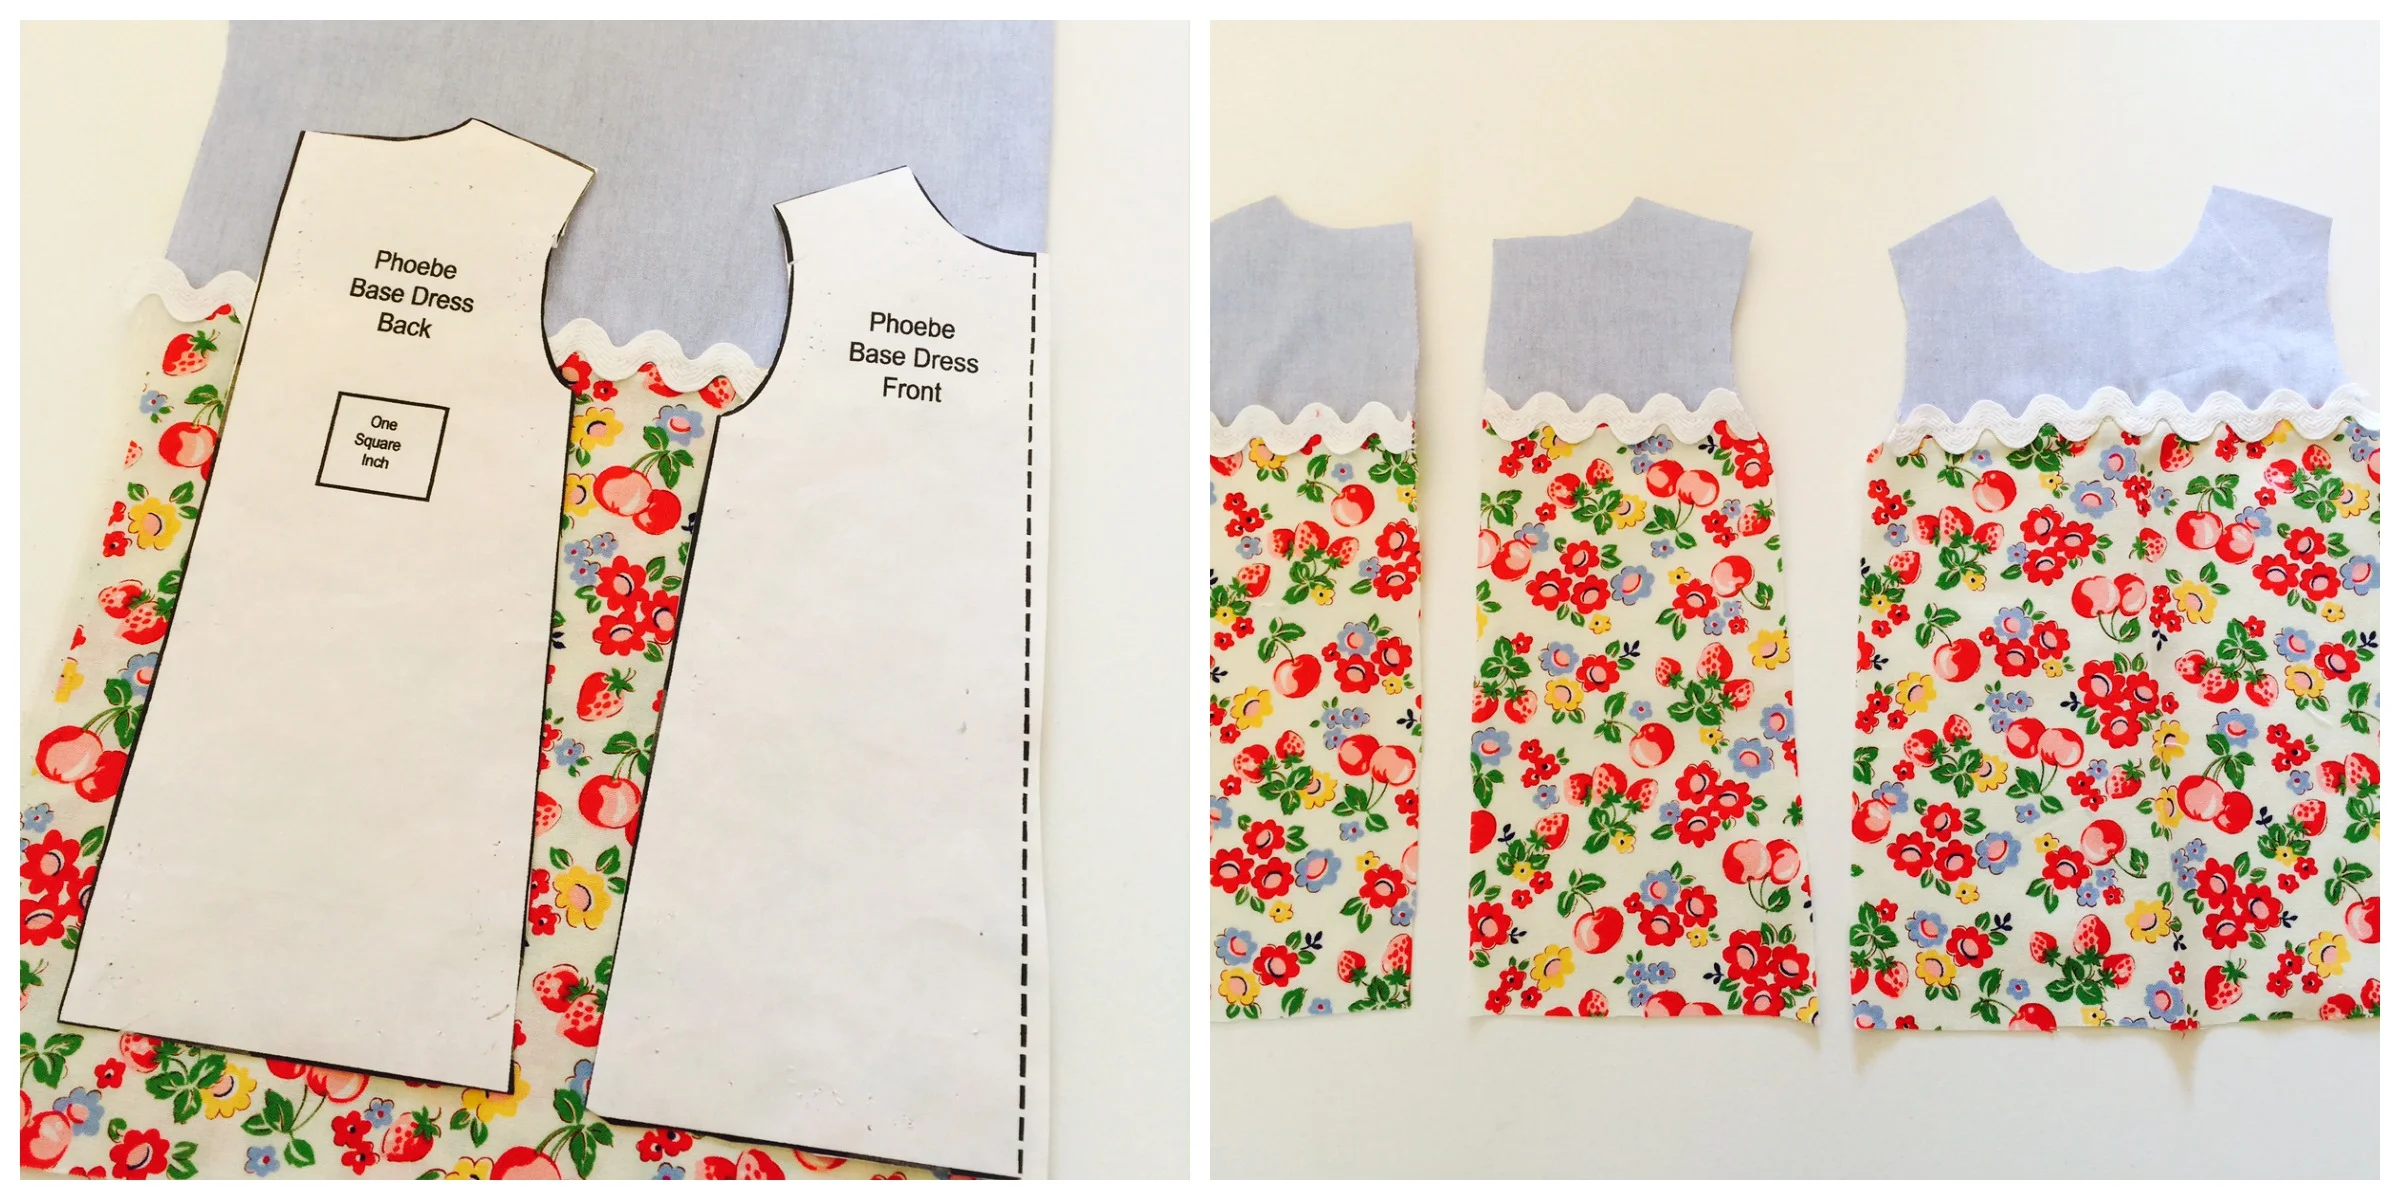
Then lay your pattern out on your piece of fabric and cut.

simple doll dress trick

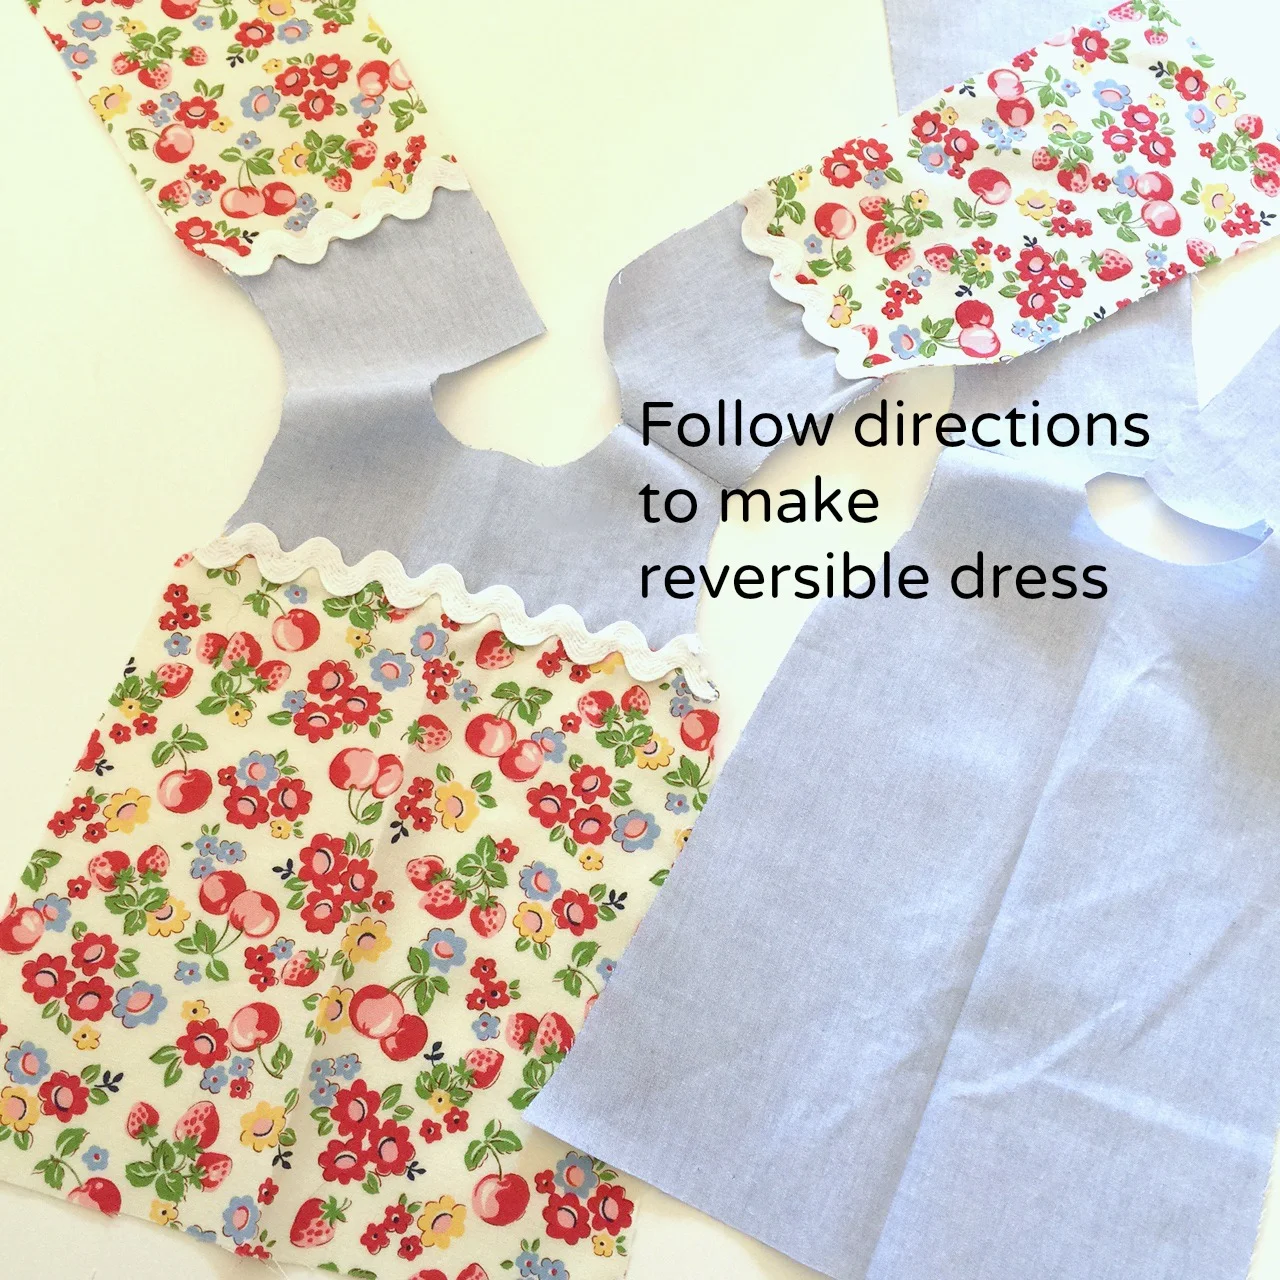
Next cut a lining and proceed to make the reversible dress. As I mentioned earlier this can be done with sleeves or a collar too. 

Reversible doll dress trick
Finished doll dress
Featured
Doll Dressmaking Series: 10 Dresses
Apr 23, 2015
Doll Dressmaking Series: 10 Dresses
Apr 23, 2015
Apr 23, 2015
Doll Dressmaking Series: Adding a Pleat
Apr 10, 2015
Doll Dressmaking Series: Adding a Pleat
Apr 10, 2015
Apr 10, 2015
Doll Dressmaking Series: A Simple Trick
Mar 31, 2015
Doll Dressmaking Series: A Simple Trick
Mar 31, 2015
Mar 31, 2015
Doll Dressmaking Series: Playing with Fabric
Mar 17, 2015
Doll Dressmaking Series: Playing with Fabric
Mar 17, 2015
Mar 17, 2015
How to Use a Ruffler for sewing pleats or gathers
Mar 10, 2015
How to Use a Ruffler for sewing pleats or gathers
Mar 10, 2015
Mar 10, 2015
making a ruffle
Feb 2, 2015
Doll Dressmaking Series: Making a Ruffle with Perle Cotton
Feb 2, 2015
Feb 2, 2015
Four Ways to Make Ruffled Trim: Part 1
Jan 29, 2015
Four Ways to Make Ruffled Trim: Part 1
Jan 29, 2015
Jan 29, 2015
Doll Dressmaking Series: Ruffle Sleeves
Jan 8, 2015
Doll Dressmaking Series: Ruffle Sleeves
Jan 8, 2015
Jan 8, 2015
Doll Dressmaking Series: Beginners Sleeves
Jan 4, 2015
Doll Dressmaking Series: Beginners Sleeves
Jan 4, 2015
Jan 4, 2015
Doll Dressmaking Series: A trick for pockets
Nov 13, 2014
Doll Dressmaking Series: A trick for pockets
Nov 13, 2014
Nov 13, 2014
Doll Dressmaking Series: Sewing on Trim
Oct 24, 2014
Doll Dressmaking Series: Sewing on Trim
Oct 24, 2014
Oct 24, 2014
Doll Dressmaking Series: Making your own fabric trim
Oct 20, 2014
Doll Dressmaking Series: Making your own fabric trim
Oct 20, 2014
Oct 20, 2014
Doll Dressmaking Series: The Peter Pan Collar
Sep 24, 2014
Doll Dressmaking Series: The Peter Pan Collar
Sep 24, 2014
Sep 24, 2014
Doll Dressmaking Series: Yes, Another Tool
Sep 19, 2014
Doll Dressmaking Series: Yes, Another Tool
Sep 19, 2014
Sep 19, 2014
Doll Dressmaking Series:Dress with a bodice and gathered skirt
Sep 16, 2014
Doll Dressmaking Series:Dress with a bodice and gathered skirt
Sep 16, 2014
Sep 16, 2014
Doll Dressmaking Series: The Reversible Dress
Sep 4, 2014
Doll Dressmaking Series: The Reversible Dress
Sep 4, 2014
Sep 4, 2014
Doll Dressmaking Series: Facings 101
Sep 2, 2014
Doll Dressmaking Series: Facings 101
Sep 2, 2014
Sep 2, 2014
Doll Dressmaking Series: Resizing the pattern
Aug 19, 2014
Doll Dressmaking Series: Resizing the pattern
Aug 19, 2014
Aug 19, 2014
Doll Dressmaking Series: Base Patterns are ready
Aug 14, 2014
Doll Dressmaking Series: Base Patterns are ready
Aug 14, 2014
Aug 14, 2014
Doll Dressmaking: Useful Tools
Aug 6, 2014
Doll Dressmaking: Useful Tools
Aug 6, 2014
Aug 6, 2014
In Tips, Doll Dressmaking 1 Tags doll dressmaking series, doll clothing, sewing
11 Comments

Doll Dressmaking Series: Playing with Fabric

March 17, 2015 Lisa Press
Doll Dressmaking playing with fabric

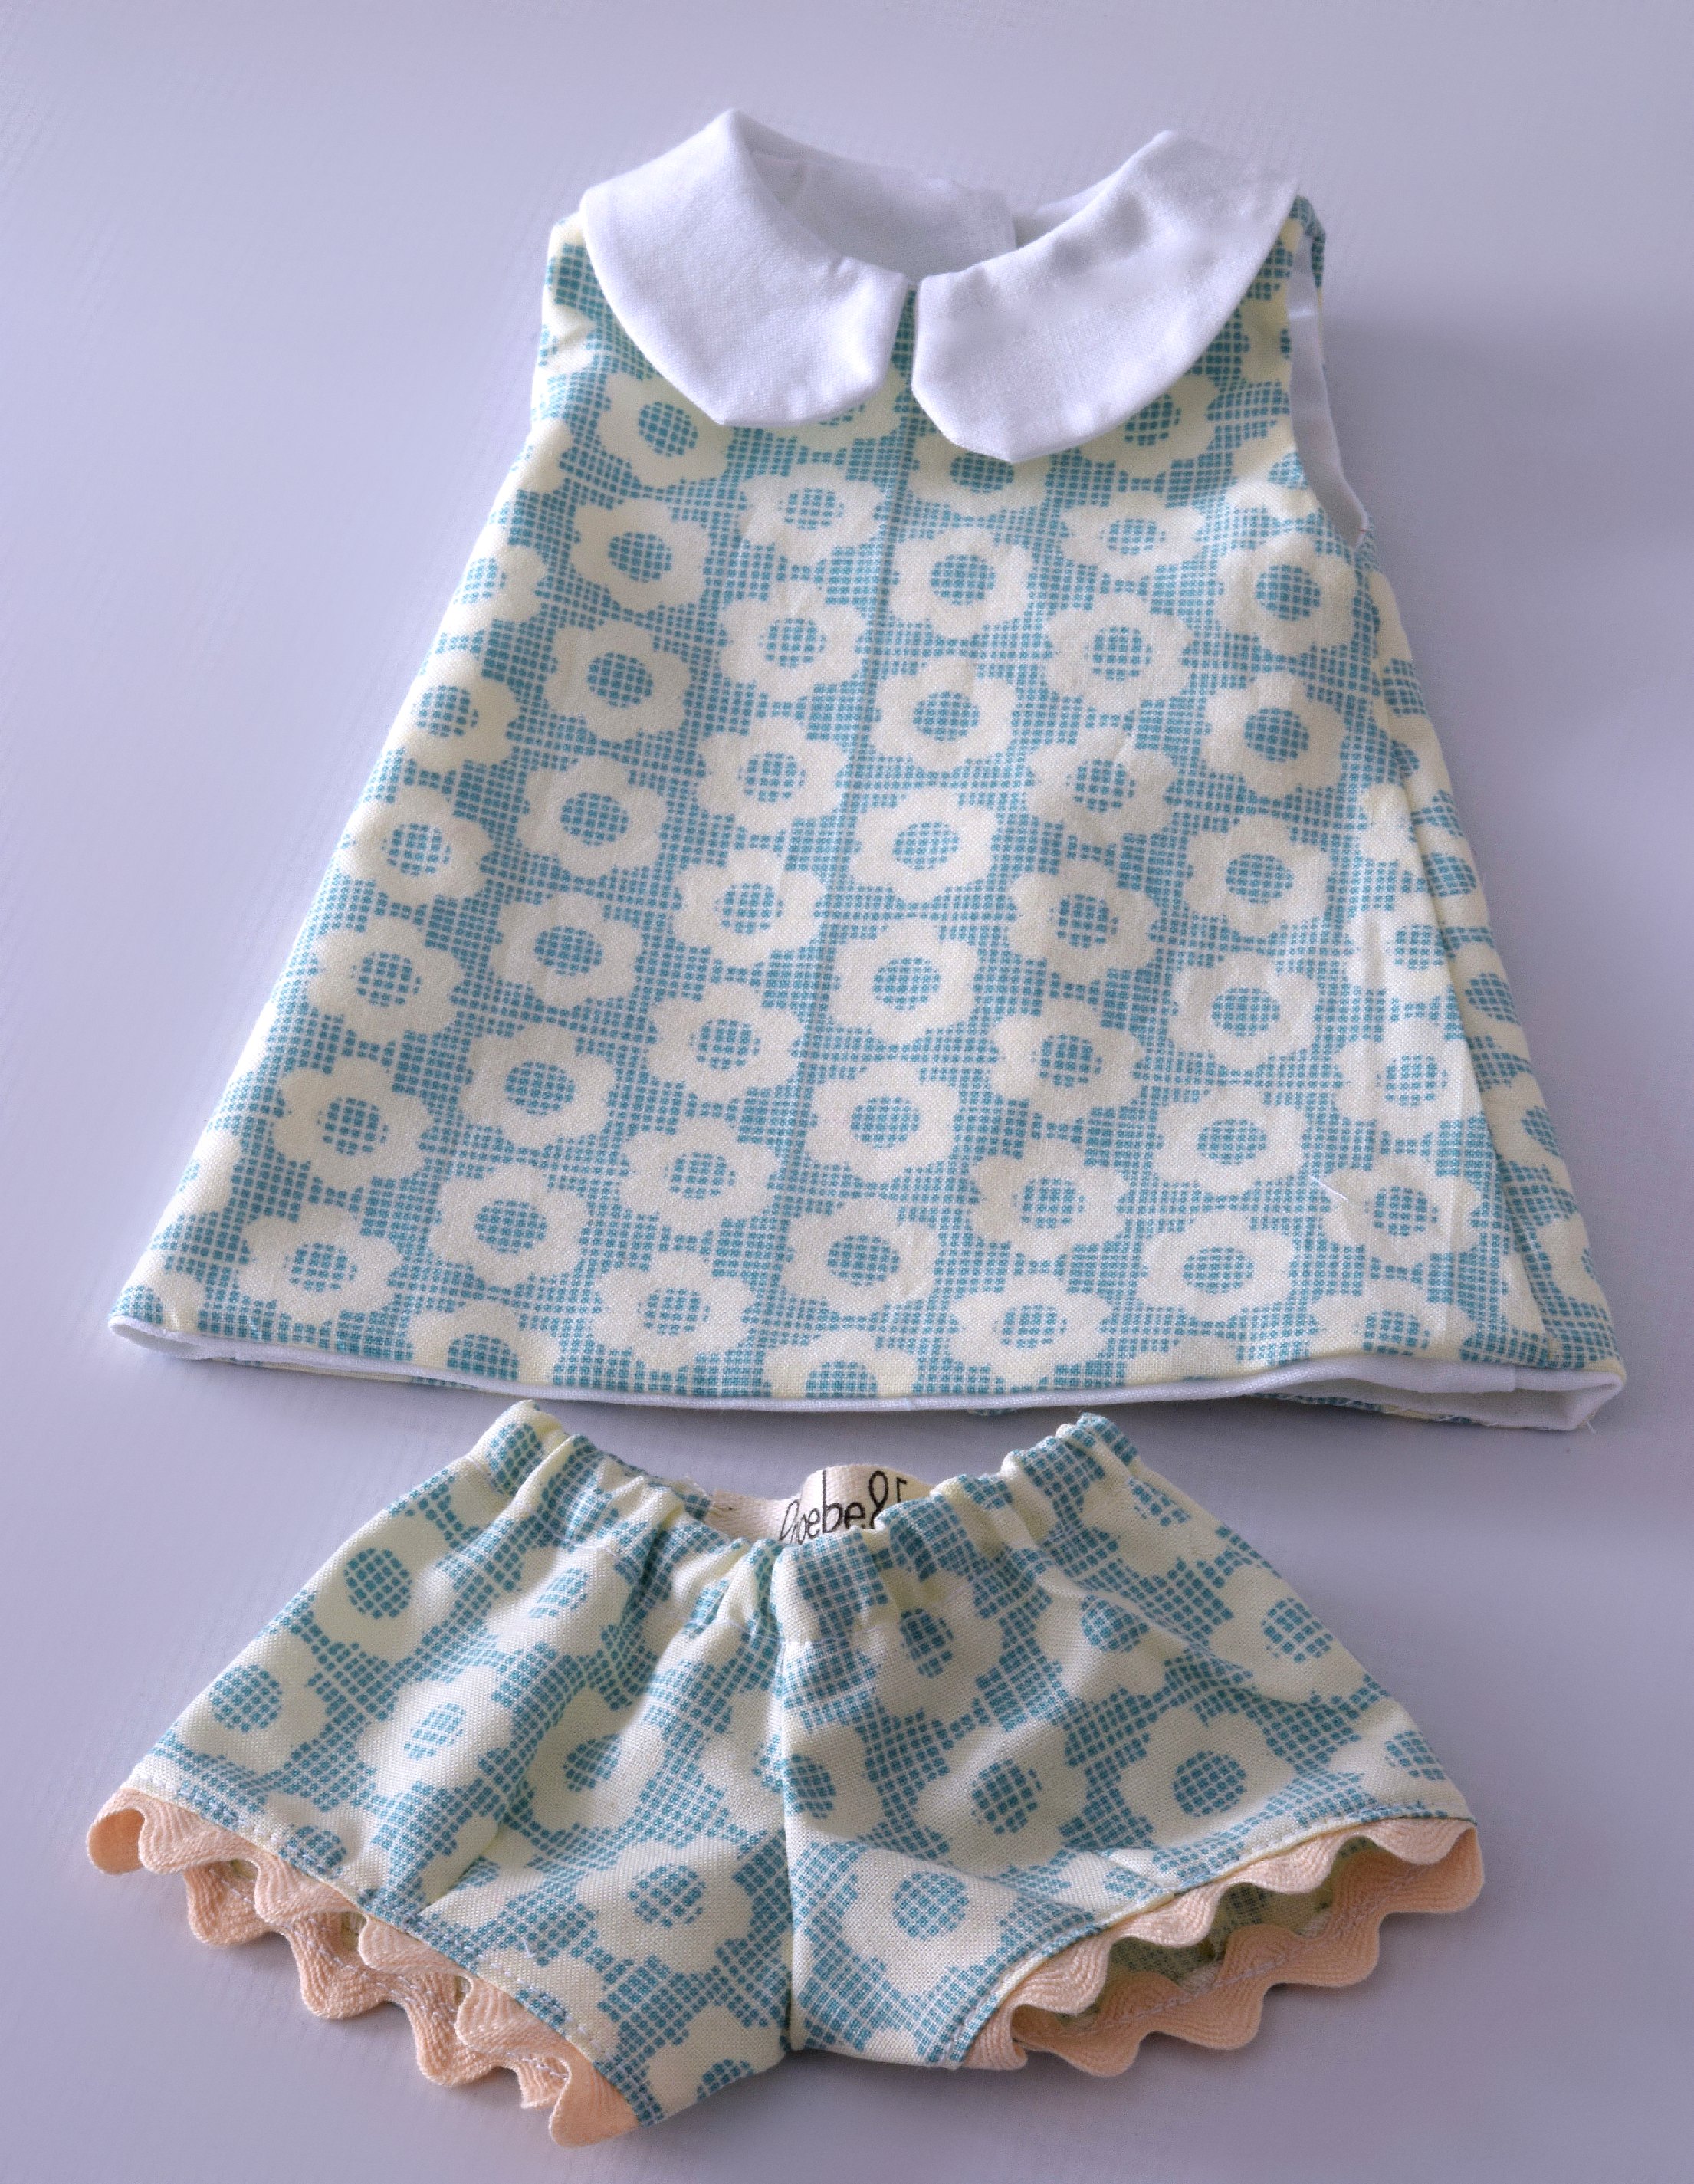
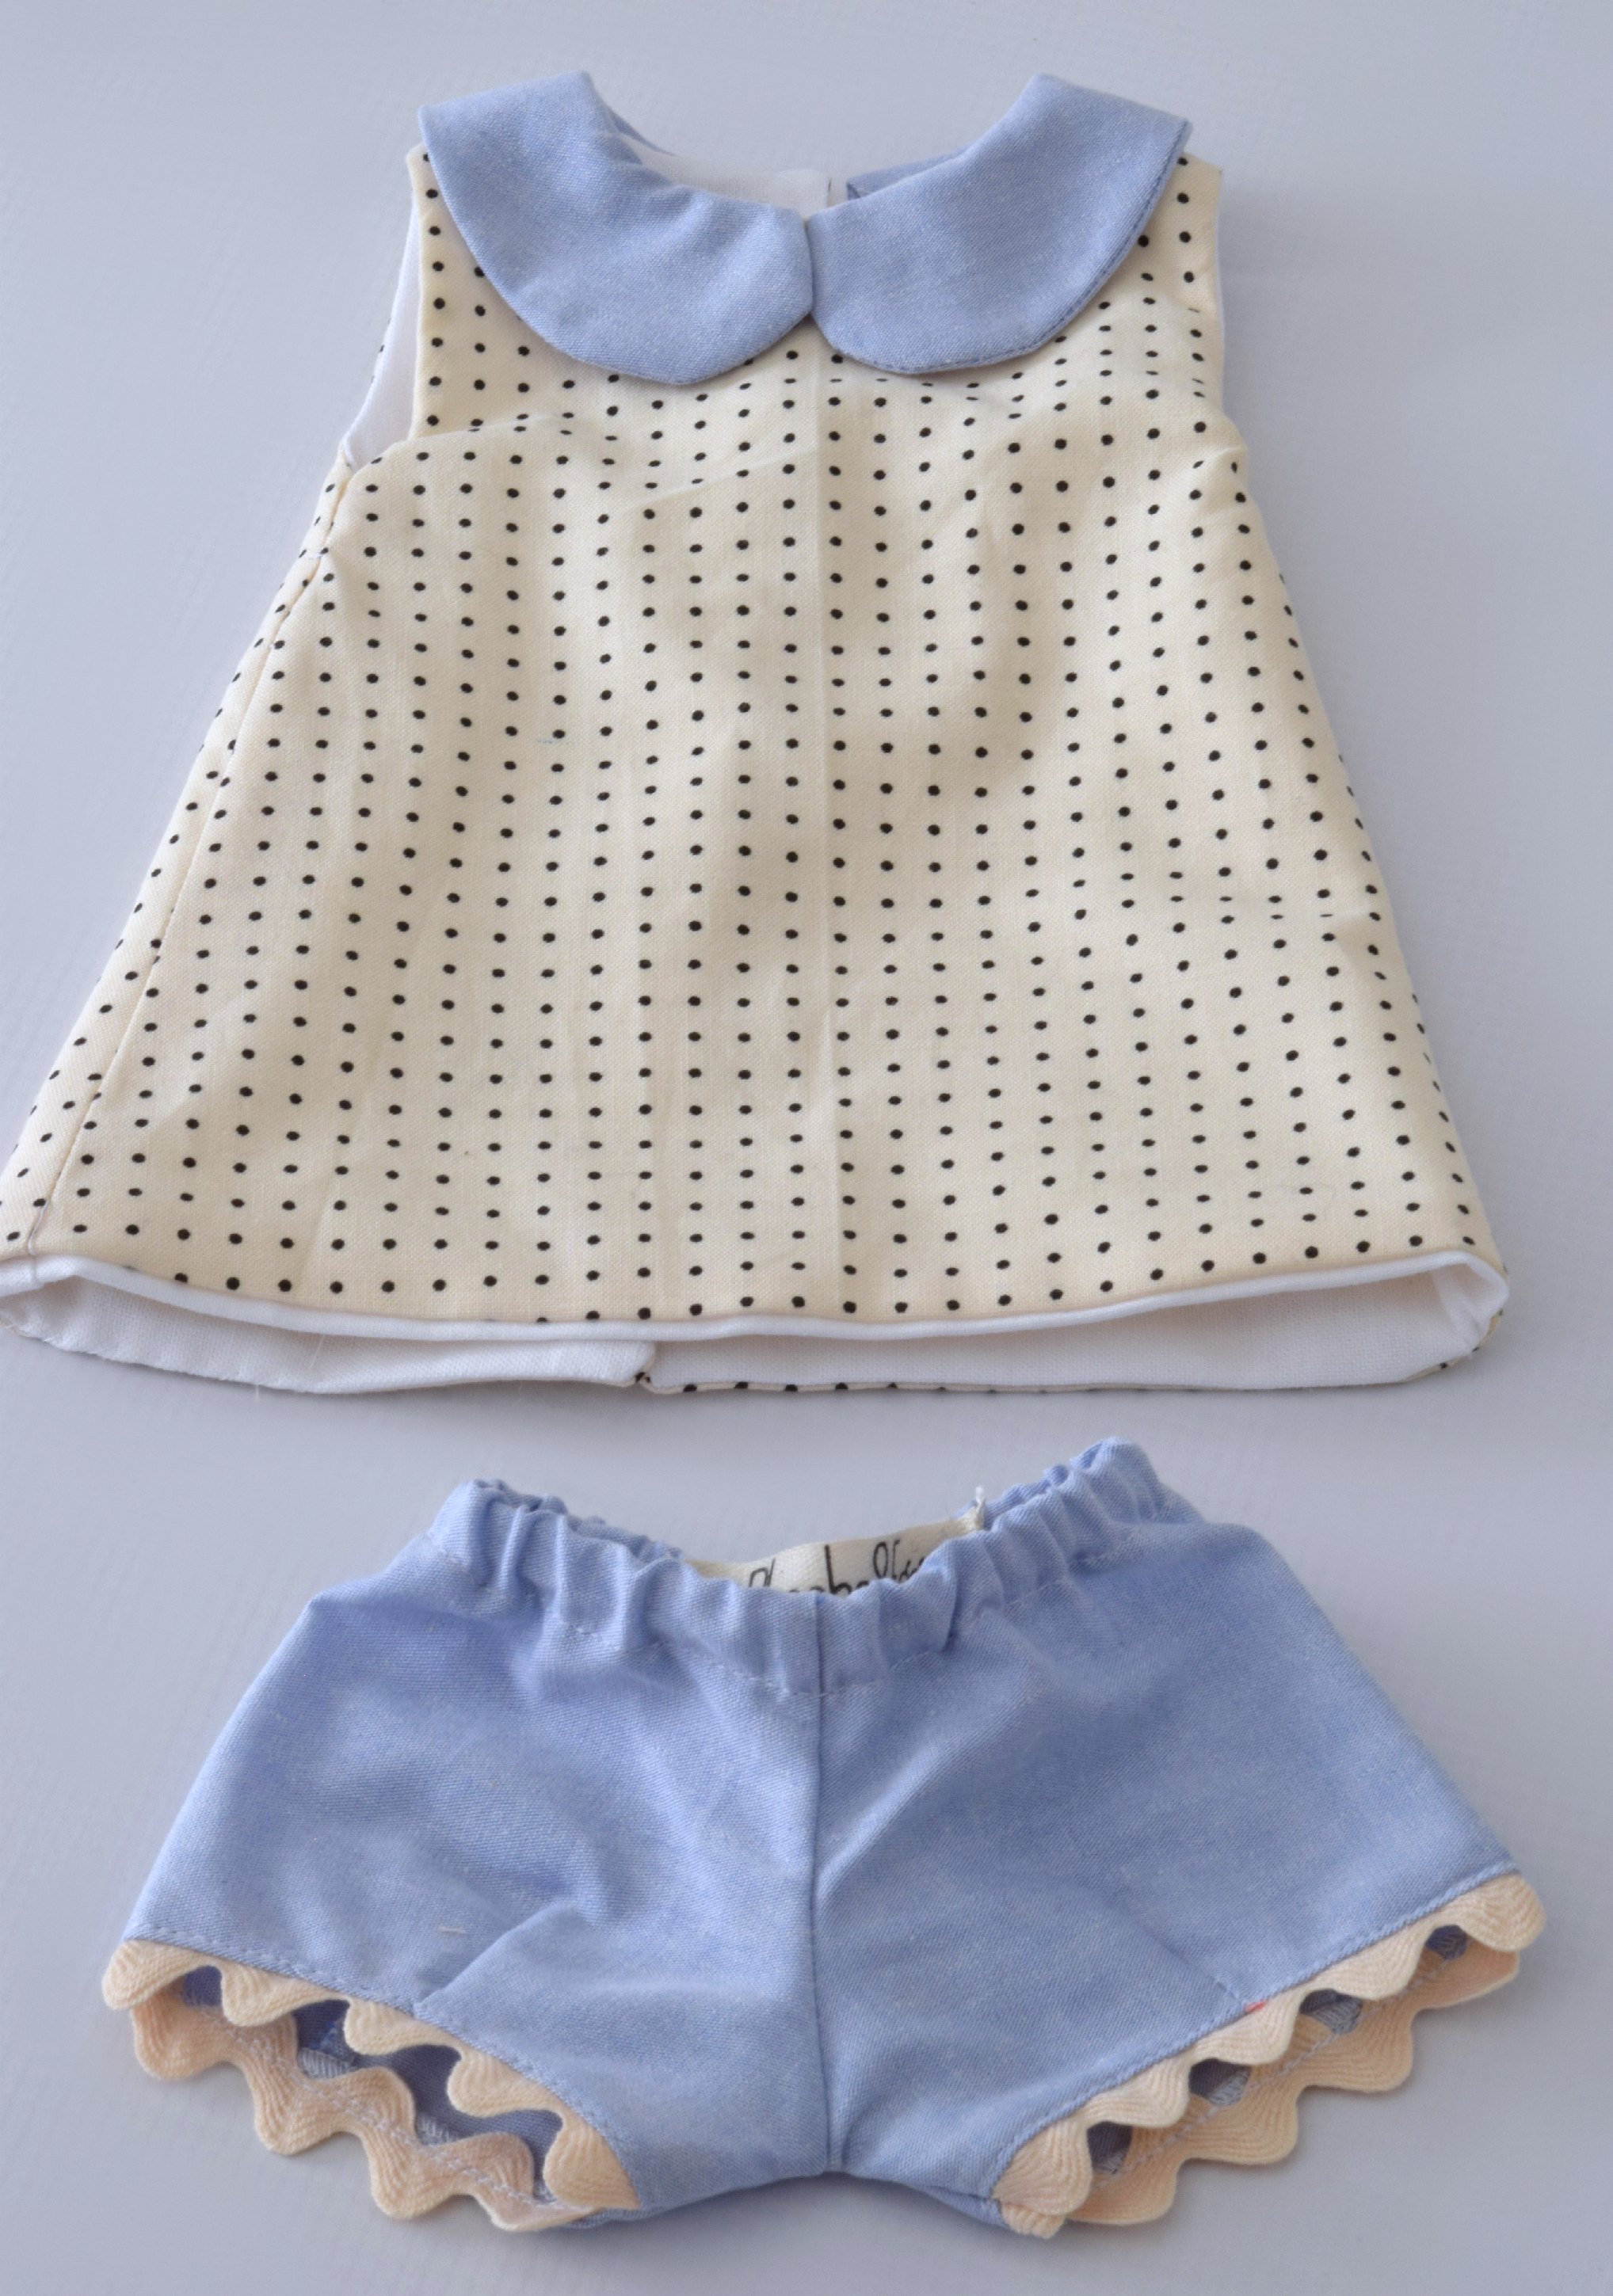
Although varying the fabric on our doll dresses, seems like an obvious thing to do. We don’t always think to REALLY vary the fabric. Push past any self imposed rules that you think about what a doll dress should be made of.

Try tweed, denim, corduroy….

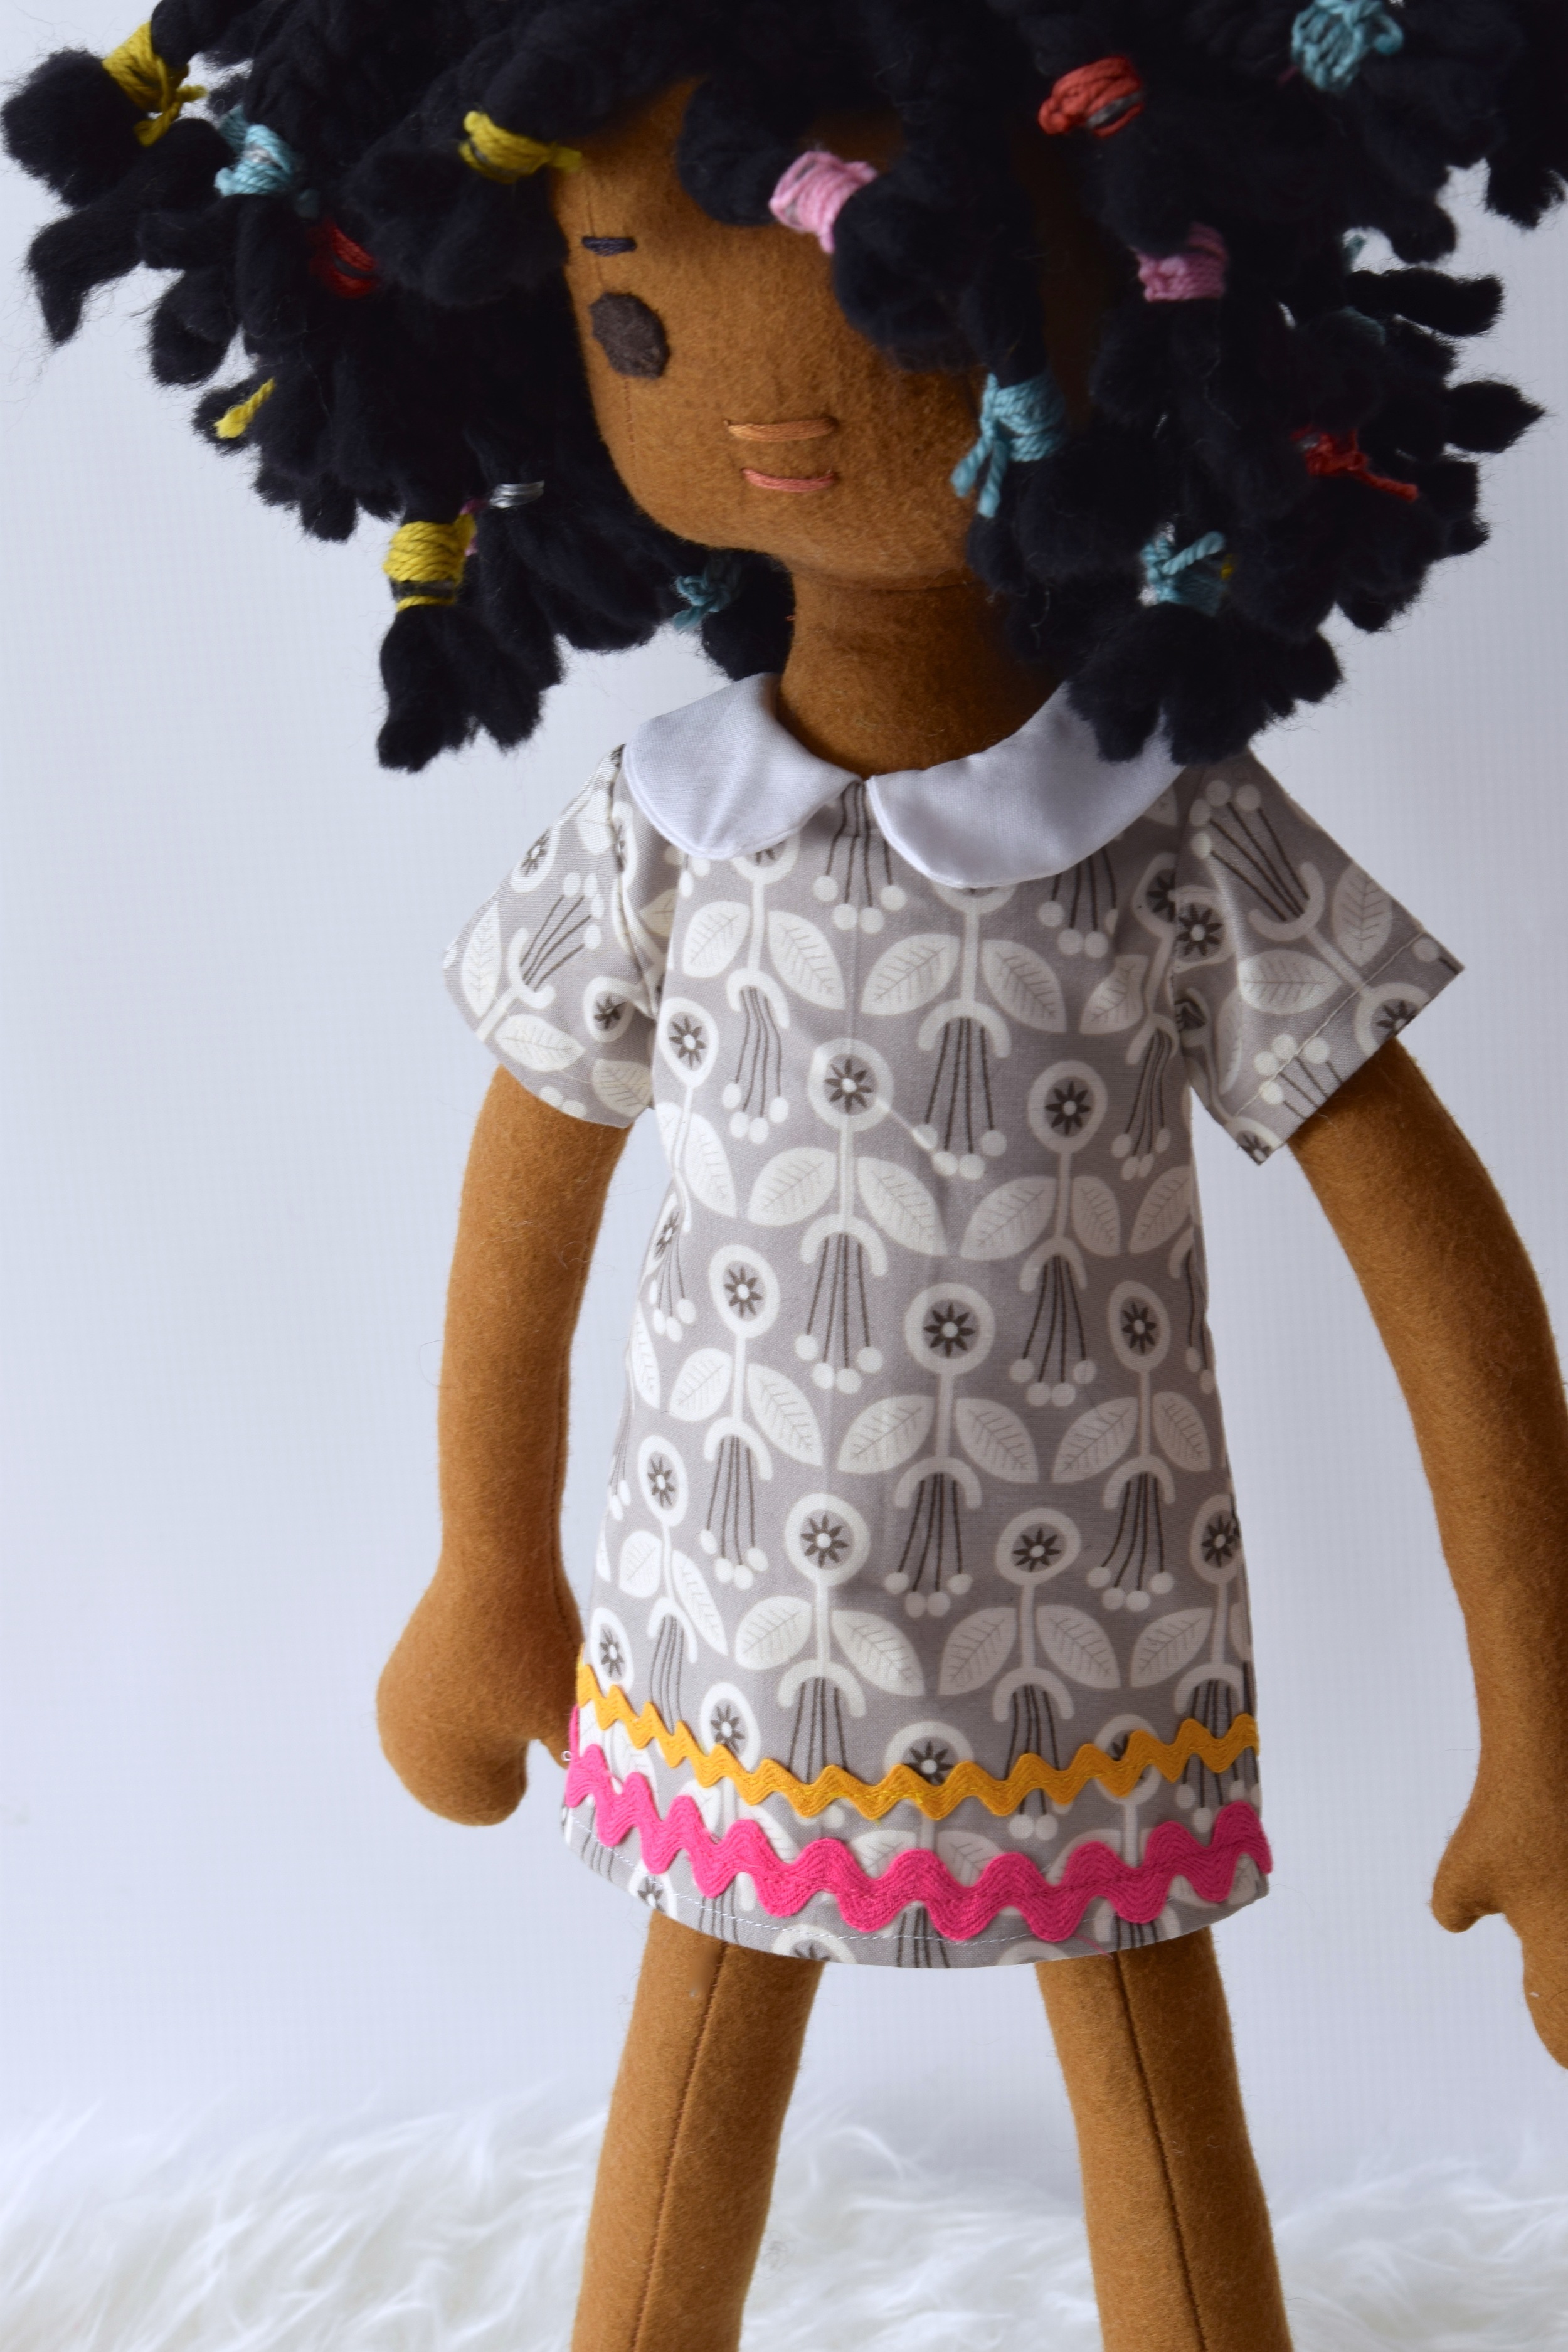
A doll dress doesn’t take a lot of fabric. Especially a simple A-line dress with a Peter-Pan collar. It takes even less fabric, if you line it in white.

This gives a lot of room for play. 

Play with scale. Don’t feel you have to stick with small scale fabric.

Play with solid vs pattern.

Use an expensive special fabric, like Liberty, after all you don’t need to use much.

Switch the collar fabric with the dress fabric.

There’s a lot of ways to be creative with just a simple dress. 

With large scale, pay attention to centering of the design

With large scale, pay attention to centering of the design

Medium scale always works

Medium scale always works

Play with collar fabrics

Play with collar fabrics

Switch it up

Switch it up

Try something special, like Liberty or vintage

Try something special, like Liberty or vintage

Most of all—Have fun!

Playing with doll dress fabric
Featured
Doll Dressmaking Series: 10 Dresses
Apr 23, 2015
Doll Dressmaking Series: 10 Dresses
Apr 23, 2015
Apr 23, 2015
Doll Dressmaking Series: Adding a Pleat
Apr 10, 2015
Doll Dressmaking Series: Adding a Pleat
Apr 10, 2015
Apr 10, 2015
Doll Dressmaking Series: A Simple Trick
Mar 31, 2015
Doll Dressmaking Series: A Simple Trick
Mar 31, 2015
Mar 31, 2015
Doll Dressmaking Series: Playing with Fabric
Mar 17, 2015
Doll Dressmaking Series: Playing with Fabric
Mar 17, 2015
Mar 17, 2015
How to Use a Ruffler for sewing pleats or gathers
Mar 10, 2015
How to Use a Ruffler for sewing pleats or gathers
Mar 10, 2015
Mar 10, 2015
making a ruffle
Feb 2, 2015
Doll Dressmaking Series: Making a Ruffle with Perle Cotton
Feb 2, 2015
Feb 2, 2015
Four Ways to Make Ruffled Trim: Part 1
Jan 29, 2015
Four Ways to Make Ruffled Trim: Part 1
Jan 29, 2015
Jan 29, 2015
Doll Dressmaking Series: Ruffle Sleeves
Jan 8, 2015
Doll Dressmaking Series: Ruffle Sleeves
Jan 8, 2015
Jan 8, 2015
Doll Dressmaking Series: Beginners Sleeves
Jan 4, 2015
Doll Dressmaking Series: Beginners Sleeves
Jan 4, 2015
Jan 4, 2015
Doll Dressmaking Series: A trick for pockets
Nov 13, 2014
Doll Dressmaking Series: A trick for pockets
Nov 13, 2014
Nov 13, 2014

In Doll Dressmaking 1
7 Comments

How to Use a Ruffler for sewing pleats or gathers

March 10, 2015 Lisa Press
A Ruffler Foot

A Ruffler Foot

What is a ruffler?

A ruffler is a foot for your sewing machine. It does exactly that, it makes ruffles. And once you can get beyond how scary and complicated it looks, you will realize it makes ruffling rather easy.

How to use a ruffler foot/attachment:

The most difficult part about a ruffler foot is getting it clamped onto your machine.

1.     Take whatever foot is on, off. 

2.     Straddle your needle clamp (the large screwish thing to the right of your needle) with the fork arm of the ruffler (the C) 

3.     Then clamp the back part of the foot the same way you attach all presser feet.

4.     Check to see that your needle clears the needle hole.

With the ruffler you can make both pleated and gathered ruffles.

The texture of the fabric will affect the fullness of the ruffle. I have only used quilting cotton and have not experimented with other fabrics. But it works well with quilting cotton.

Stitch length can also affect fullness. A shorter stitch means more ruffles, or fullness. As you can see, whatever you choose, it makes that evenly and consistently.

An example of nice even ruffles from a Ruffler Foot

An example of nice even ruffles from a Ruffler Foot

Adjusting the gathers or pleats

There are two adjustments that can be made on the ruffler:

The adjusting lever sets for ruffles/gathers or pleats. Slot 1 is for gathers, slot 6 and 12 are for pleats. 6 makes pleats 6 stitches apart. 12 for 12 stitches apart.

The Adjuster lever for pleats or gathers

The Adjuster lever for pleats or gathers

The adjusting indicator regulates how full or deep each pleat or ruffle is. 8 is the deepest) gives only a slight gather.

The adjusting indicator for fullness or depth

The adjusting indicator for fullness or depth

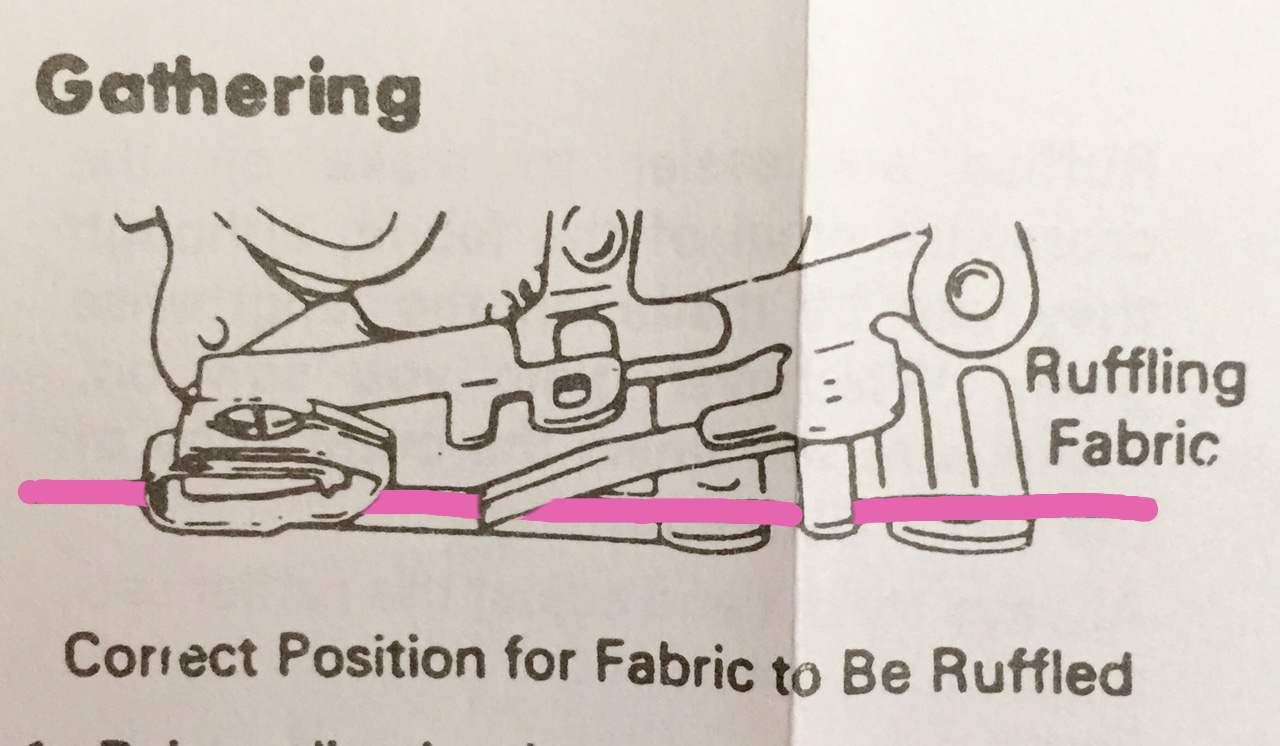
The diagram below shows how to place your fabric in the ruffler.

How to place your fabric

How to place your fabric

Once it’s in. Just sew and watch the ruffles appear. Watch:

Where can you find a ruffler?

A ruffler does not come with the sewing machine but you can buy one for most sewing machines. They are sold at sewing machine stores and on eBay. The average ruffler costs about $20-$25.

Four ways to gather


In Tips, Things I Love, Doll Dressmaking 1
9 Comments

Doll Dressmaking Series: Making a Ruffle with Perle Cotton

February 2, 2015 Lisa Press
making a ruffle
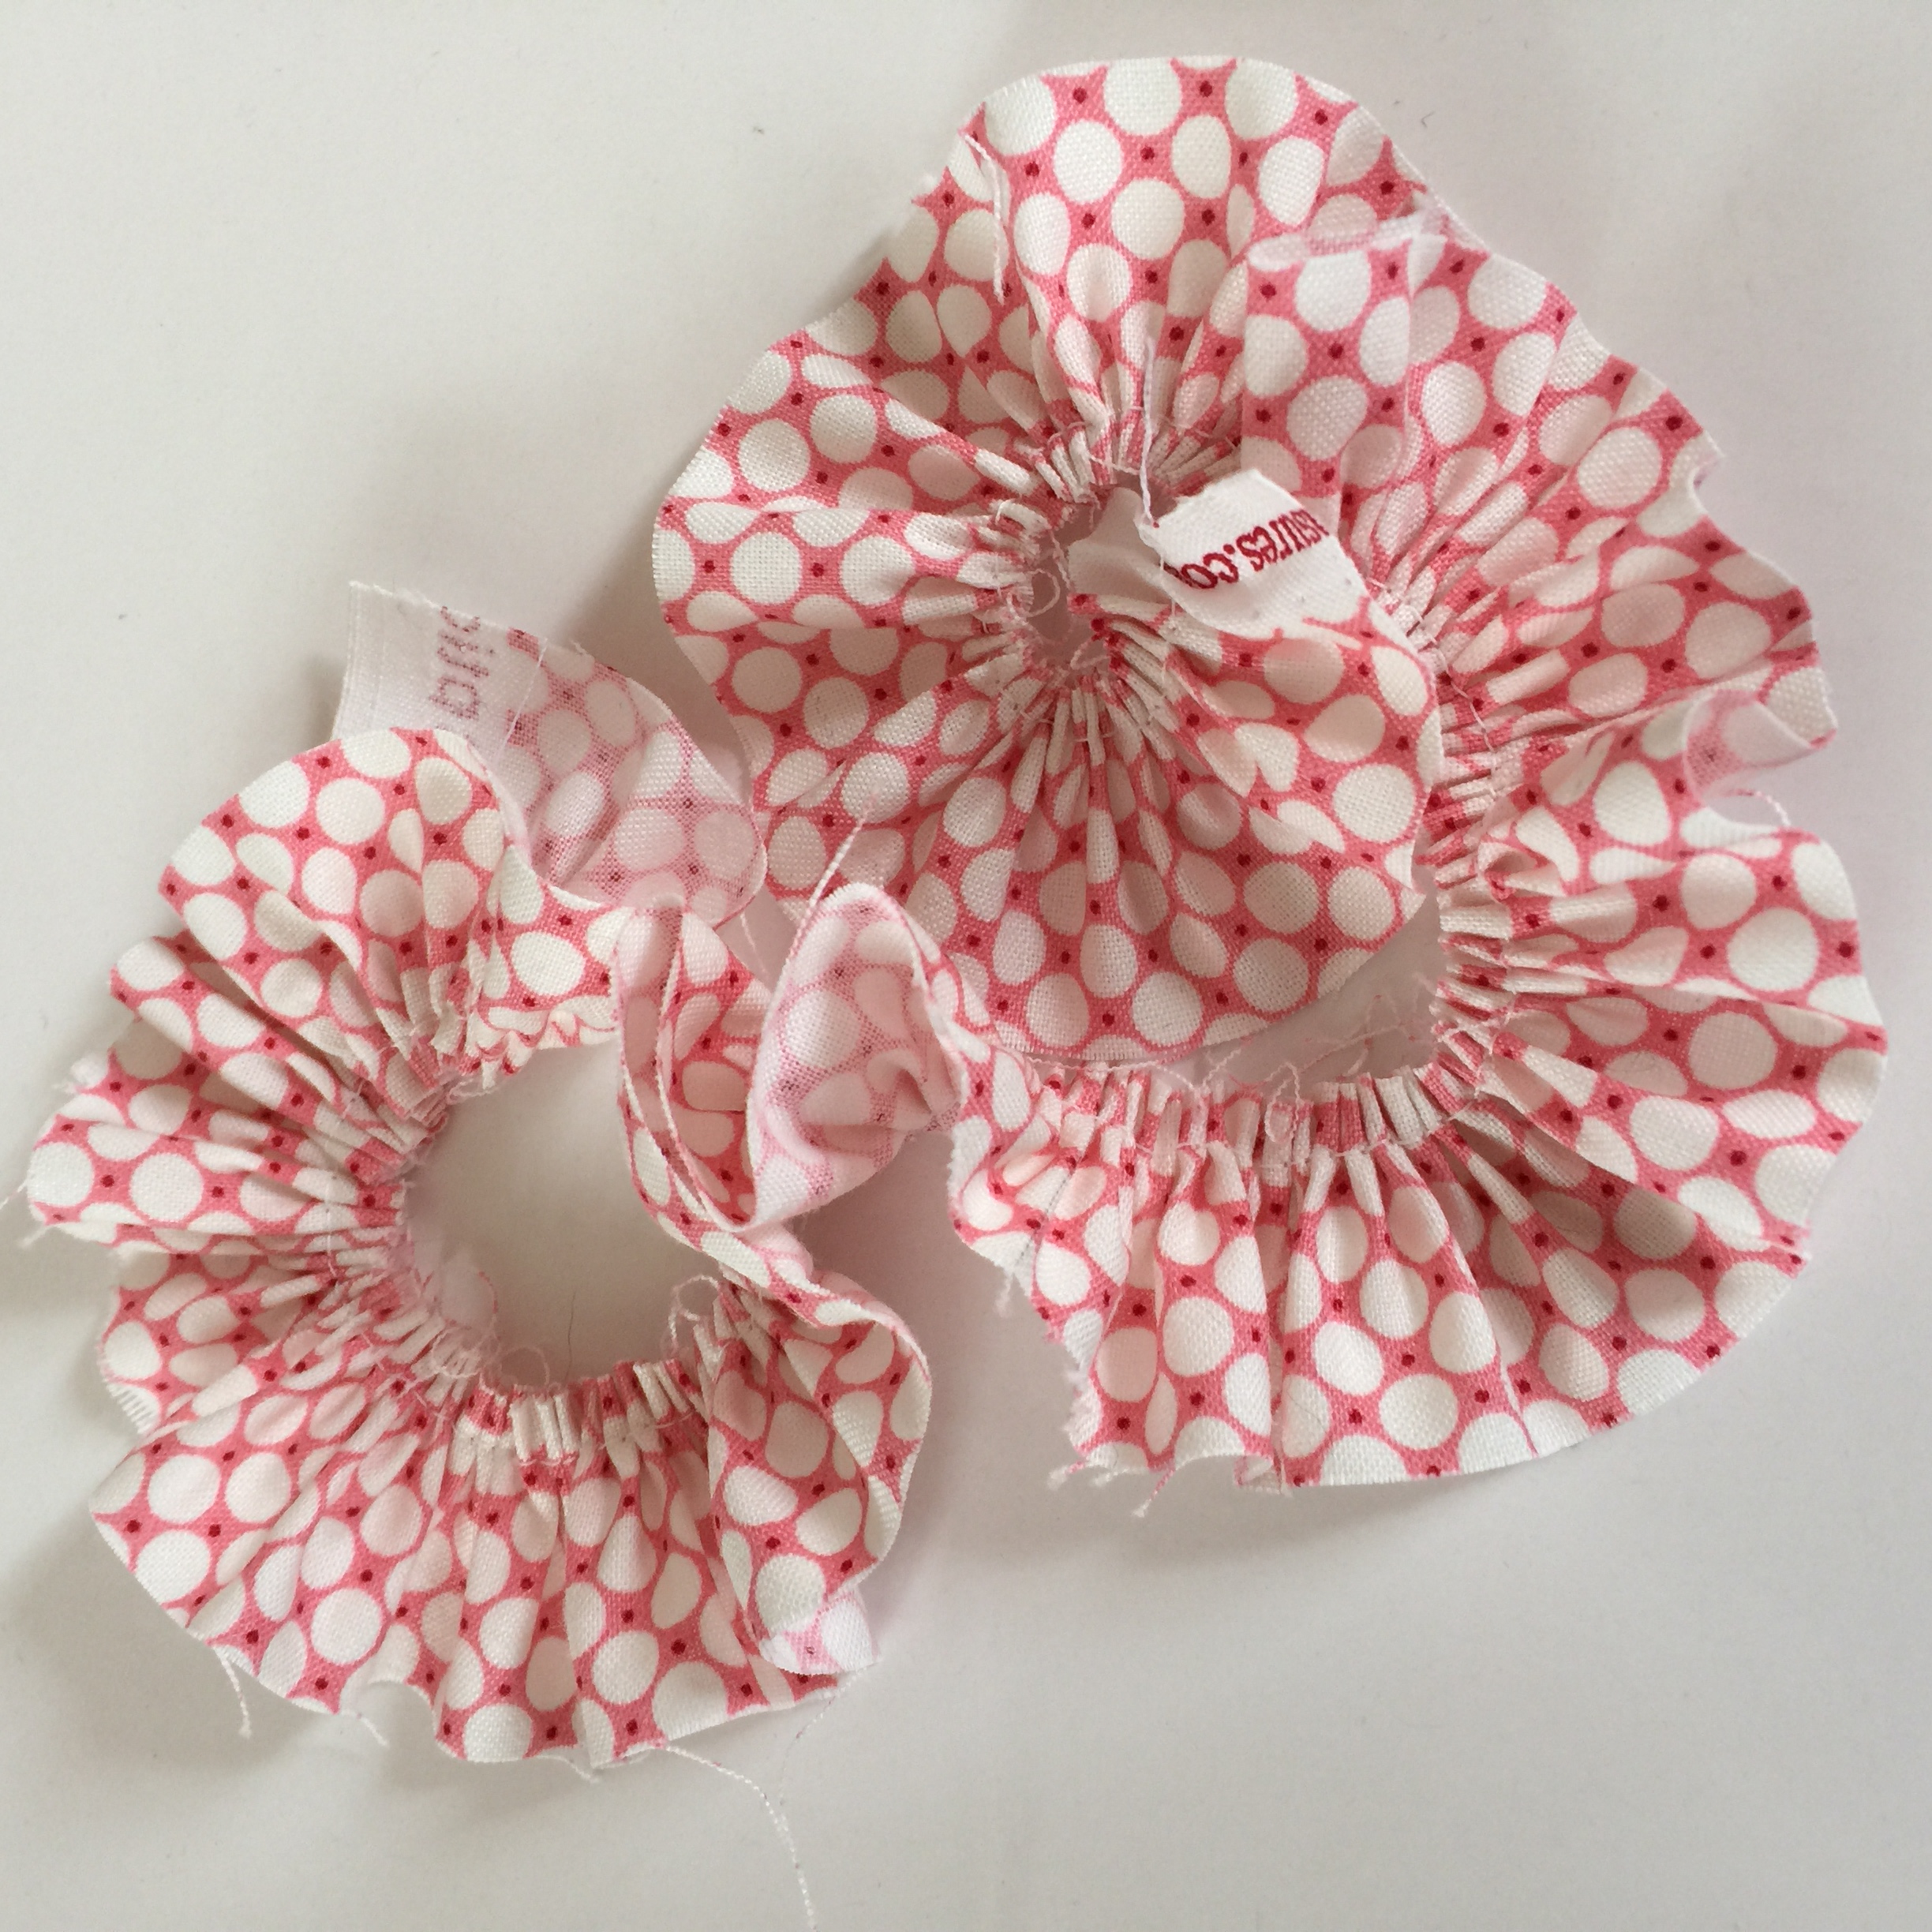
Gathering to make a ruffle
Making a ruffle and gathering

4 different ways to gather a ruffle. From Phoebeandegg.com/blog

Making a ruffle
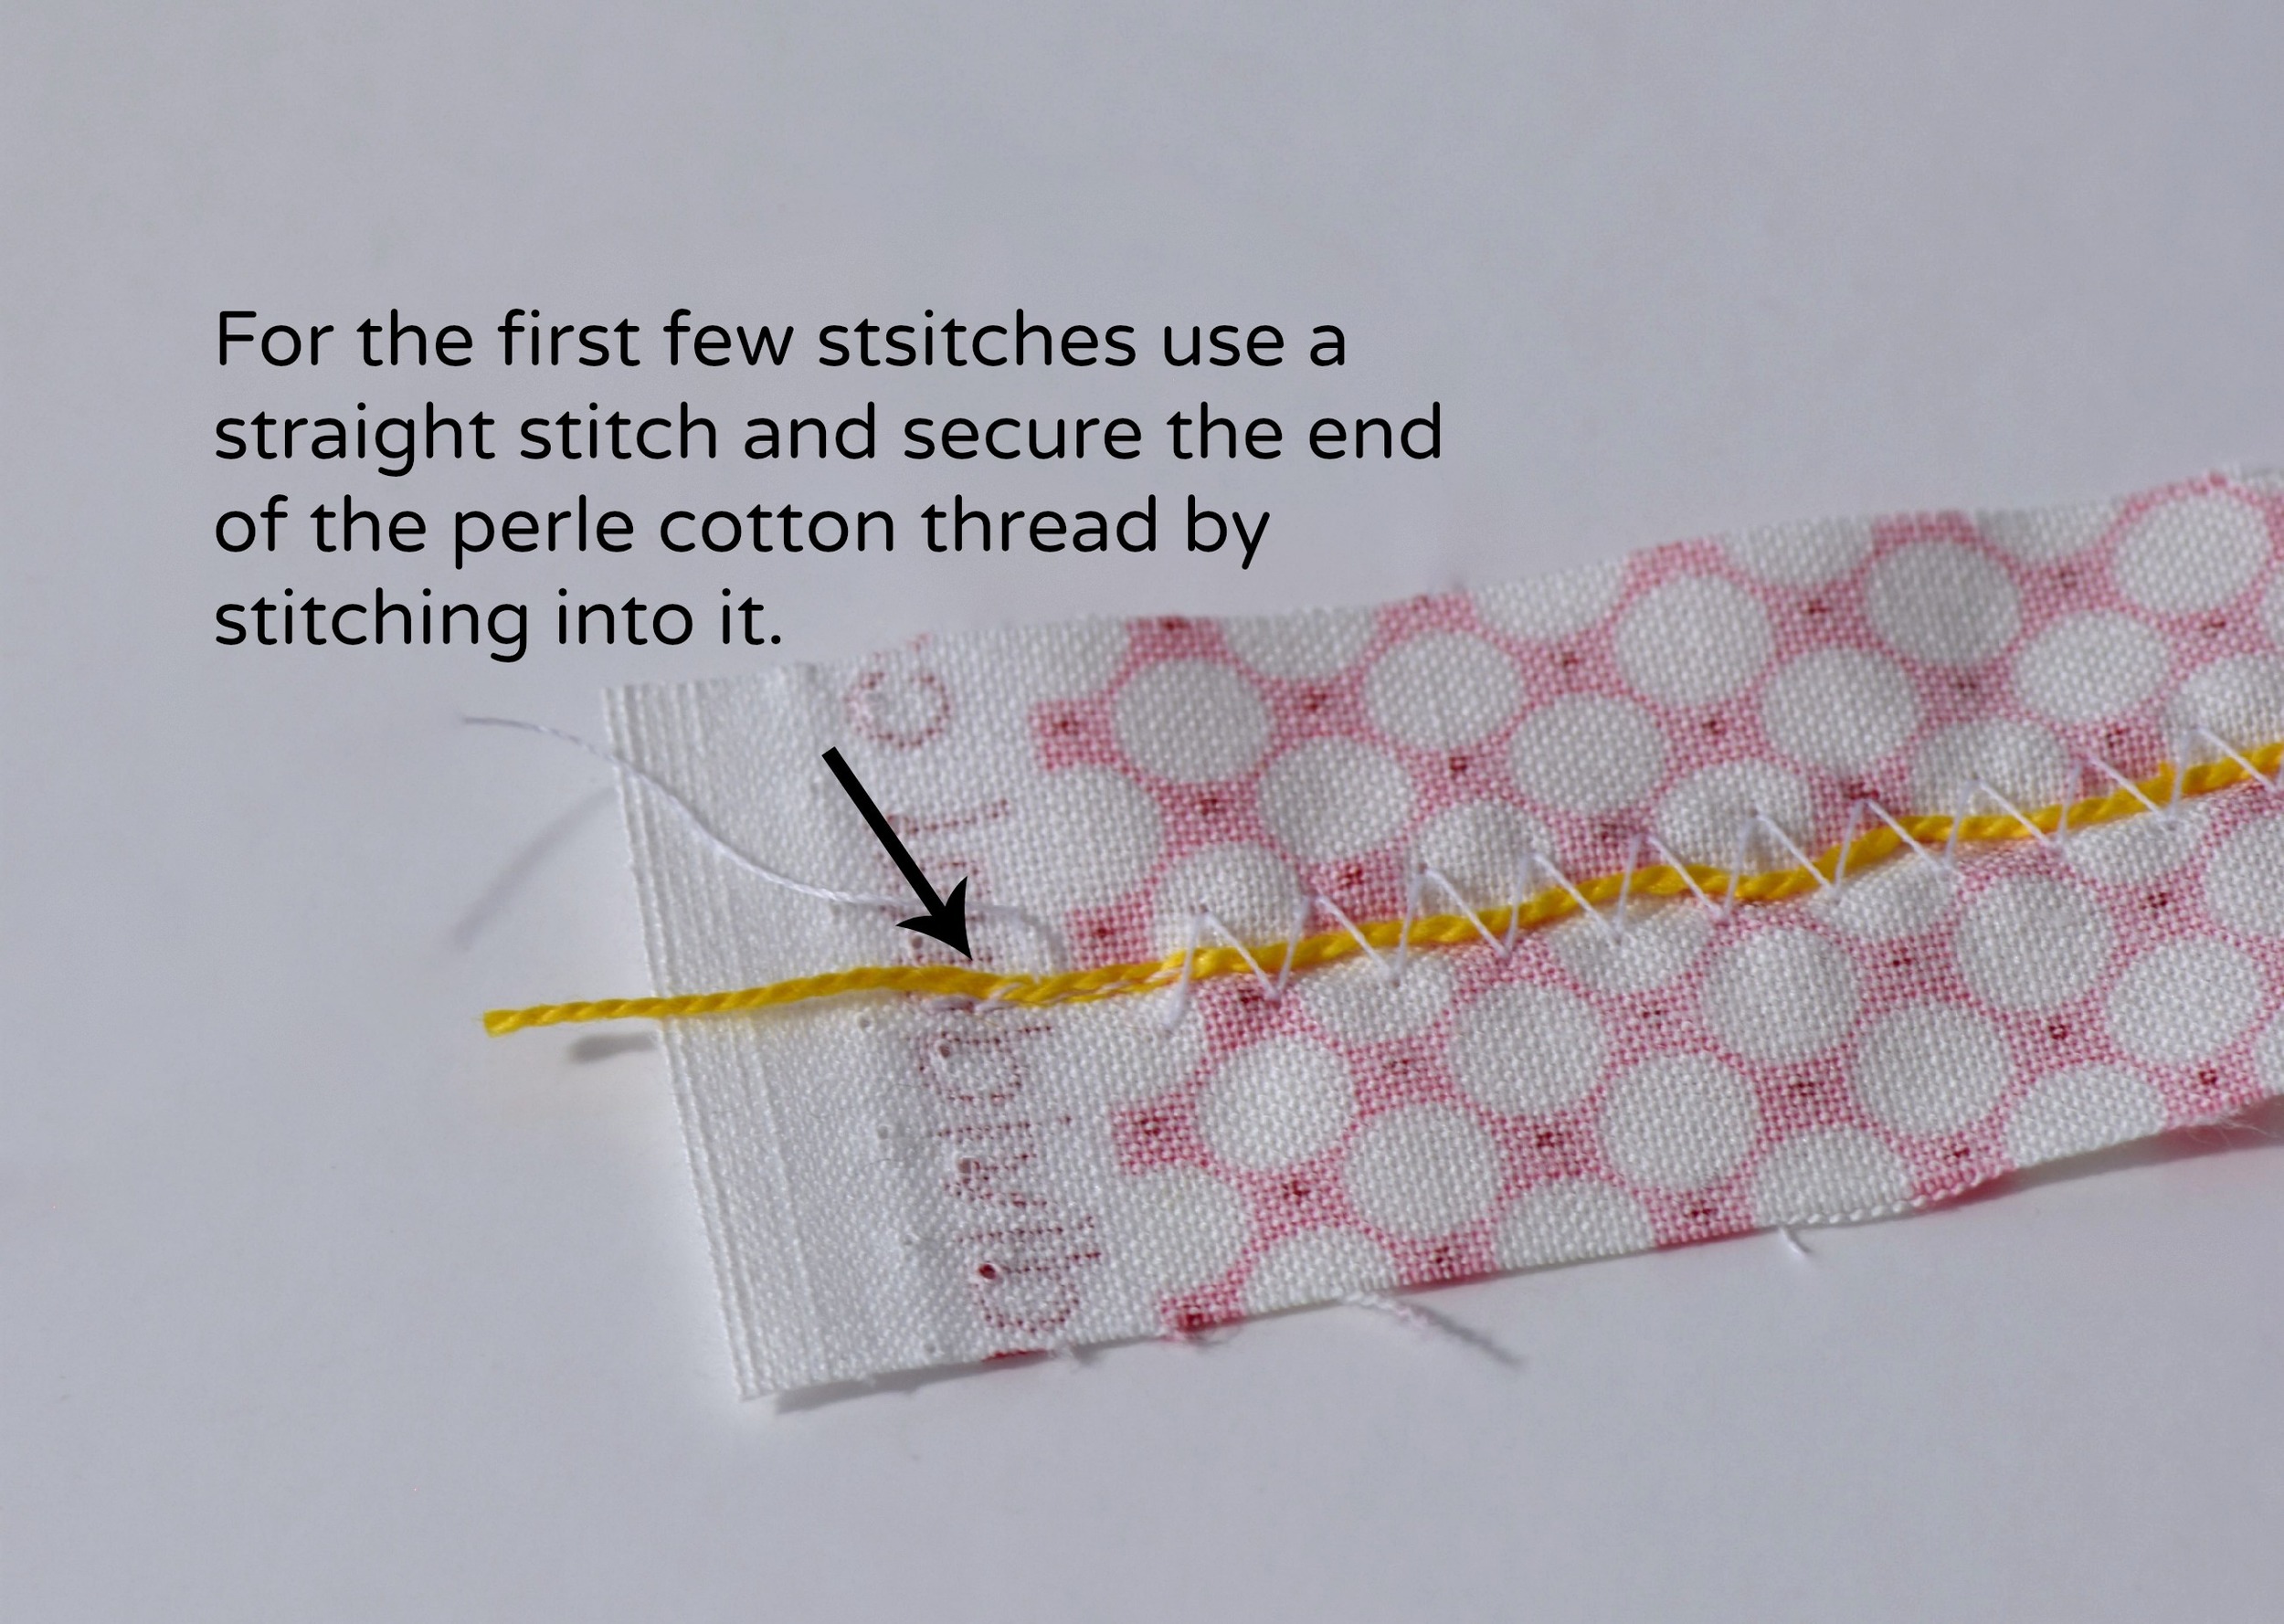
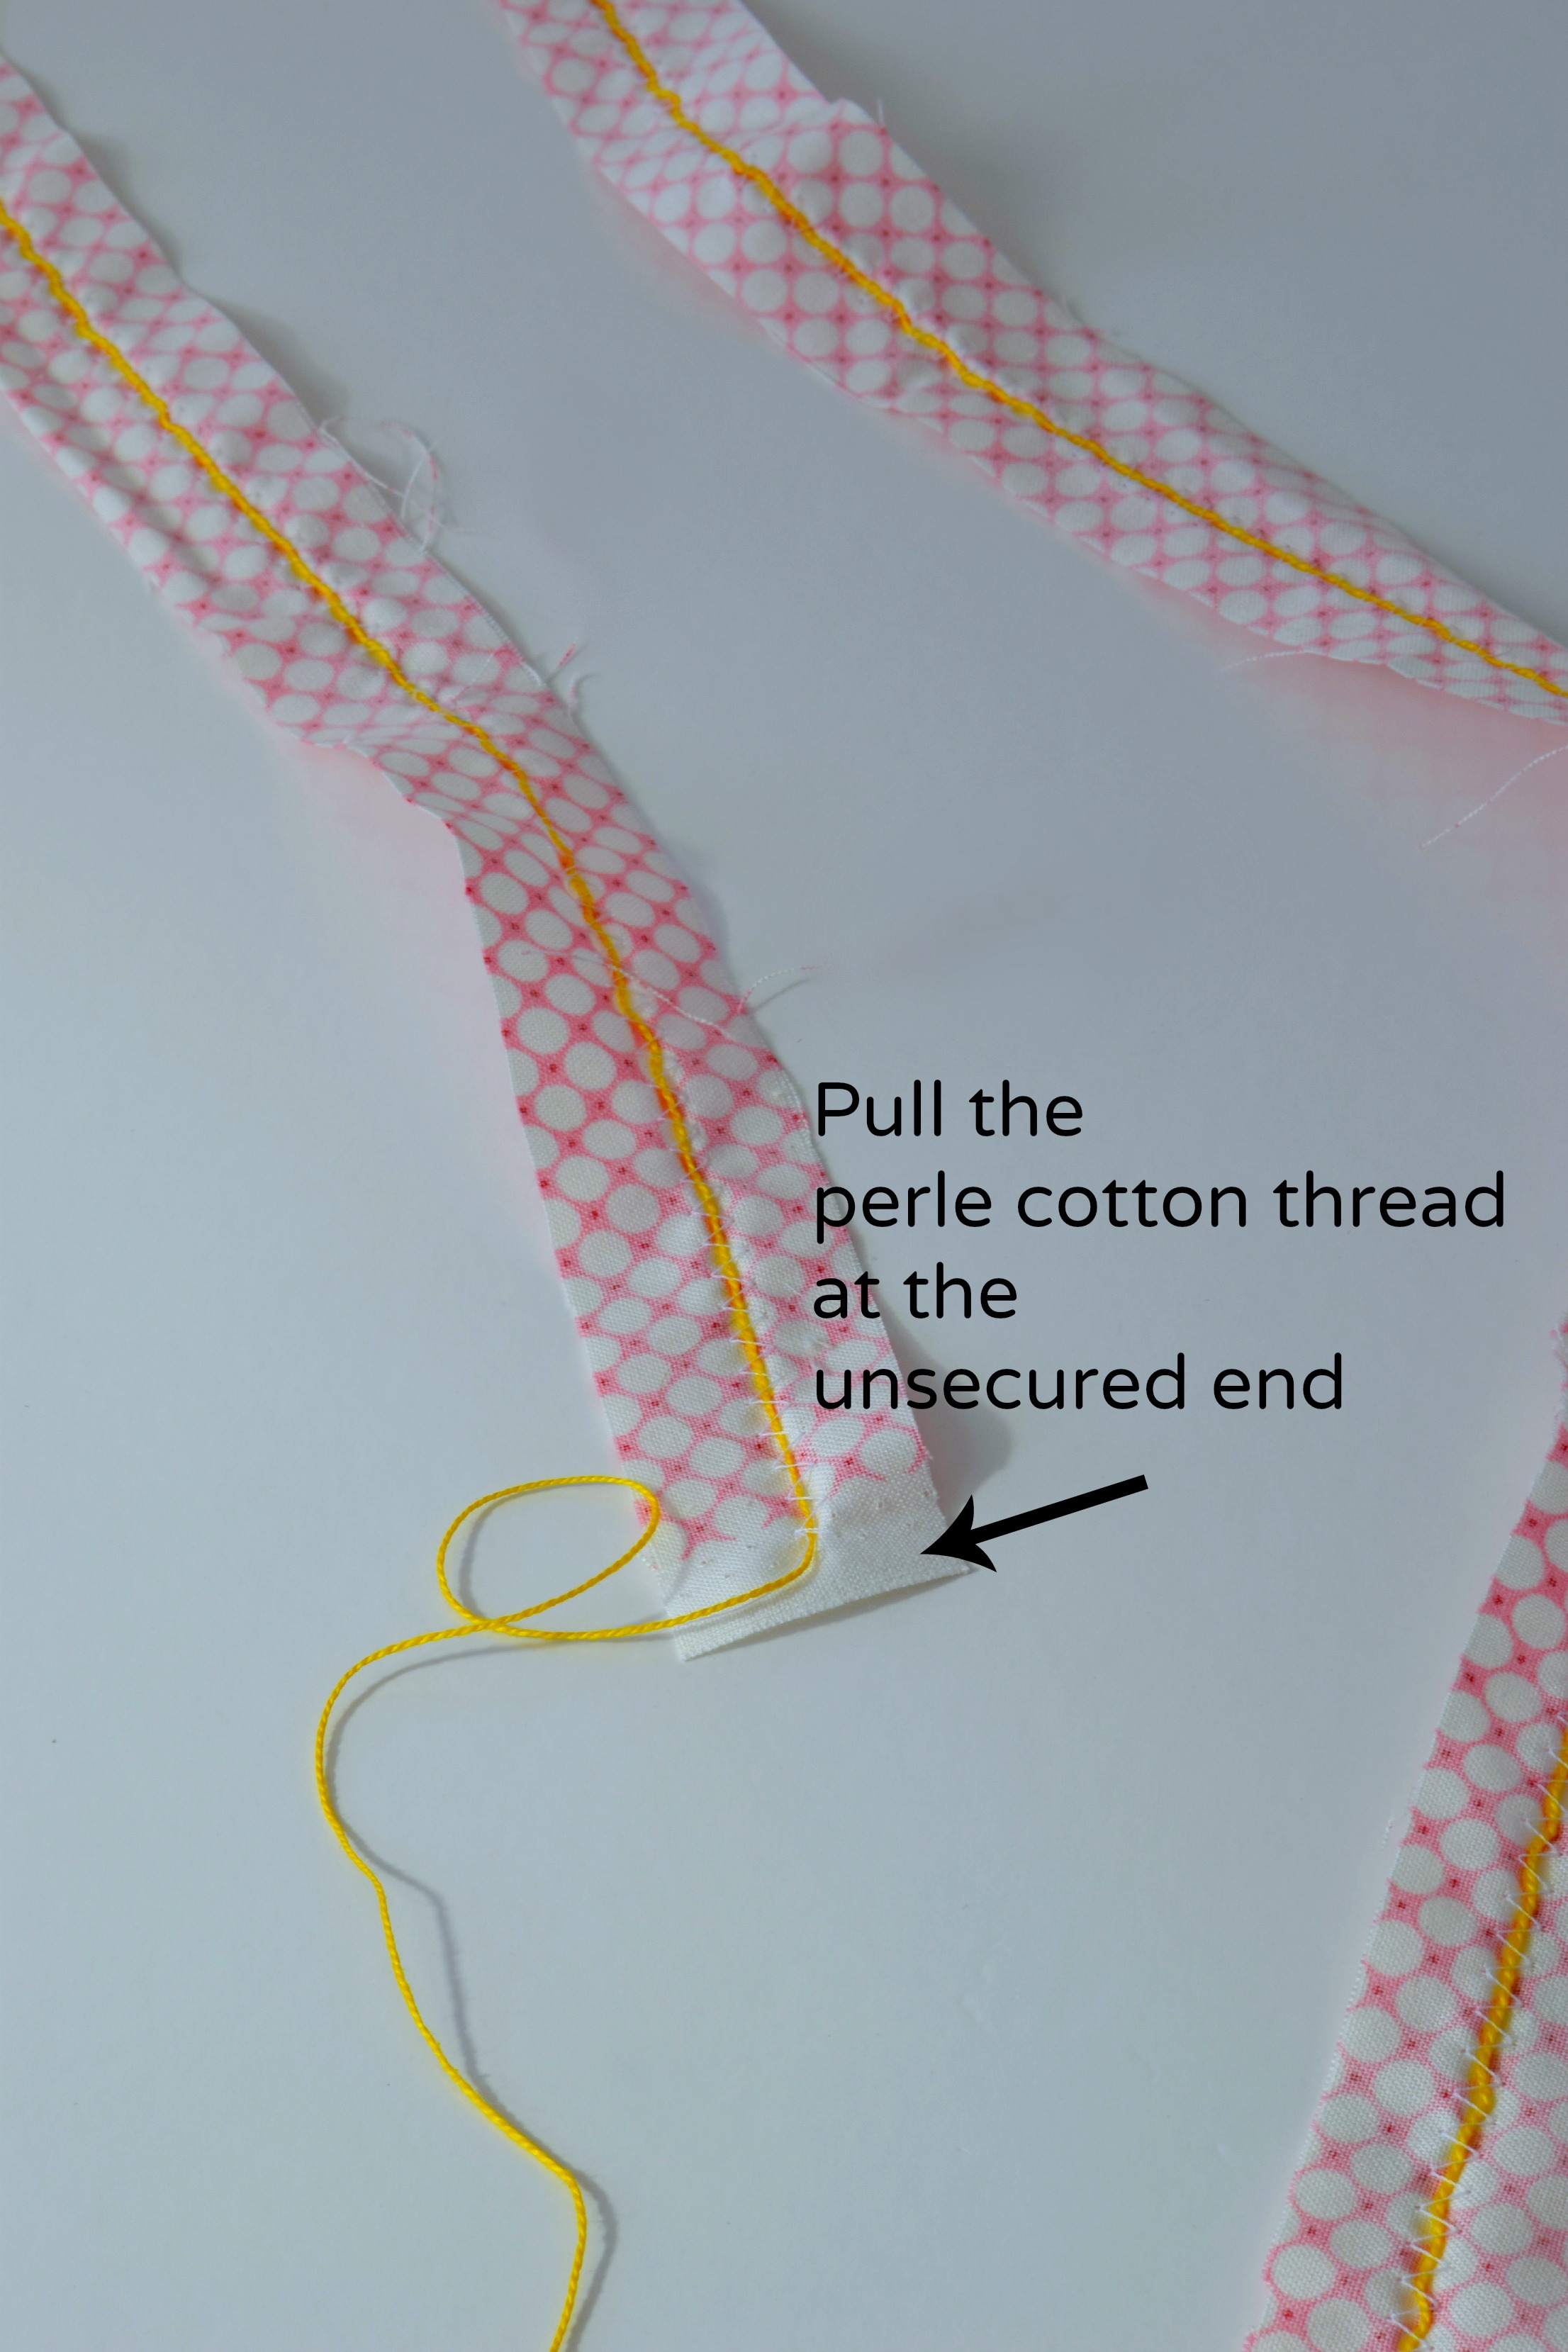
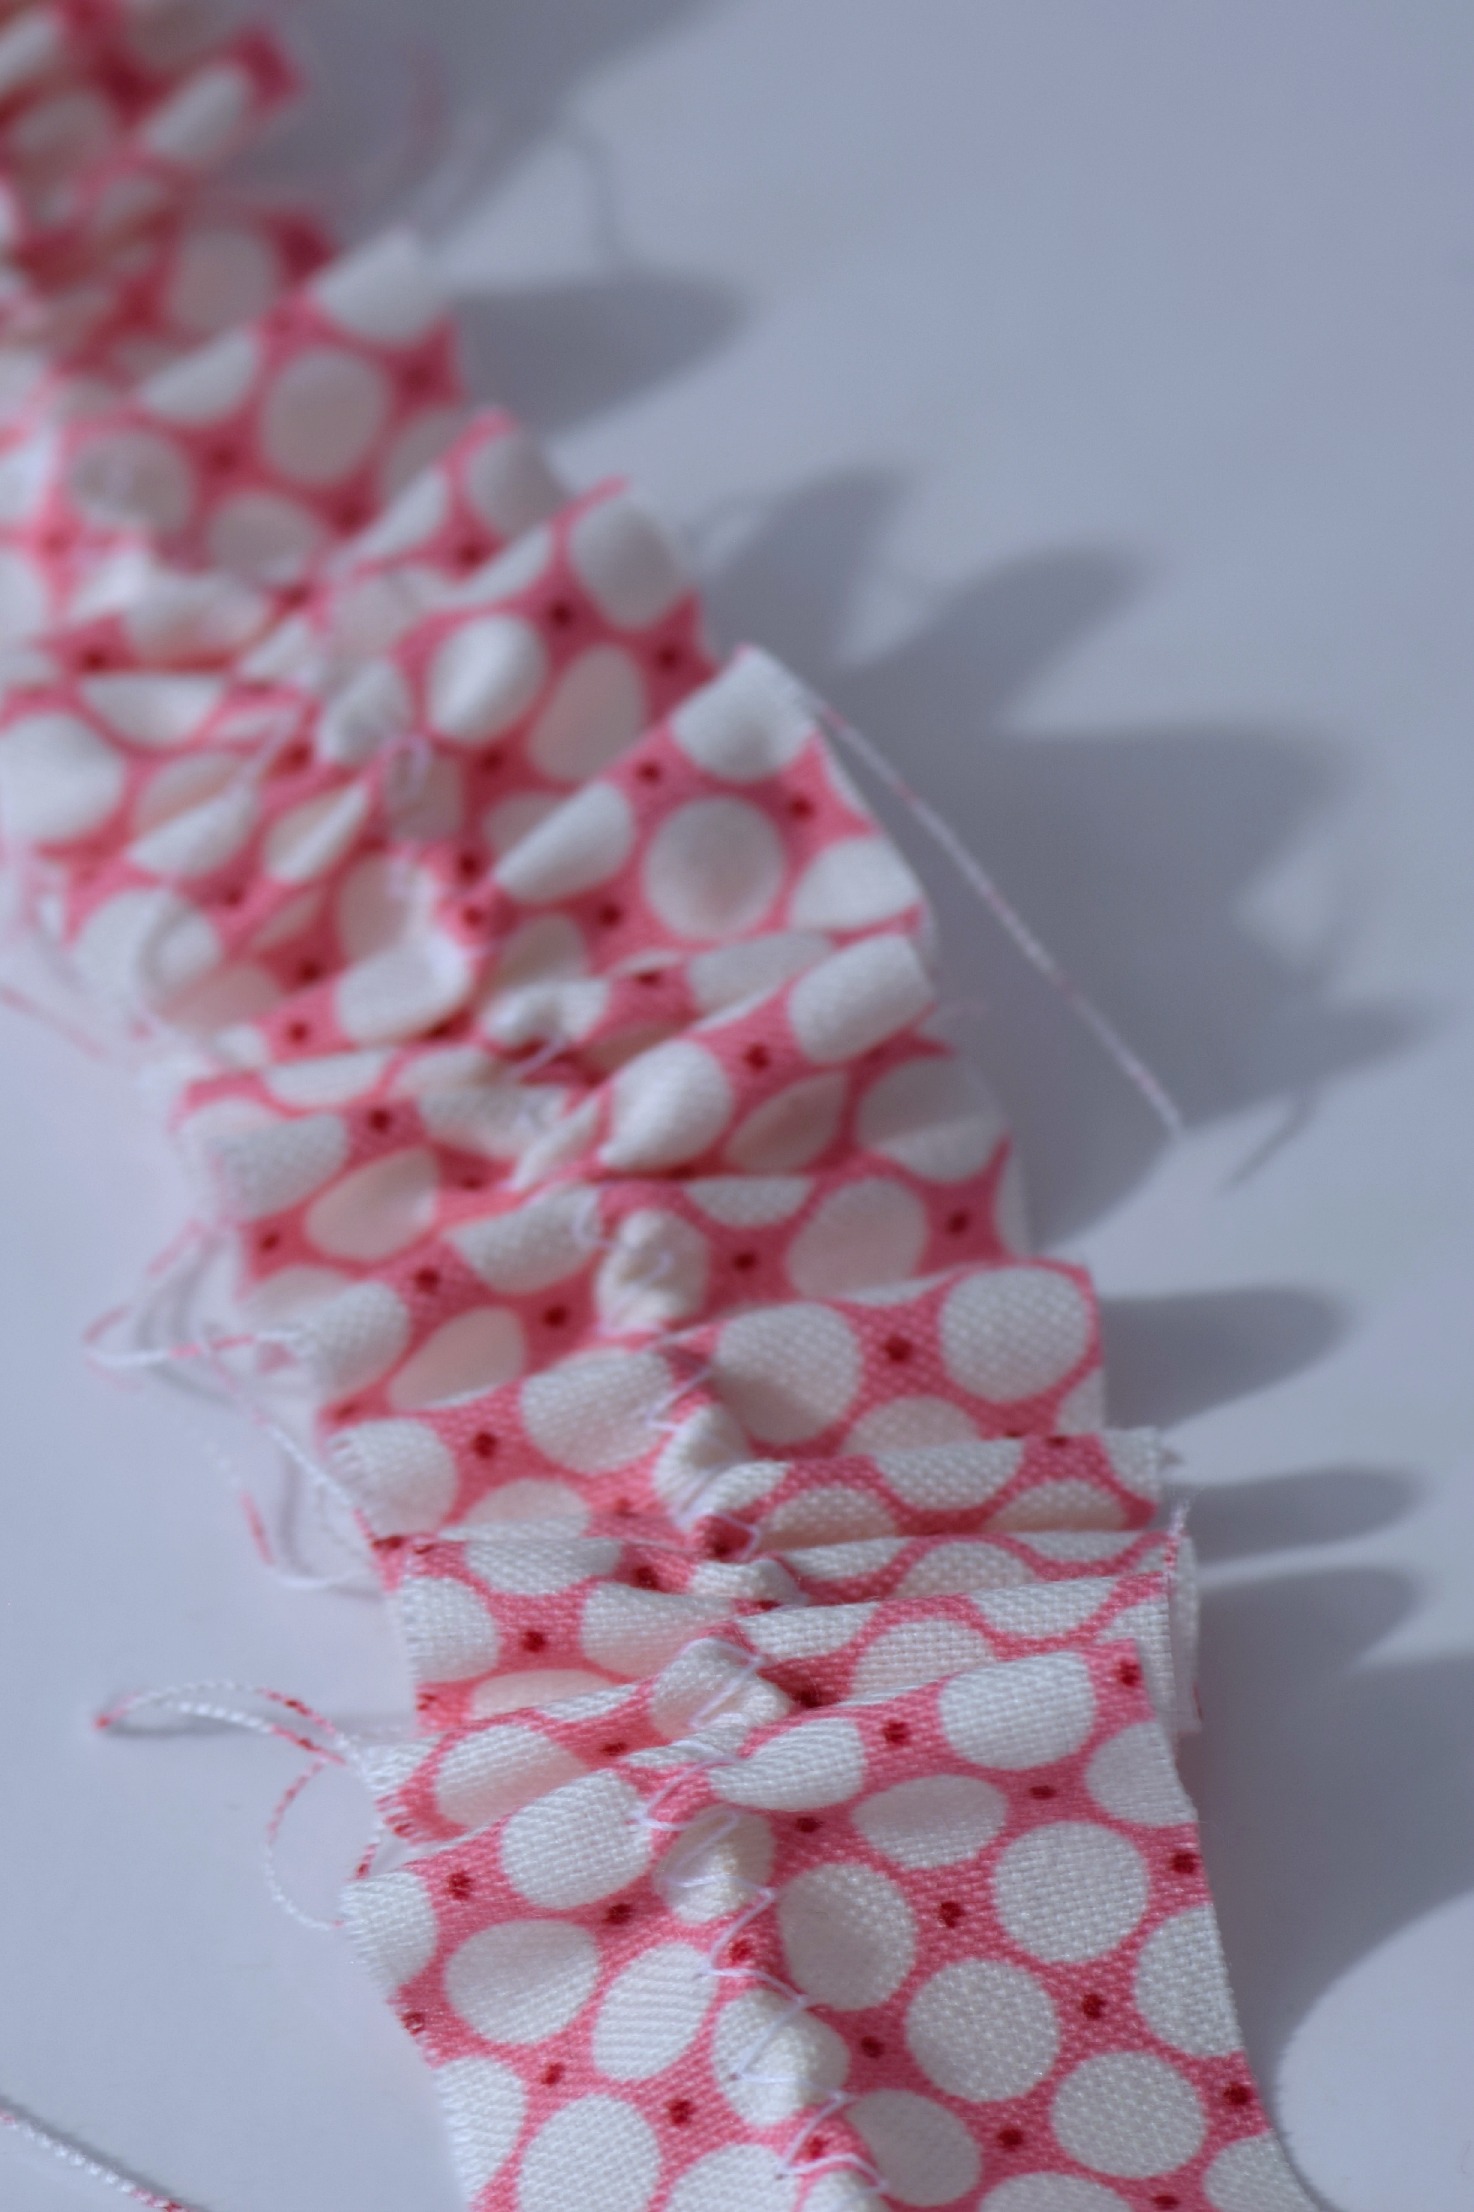
making a ruffle with perle cotton
Making a ruffle with perle cotton
In Tips, Doll Dressmaking 1
Comment

Four Ways to Make Ruffled Trim: Part 1

January 29, 2015 Lisa Press
Ruffled trim tutorial

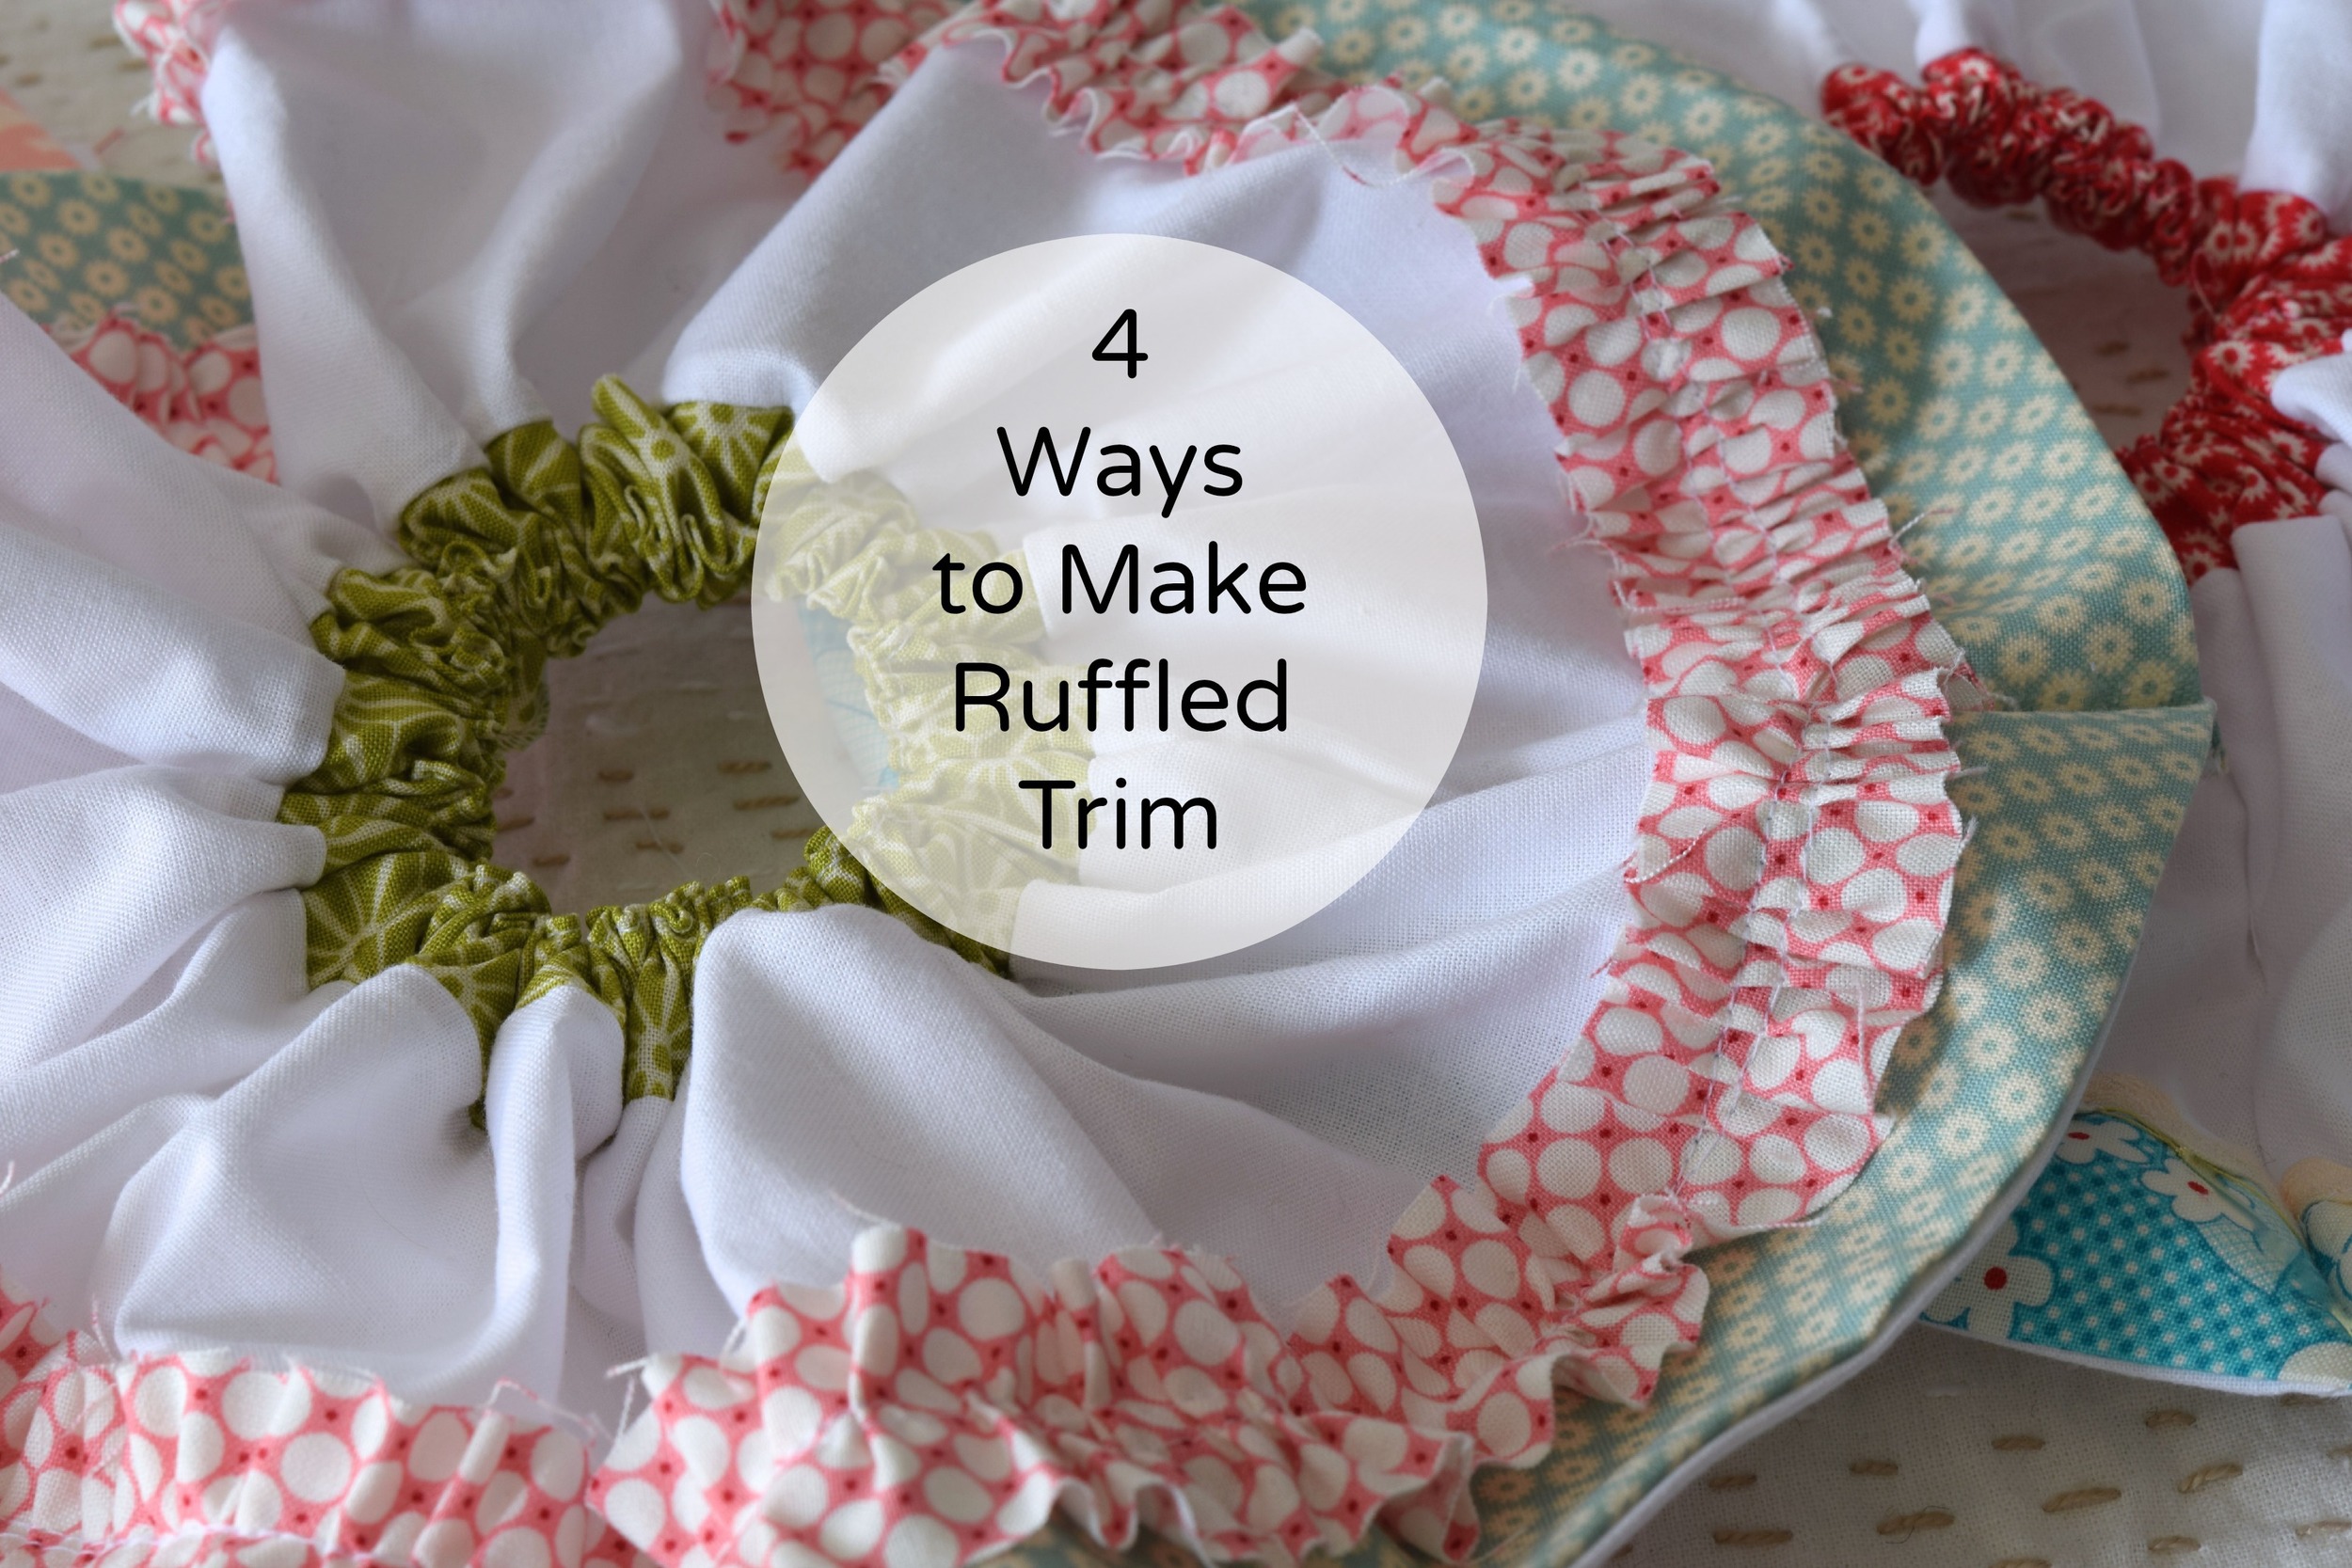
Two things right off the bat. One, there are probably more than 4 ways to make ruffled trim, the kind like I have on the skirt above. And two, there is a reason I did not call the blog post "How to gather" fabric. Although most of these methods involve a form of gathering,  three of the four methods I would only use on decorative elements, because you cannot control the length and degree of the gathering on the finished product.

That's okay if you are making trim.

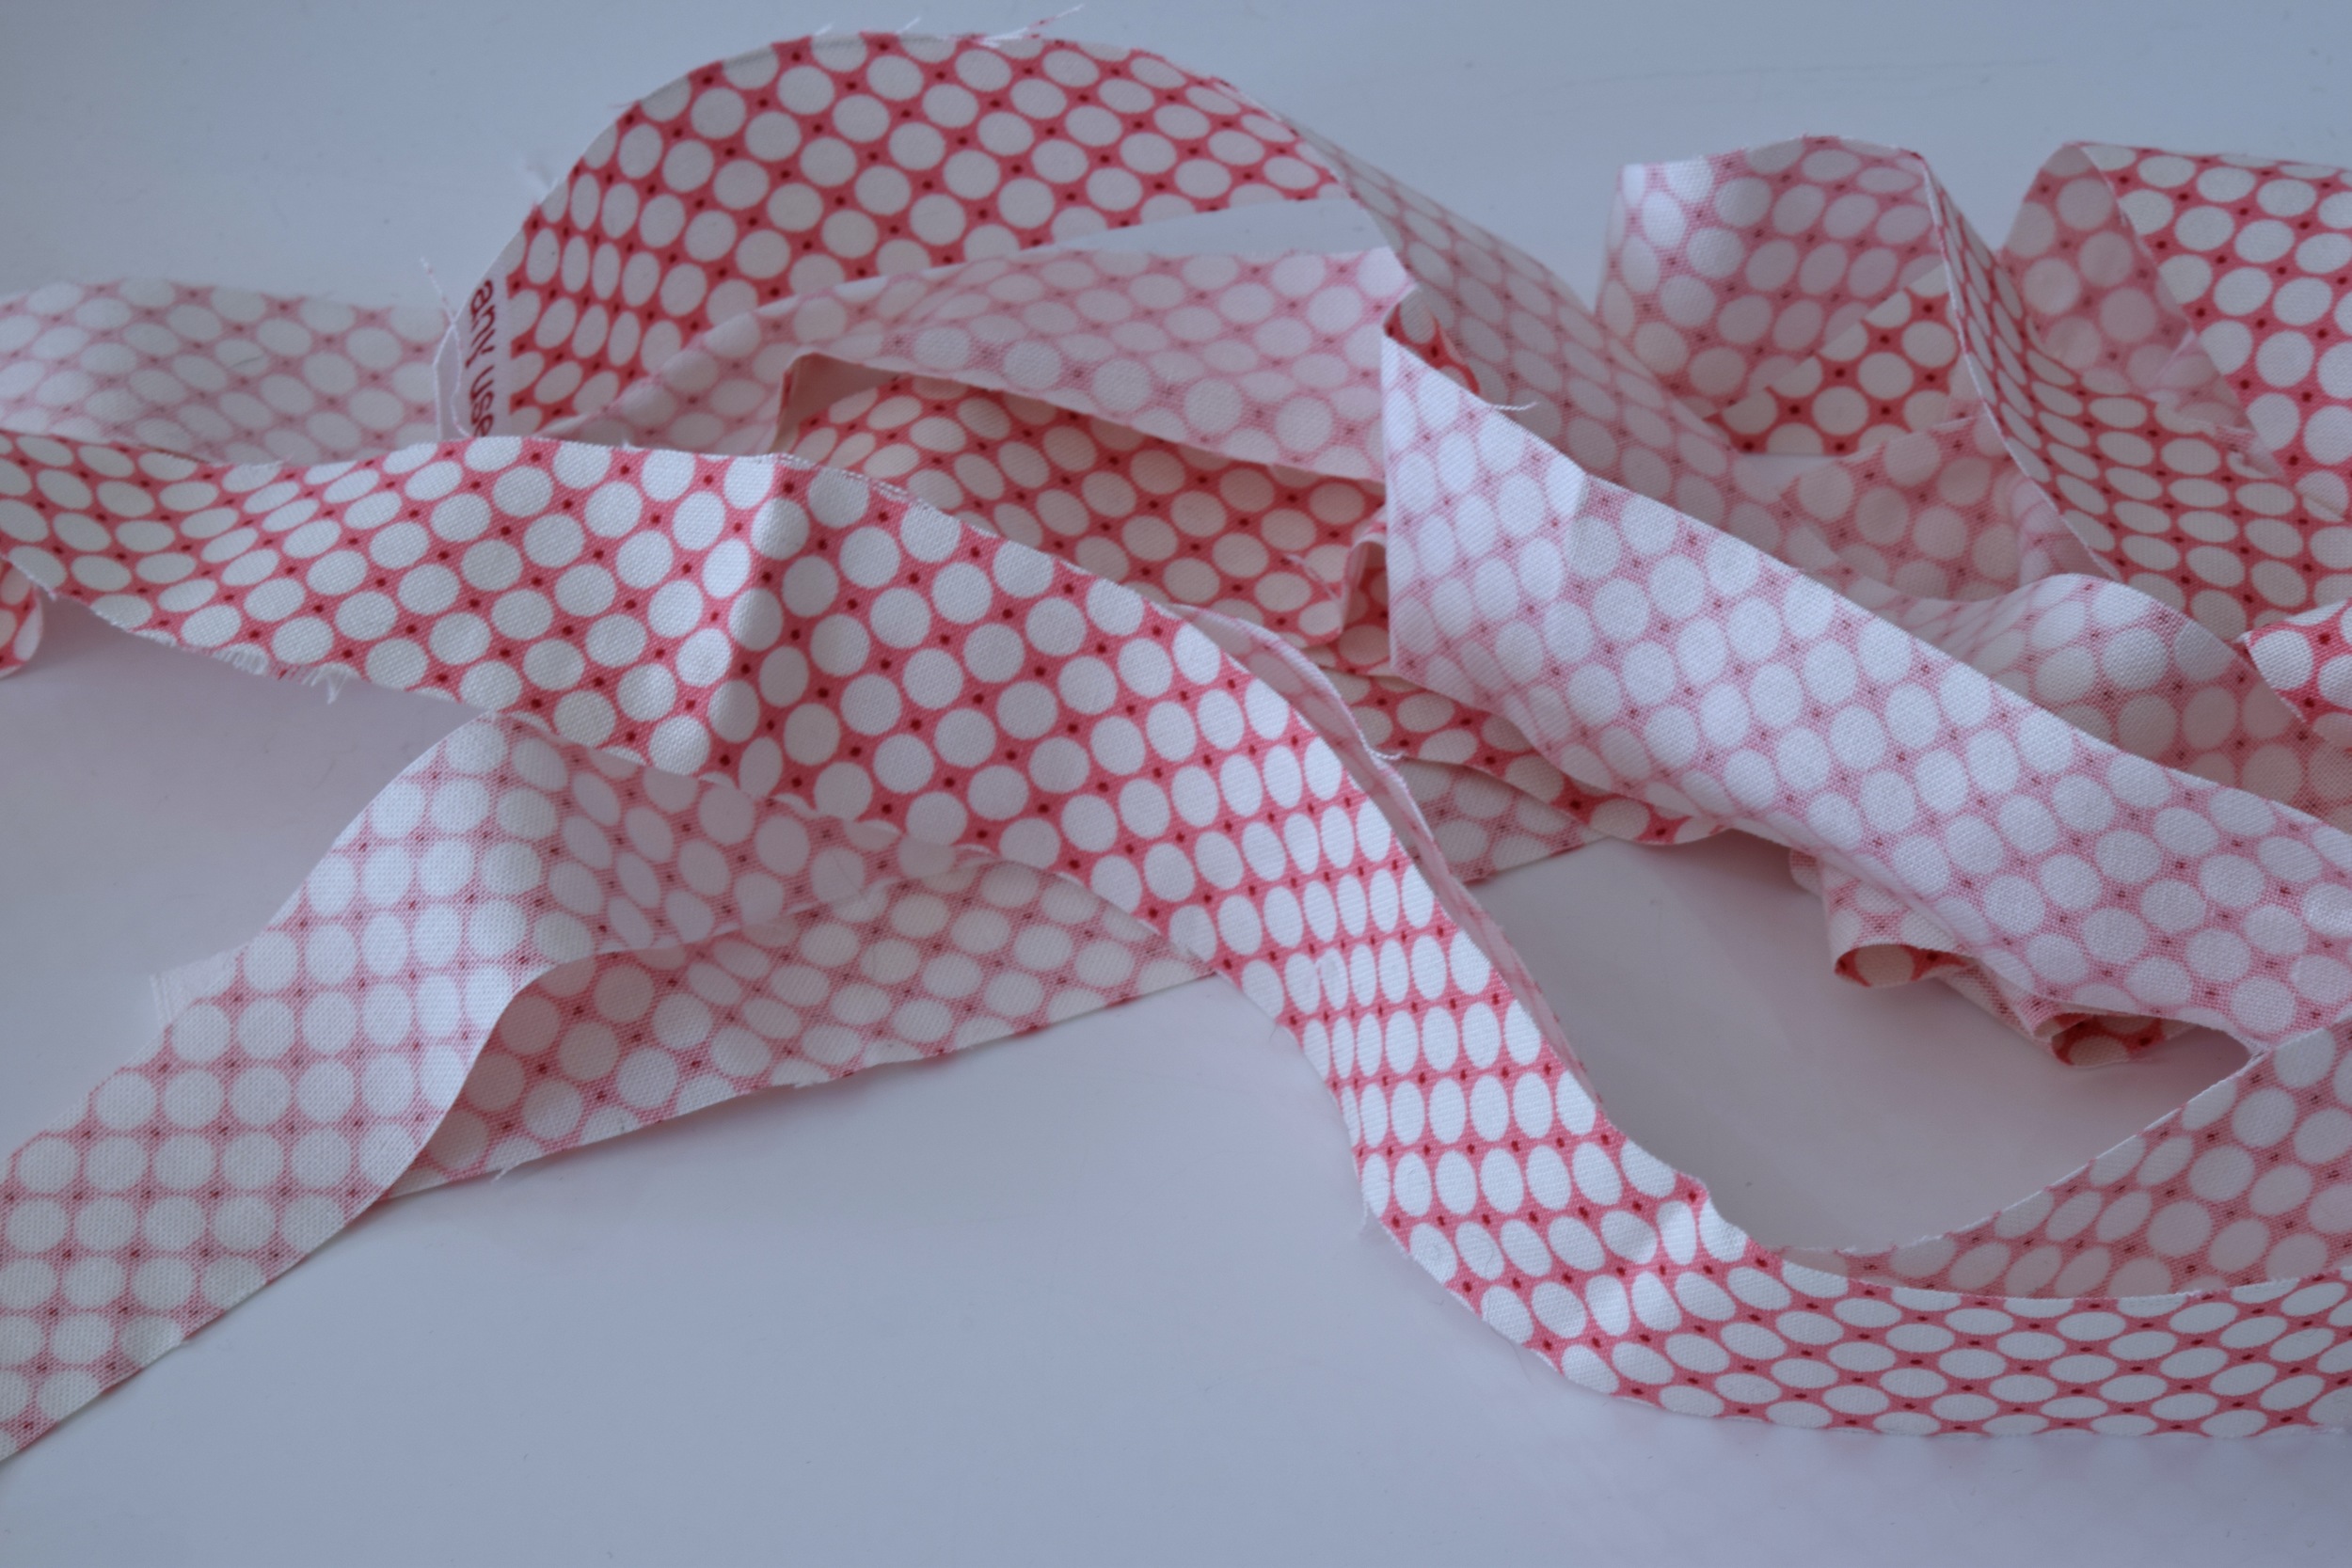
one inch strips

one inch strips

My ruffled trim is made from strips of cotton print, one inch wide and 45" long, cut with the rotary cutter, by merely slicing of the end of a fabric piece, one inch at a time.

I'll cover one way in each post. This post is all about the gathering foot. I think this is by far the easiest way to make this trim. You'll see why in the video.

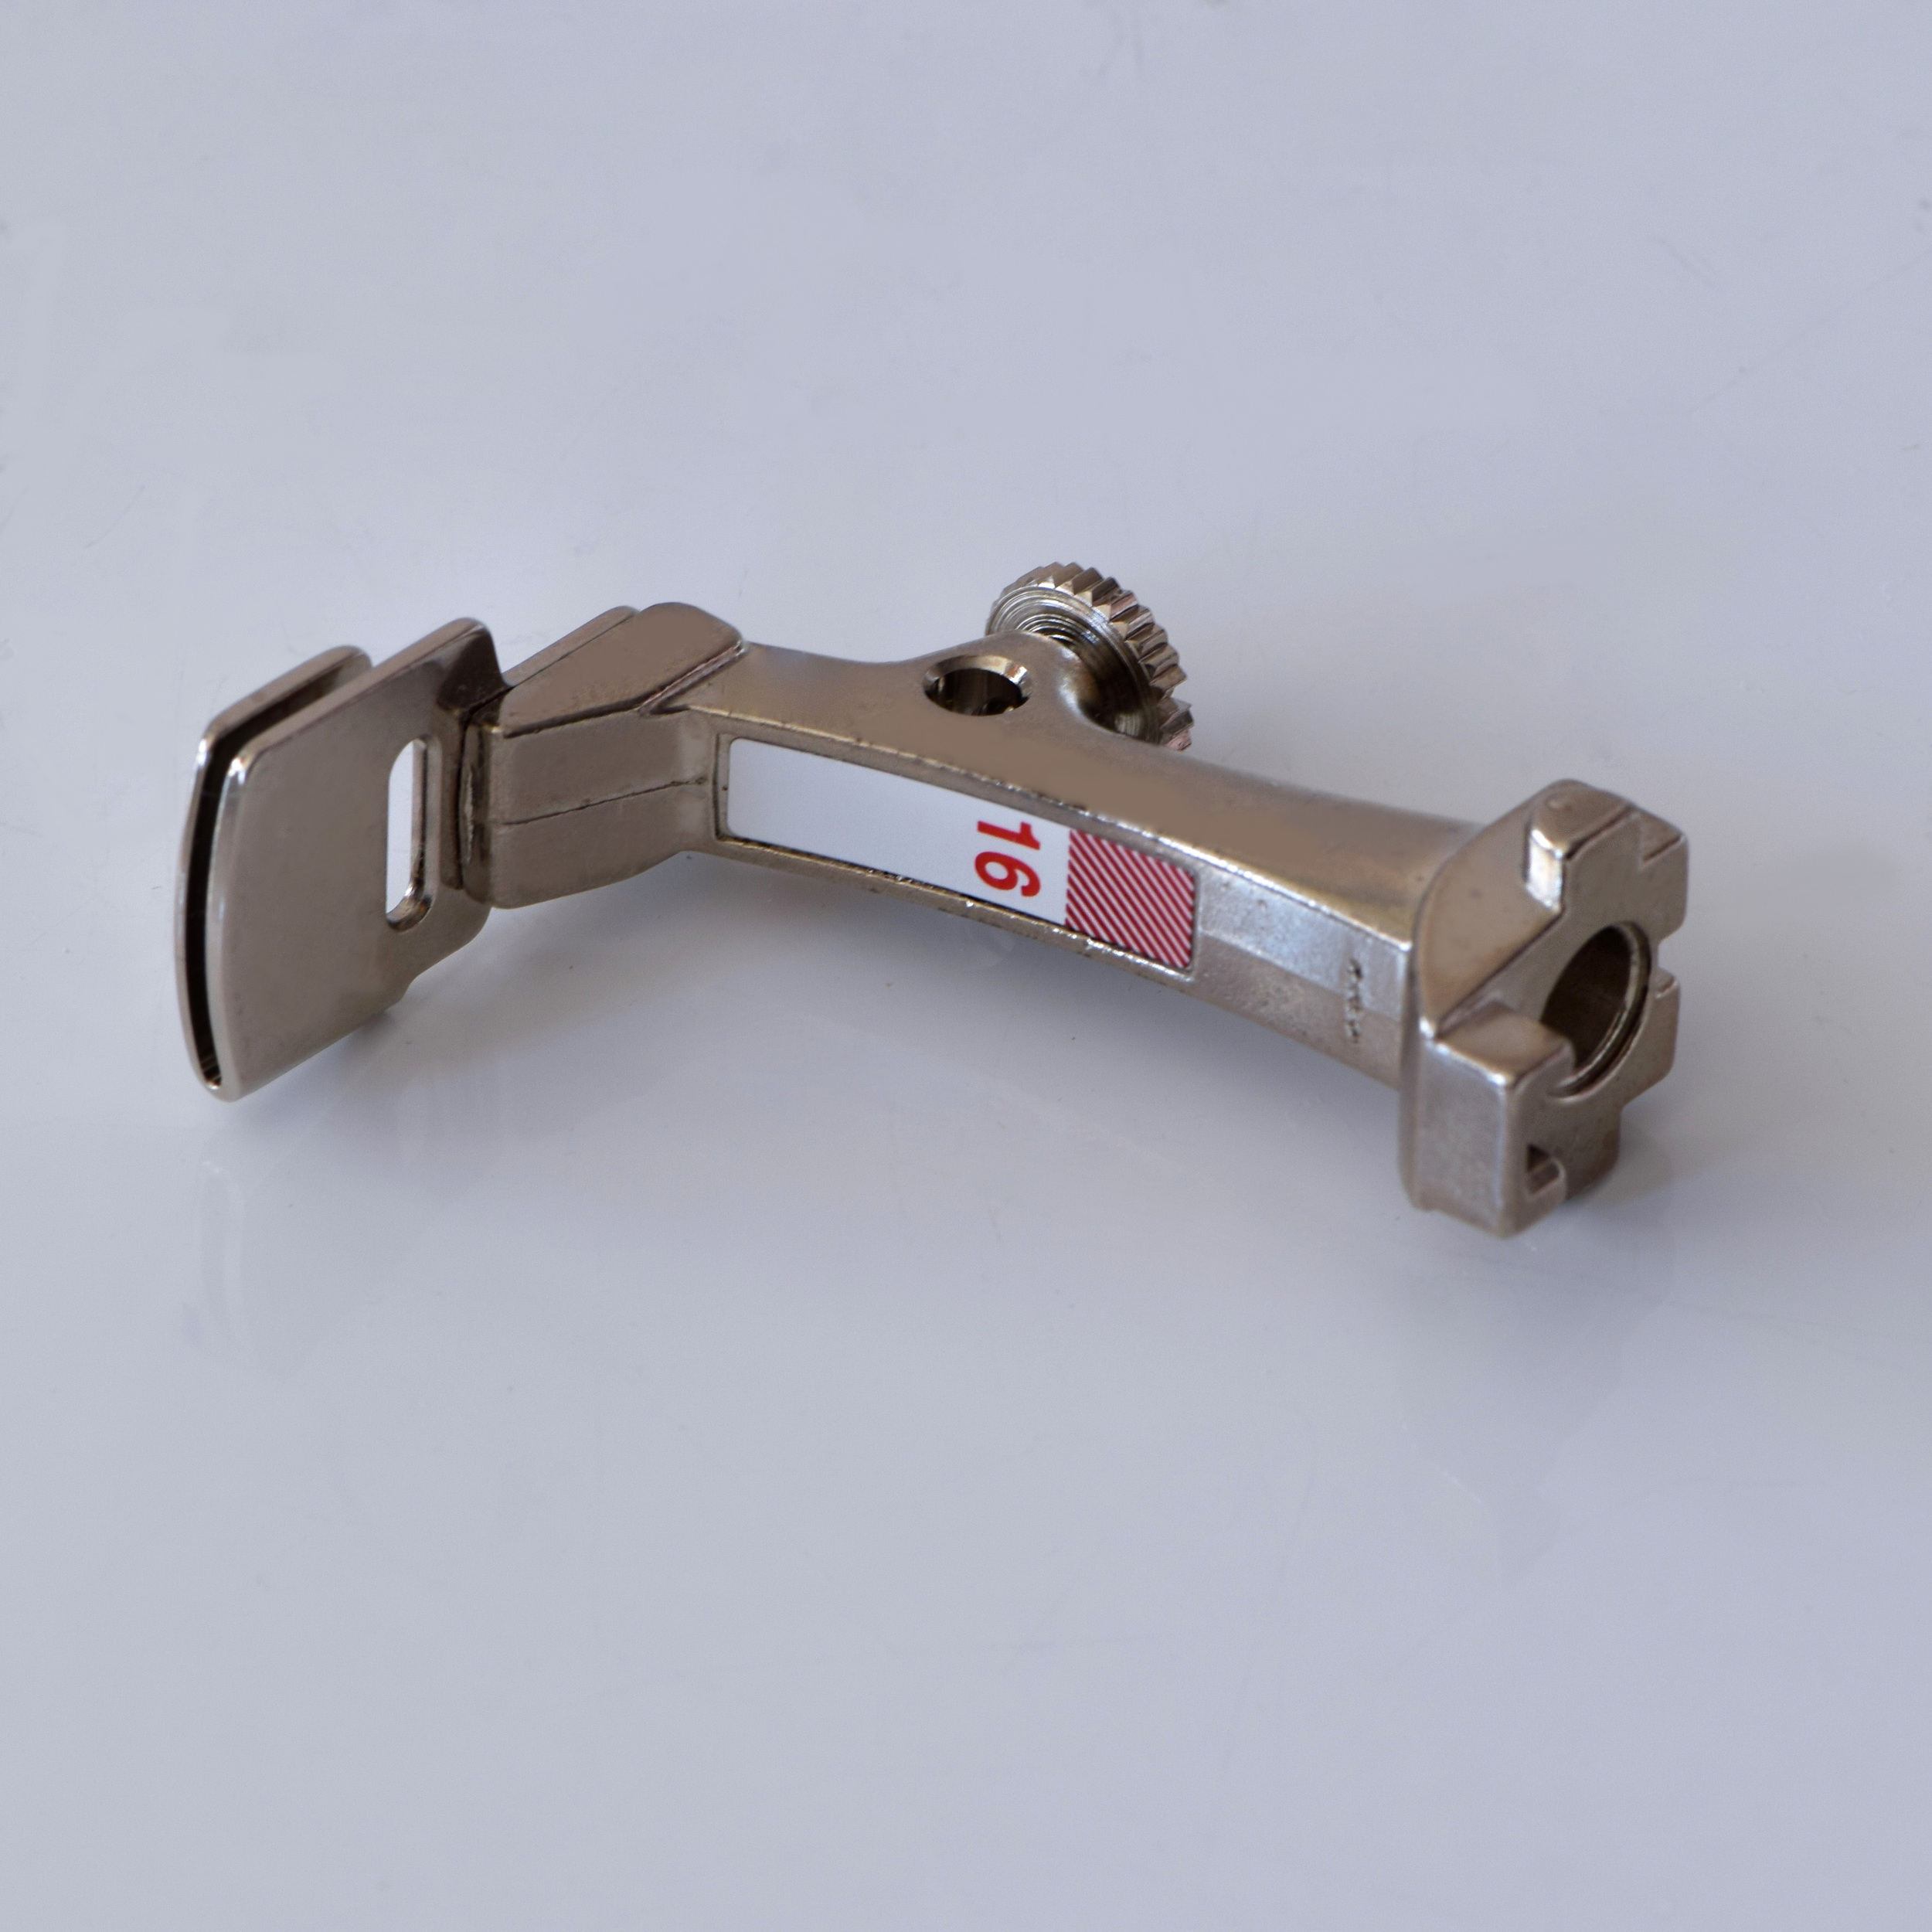
The gathering foot shown below is the one from Bernina, #16. But most brands make one, Janome, Brother, Singer, etc..  They all look the same. Once and awhile it is called a shirring foot. They seem to cost between $20-$22. 

The gathering foot.

The gathering foot.

To use this foot, you will need to set your stitch length to the longest stitch. If you want less gathering, shorten the stitch a bit.

Place your fabric under the foot, do a stitch or two backwards to secure and then just zoom right ahead, gathering/ruffling as you go.

How to use a gathering foot to make ruffled trim

And in about a minute or two you have your trim! I love this foot!

Finished trim

Finished trim

In Materials, Tips, Doll Dressmaking 1
1 Comment

Doll Dressmaking Series: Ruffle Sleeves

January 8, 2015 Lisa Press
Doll Dressmaking Series: Ruffle Sleeves

Doll Dressmaking Series: Ruffle Sleeves

I have the next sleeve tutorial for you already. There are a lot of ways you can treat sleeves, so i thought I'd keep throwing stuff at you. Along with the basic sleeve, covered in my last post, ruffle sleeves are super easy. They don't require a lot of careful fitting of the sleeve cap to the armhole, which is the trickiest part of sewing sleeves on a small scale.

For this I used the pattern pieces for Dress with a Bodice and Gathered Skirt:

  • Bodice Front (cut two, the bodice is lined)
  • Bodice Back, cut 4
  • Skirt
  • Ruffle sleeve, cut two, there is a form to get the pattern piece at the end of this post
Doll Dressmaking Series: Ruffle Sleeves

Doll Dressmaking Series: Ruffle Sleeves

1. Sew front to back pieces together at the shoulder seams for both the bodice and the lining.

Doll Dressmaking Series: Ruffle Sleeves

Doll Dressmaking Series: Ruffle Sleeves

2. Sew bodices together starting at the bottom corner of the back, up and around the neck and down the other side of the back. DO NOT sew the armholes together as you would for a sleeveless dress with a lined bodice. 

Doll Dressmaking Series: Ruffle Sleeves

Doll Dressmaking Series: Ruffle Sleeves

3. Fold sleeve ruffles in half and press.

4. Sew two rows of gathering stitches along the curved edge of each sleeve. Gathering stitches are explained in this lesson. 

Doll Dressmaking Series: Ruffle Sleeves

Doll Dressmaking Series: Ruffle Sleeves

Doll Dressmaking Series: Ruffle Sleeves

5. Pull gathering threads until sleeve edge is the same length as armhole edge.

Doll Dressmaking Series: Ruffle Sleeves

6. Pin sleeve to ONE layer of the bodice fabric making sure you have right sides together. The sleeve has two right sides, but the bodice only has one. If you look closely in the photo below, the lining of the bodice is lifted up.  

7. Sew sleeve in place to the bodice but not the lining.

Doll Dressmaking Series: Ruffle Sleeves

Doll Dressmaking Series: Ruffle Sleeves

Doll Dressmaking Series: Ruffle Sleeves

Doll Dressmaking Series: Ruffle Sleeves

8. Now you can add the lining. Just flip it down and pin it in place. You will then have a bodice, sleeve, bodice lining, sandwich. You are ready to sew these three layers together. It helps to sew with the bodice side up, because you have the stitch line from sewing the sleeve to the bodice to follow.

Doll Dressmaking Series: Ruffle Sleeves

Doll Dressmaking Series: Ruffle Sleeves

9. Next there is a tiny side seam. 

A. Turn bodice right side out and press.

B. Locate the tiny side seams at the base of each armhole.

C. Pin the side seam of the bodice to the side seam of the armhole, matching the bases of the armholes.

D. Stitch.

Doll Dressmaking Series: Ruffle Sleeves

Doll Dressmaking Series: Ruffle Sleeves

10. Press bodice and sew skirt on as in the Bodice and Gathered Skirt tutorial. 

11. Hem and and trim and send pics!

Doll Dressmaking Series: Ruffle Sleeves

Doll Dressmaking Series: Ruffle Sleeves

Doll Dressmaking Series: Ruffle Sleeves

All doll dressmaking patterns are available through a subscription to my newsletter. You will then receive all new patterns automatically.

Subscribe to our mailing list

* indicates required
In Doll Dressmaking 1
19 Comments

Doll Dressmaking Series: Beginners Sleeves

January 4, 2015 Lisa Press
Doll Dressmaking Series: An Easy Basic SleeveIncludes free dress patterns

Doll Dressmaking Series: An Easy Basic Sleeve
Includes free dress patterns

There are lots of styles of sleeves: puff sleeves, flutter sleeves, cap sap sleeves, wing, long sleeves, cuffed sleeves, bell sleeves, you get the point. A number of these sleeves work well for doll clothes. In other lessons I will cover kinds of sleeves, tweaking a sleeve, and sleeve construction, but in this post I thought I'd start with an easy sleeve.

There is a form at the end of the post, so you can request the sleeve pattern (or any of the patterns).

Most sleeves require some gathering, or easing (just the slightest of gathers), I designed this sleeve to not need even that step. So although I've broken the process down into micro-steps, this is really a three step sleeve--hem, insert, sew side seam.

Although the sleeve can be attached to either your basic reversible dress, the dress with facings or the dress with the gathered skirt, my instructions or for the Peter Pan collar dress or the Reversible Dress. The beginning instructions are similar, so refer to the Peter Pan collar dress lesson but the armhole instructions are different. 

Making a doll dress with sleeves

1. Make collar pieces as described in the Peter Pan collar instructions.

2. Sew shoulder seams of dress and lining.

3. Attach the collar pieces as in the Peter Pan collar dress instructions.

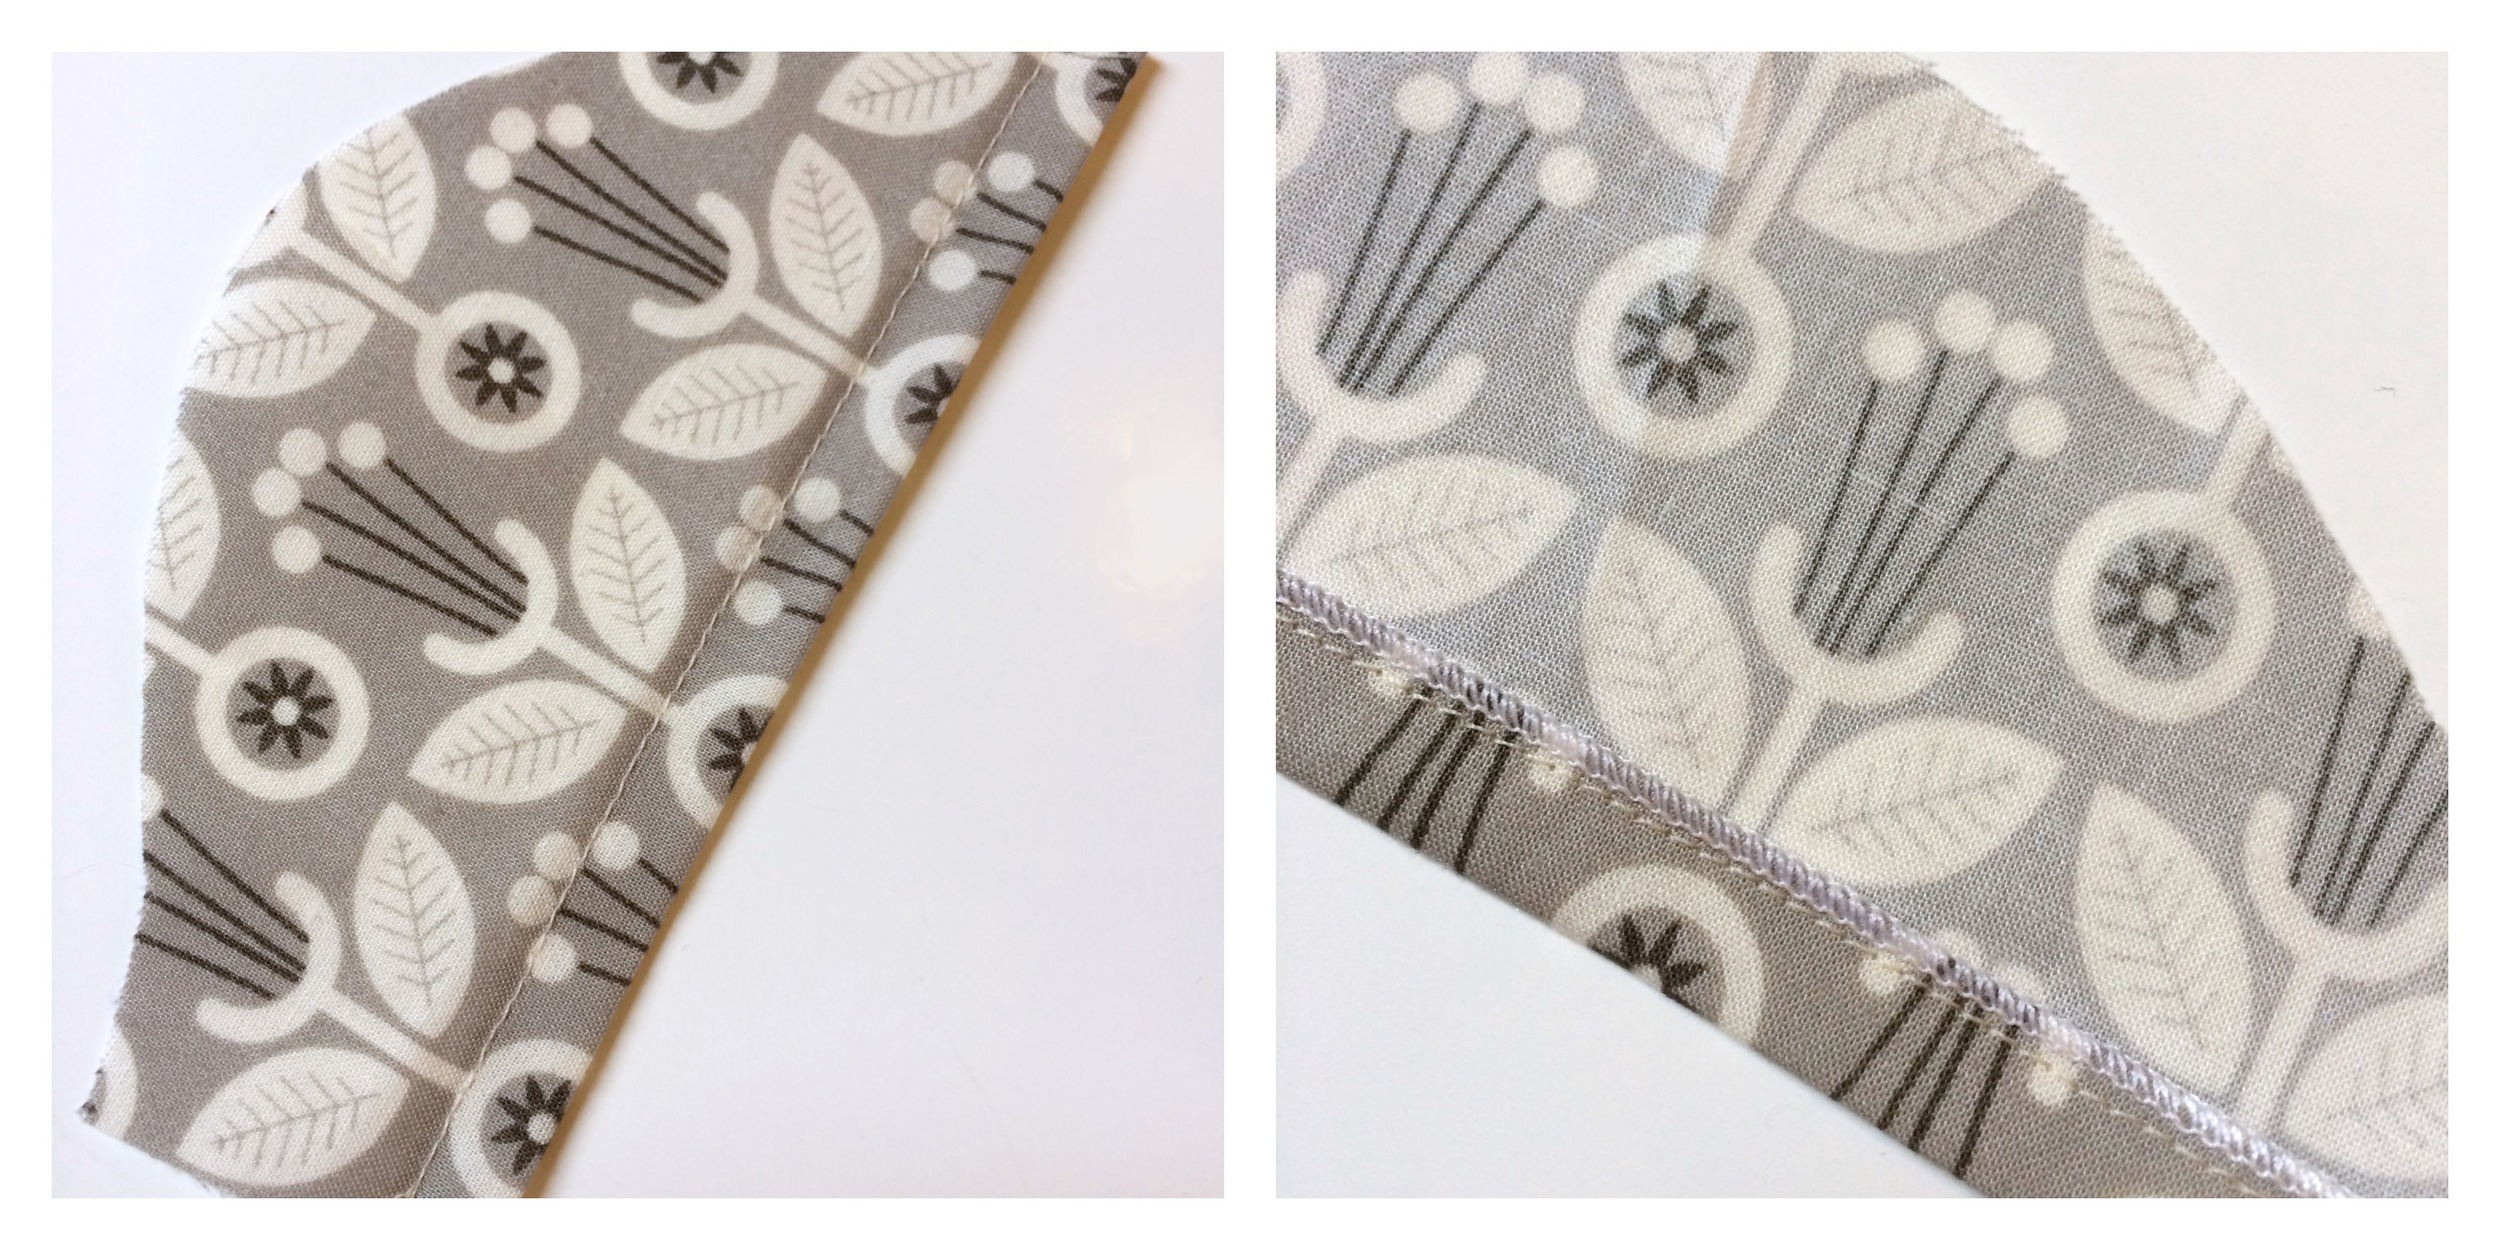
Sew armhole fabric and lining eges togther. 

Sew armhole fabric and lining eges togther. 

Next, you want to sew the lining fabric and the dress fabric together at the armhole edge. It is important that the wrong sides are together. I used a bright visible thread, which can be helpful for aligning the sleeve.

Hemming the sleeve

Hem sleeve. I also serged the edge, but I do that with almost everything, you do not need to do this.

Pinning the Sleeves to the Dress

Attaching the sleeve to the body of the dress:

1. Pin center of the sleeve to the shoulder seam, right sides together.

2. Pin the rest of the sleeve to the edge of the armhole. You will need to "help" the fabric along the curve.

3. Sew the sleeve to the body. On the lining side, you can see your bright thread, it can help to use this as your stitching guide.

Doll dress basic sleeve

Doll dress basic sleeve

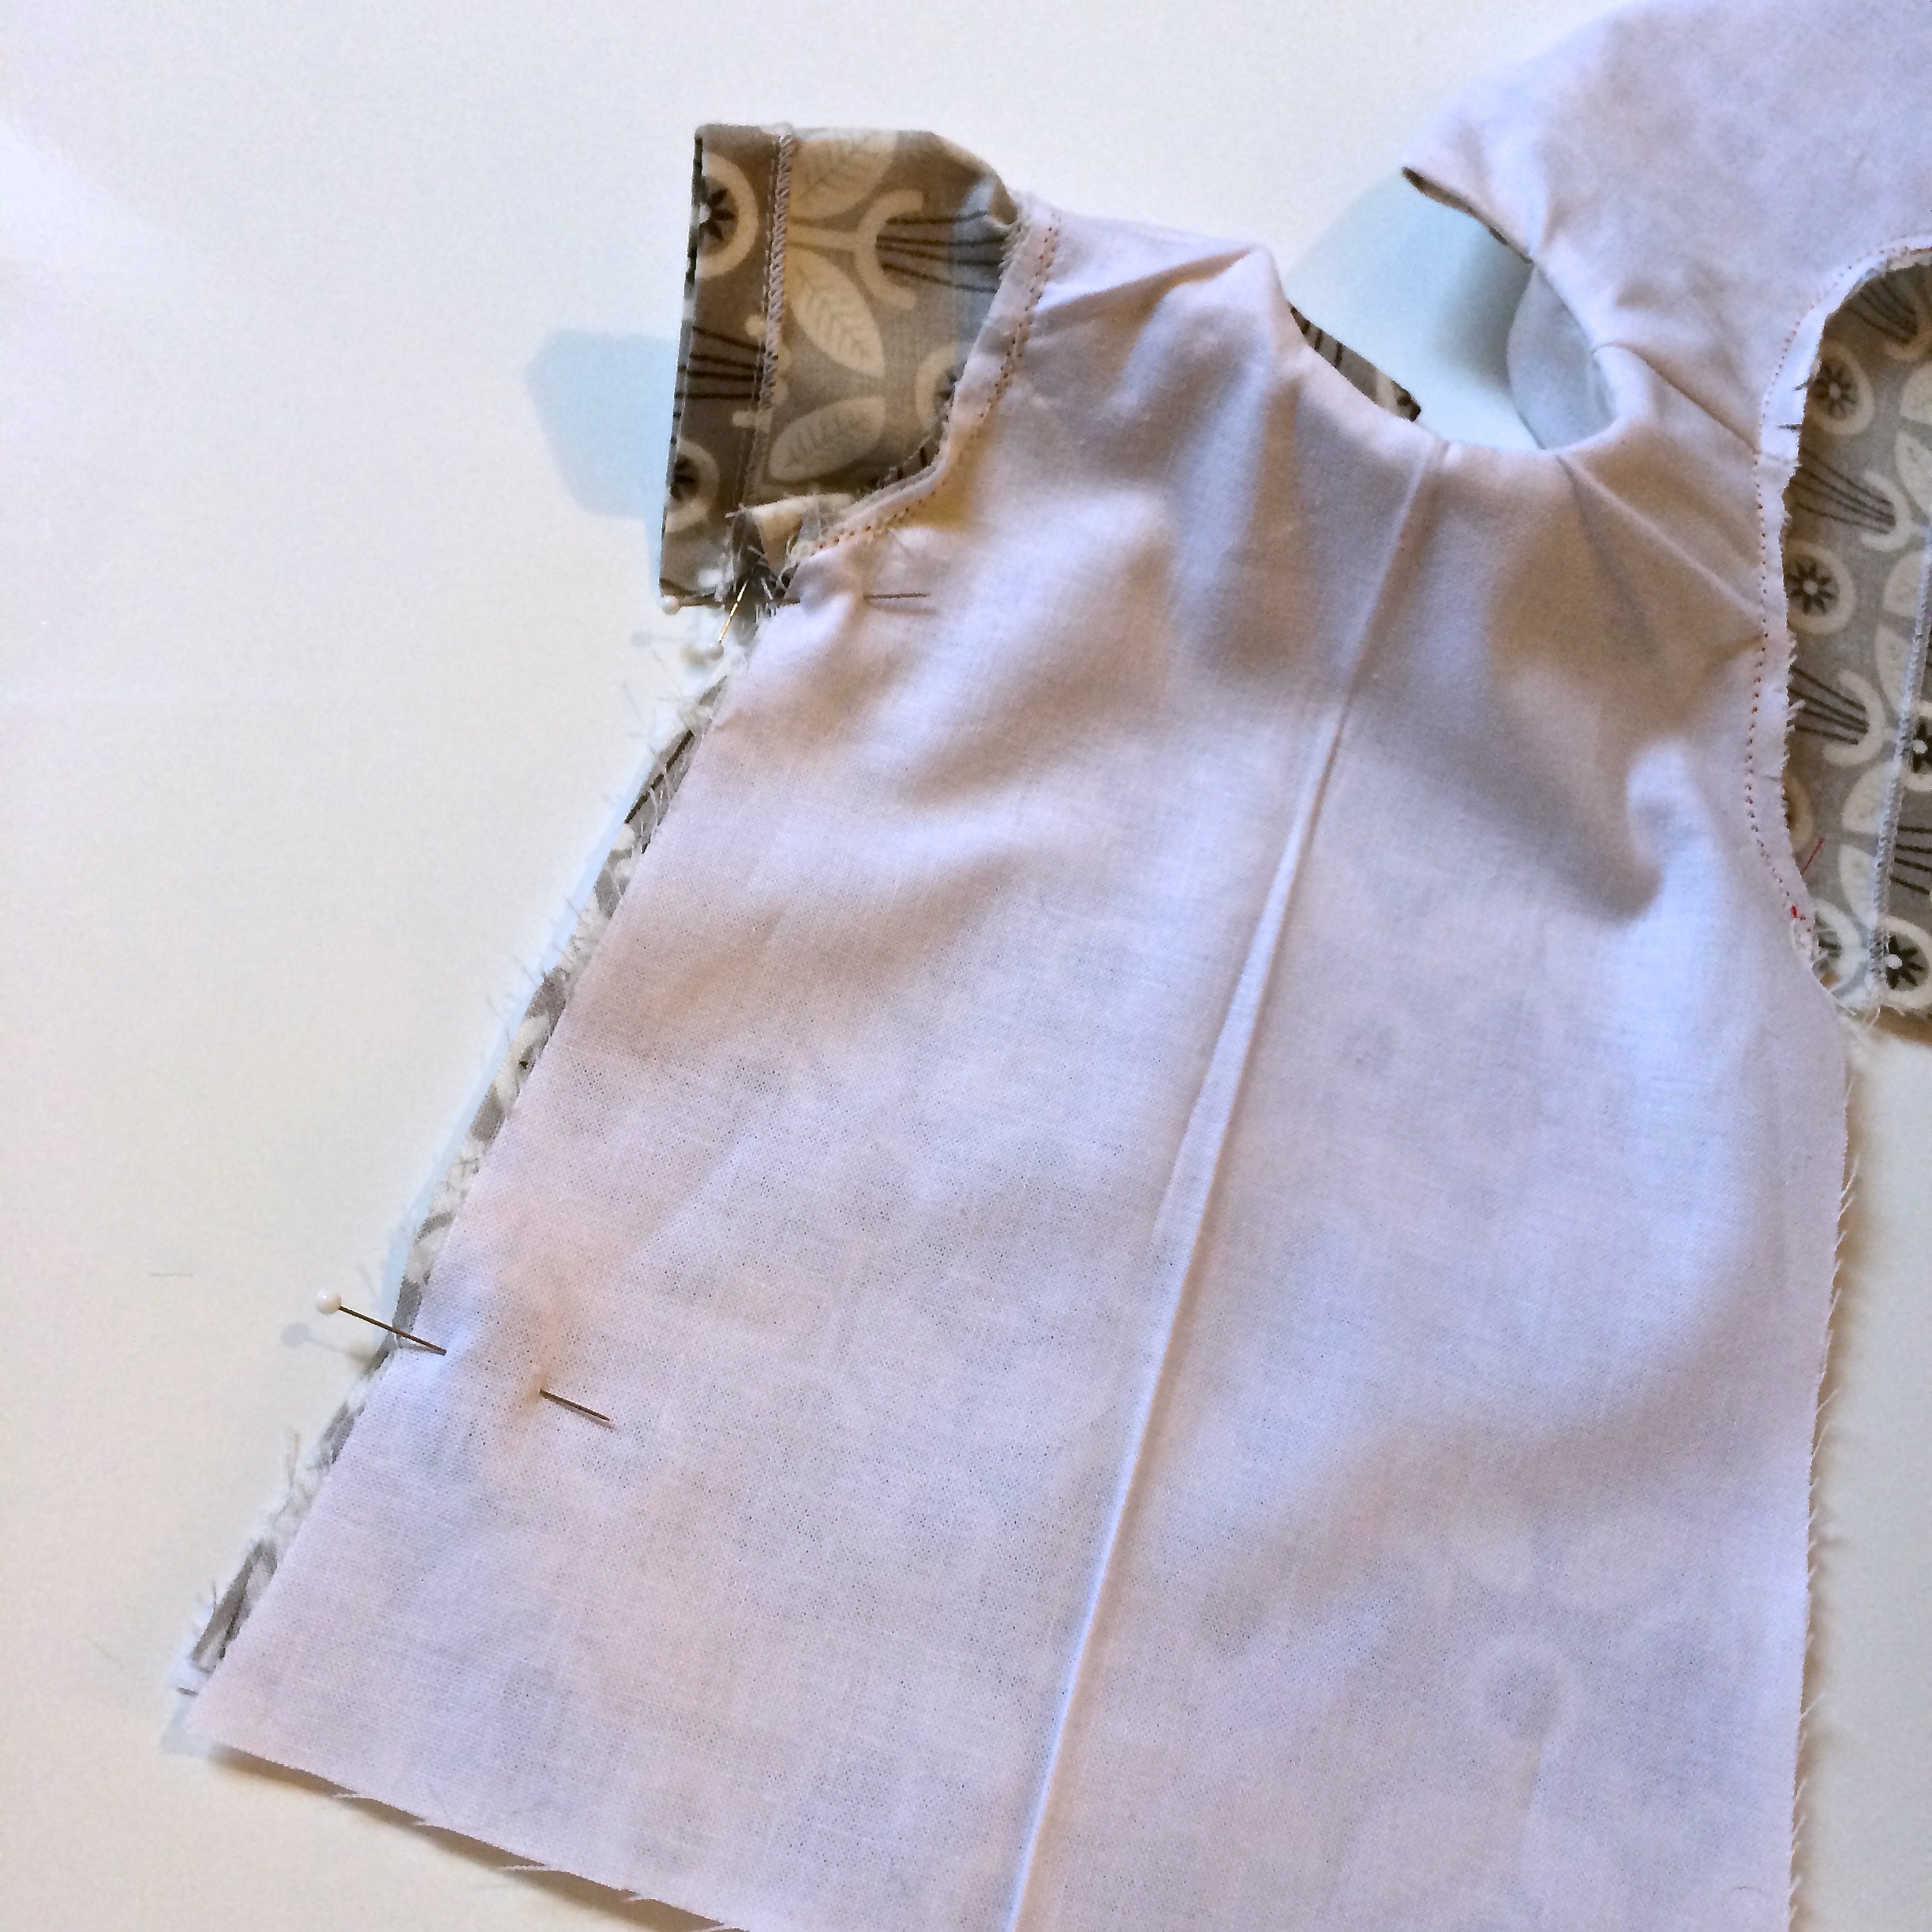
Your sleeve and dress should now look a bit like the above photo.

Next sew the side seams. When you have added a sleeve you cannot sew them as you would in the reversible dress. the side seam will be visible inside the dress. 

Hem. Add trim if you'd like.

Sew side seams. 

Sew side seams. 

Hem. I hemmed this dress with the machine.

Hem. I hemmed this dress with the machine.

Doll Dressmaking Series: Sleeves

Doll Dressmaking Series: Sleeves

Doll Dressmaking Series: Sleeves

Doll Dressmaking Series: Sleeves

For this pattern piece and all those past, present and future, subscribe to my newsletter.

Subscribe to our mailing list

* indicates required
Featured
Doll Dressmaking Series: 10 Dresses
Apr 23, 2015
Doll Dressmaking Series: 10 Dresses
Apr 23, 2015
Apr 23, 2015
Doll Dressmaking Series: Adding a Pleat
Apr 10, 2015
Doll Dressmaking Series: Adding a Pleat
Apr 10, 2015
Apr 10, 2015
Doll Dressmaking Series: A Simple Trick
Mar 31, 2015
Doll Dressmaking Series: A Simple Trick
Mar 31, 2015
Mar 31, 2015
Doll Dressmaking Series: Playing with Fabric
Mar 17, 2015
Doll Dressmaking Series: Playing with Fabric
Mar 17, 2015
Mar 17, 2015
How to Use a Ruffler for sewing pleats or gathers
Mar 10, 2015
How to Use a Ruffler for sewing pleats or gathers
Mar 10, 2015
Mar 10, 2015
making a ruffle
Feb 2, 2015
Doll Dressmaking Series: Making a Ruffle with Perle Cotton
Feb 2, 2015
Feb 2, 2015
Four Ways to Make Ruffled Trim: Part 1
Jan 29, 2015
Four Ways to Make Ruffled Trim: Part 1
Jan 29, 2015
Jan 29, 2015
Doll Dressmaking Series: Ruffle Sleeves
Jan 8, 2015
Doll Dressmaking Series: Ruffle Sleeves
Jan 8, 2015
Jan 8, 2015
Doll Dressmaking Series: Beginners Sleeves
Jan 4, 2015
Doll Dressmaking Series: Beginners Sleeves
Jan 4, 2015
Jan 4, 2015
Doll Dressmaking Series: A trick for pockets
Nov 13, 2014
Doll Dressmaking Series: A trick for pockets
Nov 13, 2014
Nov 13, 2014
In Doll Dressmaking 1 Tags doll clothes, doll dressmaking series
12 Comments

Doll Dressmaking Series: A trick for pockets

November 13, 2014 Lisa Press
Doll Dressmaking: Pockets

Pockets are often the perfect accent for kids and doll clothing. For kids, a lined patch pocket is easy, the lining makes for easy clean edges. 

Doll pockets are too small to line easily. And machine hemming all the edges is tricky for such a small size rectangle. 

My trick is to "line" the pockets with tulle.

Cut out two pockets. A rectangle that is 3x3.5 inches should work for Phoebe, Waldorf and American Girl Dolls. It will seem large but it will be smaller when it's done.

Pocket pattern piece
Doll Dress pockets
Tulle is sold in many crafts shops and online as a 6inch roll.

Tulle is sold in many crafts shops and online as a 6inch roll.

1. Place your two pockets right side up.

2. Cut a piece of tulle large to cover both pockets.

3. Lay tulle over both pockets and pin. 

Doll dress pockets

4. Stitch around the edges of each pocket, leaving an opening that is about an inch for turning right side out. A larger seam allowance is better for this. Just under a half inch is good.

5. Clip corners.

6. Turn right side out. Use something like a knitting needle to carefully poke out corners.

doll dressmaking pockets

7. Iron flat. Iron with fabric side up, tulle cannot withstand direct heat.

Doll dress pockets

8. Pin pockets to dress. Pocket placement is a personal preference. I placed these with a tiny bit going onto the back of the dress.

9. Sew the pockets. If a tiny bit of tulle shows anywhere, it is easy to snip off.

Click to enlarge.

Pockets are not so hard and maybe even fun.

how to sew doll pockets
In Tips, Doll Dressmaking 1 Tags doll dressmaking series
5 Comments
Older Posts →
Instagram
ExtraSmall pajamas in the works. 😴
By Friday, I’m hoping to list 4 medium Phoebes and 3 ExtraSmall. This little redhead is one of the ExtraSmalls.
Still photography, sewing and getting ready to reopen. #etsysellersofinstagram
This Phoebe flew off to the west coast last week ✈️💕
Another shot of two adorables getting acquainted in London. 💕💕
Phoebe happily made it to London in her matching school uniform. 🇬🇧
Thanks @lanelaurenlane for letting people know about Phoebe&Egg ❤️ We have 6 skin colors of dolls.
The black squares will be gone in a few days. Let’s try to do something more long term. #blackouttuesday
Did I mention how happy I am to be doll making? Soooo happy 😊
On her way to a birthday girl🎂😘

Keep up with the patterns

Sign up with your email address to receive news and updates and the patterns.

We respect your privacy.

Thank you!
Blog
Help me find a Home for this Special Phoebe
about 6 years ago
Explaining Phoebe Doll Sizes
about 6 years ago
Kiki, the delivery doll
about 7 years ago
A Few Words About Ruby Bridges
about 7 years ago
Historical Heroines: Pure Inspiration for Young Girls
about 7 years ago
Doll Dressmaking Series: Puffy Sleeves
about 7 years ago
Doll Dressmaking: Fancy Sleeves Tutorial
about 7 years ago
Phoebe is now a new size: 16.5 inches
about 7 years ago
One Small Customer Spreads Creativity and Good
about 7 years ago
Grace O'Malley Crosses the Atlantic
about 7 years ago
  • Studio (2)
  • The Historic Collection (2)
  • Supplies for Making (4)
  • The Doll Friend Project (5)
  • Interviews (7)
  • My Personal Journey (7)
  • Handmade Stories (9)
  • Inspiration (9)
  • The Value of Handmade (11)
  • Materials (14)
  • Teaching a Child to Sew (14)
  • Things I Love (15)
  • Doll Dressmaking 2 (17)
  • Doll Dressmaking 1 (20)
  • Tips (27)


Dolls and Clothing are available in both Etsy Shop.

Powered by Squarespace