
One night scrolling through Instagram, I noticed the cute projects that Trixi Symonds uses to teach children to sew. I had spent the week teaching two girls to sew on the machine and had struggled with the hand sewing aspect. This was her specialty. So, I reached out to Trixi, who blogs at Colouredbuttons.com. Both her blog and her book "Sew Together, Grow Together" have great hand sewing projects for kids.
We thought a collaborative post would be a great way to bring our different skills together. Today is the first in a series. On her blog I discuss five things to think about before letting a child sew on the machine.
And Trixi has written five things to think about when teaching a child to hand sew:
My youngest daughter’s name is Yiscah. She first started sewing when she was three. I vividly remember how she used to peek into the room whenever I was teaching a class so she could watch the older girls sew. After every class she’d ask me why she couldn’t join in. Being the wise parent, I told her that she was too little just yet but she always insisted she wasn’t. One day I decided to let her sew something simple and to my surprise, she did a pretty good job… and she altered forever my ideas about when a child can begin to start sewing.
I still find people who believe, as I once did, that children have to be a bit older before they start sewing. Not true. So here are some tips to help you maximize enjoyment and minimize problems when your child begins sewing at a young age.
1. Getting Them Excited
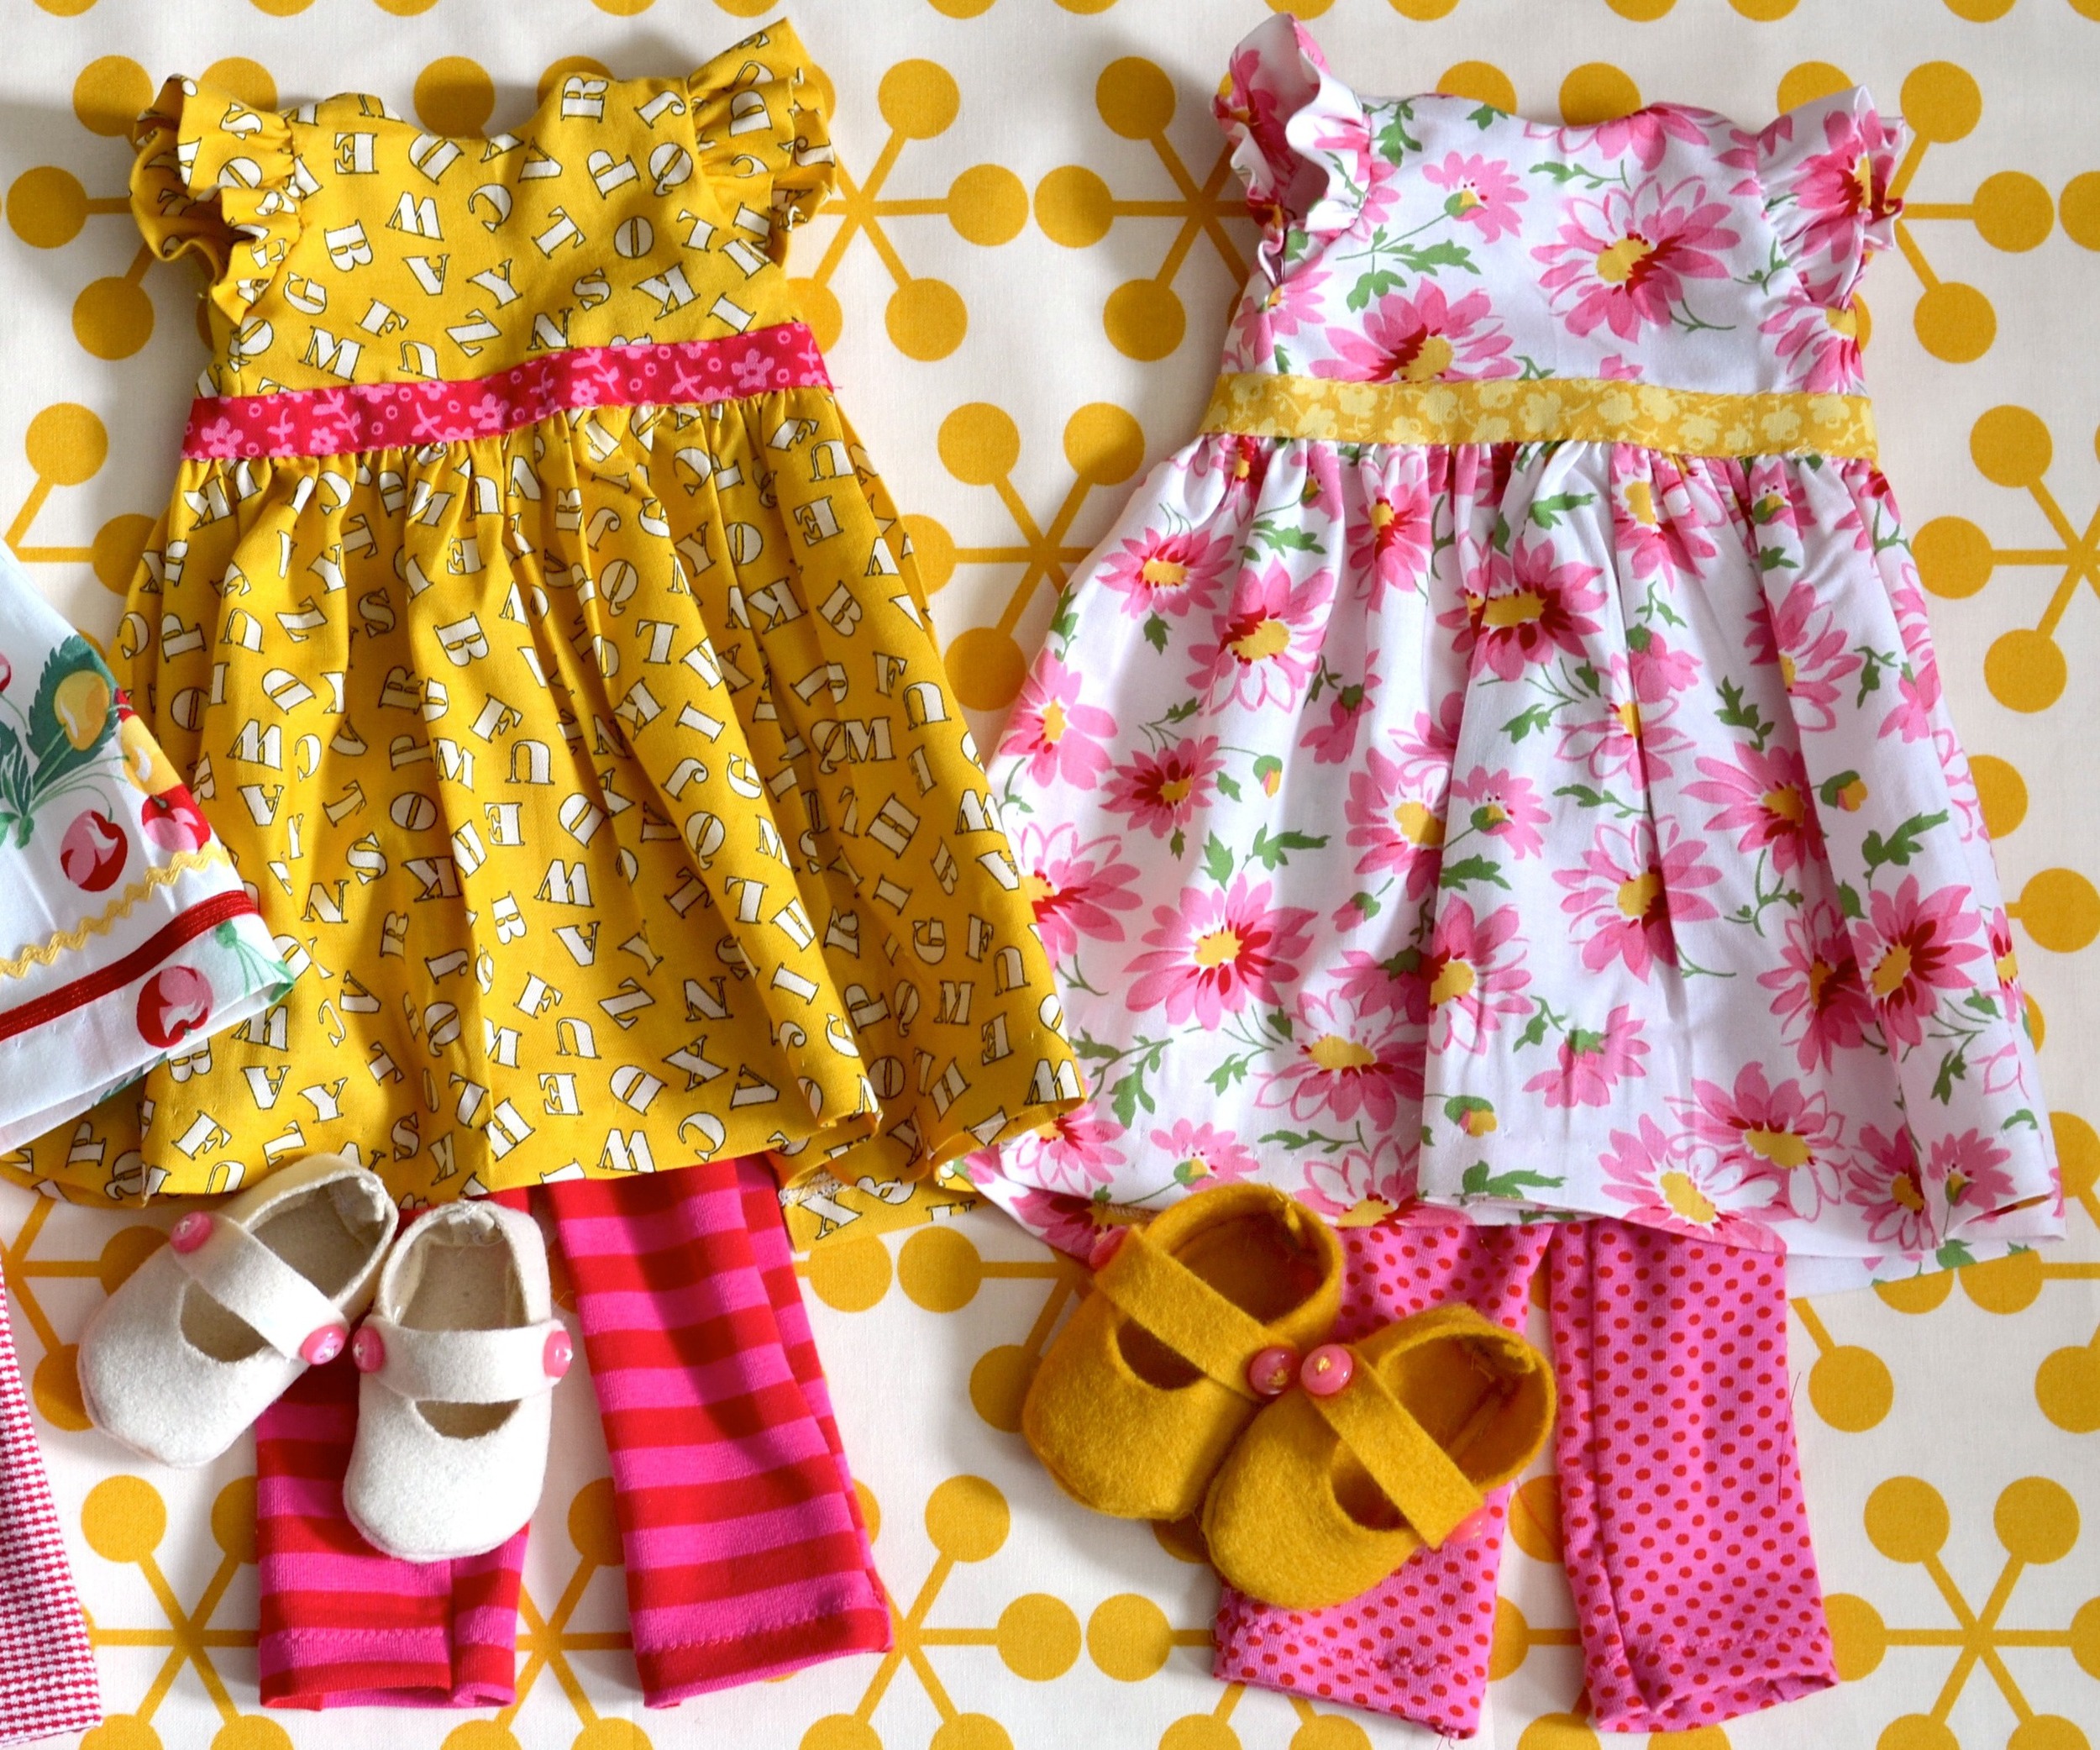
There are lots of ways to get your child excited about sewing. Showing them a book of projects and letting them choose what they wish to make is always a good idea … as is letting them choose their fabrics and the colors of their embroidery floss. The basic rule here is simple: the more they do by themselves, the more they’ll enjoy it.
Even if they can’t manage the sewing on a project they’ve chosen, just watching Mum involves them more deeply than we might suspect and is a sure way to ignite their desire to sew something all by themselves.

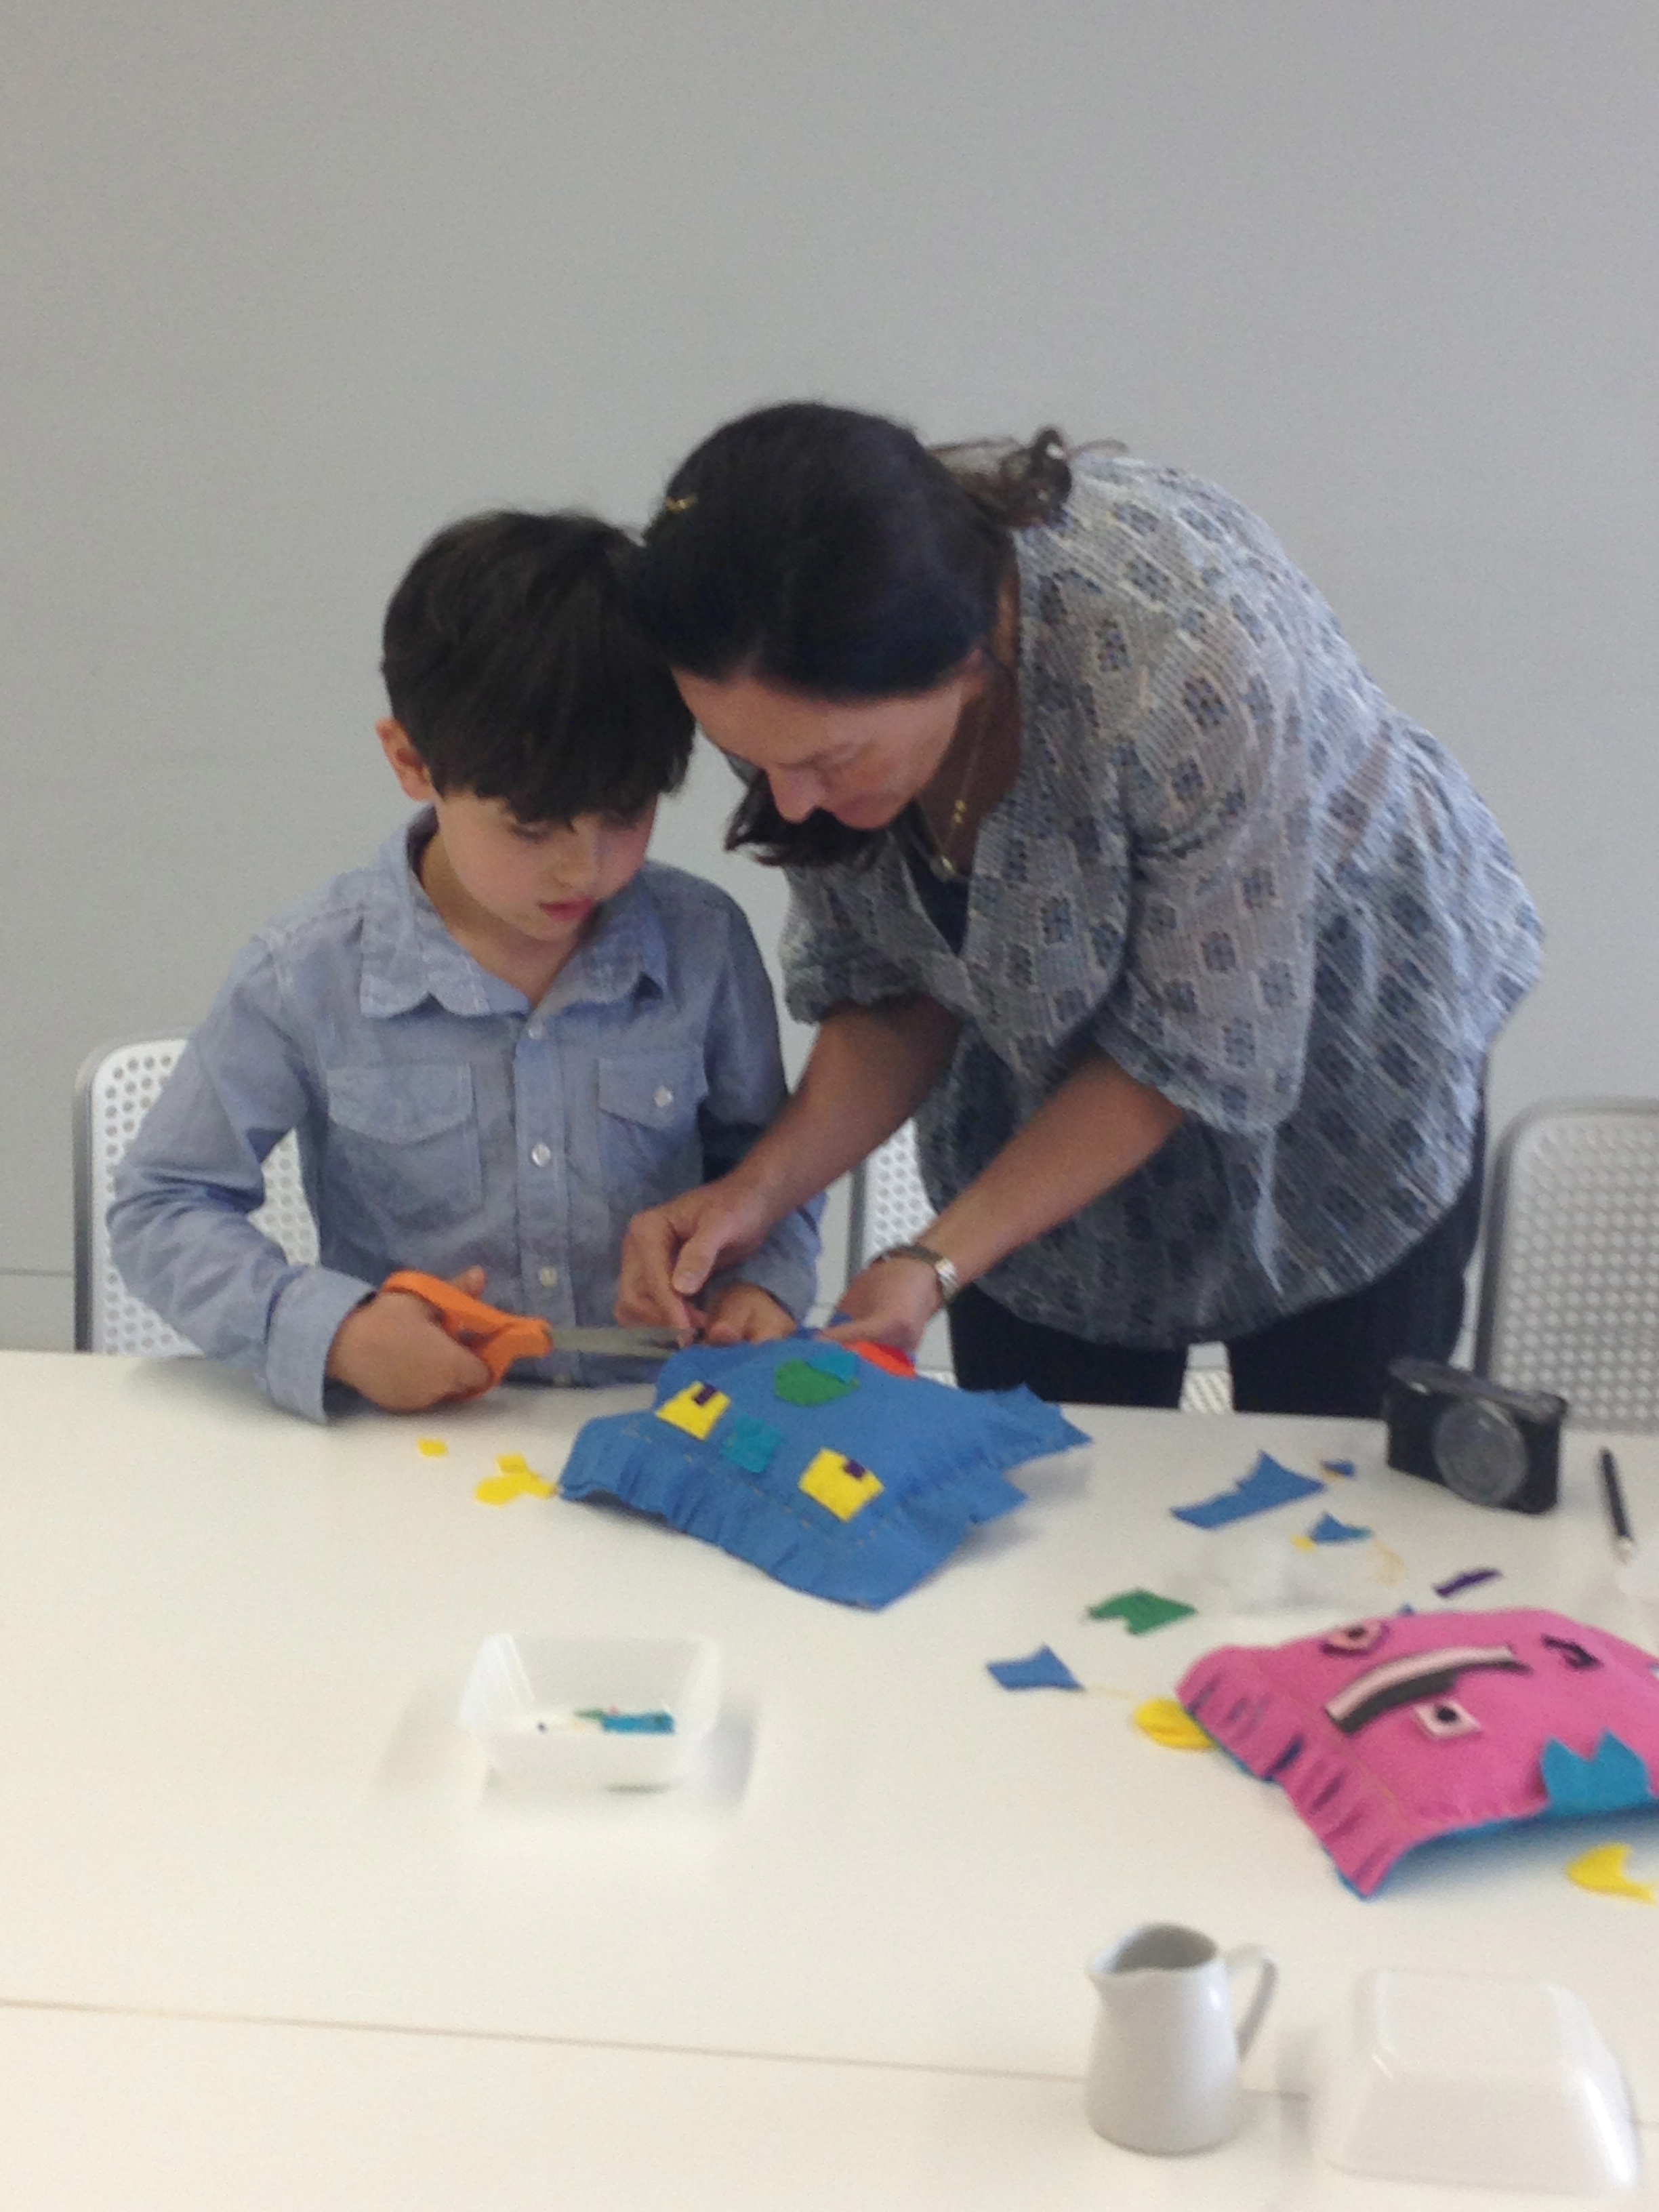
Museum of Contemporary Art Workshop 2014
2. Using good quality materials
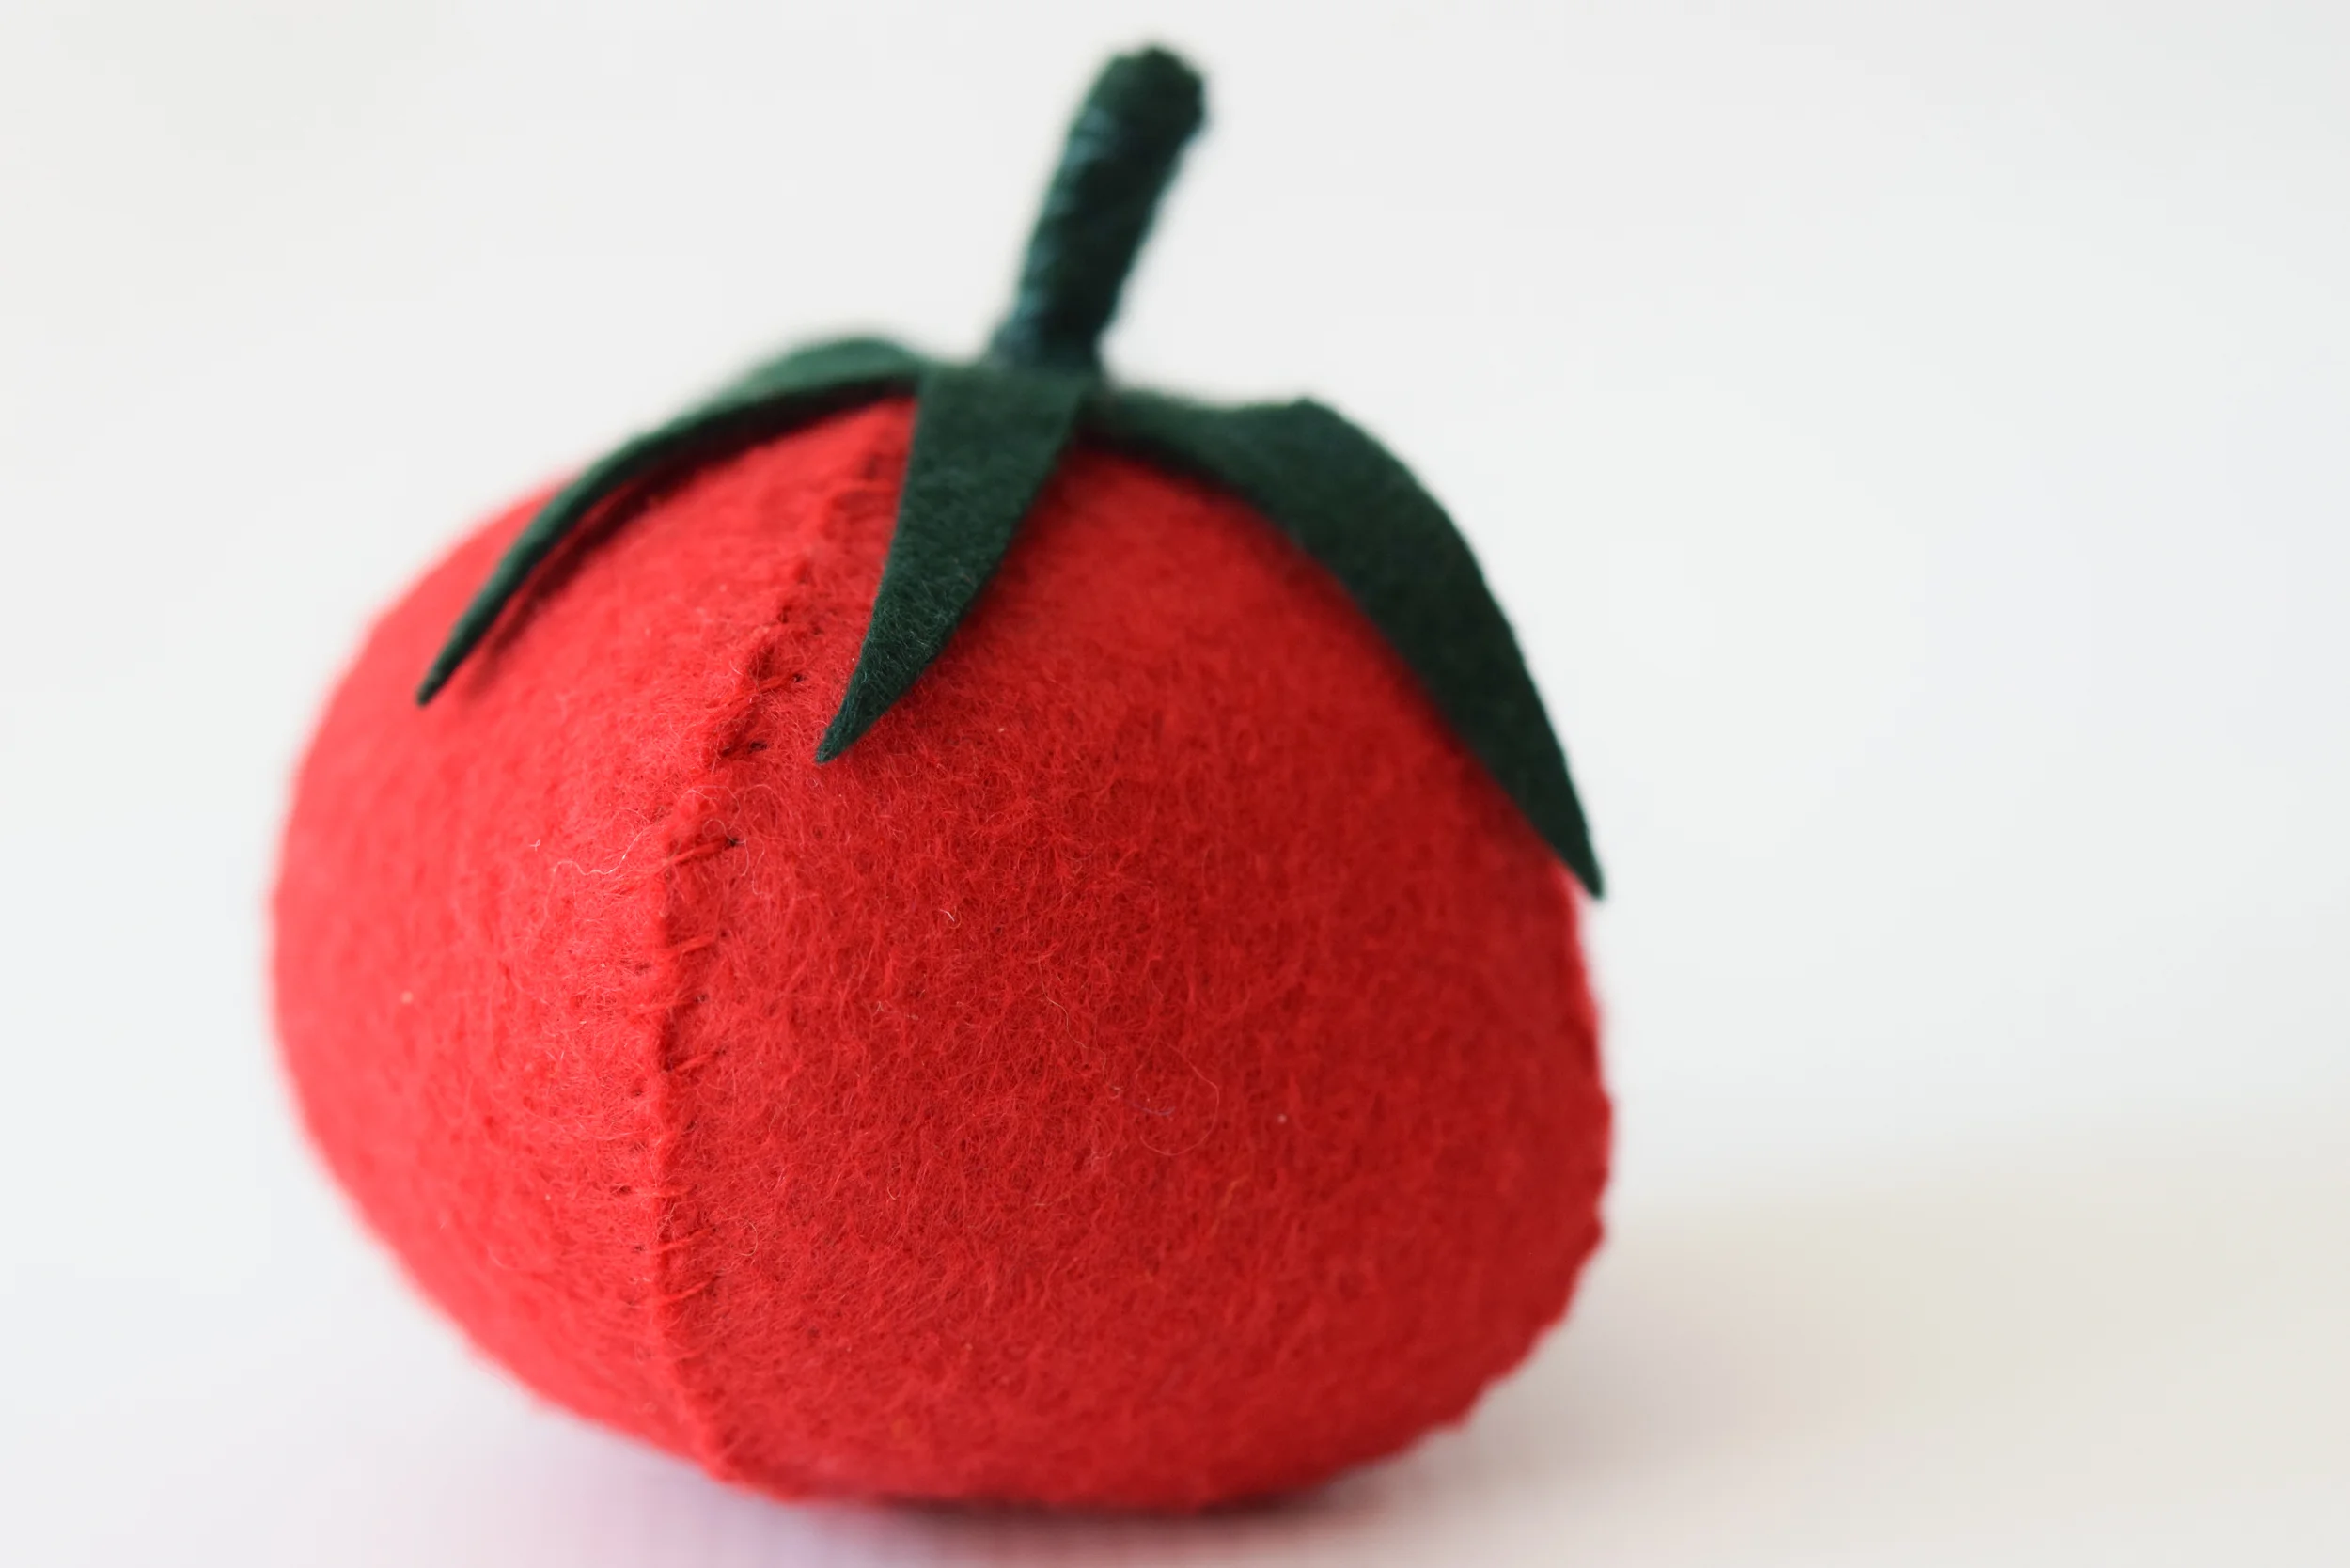
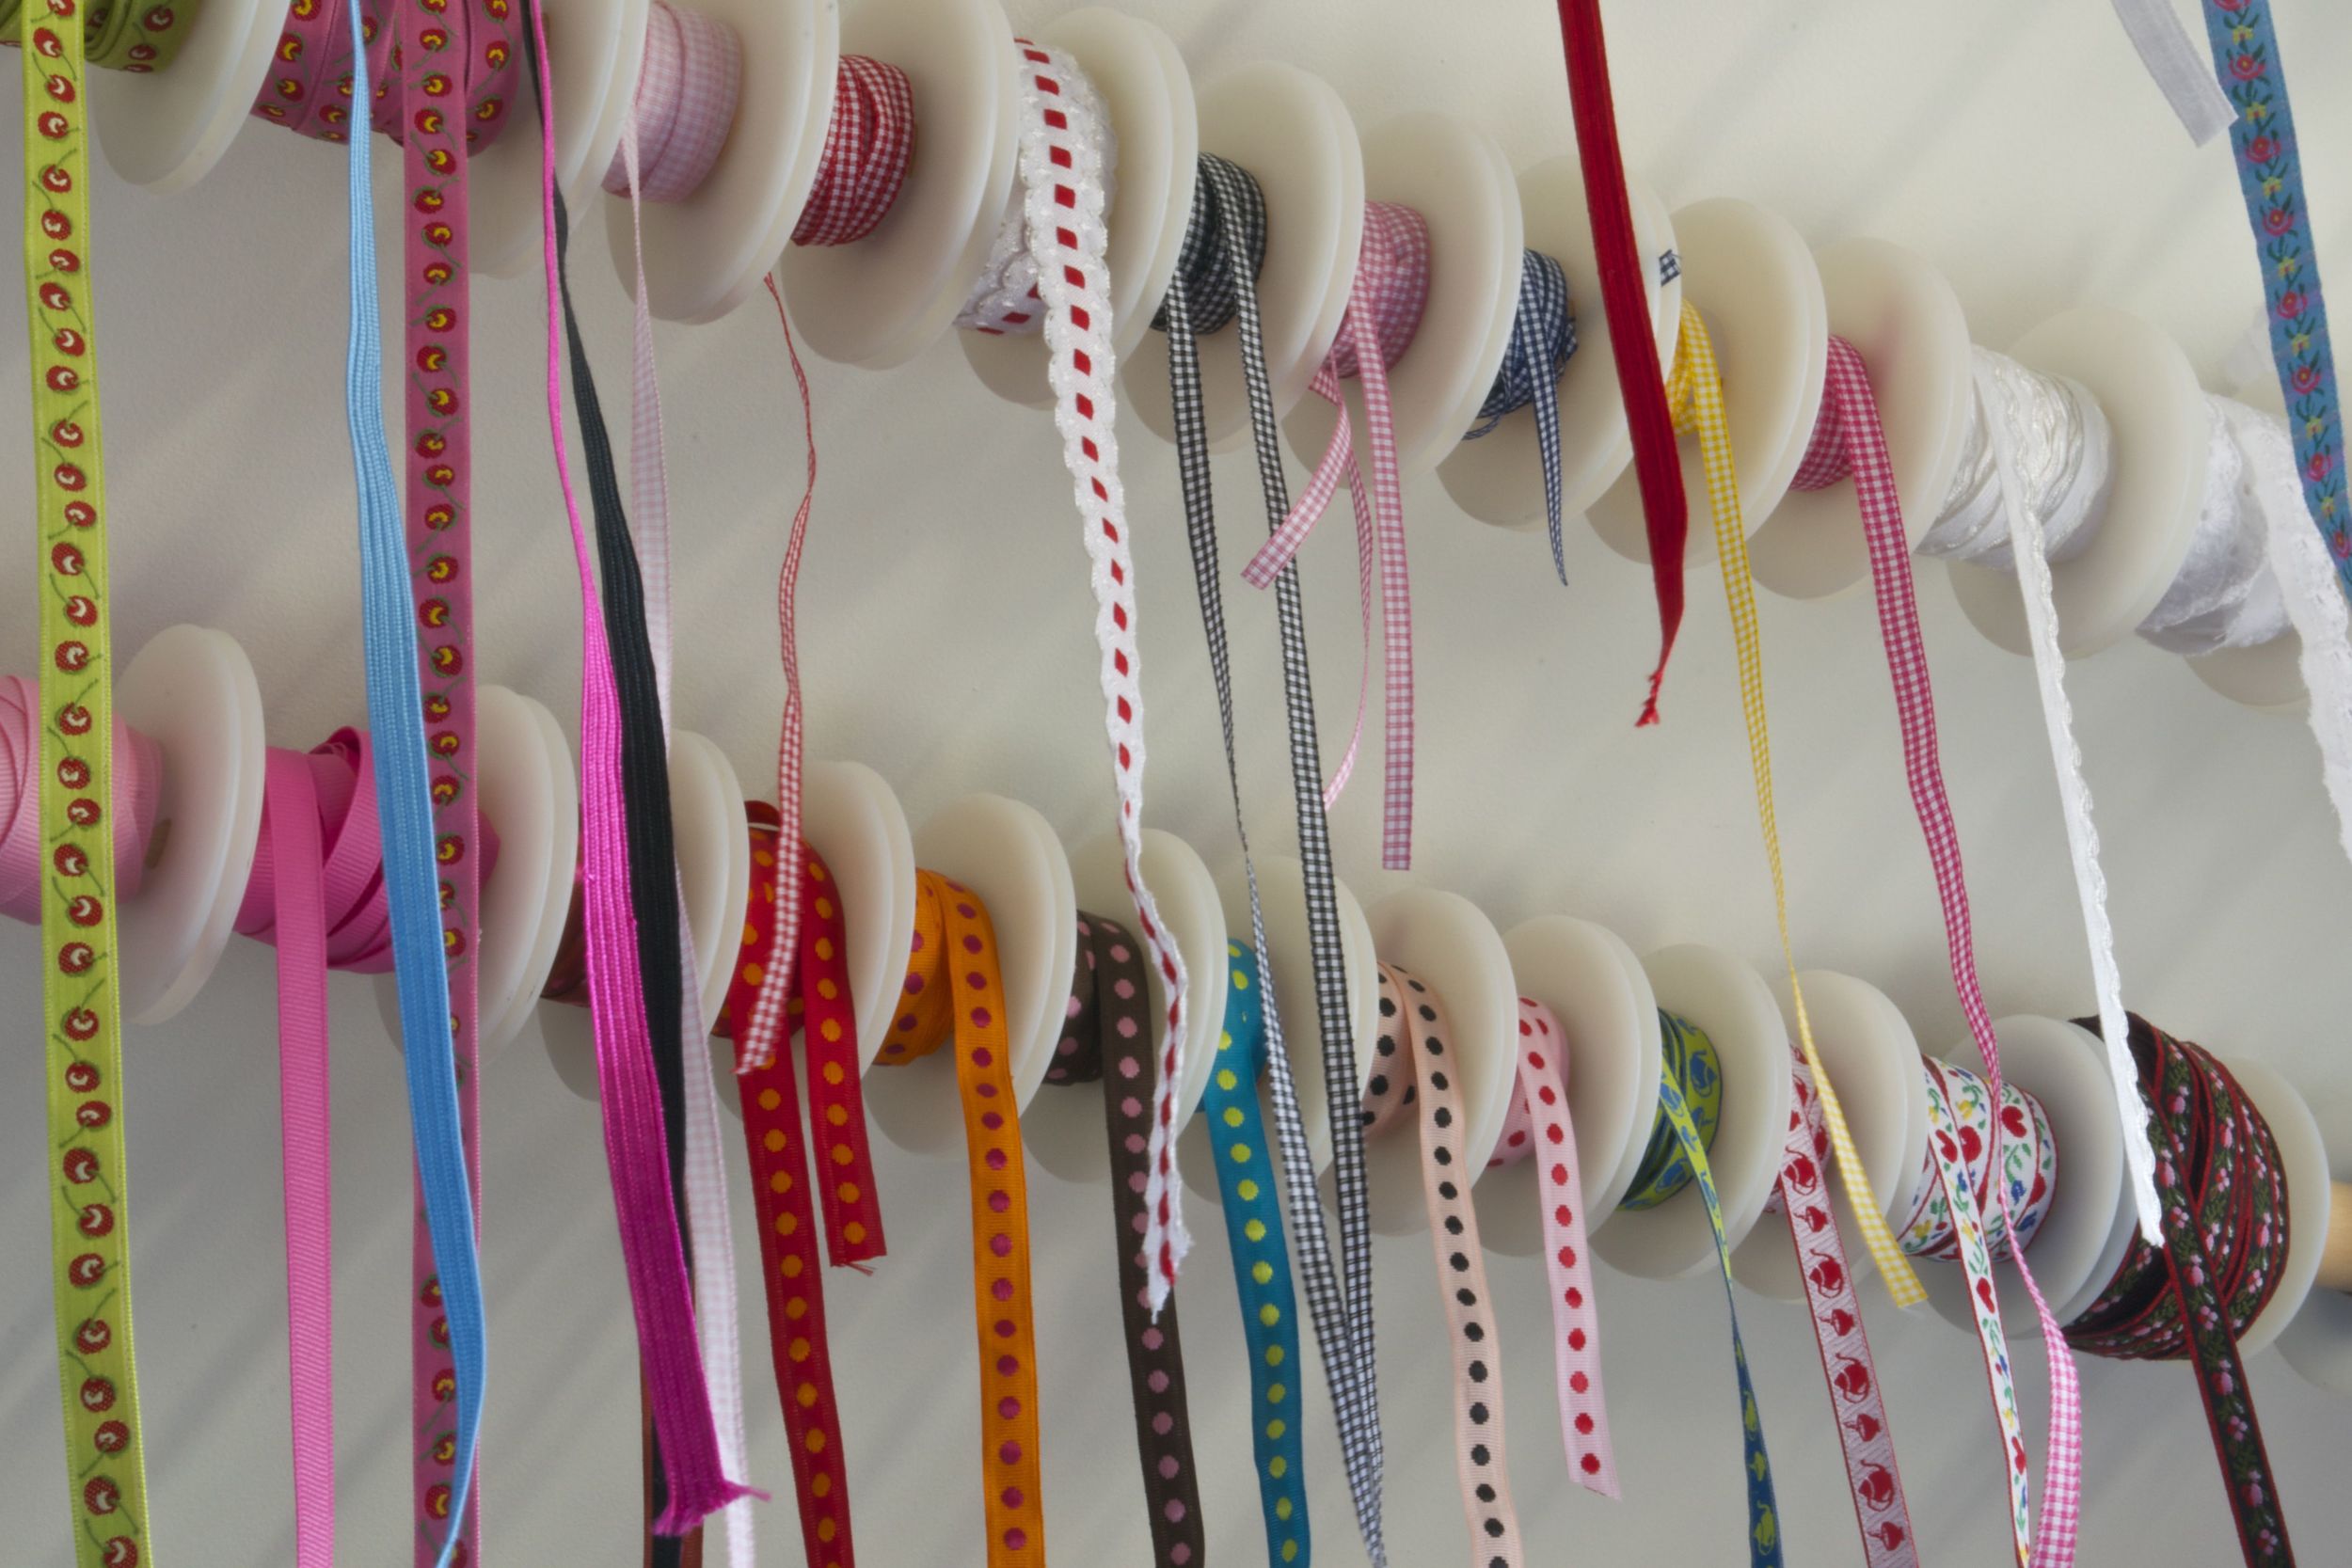
Good materials are essential for a good experience. Sewing supplies are not expensive, so make sure you choose good quality felts, fabrics and embroidery floss.
Acrylic felts are the least expensive but they can feel a bit hard and scratchy to
sew with. I personally love using wool blend felts as they’re soft, easy to sew with
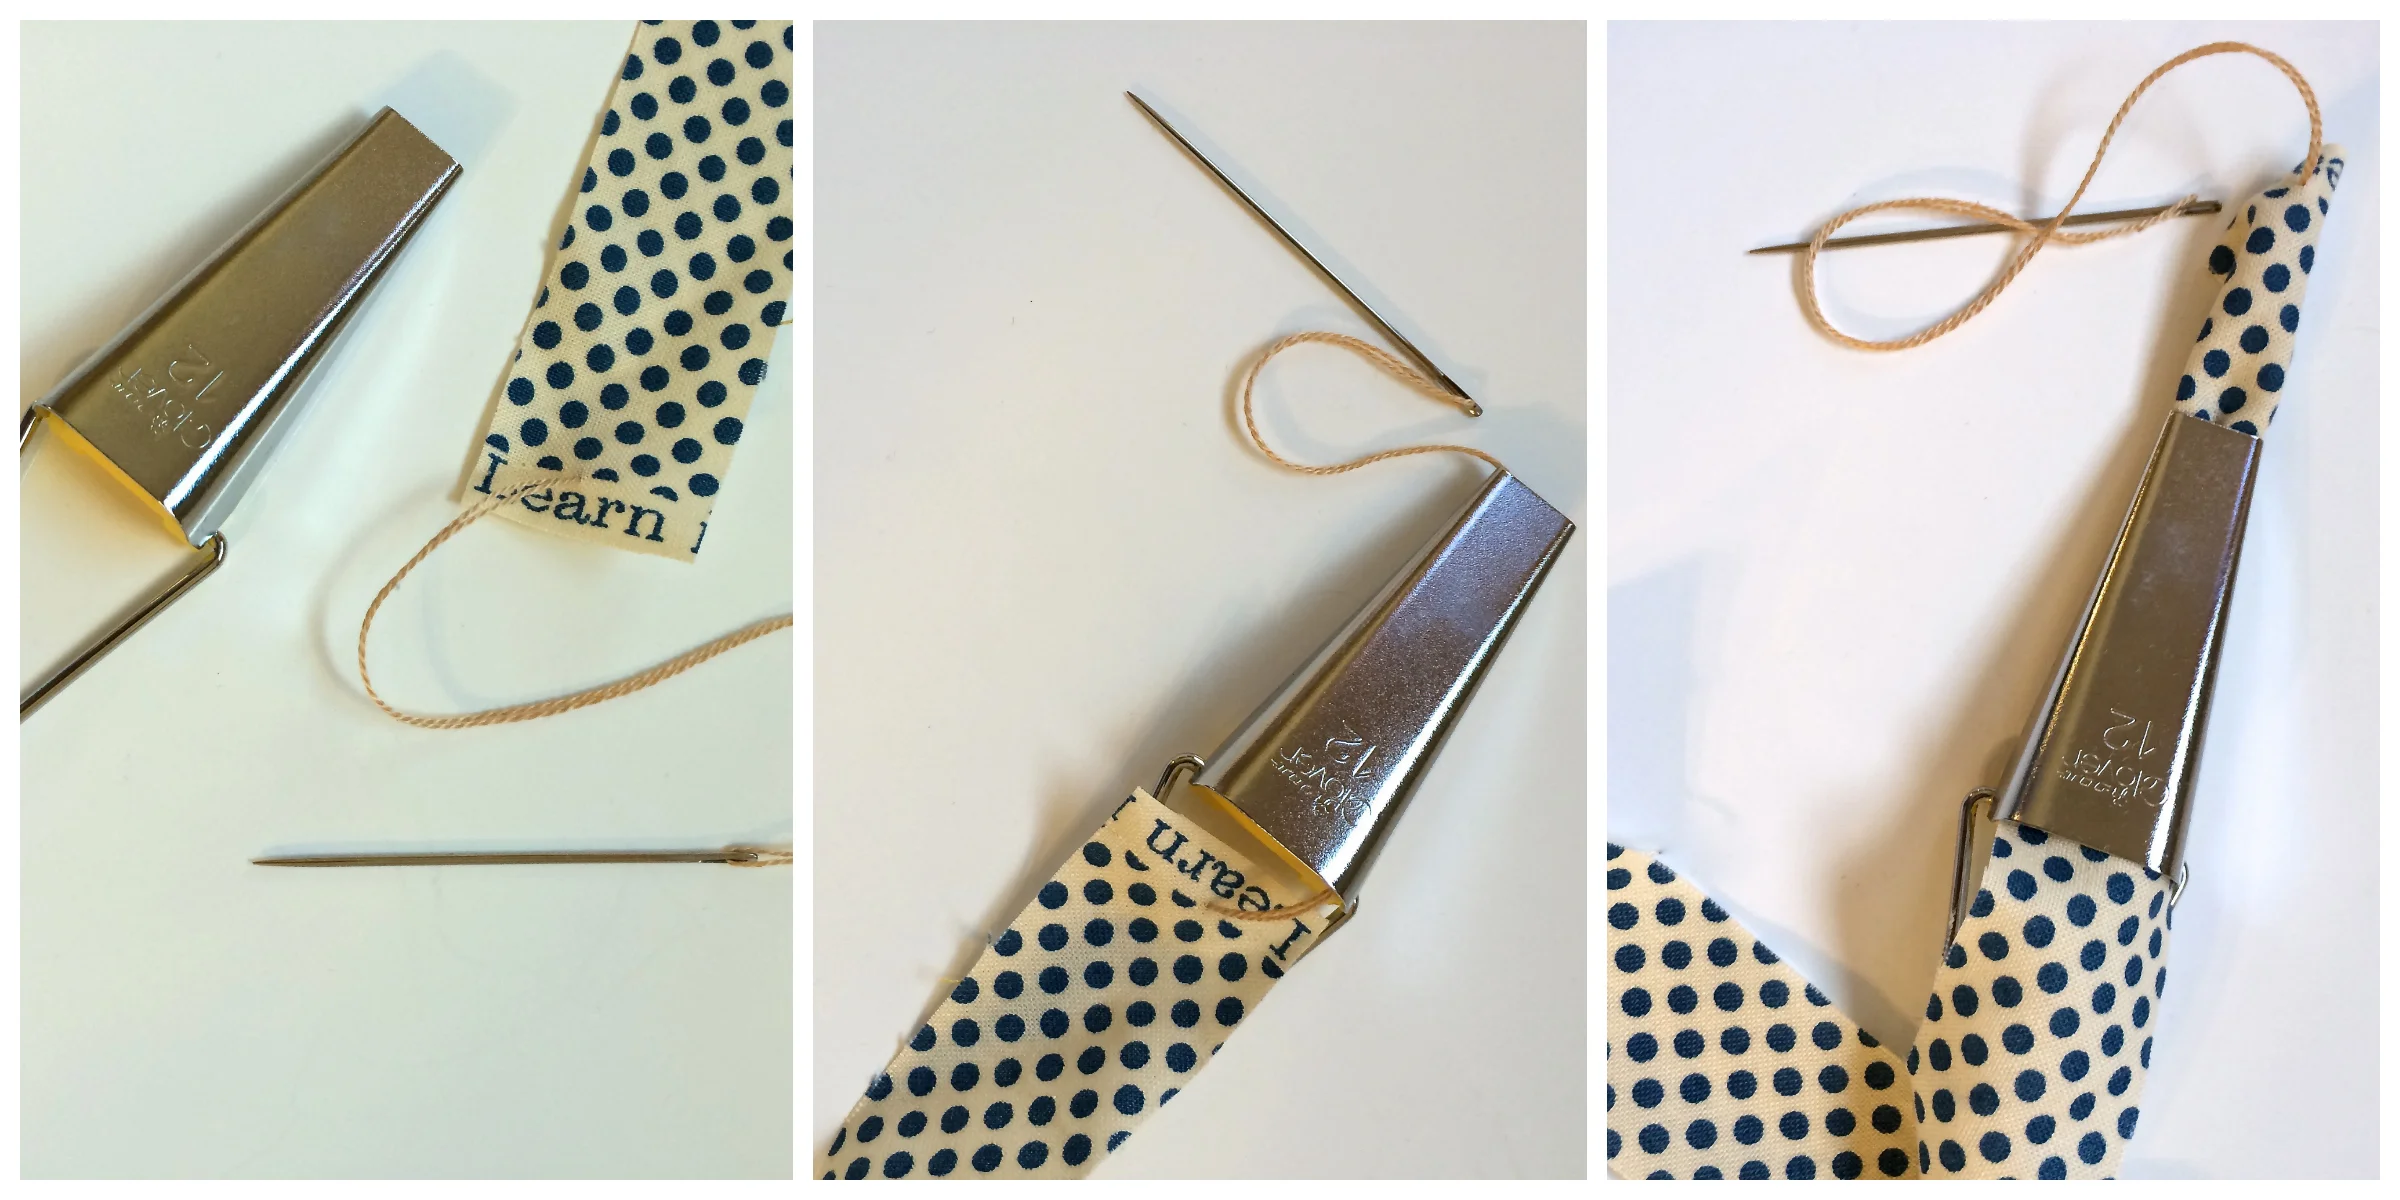
and reasonably priced. Also, instead of using sewing cotton, I prefer to use embroidery floss, and I recommend using a brand like DMC or Anchor as cheaper products tend to break.
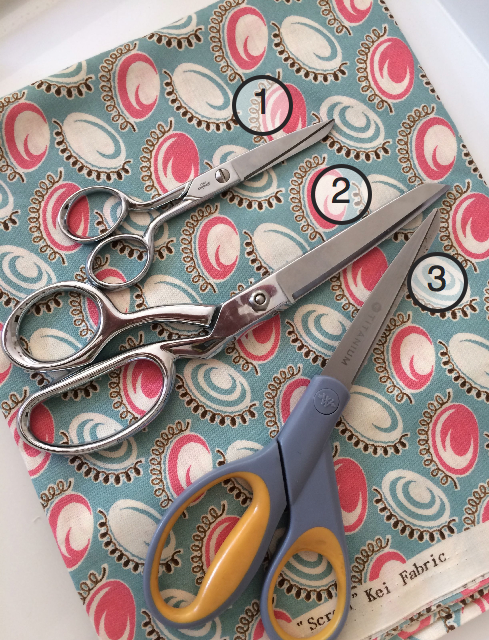
Use an embroidery needle with a large eye that makes it easy to thread. Make sure your needle isn’t blunt. Sewing with a blunt needle can be difficult and frustrating. And it’s a good idea to first sew a few stitches yourself in order to check that everything works as it should.

Museum of Contemporary Art Workshop 2014
3. Stressing safety
Explain to your child that scissors and needles are sharp and can be dangerous if not used sensibly. In classes I stress that needles have to be put back in containers and we always do a floor search to check for needles that may have dropped. Scissors are always closed and put point down in a jar after sewing.
It doesn’t really matter what safety behaviors you decide on, what matters is that your child sees that you treat these things with caution and knows that this is what you must do when you sew. I’ve found that when children really want to do something that requires responsibility, they have no difficulty behaving as they
should.
Museum of Contemporary Art Workshop 2014
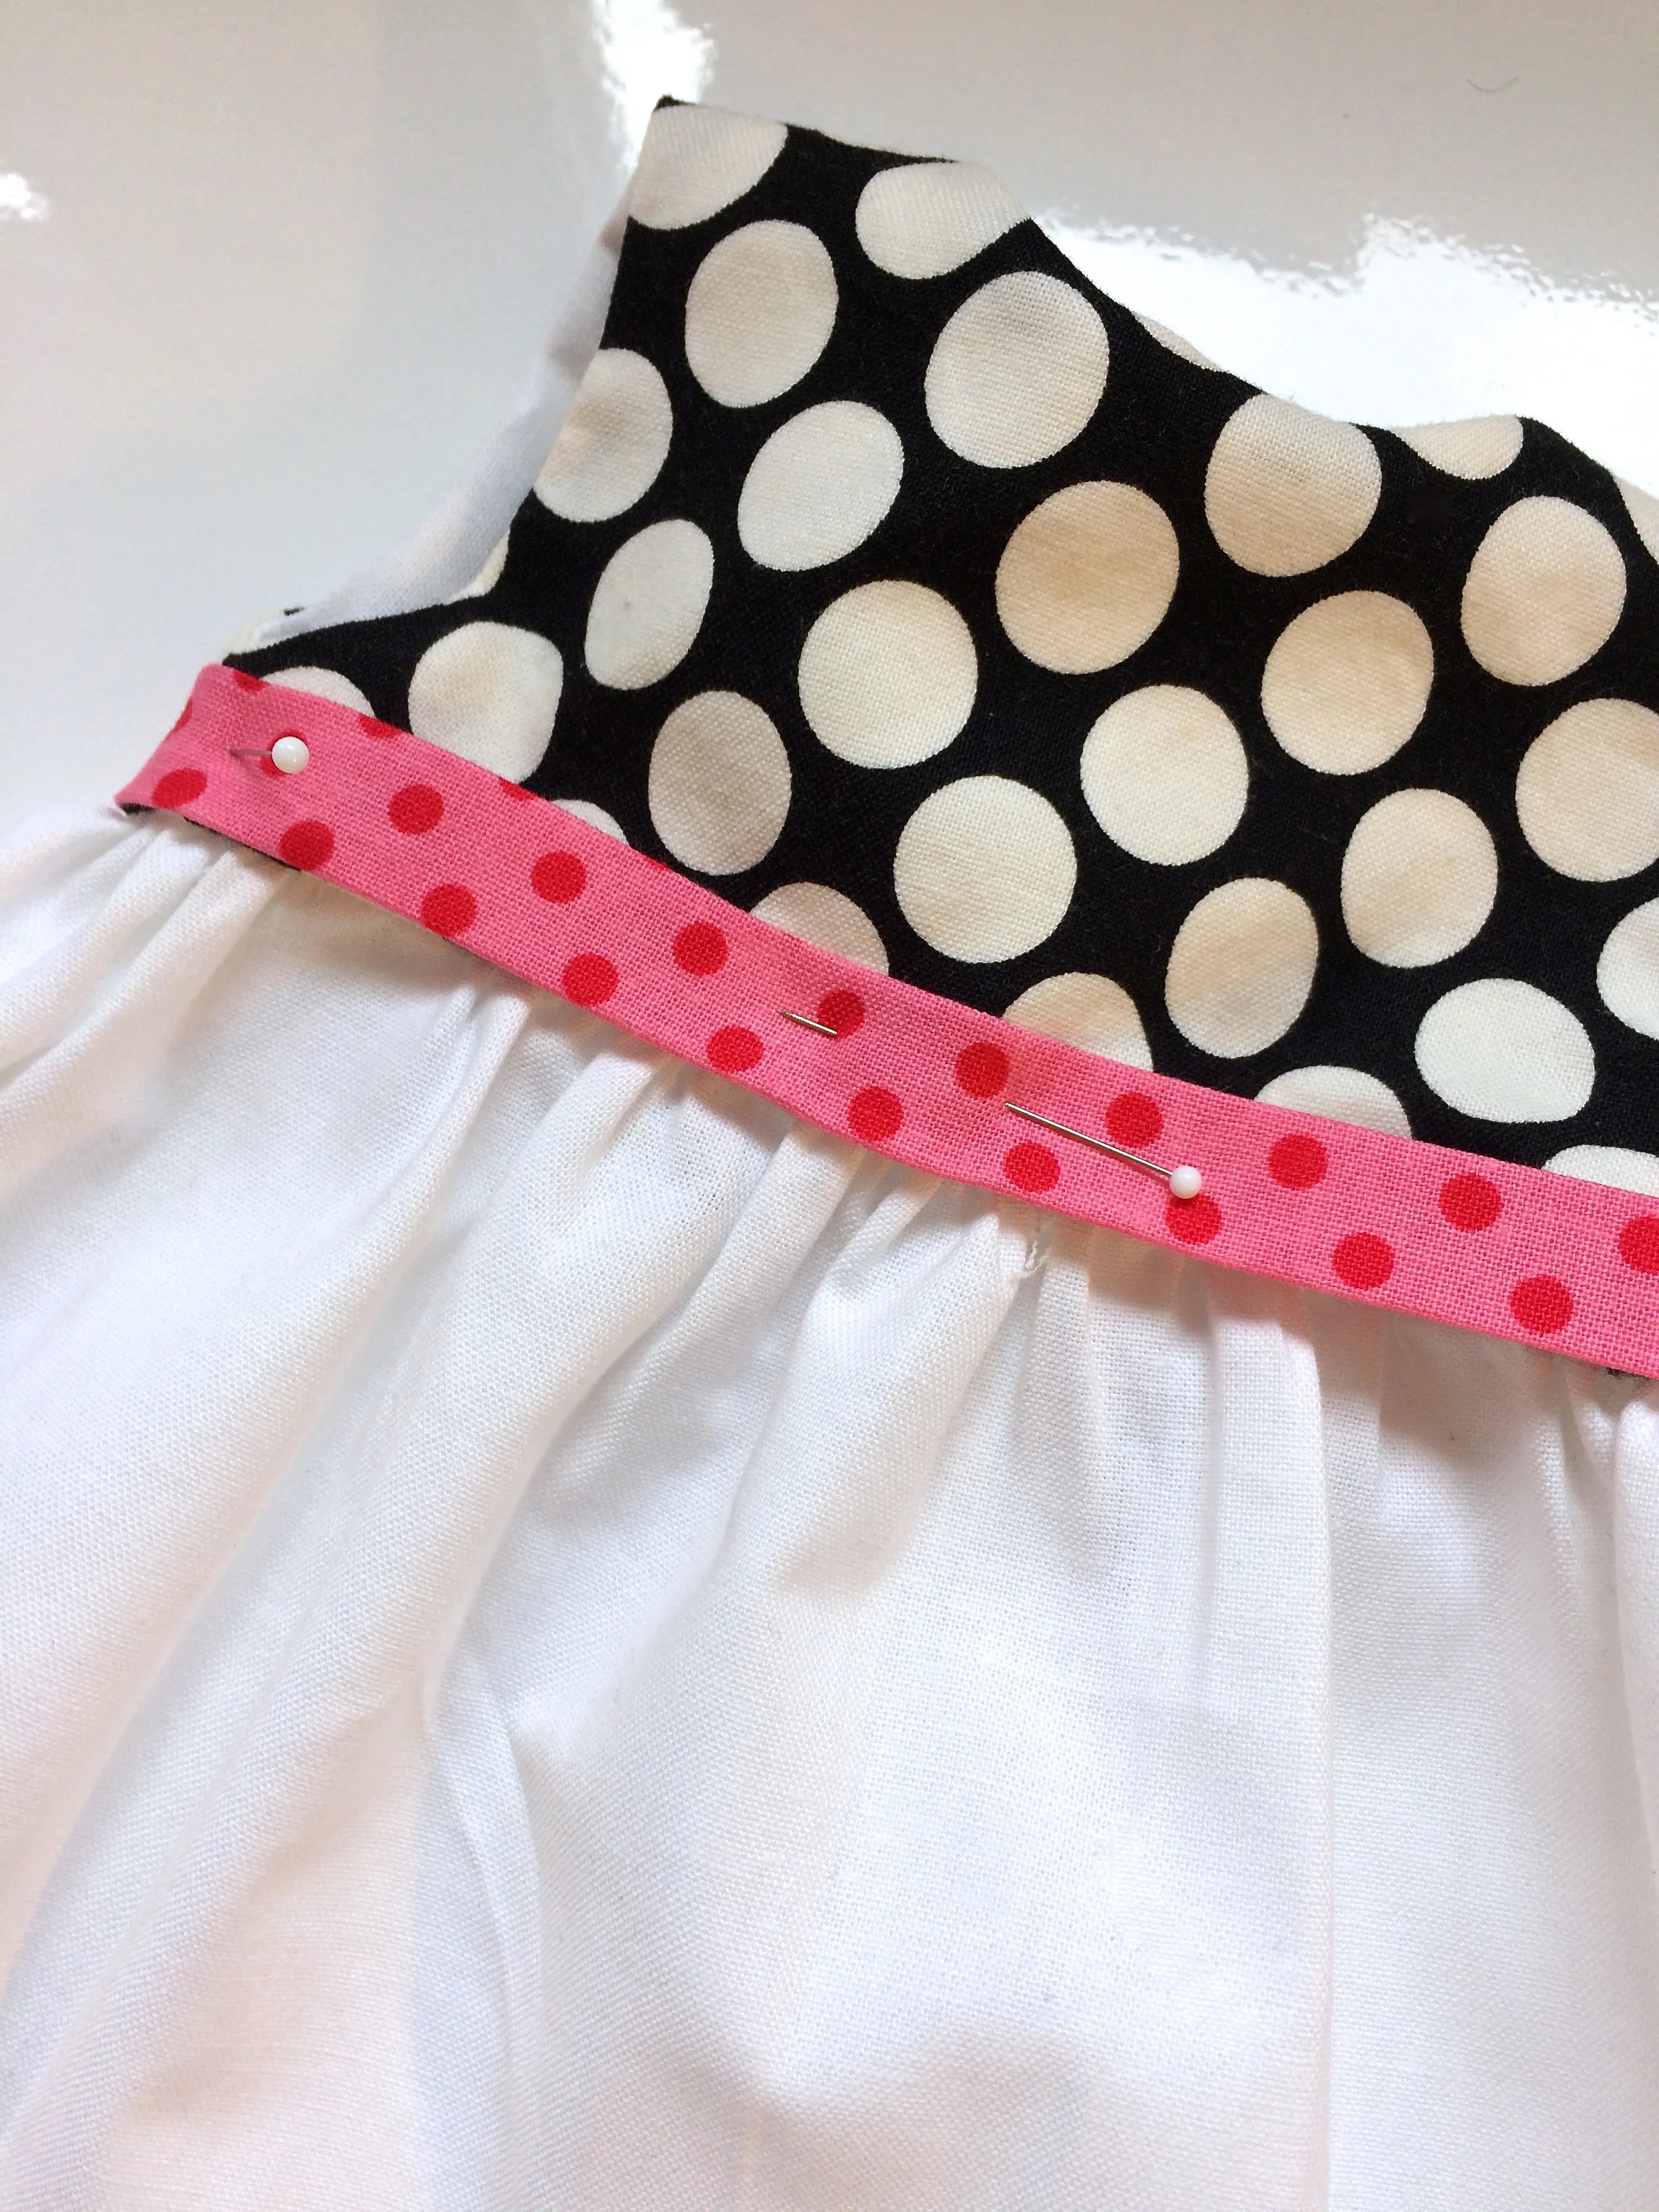
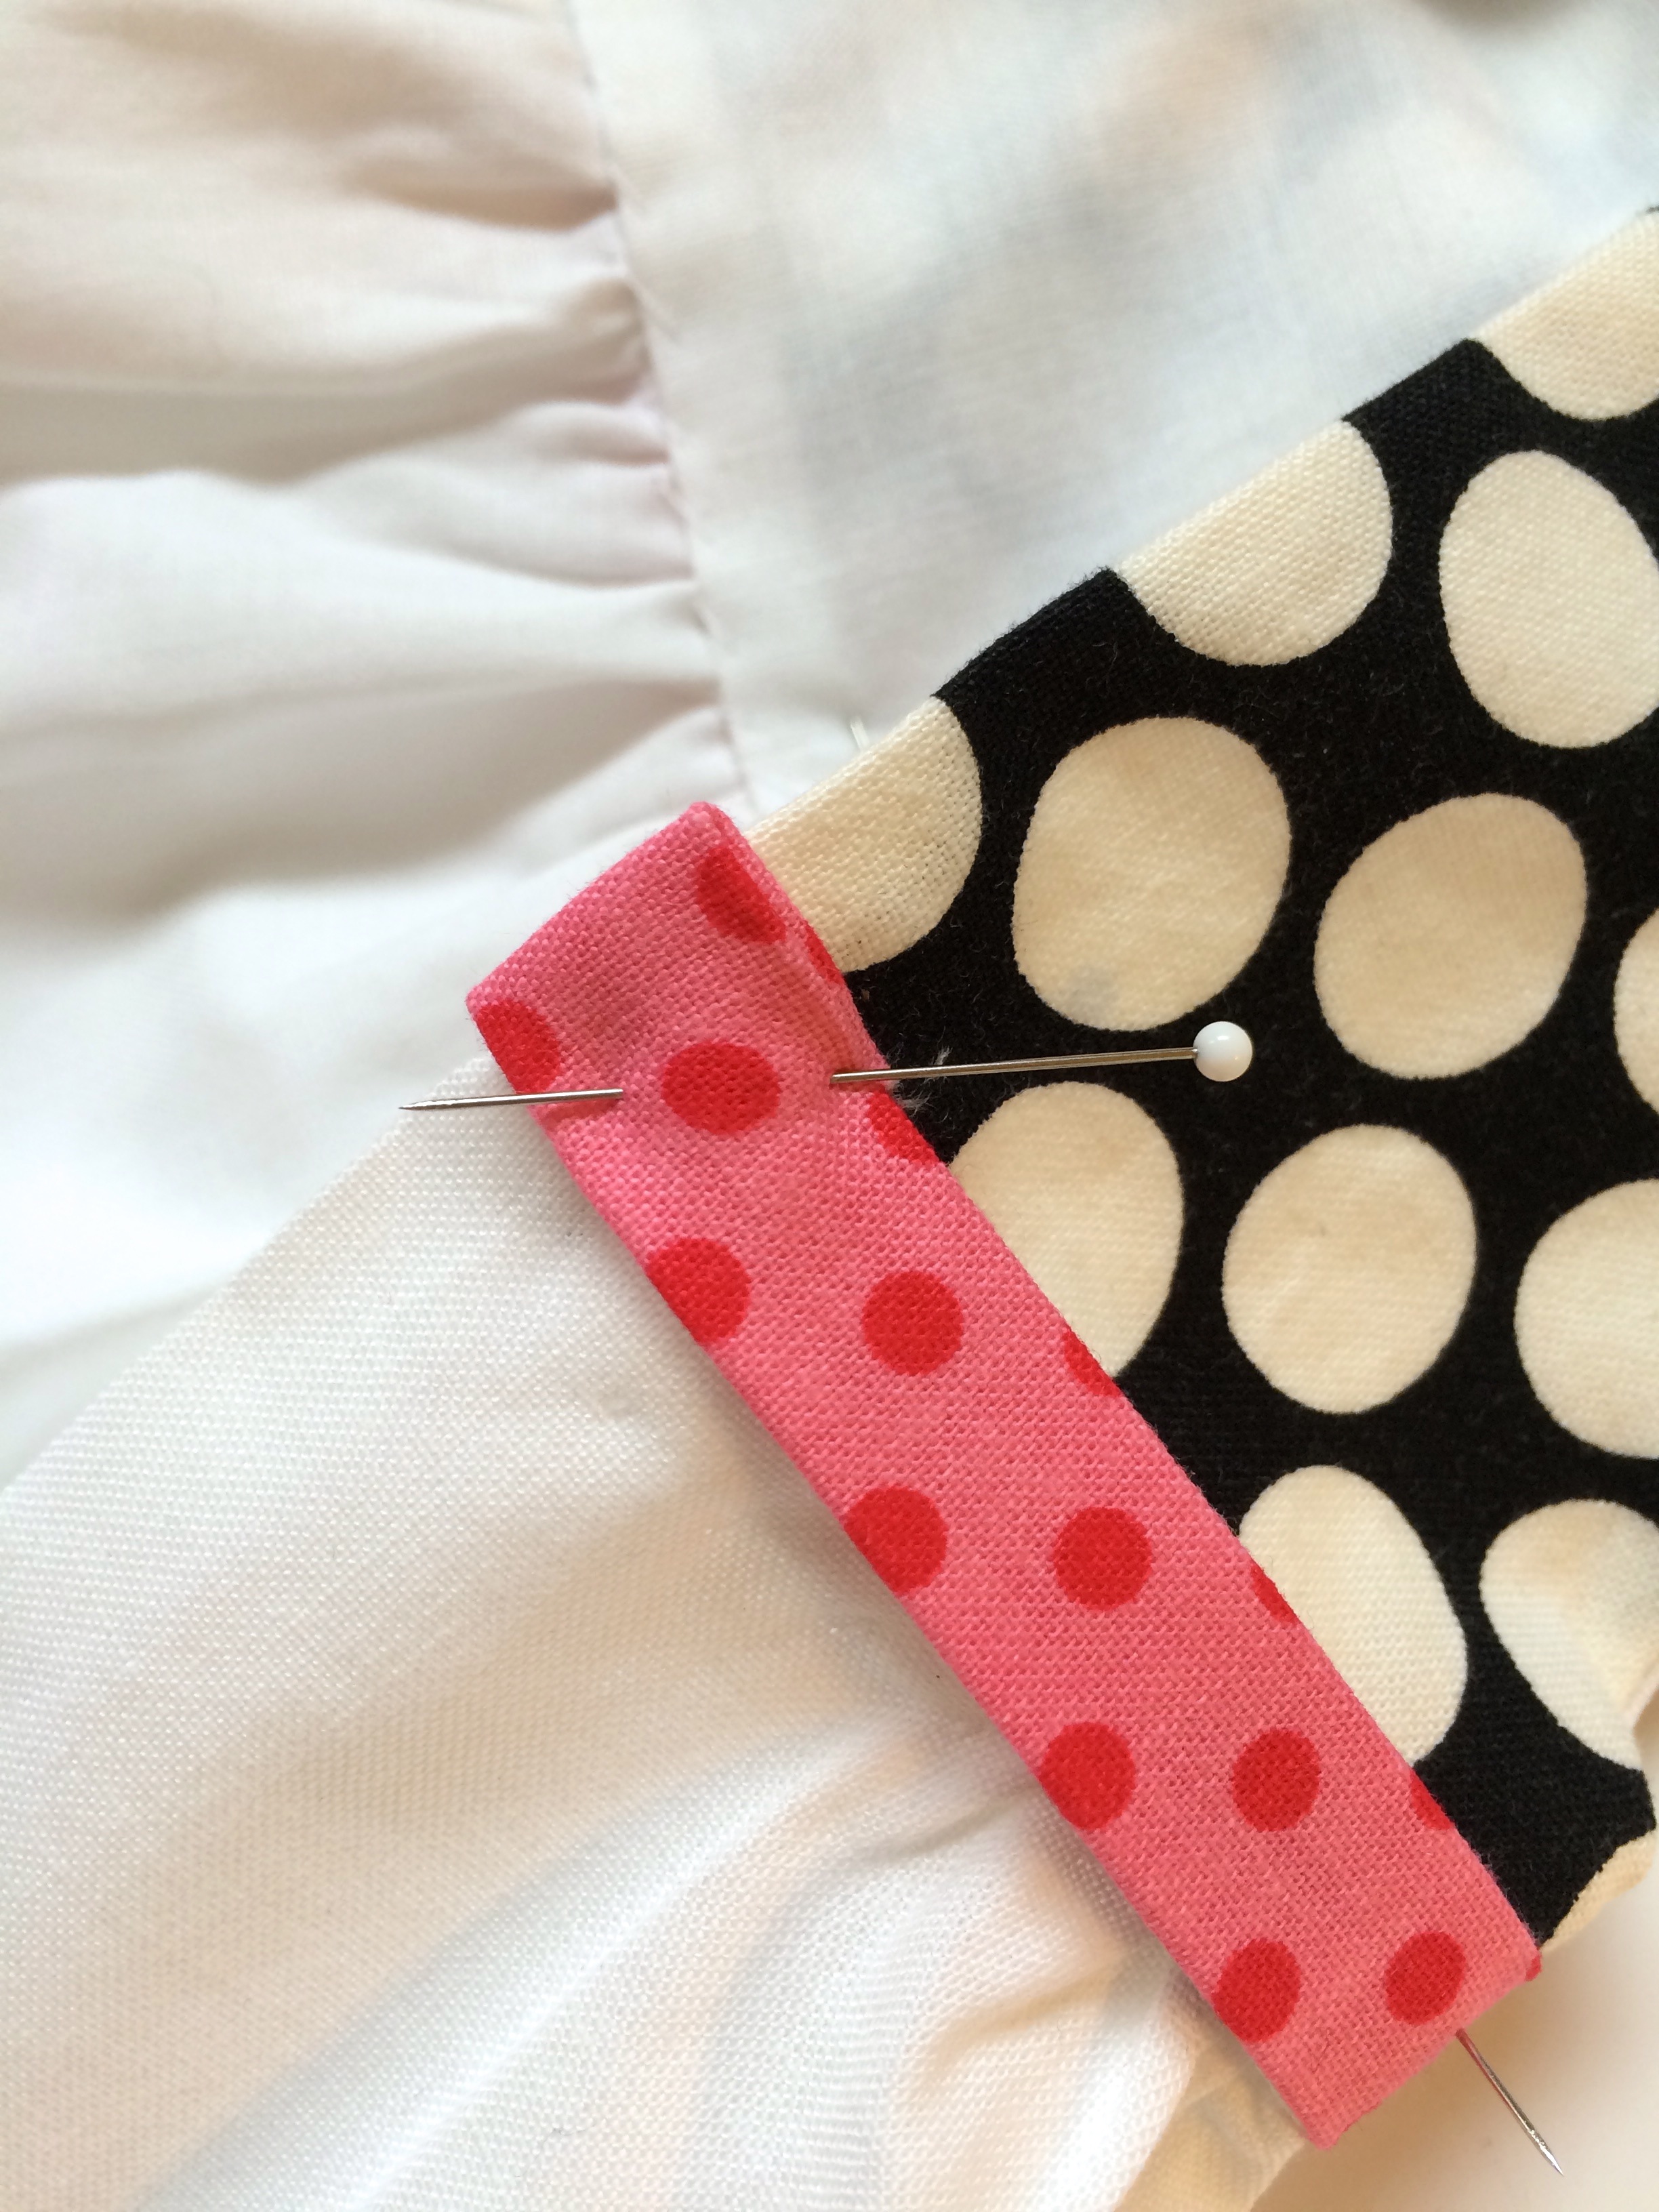
4. Accepting that wonky is ok
Young children begin to sew with large, wonky stitches and their sewing lines are often crooked. With a little practice, however, their stitches rapidly improve. Don’t do the work for them. Let them sew their own stitches and they will be proud of what they have accomplished.
Sometimes young children’s work becomes messy simply because they forget to look at
what they are doing. A gentle reminder to look at their work while sewing can bring
about a miraculous improvement. Hand sewing doesn’t require excessive concentration and the modest demands it does make will actually help to improve your child’s ability to concentrate.
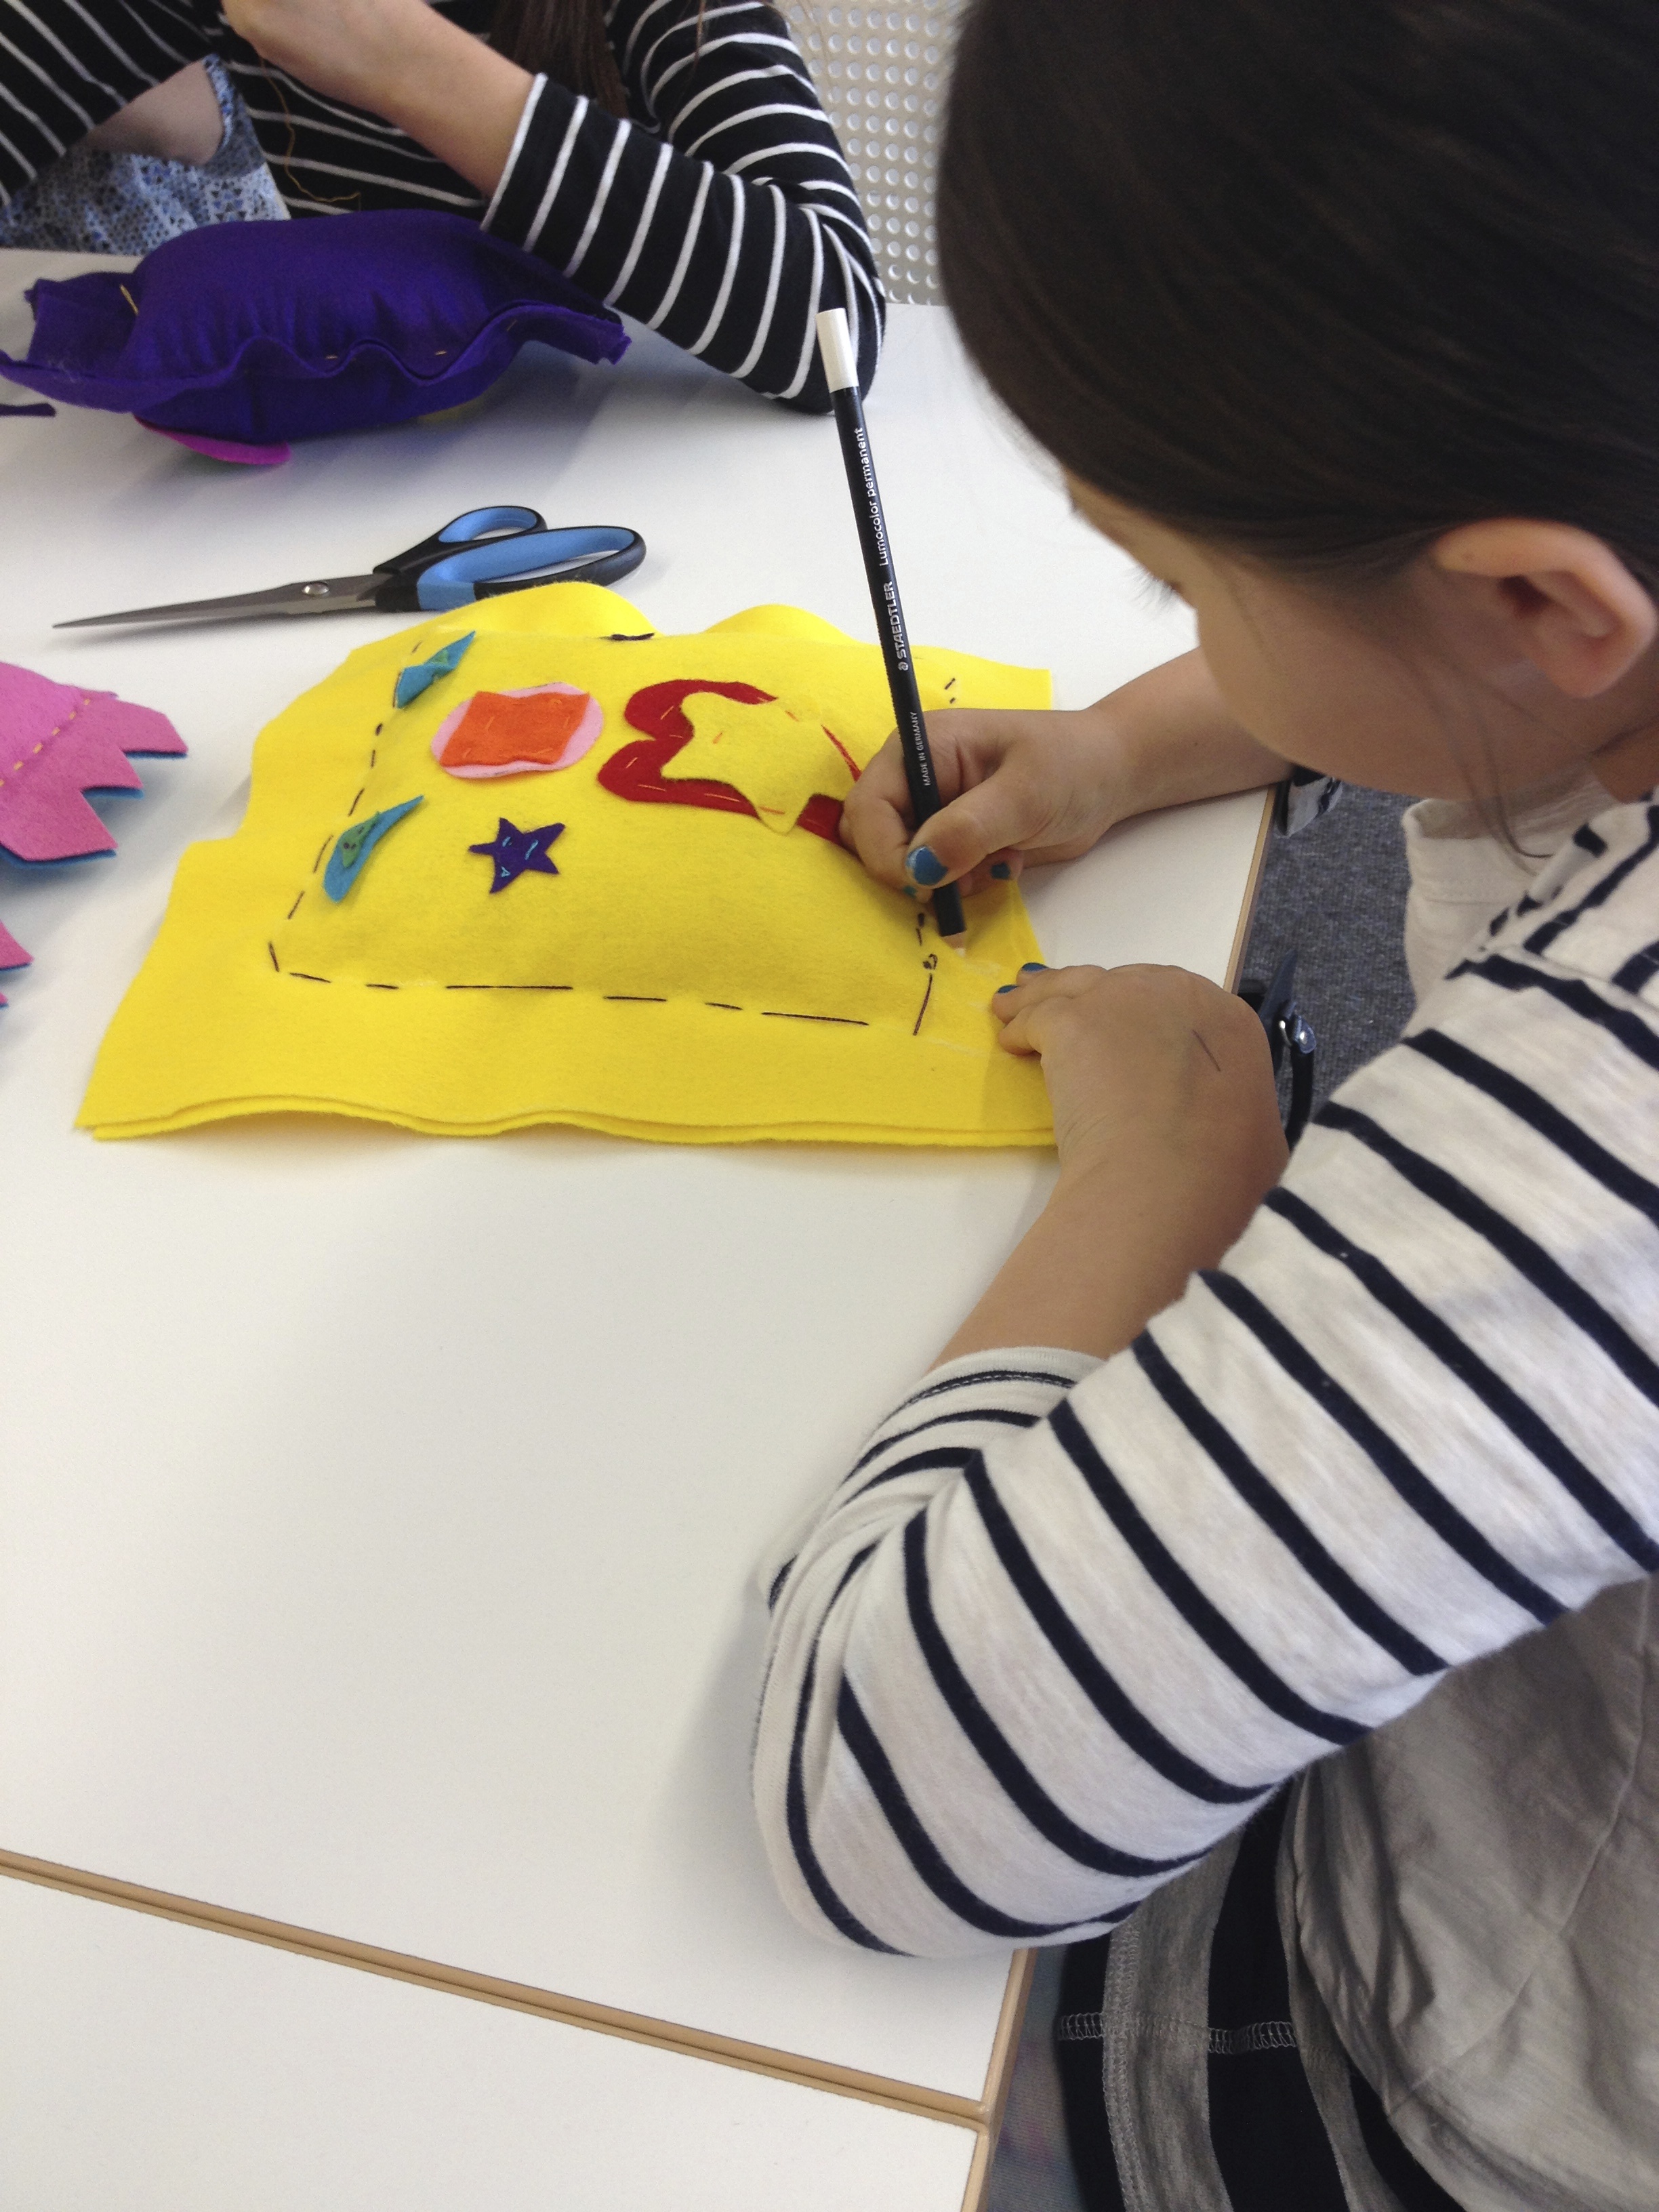
Museum of Contemporary Art Workshop 2014

Museum of Contemporary Art Workshop 2014
5. Making the projects your own
There’s nothing wrong with copying a project exactly as it’s given but this never really
compares with the feeling you get when you make a project your own. So don’t be afraid
to adapt things, to change them, and to make them to suit your own and your child’s
interests and wishes.
You can also drop in to Mollymoo Crafts where Michelle has adapted Baby in a Pouch. The original project is small enough to fit into the palm of a child’s hand but Michelle and her daughter wanted something that could be hugged, so they made the baby and her pouch much larger giving the project a very different feel.

Museum of Contemporary Art Workshop 2014


