A little over a month ago, after I sold a Phoebe doll and thanked Sarah, the woman who purchased her, I received the following message back.
"We are all so excited to make clothes for her!"
I was thrilled that Phoebe appeared to have a team of people sewing for her, but was baffled about how Phoebe had landed herself in such a lucky situation. So I asked about the "we".

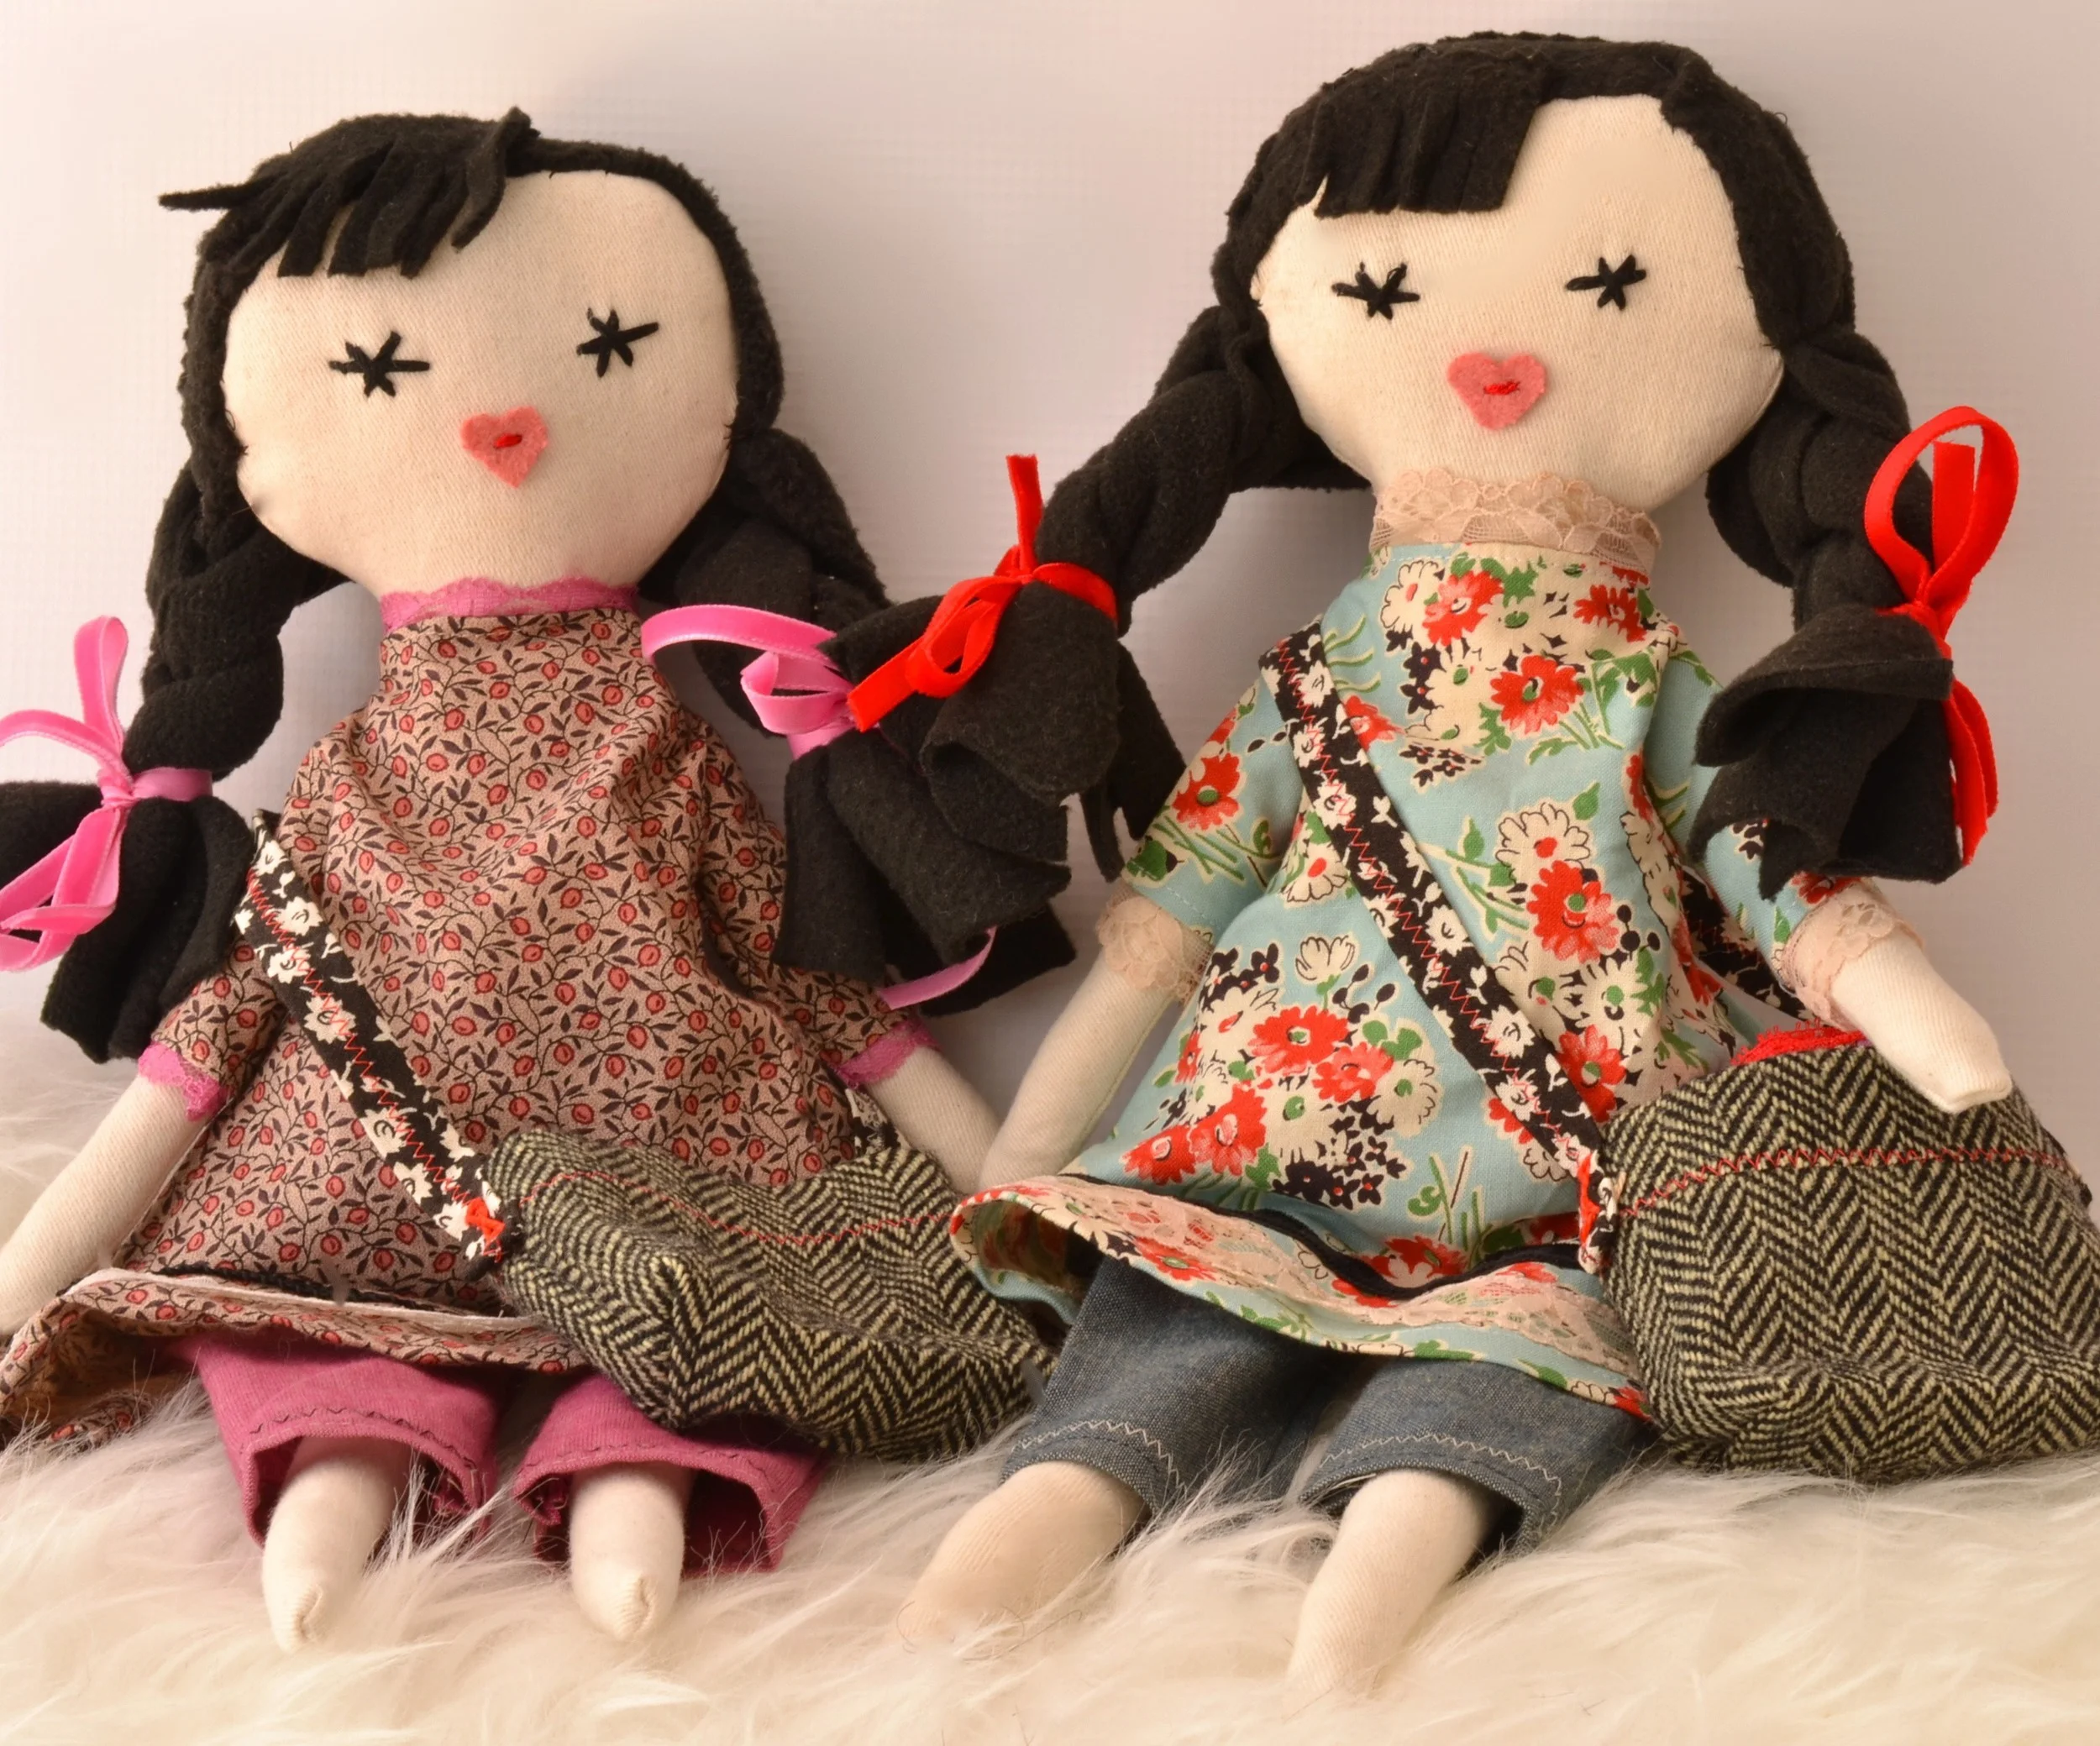
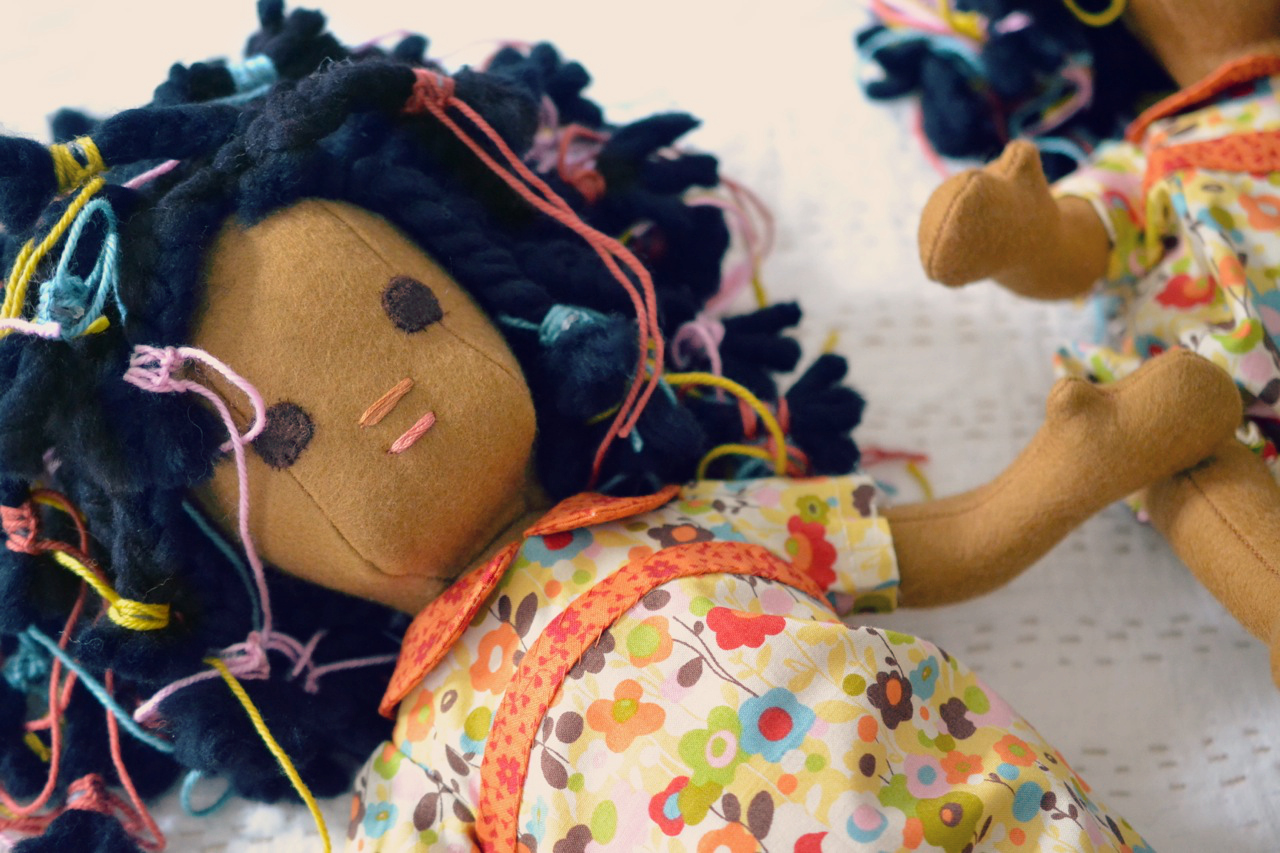
Molly Phoebe before she was Molly Phoebe
And for that simple question, I got to peak into the process of the making of an incredible gift by an amazing family.
Phoebe had a team of seven sewing for her. Phoebe's new home was in a family of eight children. Sarah, the amazing mother of eight, had bought the doll as a surprise birthday present for her six year old daughter Gemma, whose birthday was in a little over a month. Sarah and her six older children were going to going to use the month to enhance the gift by making clothes for Phoebe.
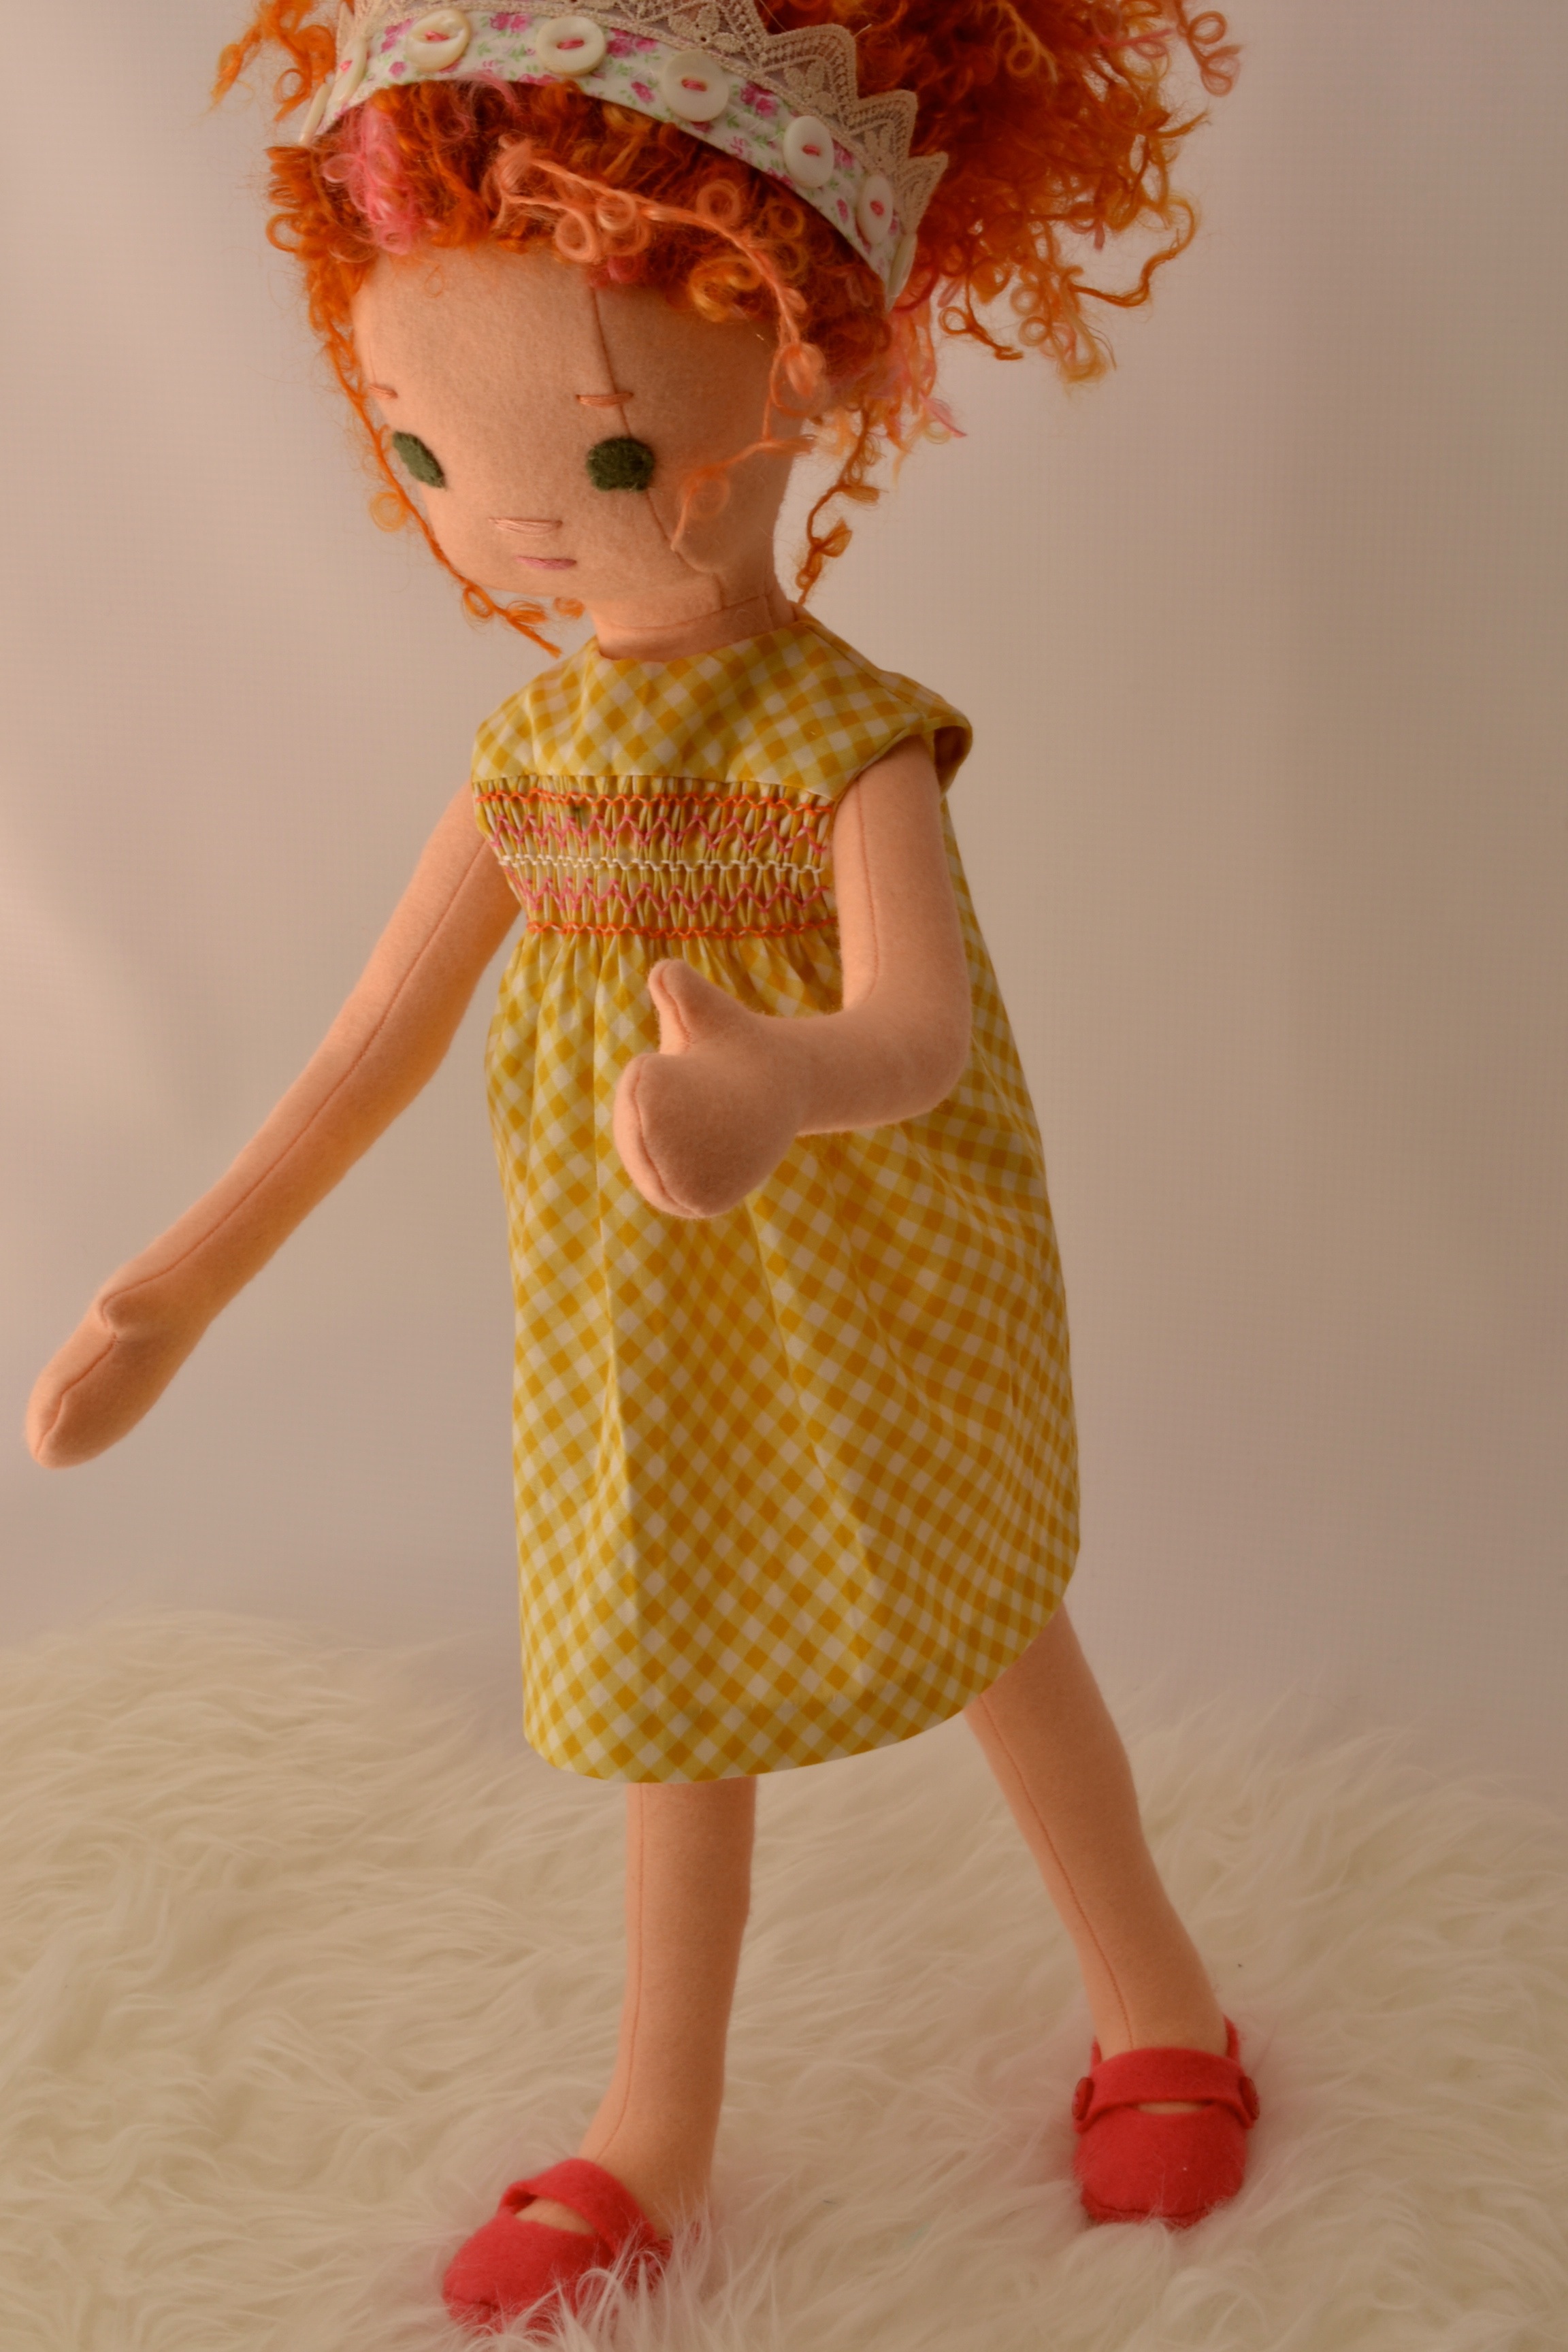
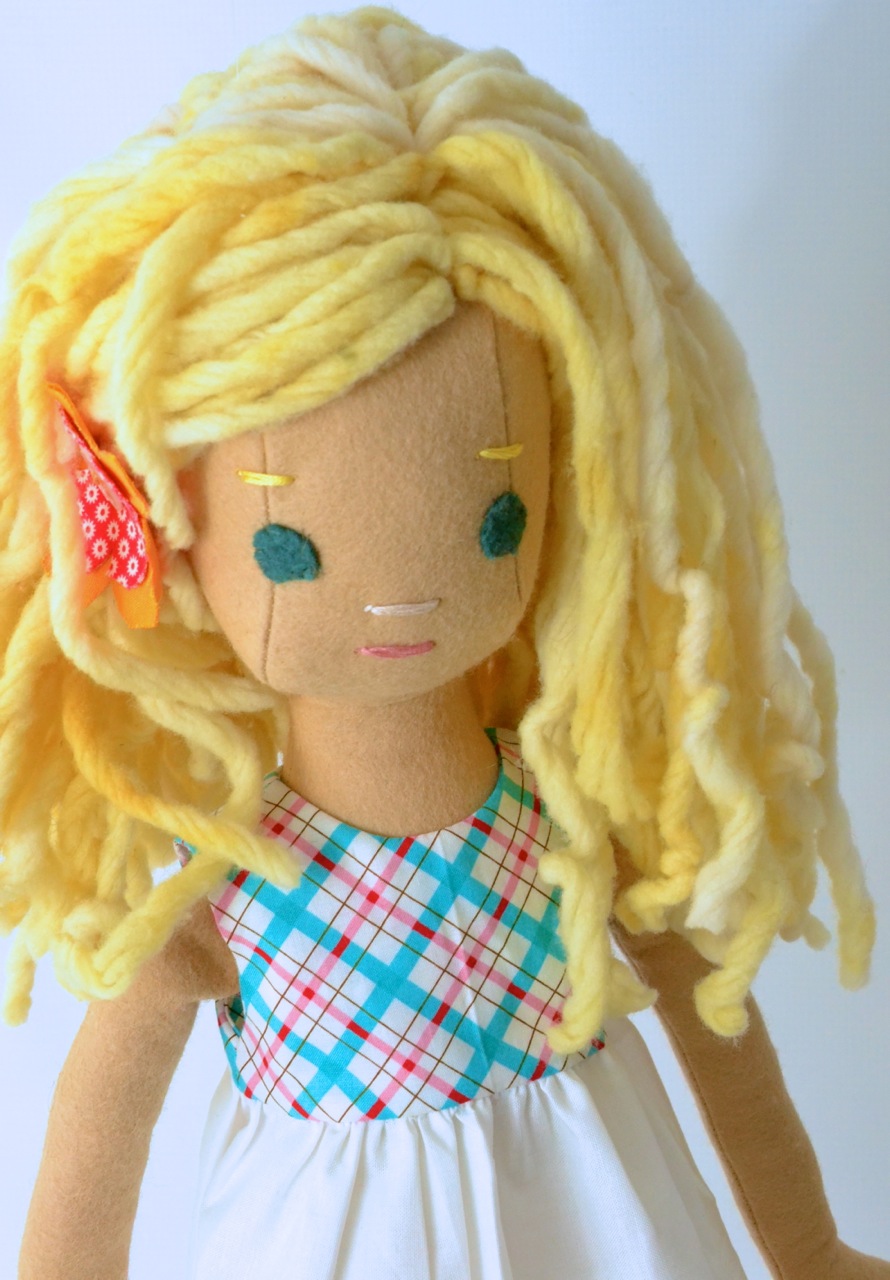
"Phoebe caught my eye because of her appealing modern look, her adorable long skinny limbs just like Gemma's and her beautiful face. I then showed her to my five oldest girls and they went crazy. Hence the inspiration to use her to get everyone sewing and knitting and quilting on a tiny manageable scale. It was the PERFECT summer's end project."
Not only is Sarah an amazing quilter and knitter, but she has passed these talents and values on to her children. " I REALLY want to pass the idea and love of handmade objects for loved ones and the home to the children. Modern life is very fast paced if we don't slow down we miss the beauty."
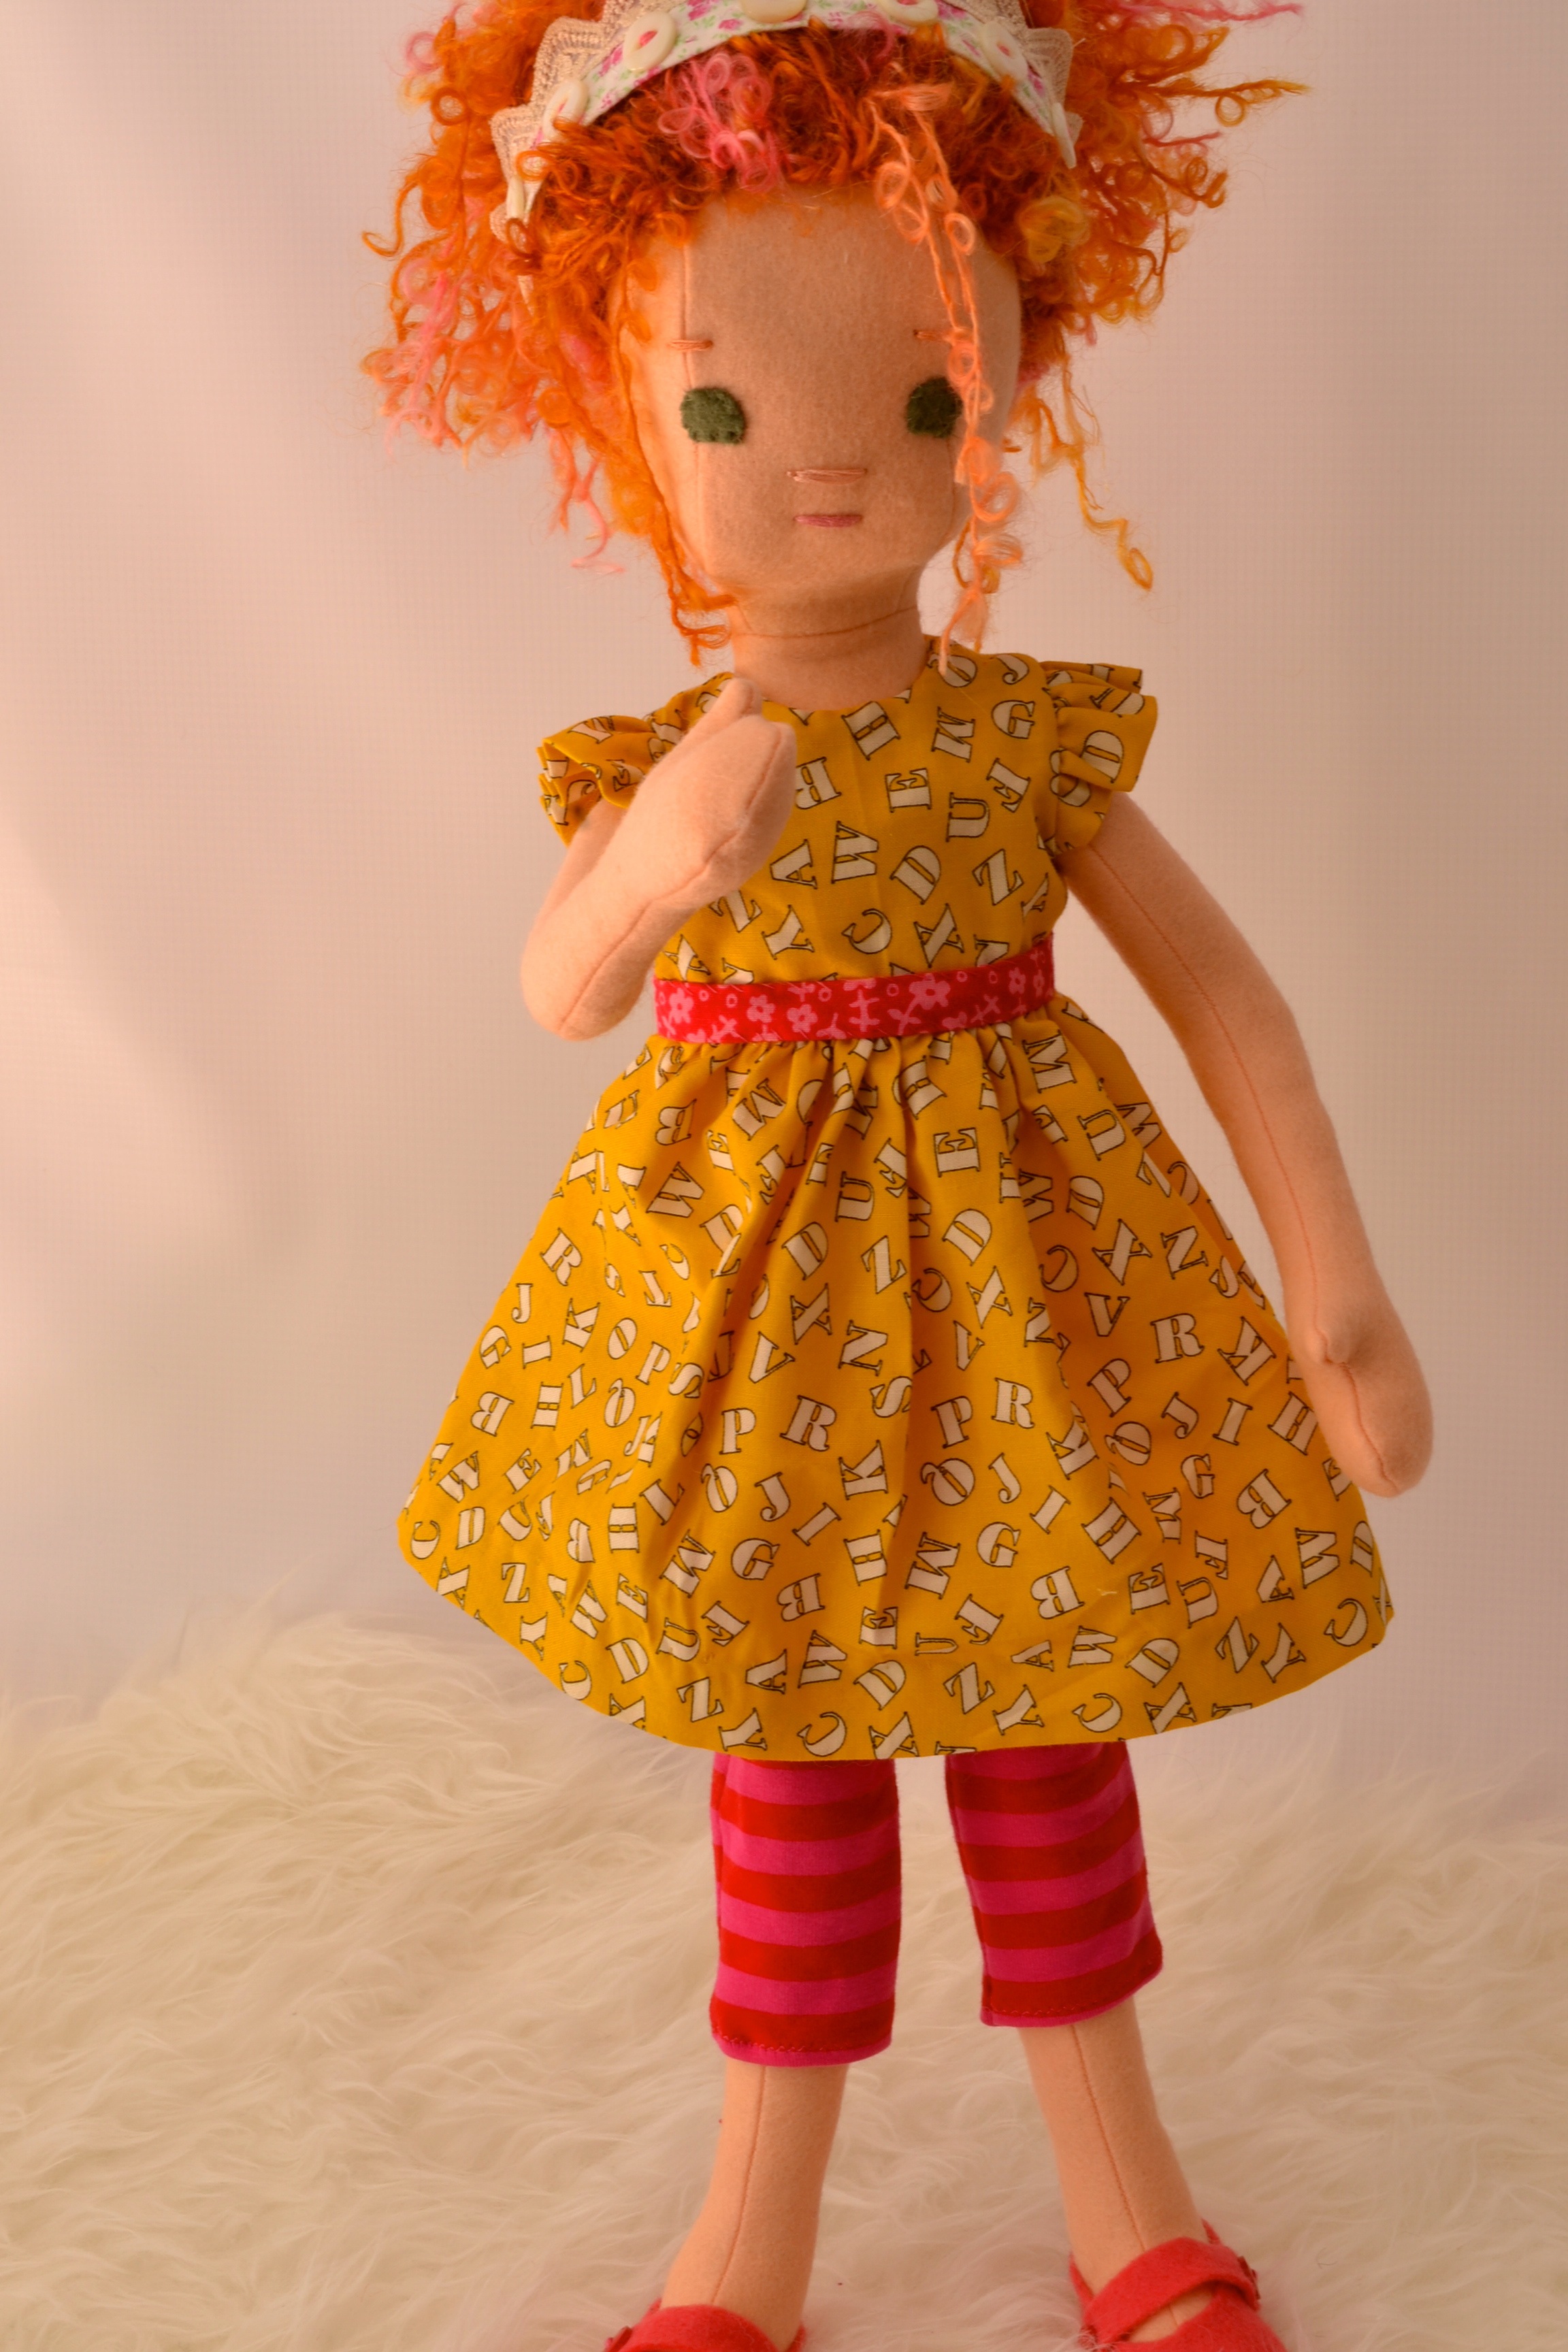
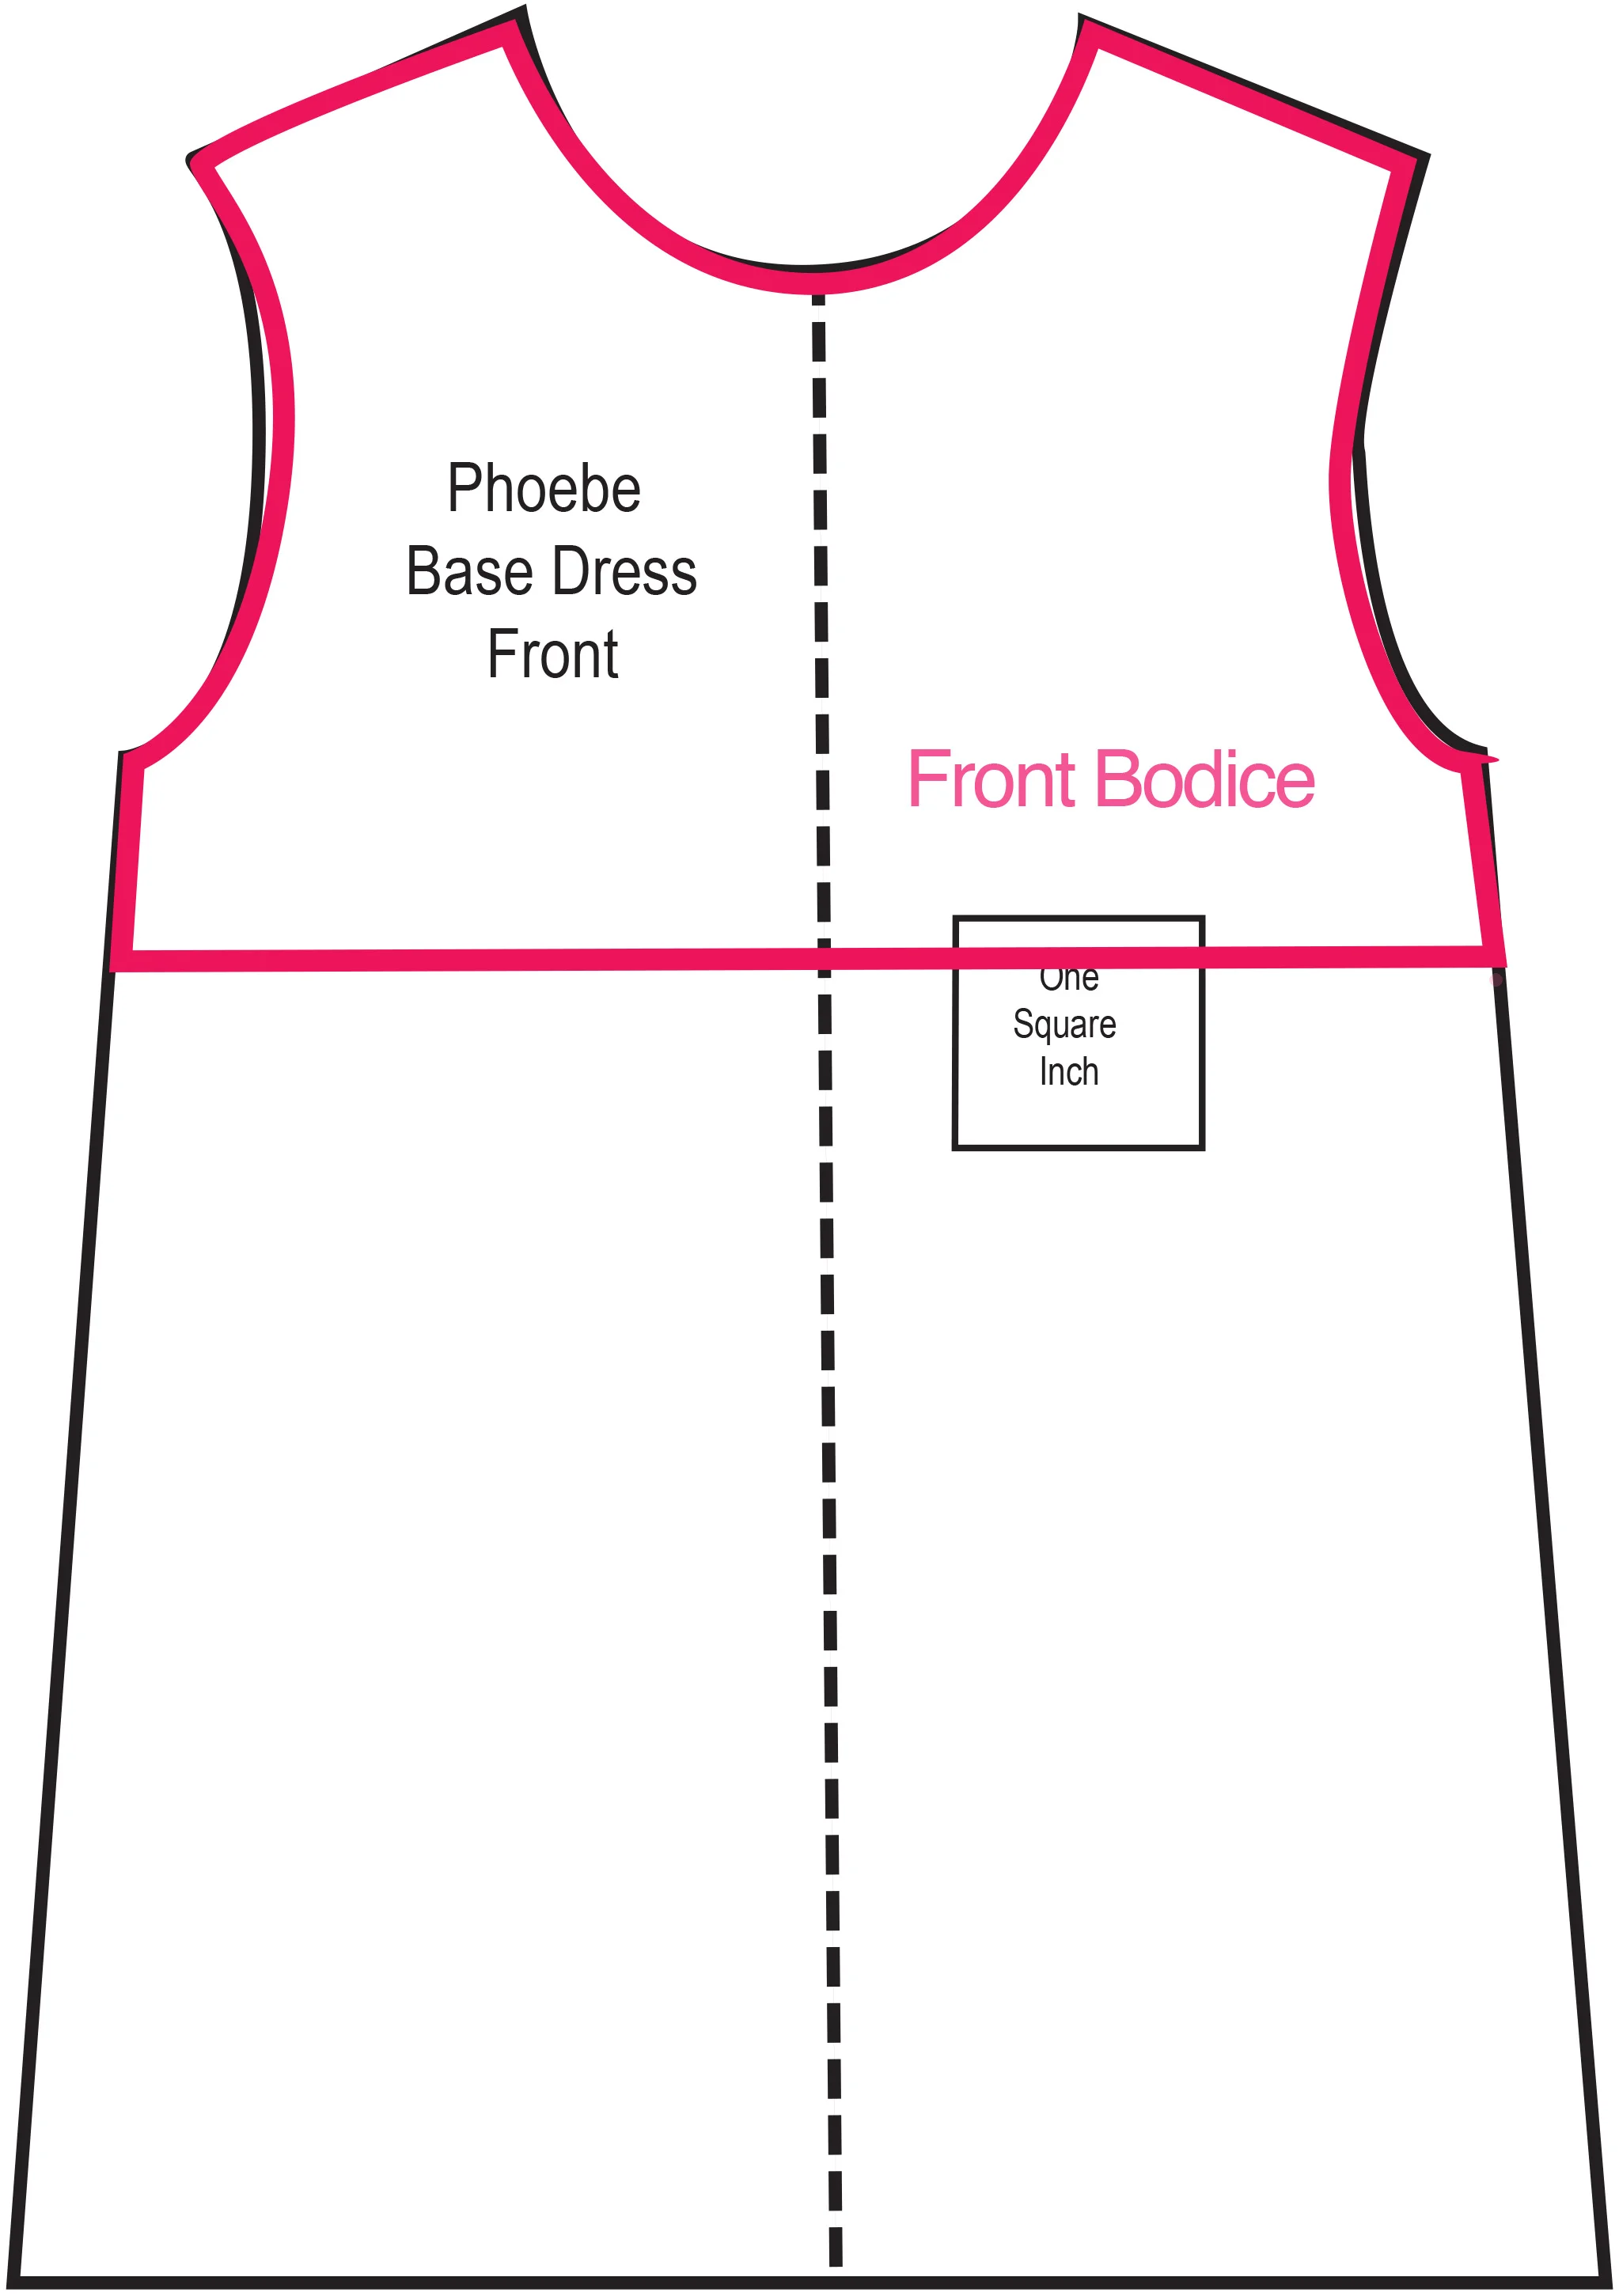
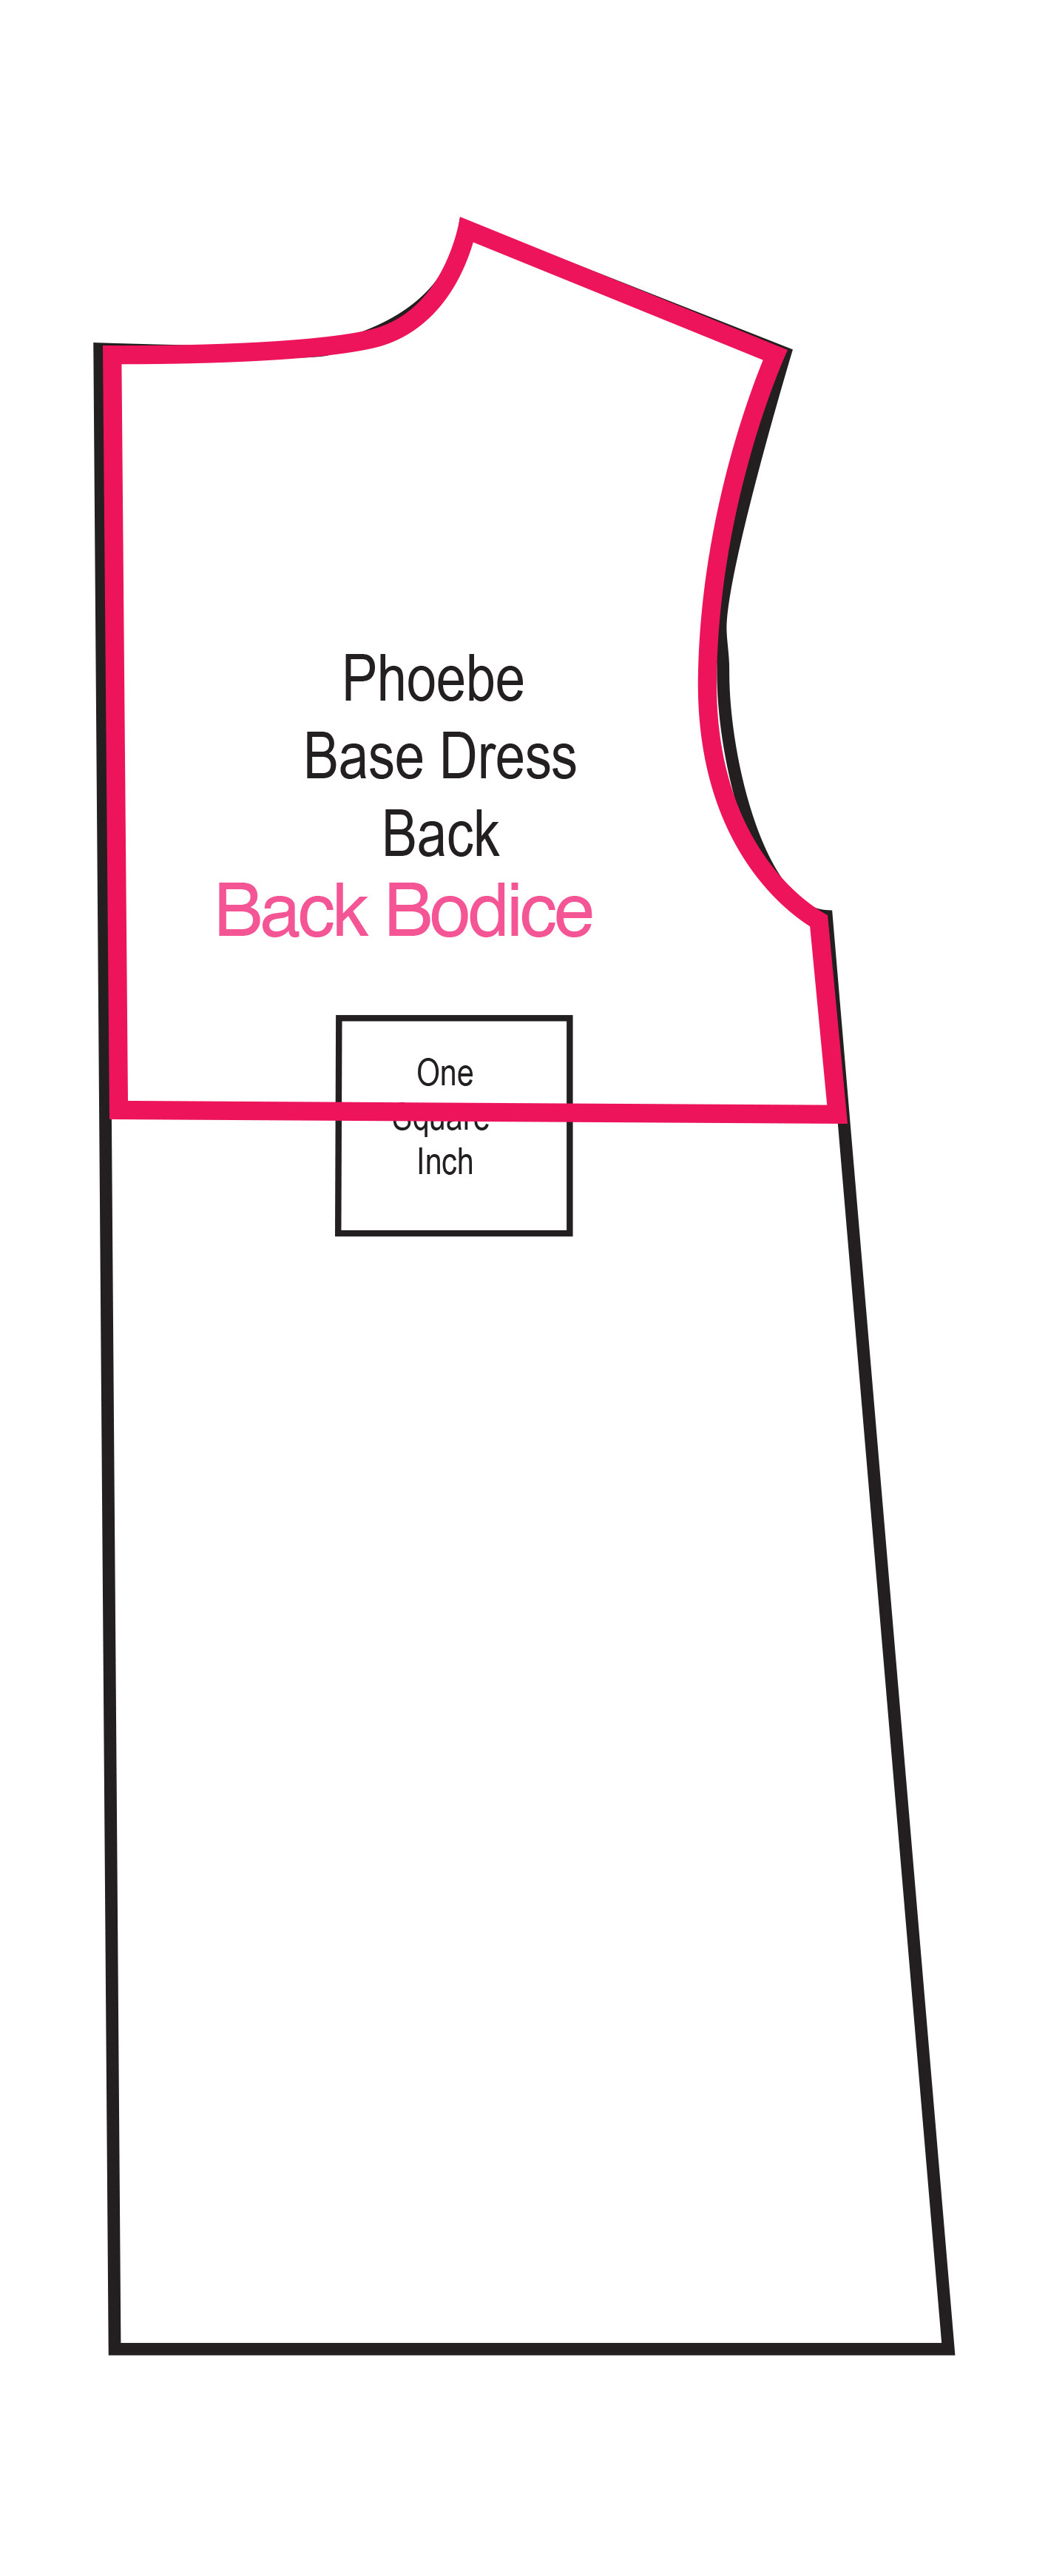
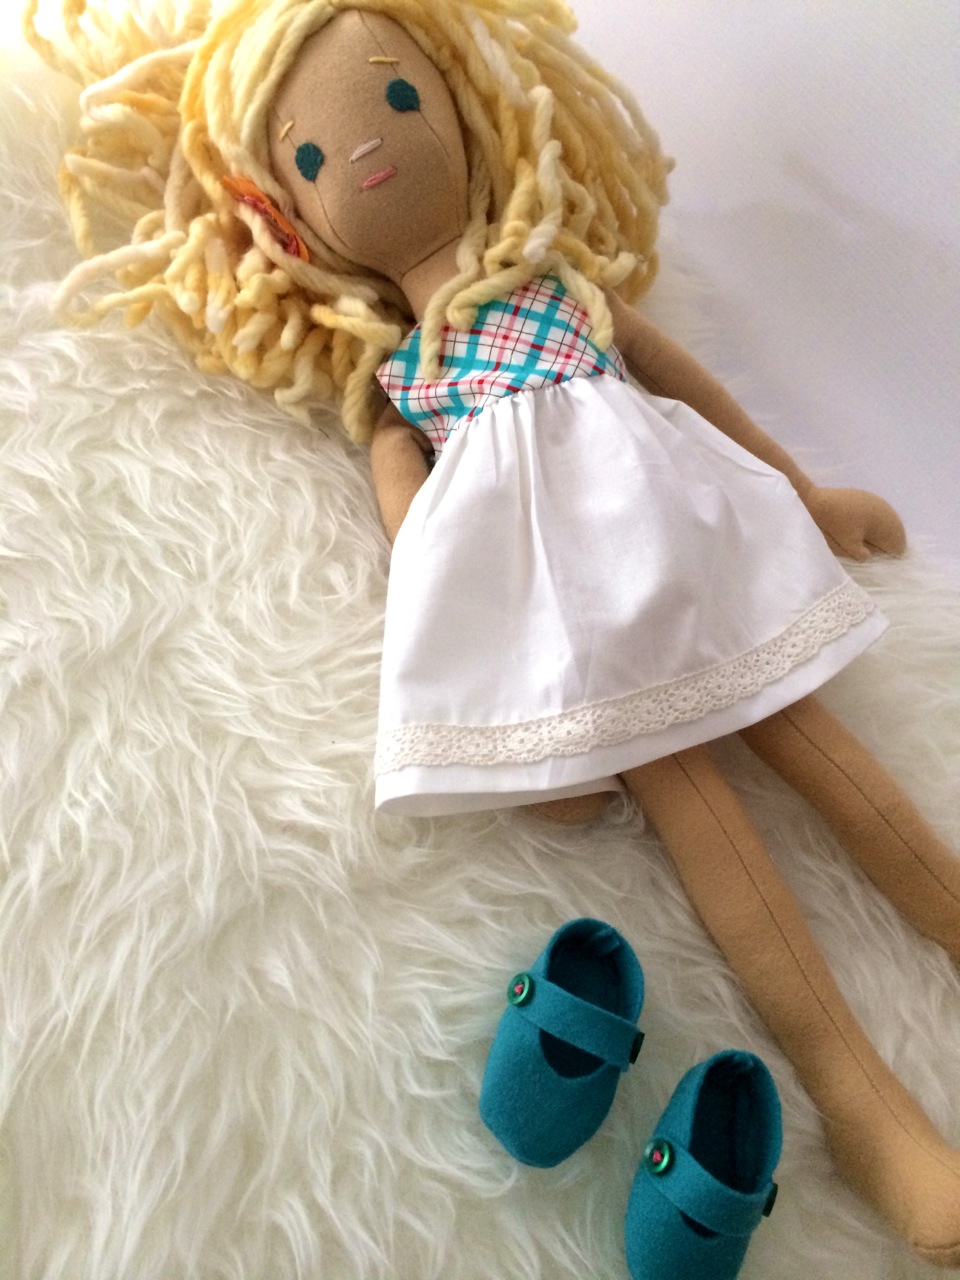
The girls started sewing dresses from the Doll Dressmaking Series on this blog and started making Phoebe a wardrobe of dresses. Sarah made sweaters, fair-isle knitted boots and quilts. And her older son made Phoebe four pillows. The youngest, who is four, just watched all of the activity. And there was a lot of activity to watch.
Together they made Phoebe: 9 dresses (and several matching ones for Gemma), 5 sweaters, 3 pairs of knitted boots, 2 quilts, one scarf and one hat!
When everything was done, it was all packed into three doll trunks just in time for Gemma's birthday, which was now going to be celebrated a bit sooner due to her father's deployment.
Phoebe and her wardrobe are very cherished and go everywhere.
And Phoebe is now Molly Phoebe Rose-Petal, which seems like the perfect name for a well loved doll with a huge wardrobe.
Making reversible dresses and knitting. Click to enlarge.
Sewing and quilting and more sewing. Click to enlarge.
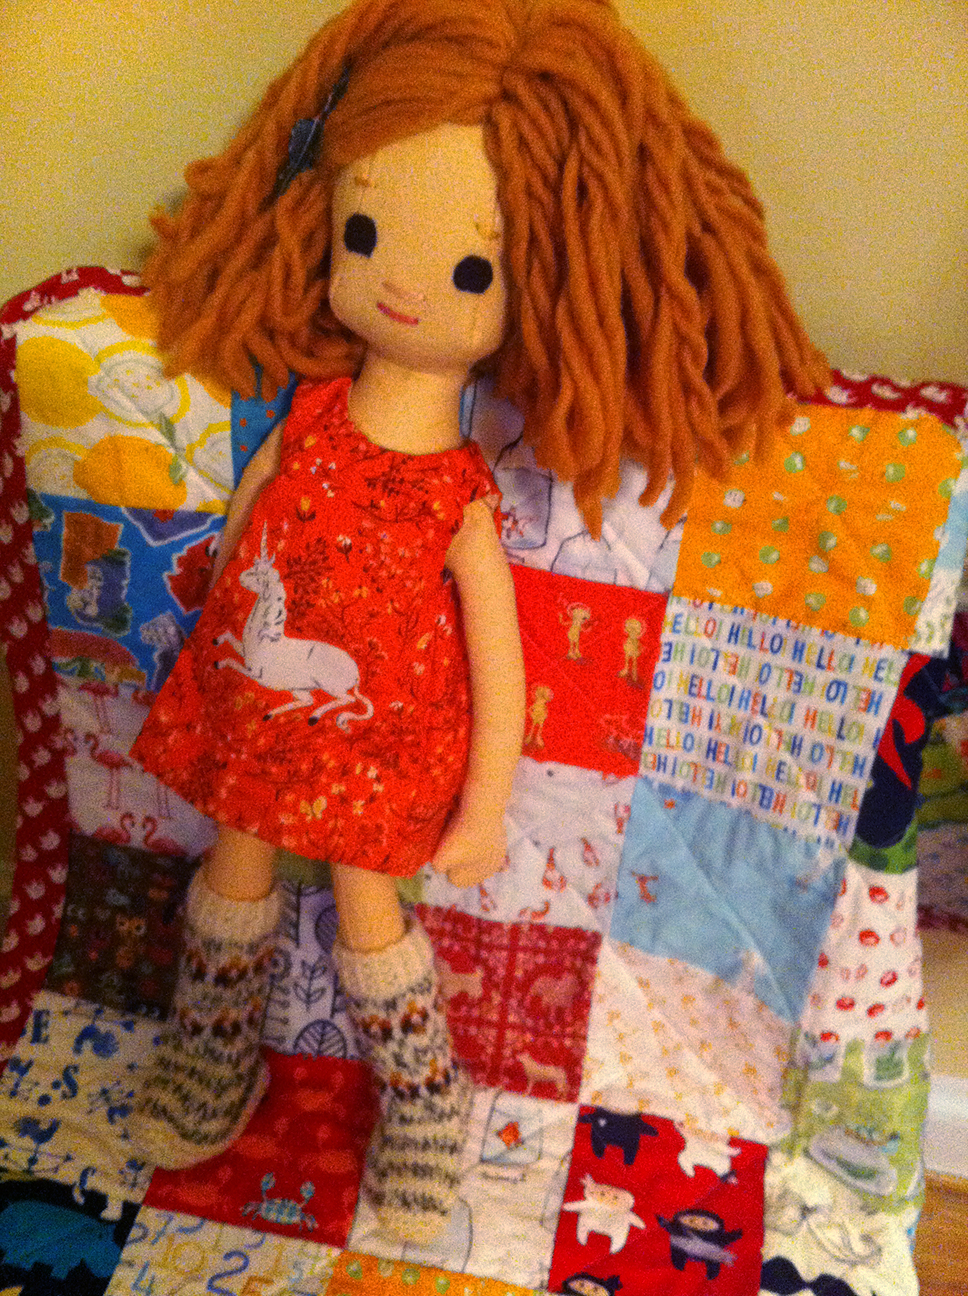
Phoebe models handmade boots, quilt and a unicorn dress.
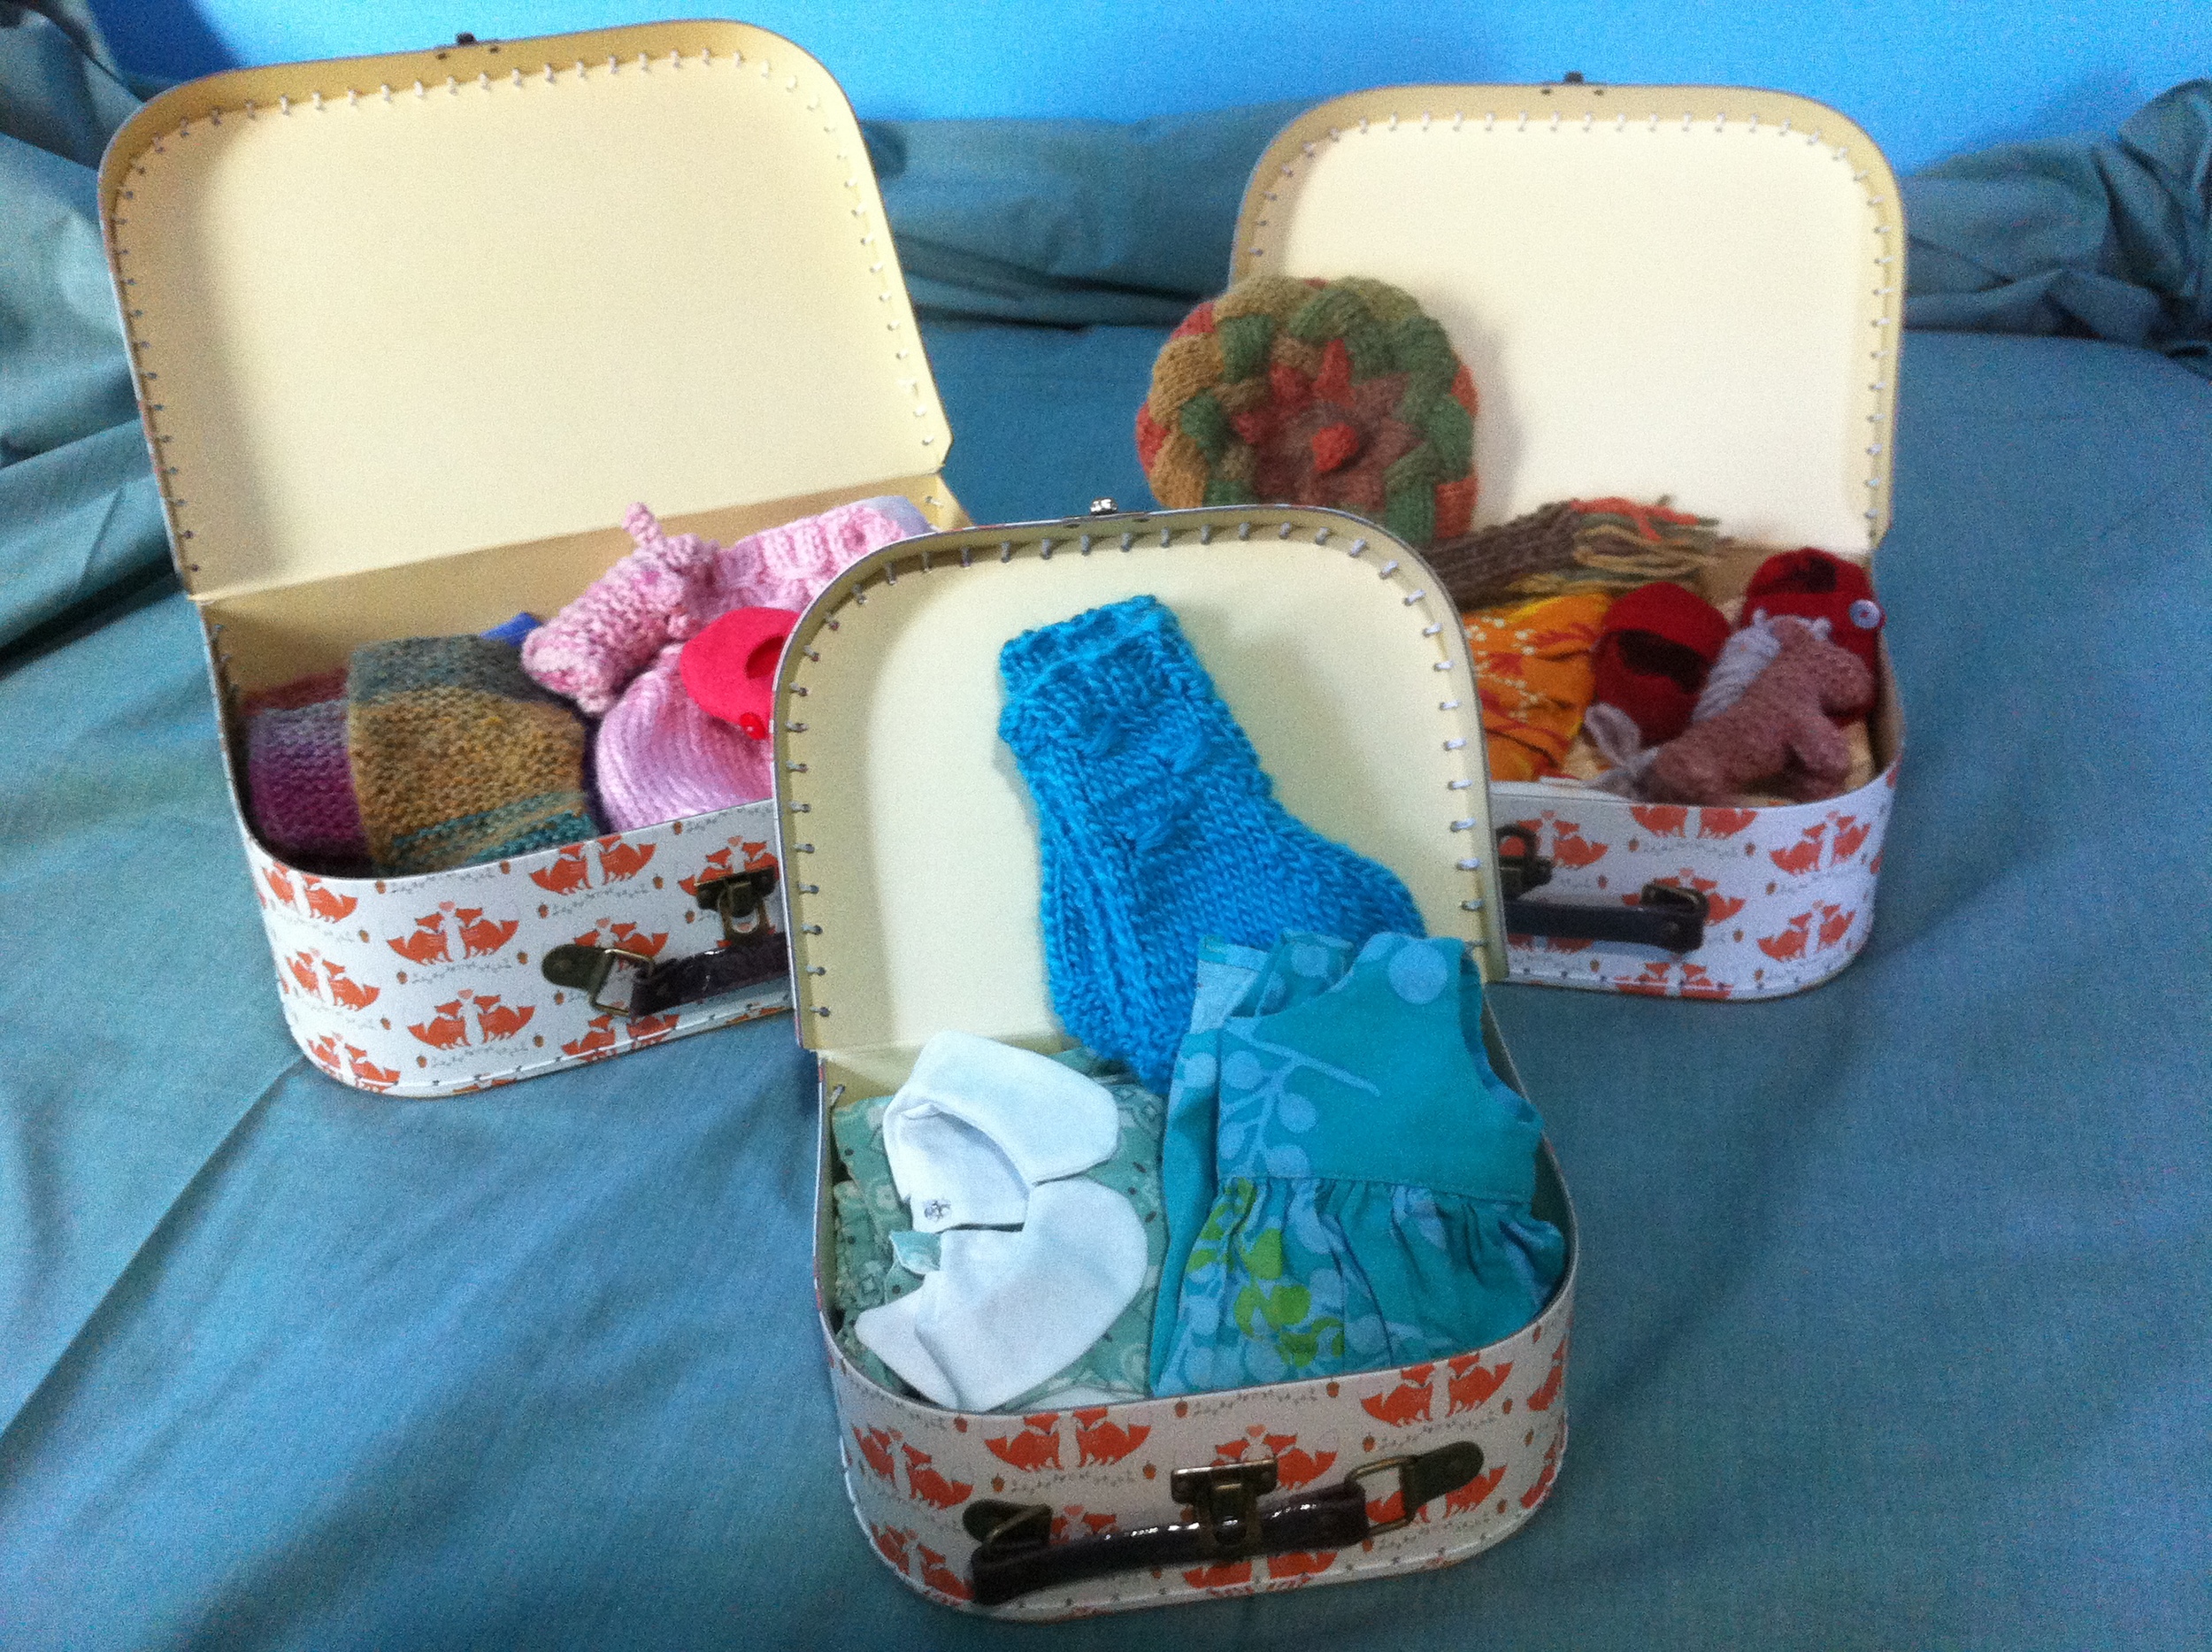
The wardrobe all packed up.
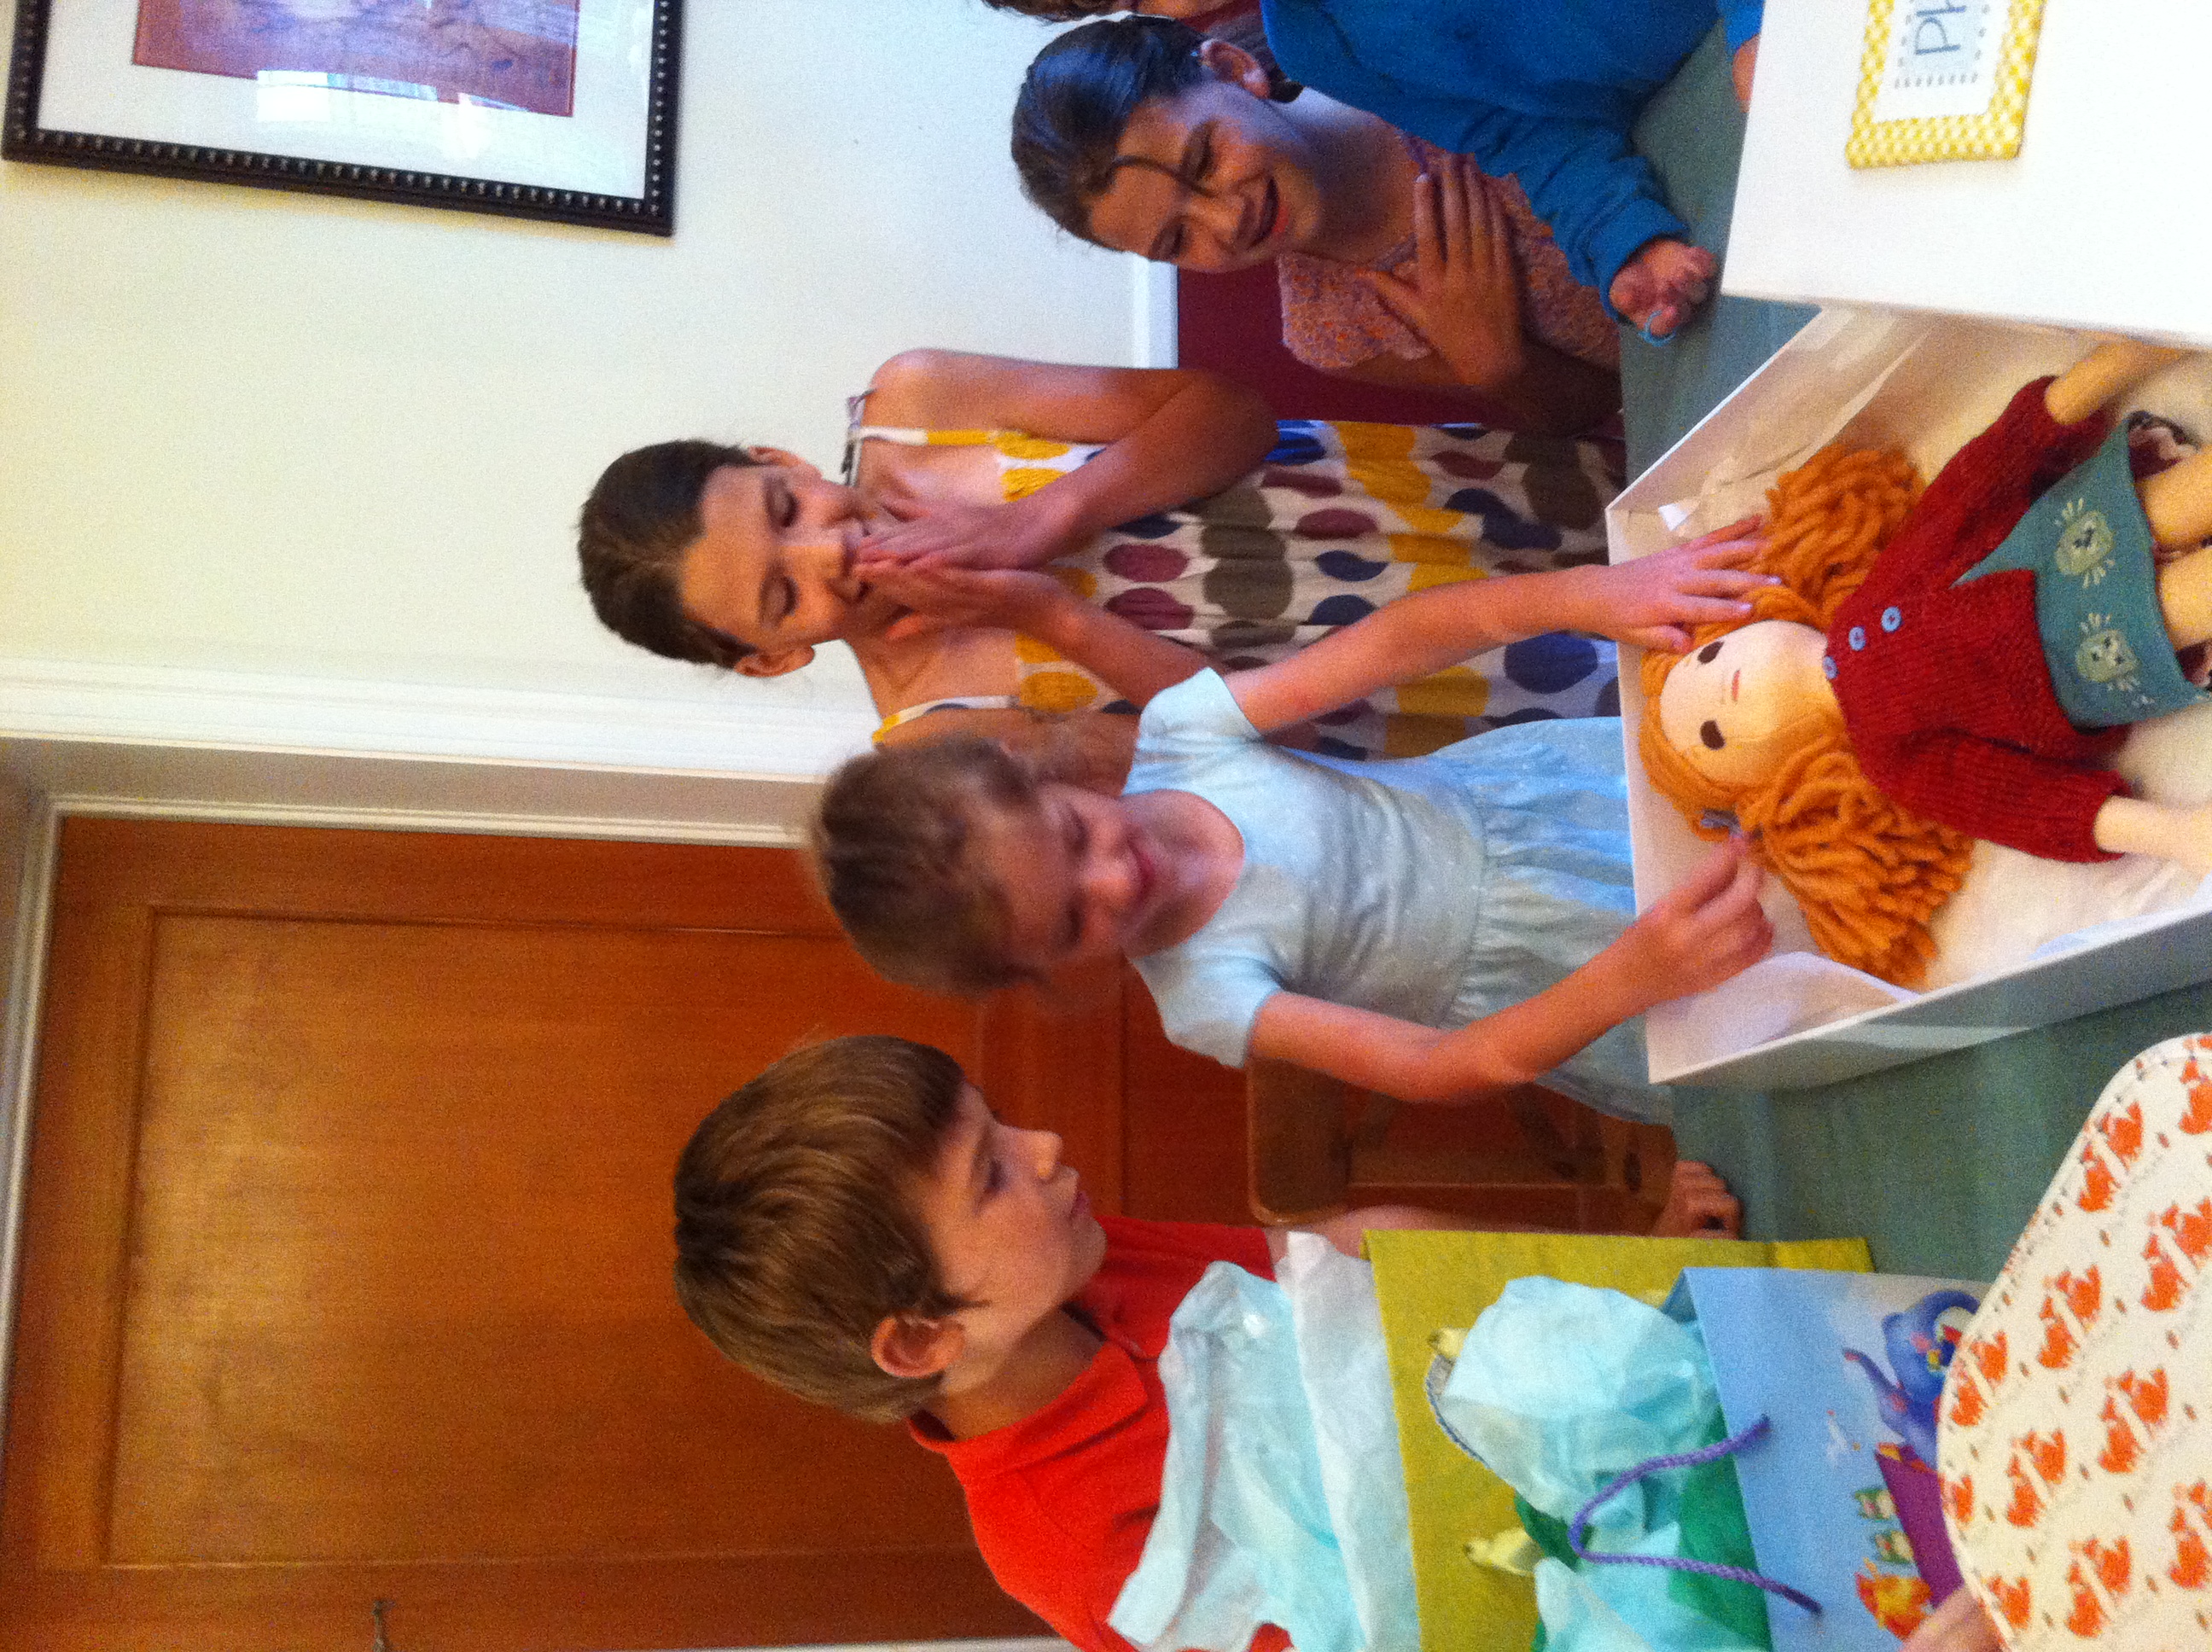
Gemma starting to open the first part of her gift.

Gemma liking her gift.

Phoebe thinking about what to have for breakfast

Phoebe and Gemma are off to school with matching dresses.
If your Phoebe doll has a special story, please send it along!