My definition of a "cool tool" is something that makes boring work a bit more fun.
Sewing by machine creates lots of little threads that need to be snipped close to the fabric. Snipping quickly with larger scissors can result in the accidental over snip into fabric, plus it's hard to get up close. But, there's the perfect little tool for that—thread snips!
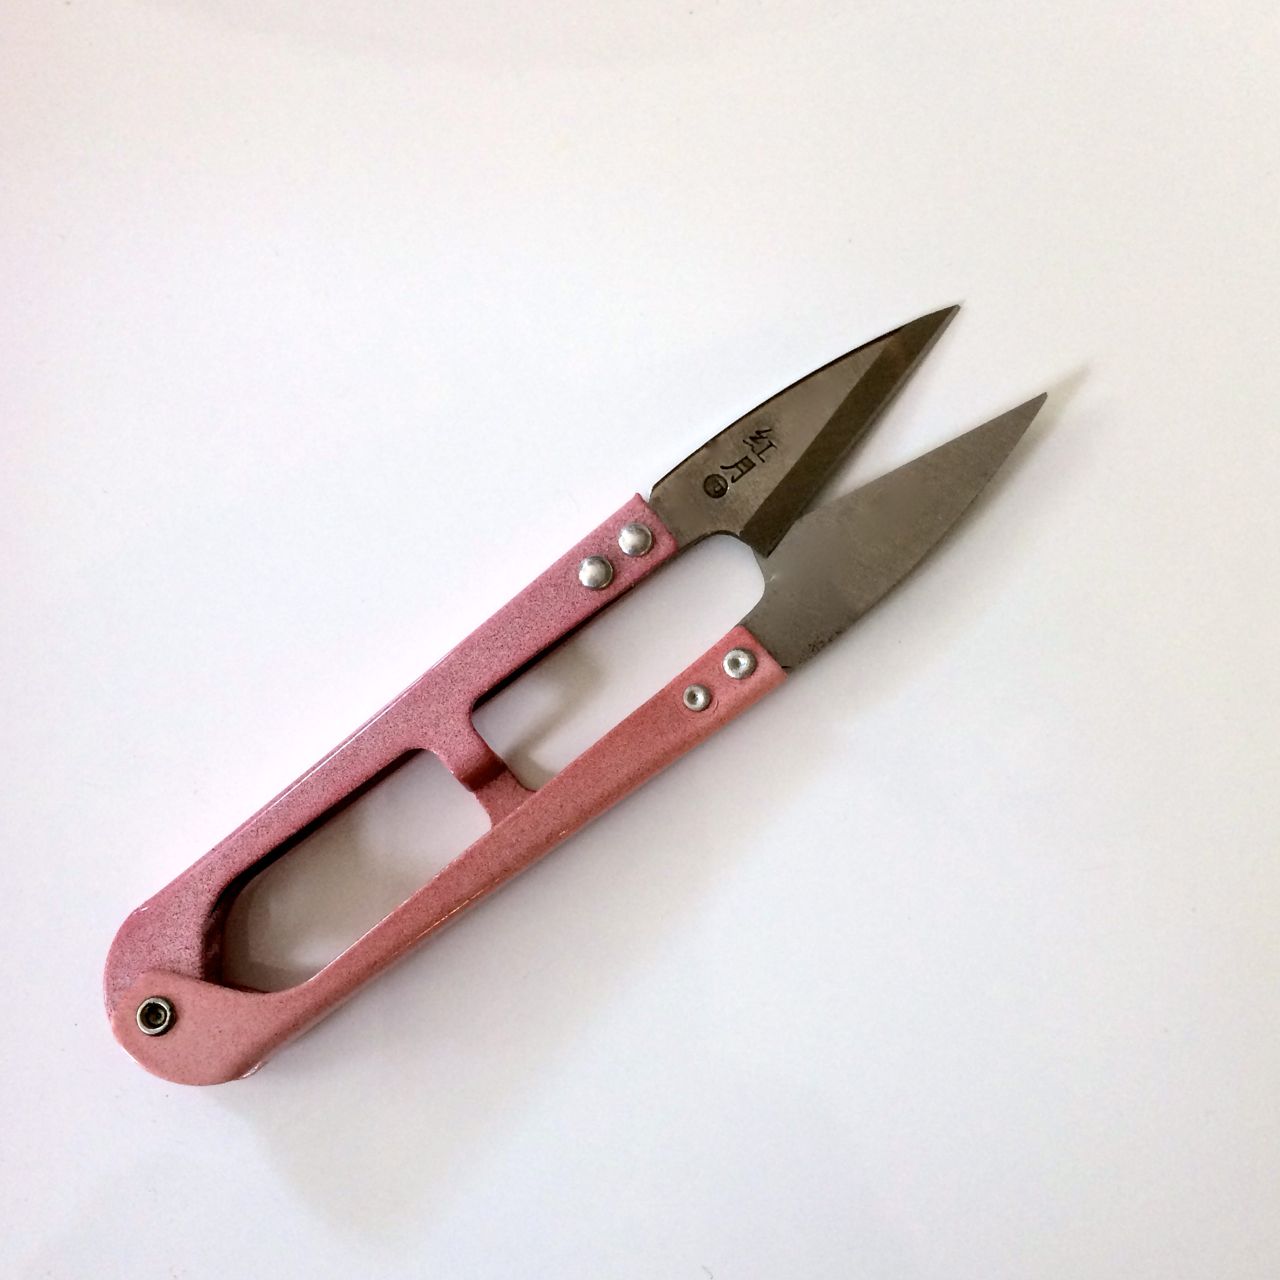
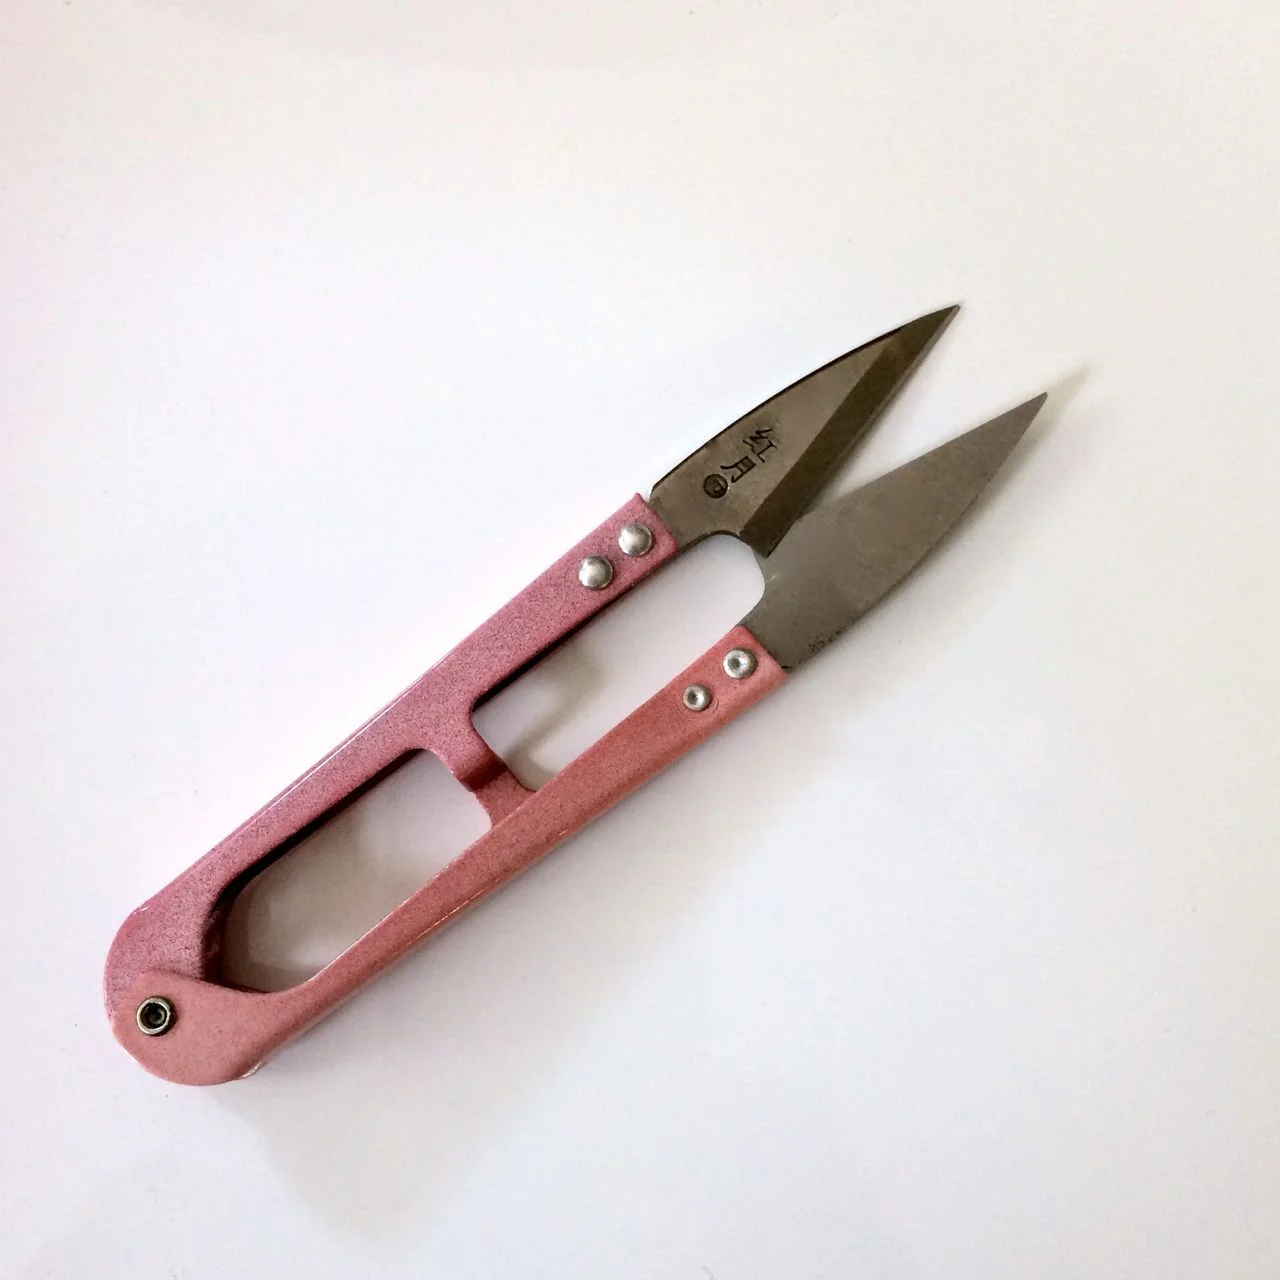
Thread snips, very low tech but useful.
They are about as small, light, basic and low tech as a sewing tool can get. Mostly they are useful, they make thread cutting easy, quick, accurate and almost fun. There beauty is in their flatness. Just squeeze gently and snip.
There are a variety of brands, on the same concept. They are usually under five dollars, so of course, you should have a couple to have ready anywhere you might sit with a sewing project.
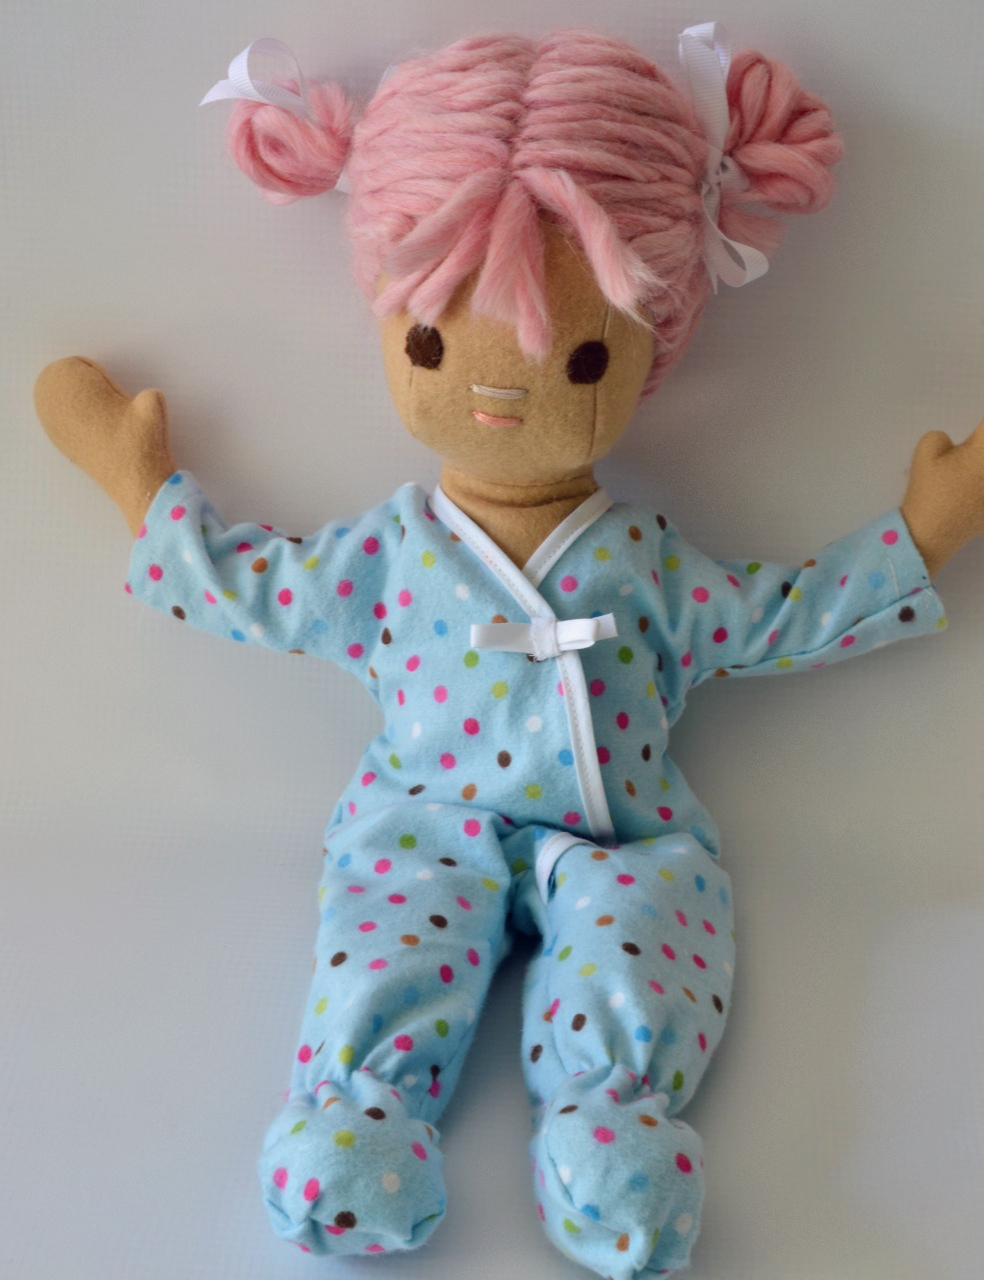
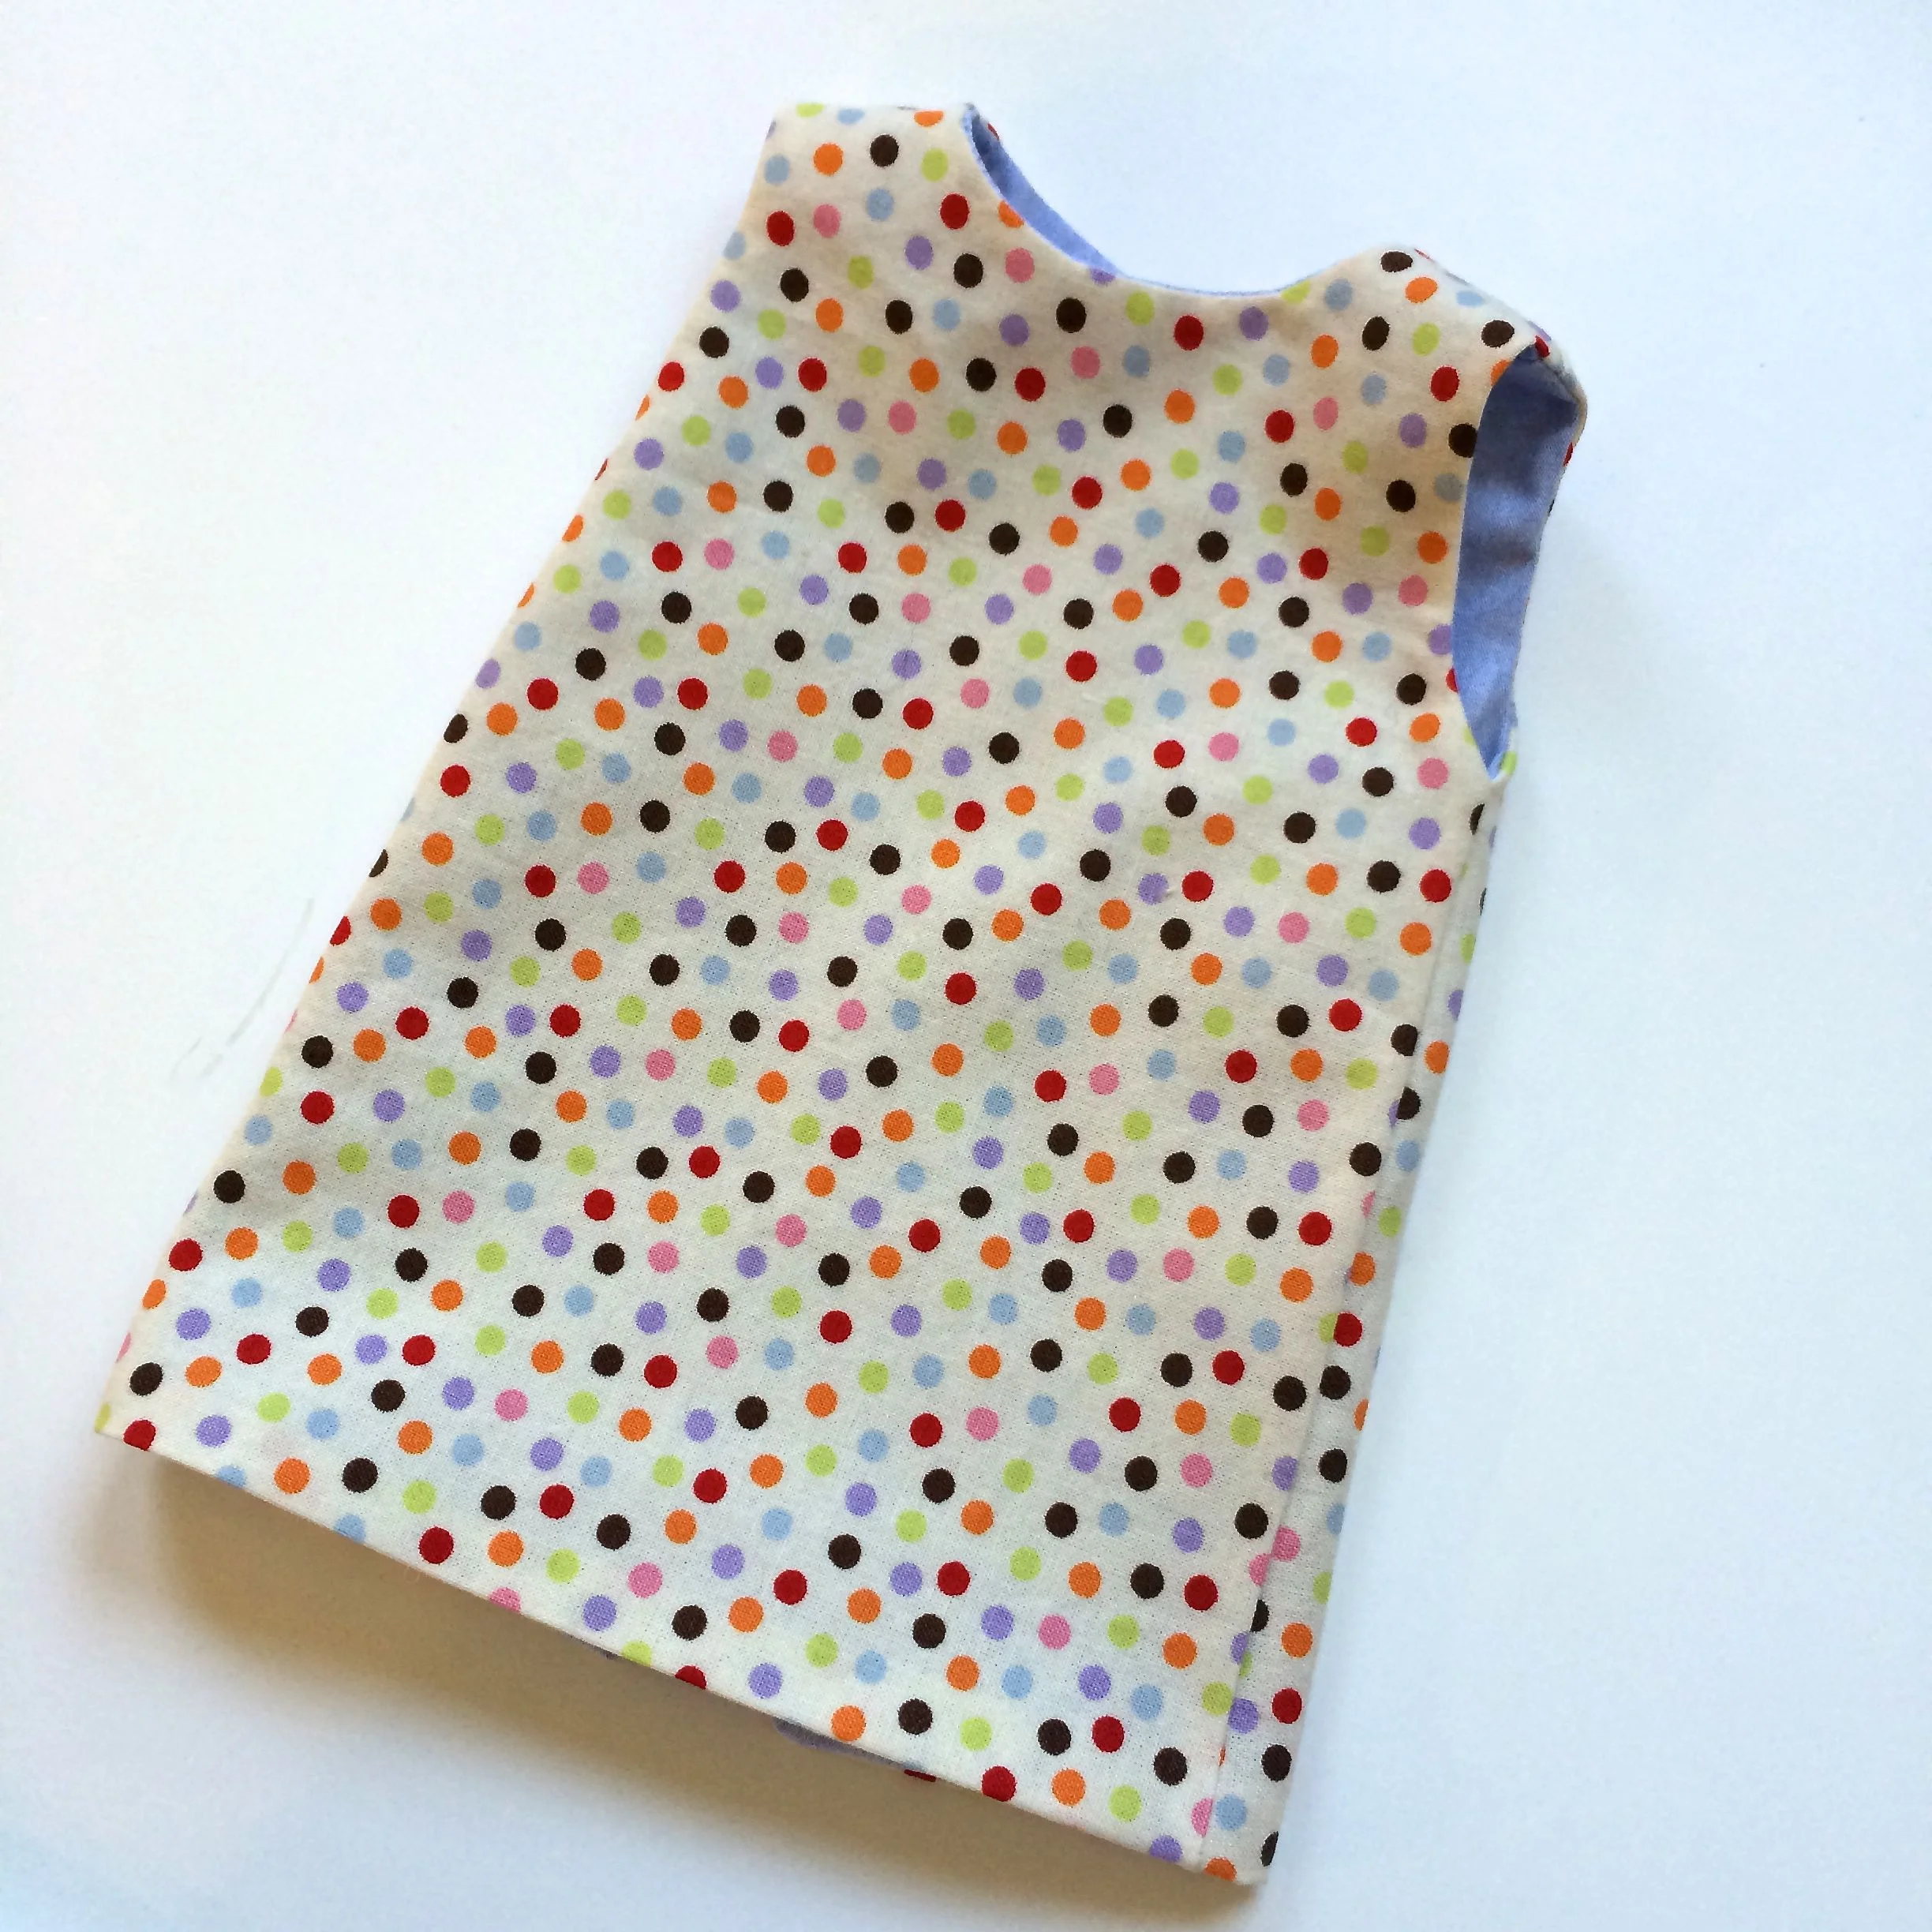
Doll clothes, or all clothes for that matter, look much better with threads snipped.

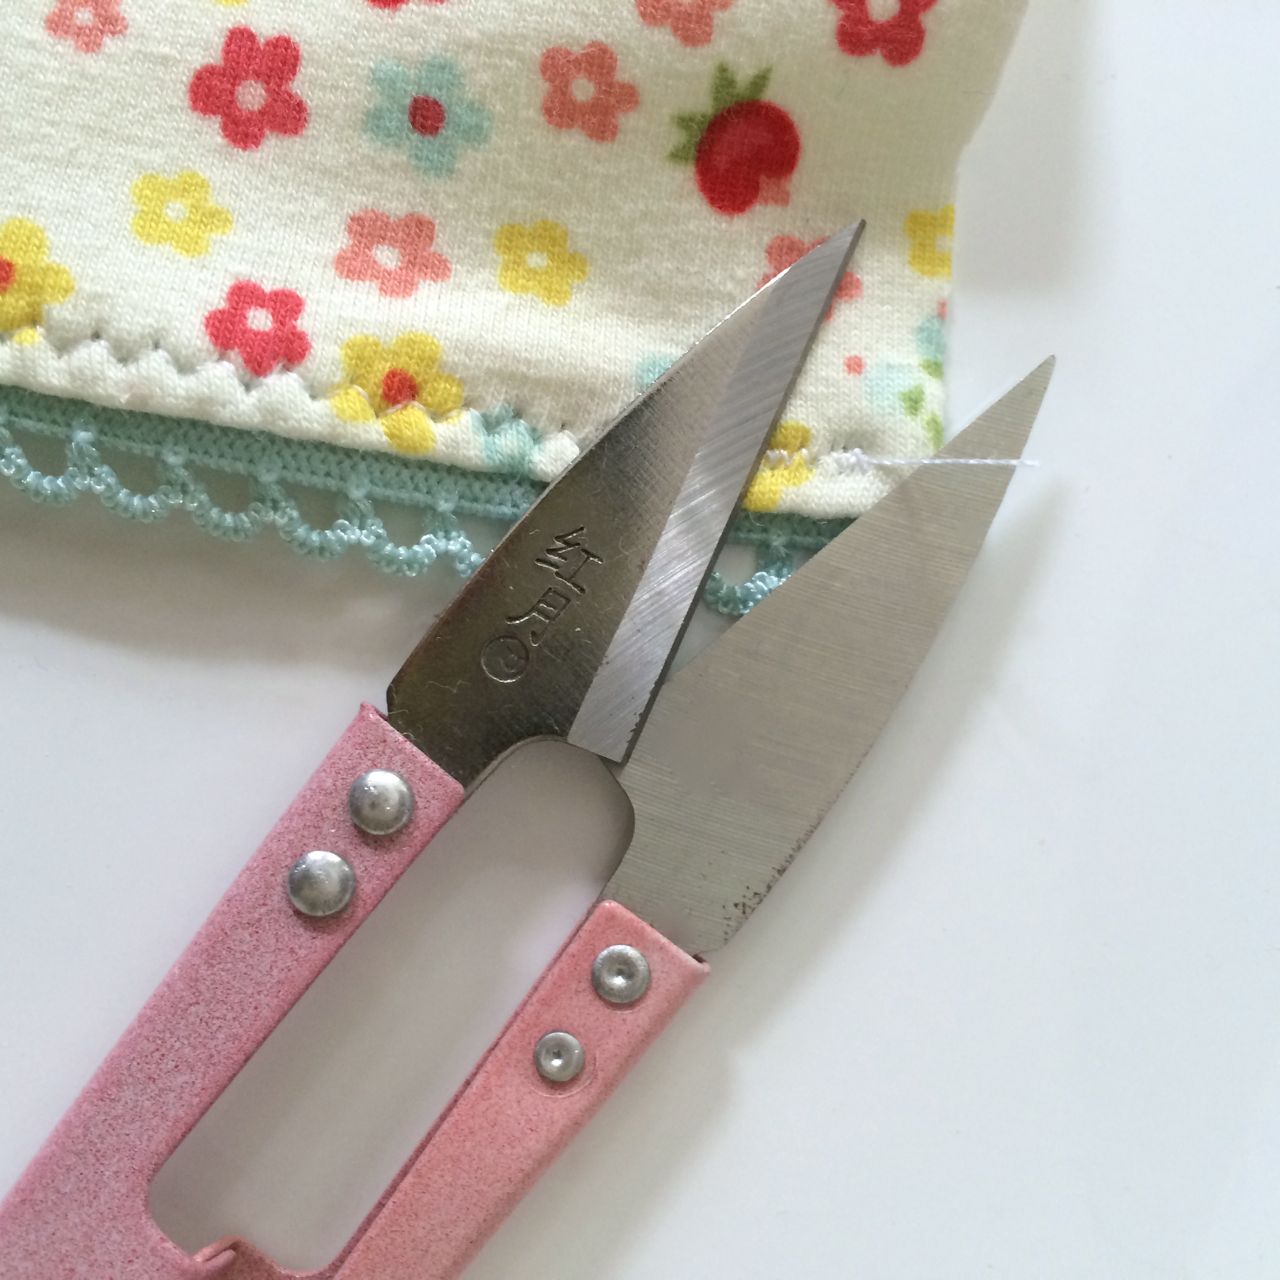
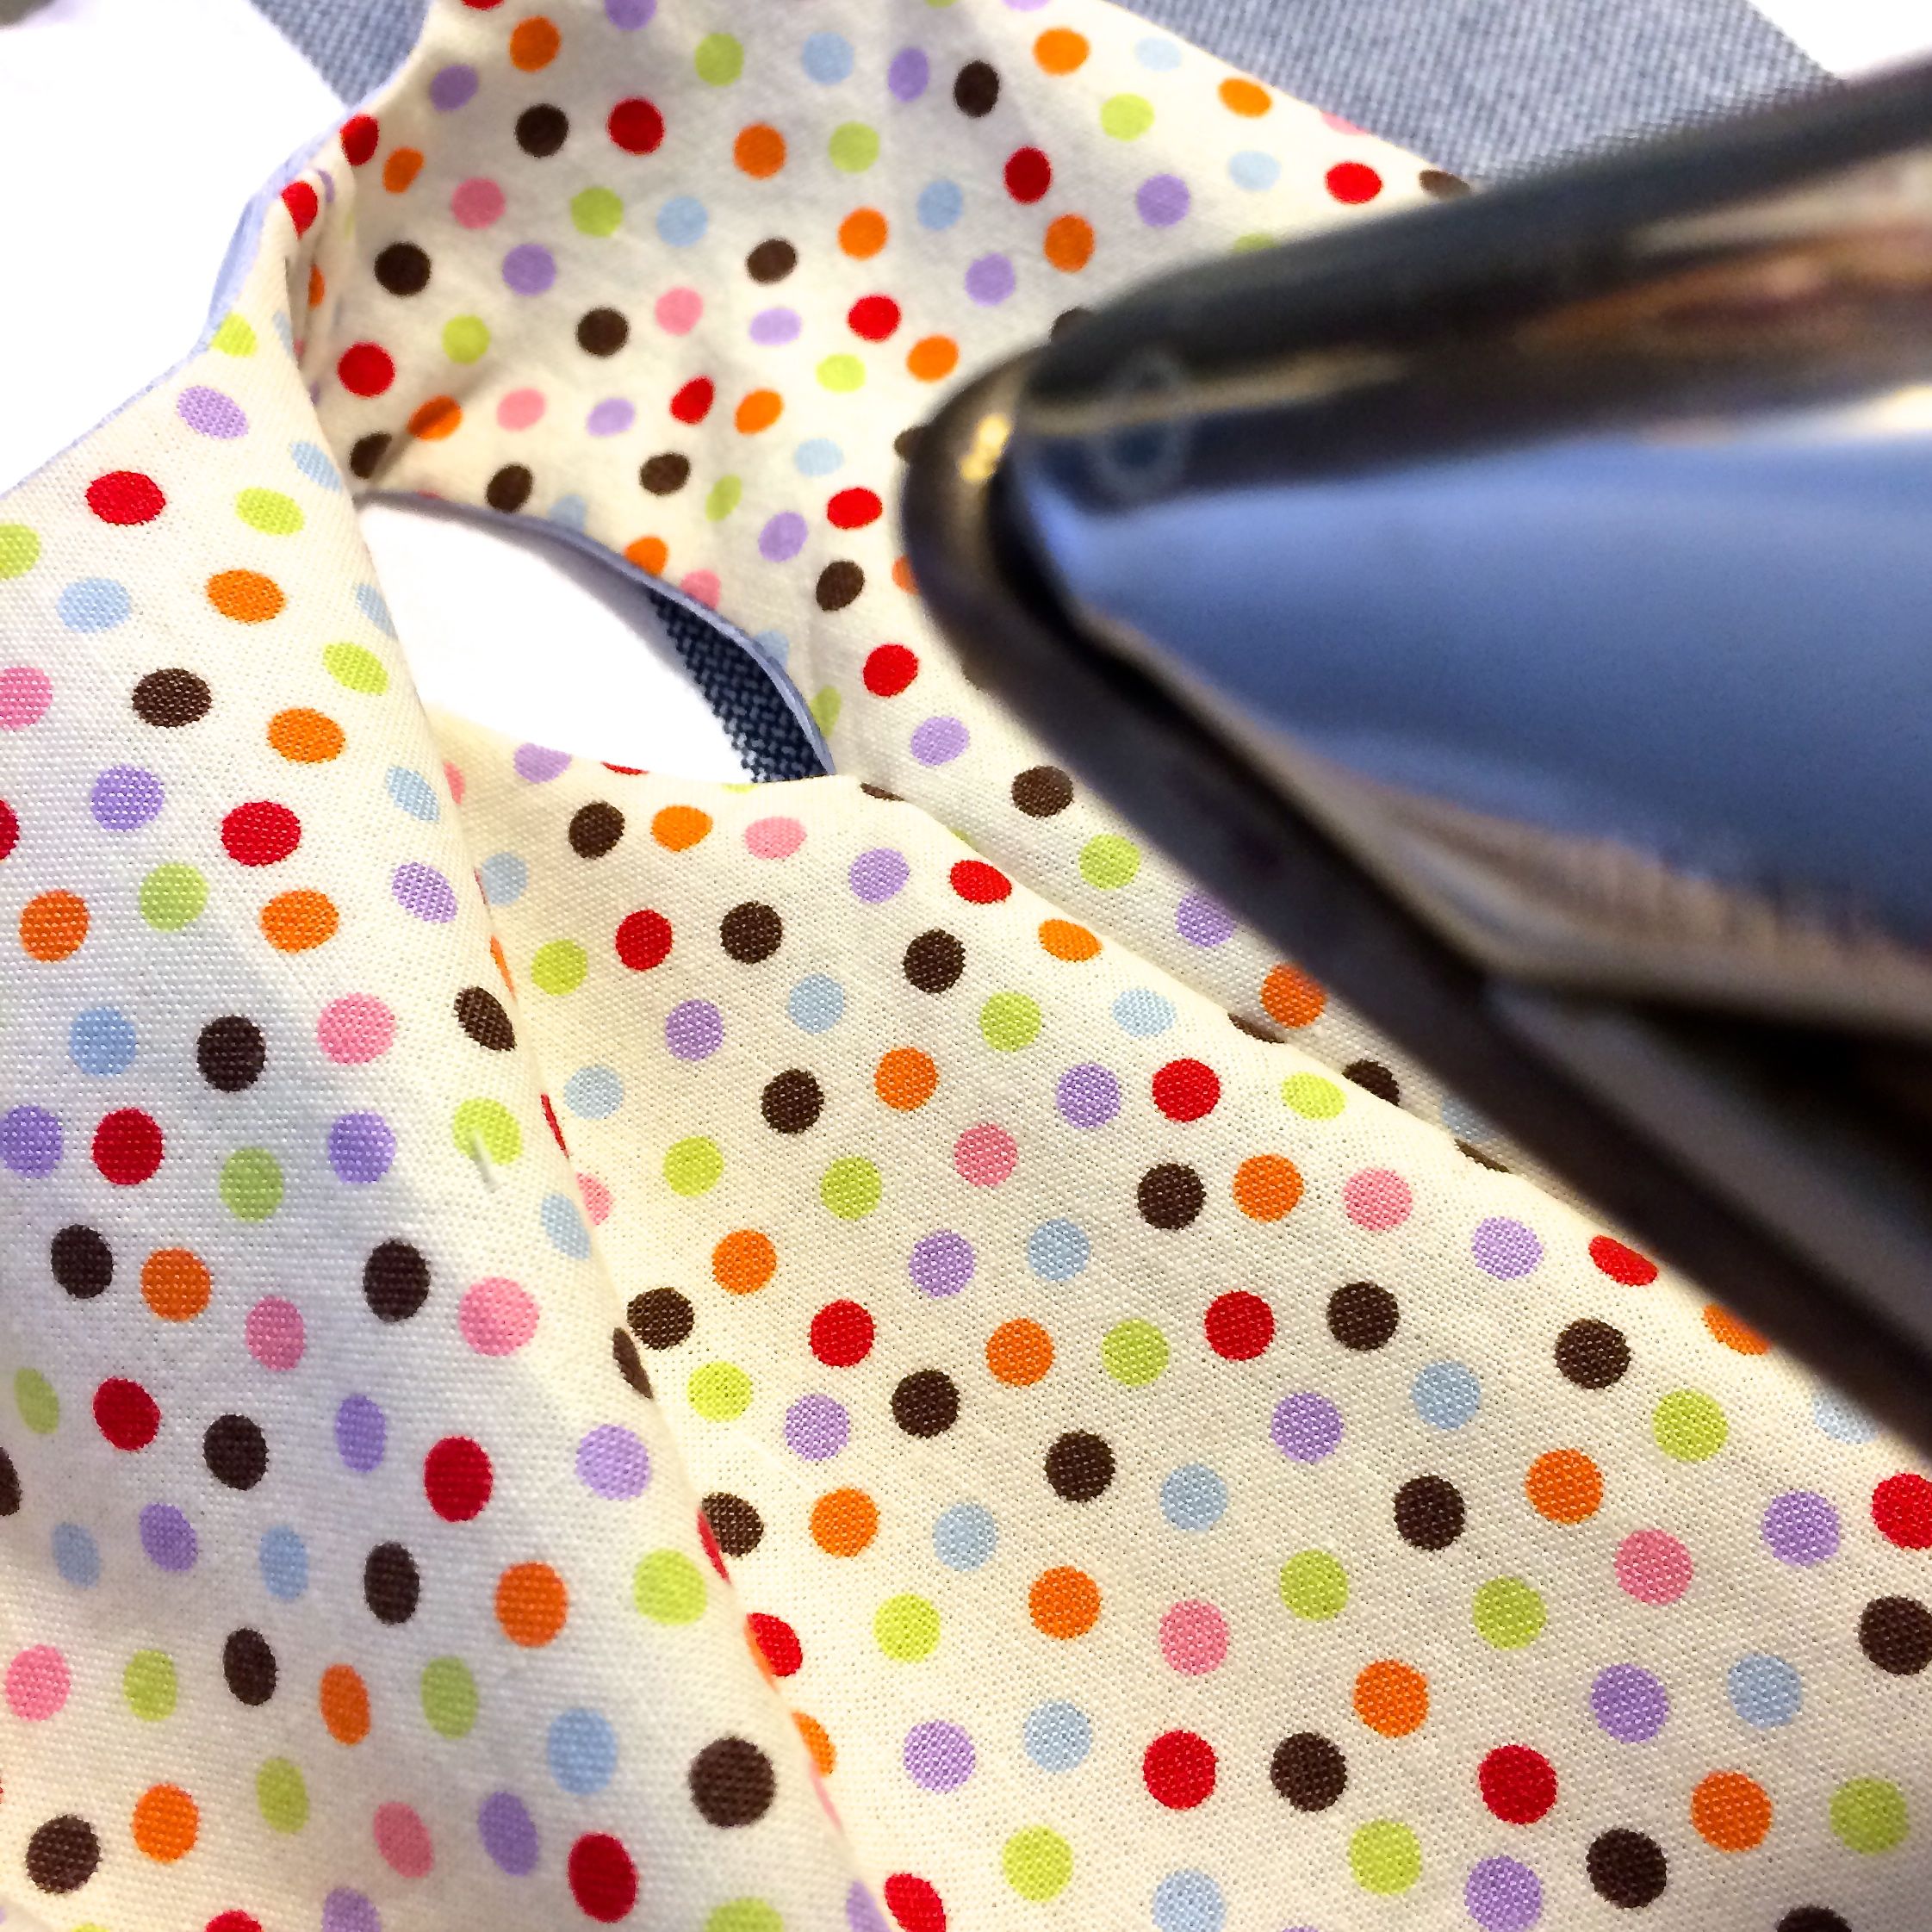
They can snip the tiniest of threads poking up.