Boys: More Boy World and One Boy Off to DC

Yesterday,  a Ging doll left for his new home in DC. But before he left he was kind enough to model a few boy clothes for me. Thank you Ging and I know you'll love your new home. 

Stay tuned, I'll be putting a few boys and boy clothes on Etsy over the next few days.

Ging off to his new home in DC

Ging off to his new home in DC

Ging was asked to model a few things before he left. he was a good sport about it.

Ging was asked to model a few things before he left. he was a good sport about it.

More modeling

More modeling

"Gap Kids" for ging

"Gap Kids" for ging

Ging and his surfer look.

Ging and his surfer look.

Ging the boy doll

Boys in the Spotlight

As a mom, my daughters rarely lack attention. I can't say either of them "flies under the radar". But sons sometimes do.  They can be content and independent and suddenly as a mom you feel guilty because you have not given them the attention they deserve but don't demand.

Same with the boy dolls. I spend a lot of my business attention on the girl dolls. Every so often I get a boy doll request and, no offense to the girls, it is refreshing. 

This week the boys got some attention. I have a custom boy doll shipping out tomorrow. But while creating him, I went a little boy crazy. 

Today's lighting was bad (and no Nikon 5300 yet), so I only took a few photos. Hopefully tomorrow will shed some better light on boy world.

Plaid on plaid: Boy doll clothes

Plaid on plaid: Boy doll clothes

"Gap Kids" for boy dolls

"Gap Kids" for boy dolls

A new boy doll with a bit of bedhead--typical boy

A new boy doll with a bit of bedhead--typical boy

Boy doll clothes

One year and one big change

Today I've been blogging a year. I've been so busy sewing, it snuck up on me.

It has been a wonderful year, the launch of the blog, the launch of my business, meeting so many amazing people, learning so so much, and most of all, doing what I love.

Thank you, thank you, thank you for being a part of this.

For those of you who have followed me from the beginning, there have been many small tweaks. That is the beauty of being a small business, you can learn and tweak as you go. I've honed my blog direction, continued to change and expand my line of dolls and doll clothing. I've improved my sewing and design skills. 

But there is one area, where I have struggled daily.

 Egg and her current camera, taken by a friend with a Nikon 5D

 Egg and her current camera, taken by a friend with a Nikon 5D

For twelve months, the photography has been a challenge.

I've changed lenses, backgrounds, lighting techniques, improved my Photoshop game. And still photographs were hit or miss for me. More miss than hit. 

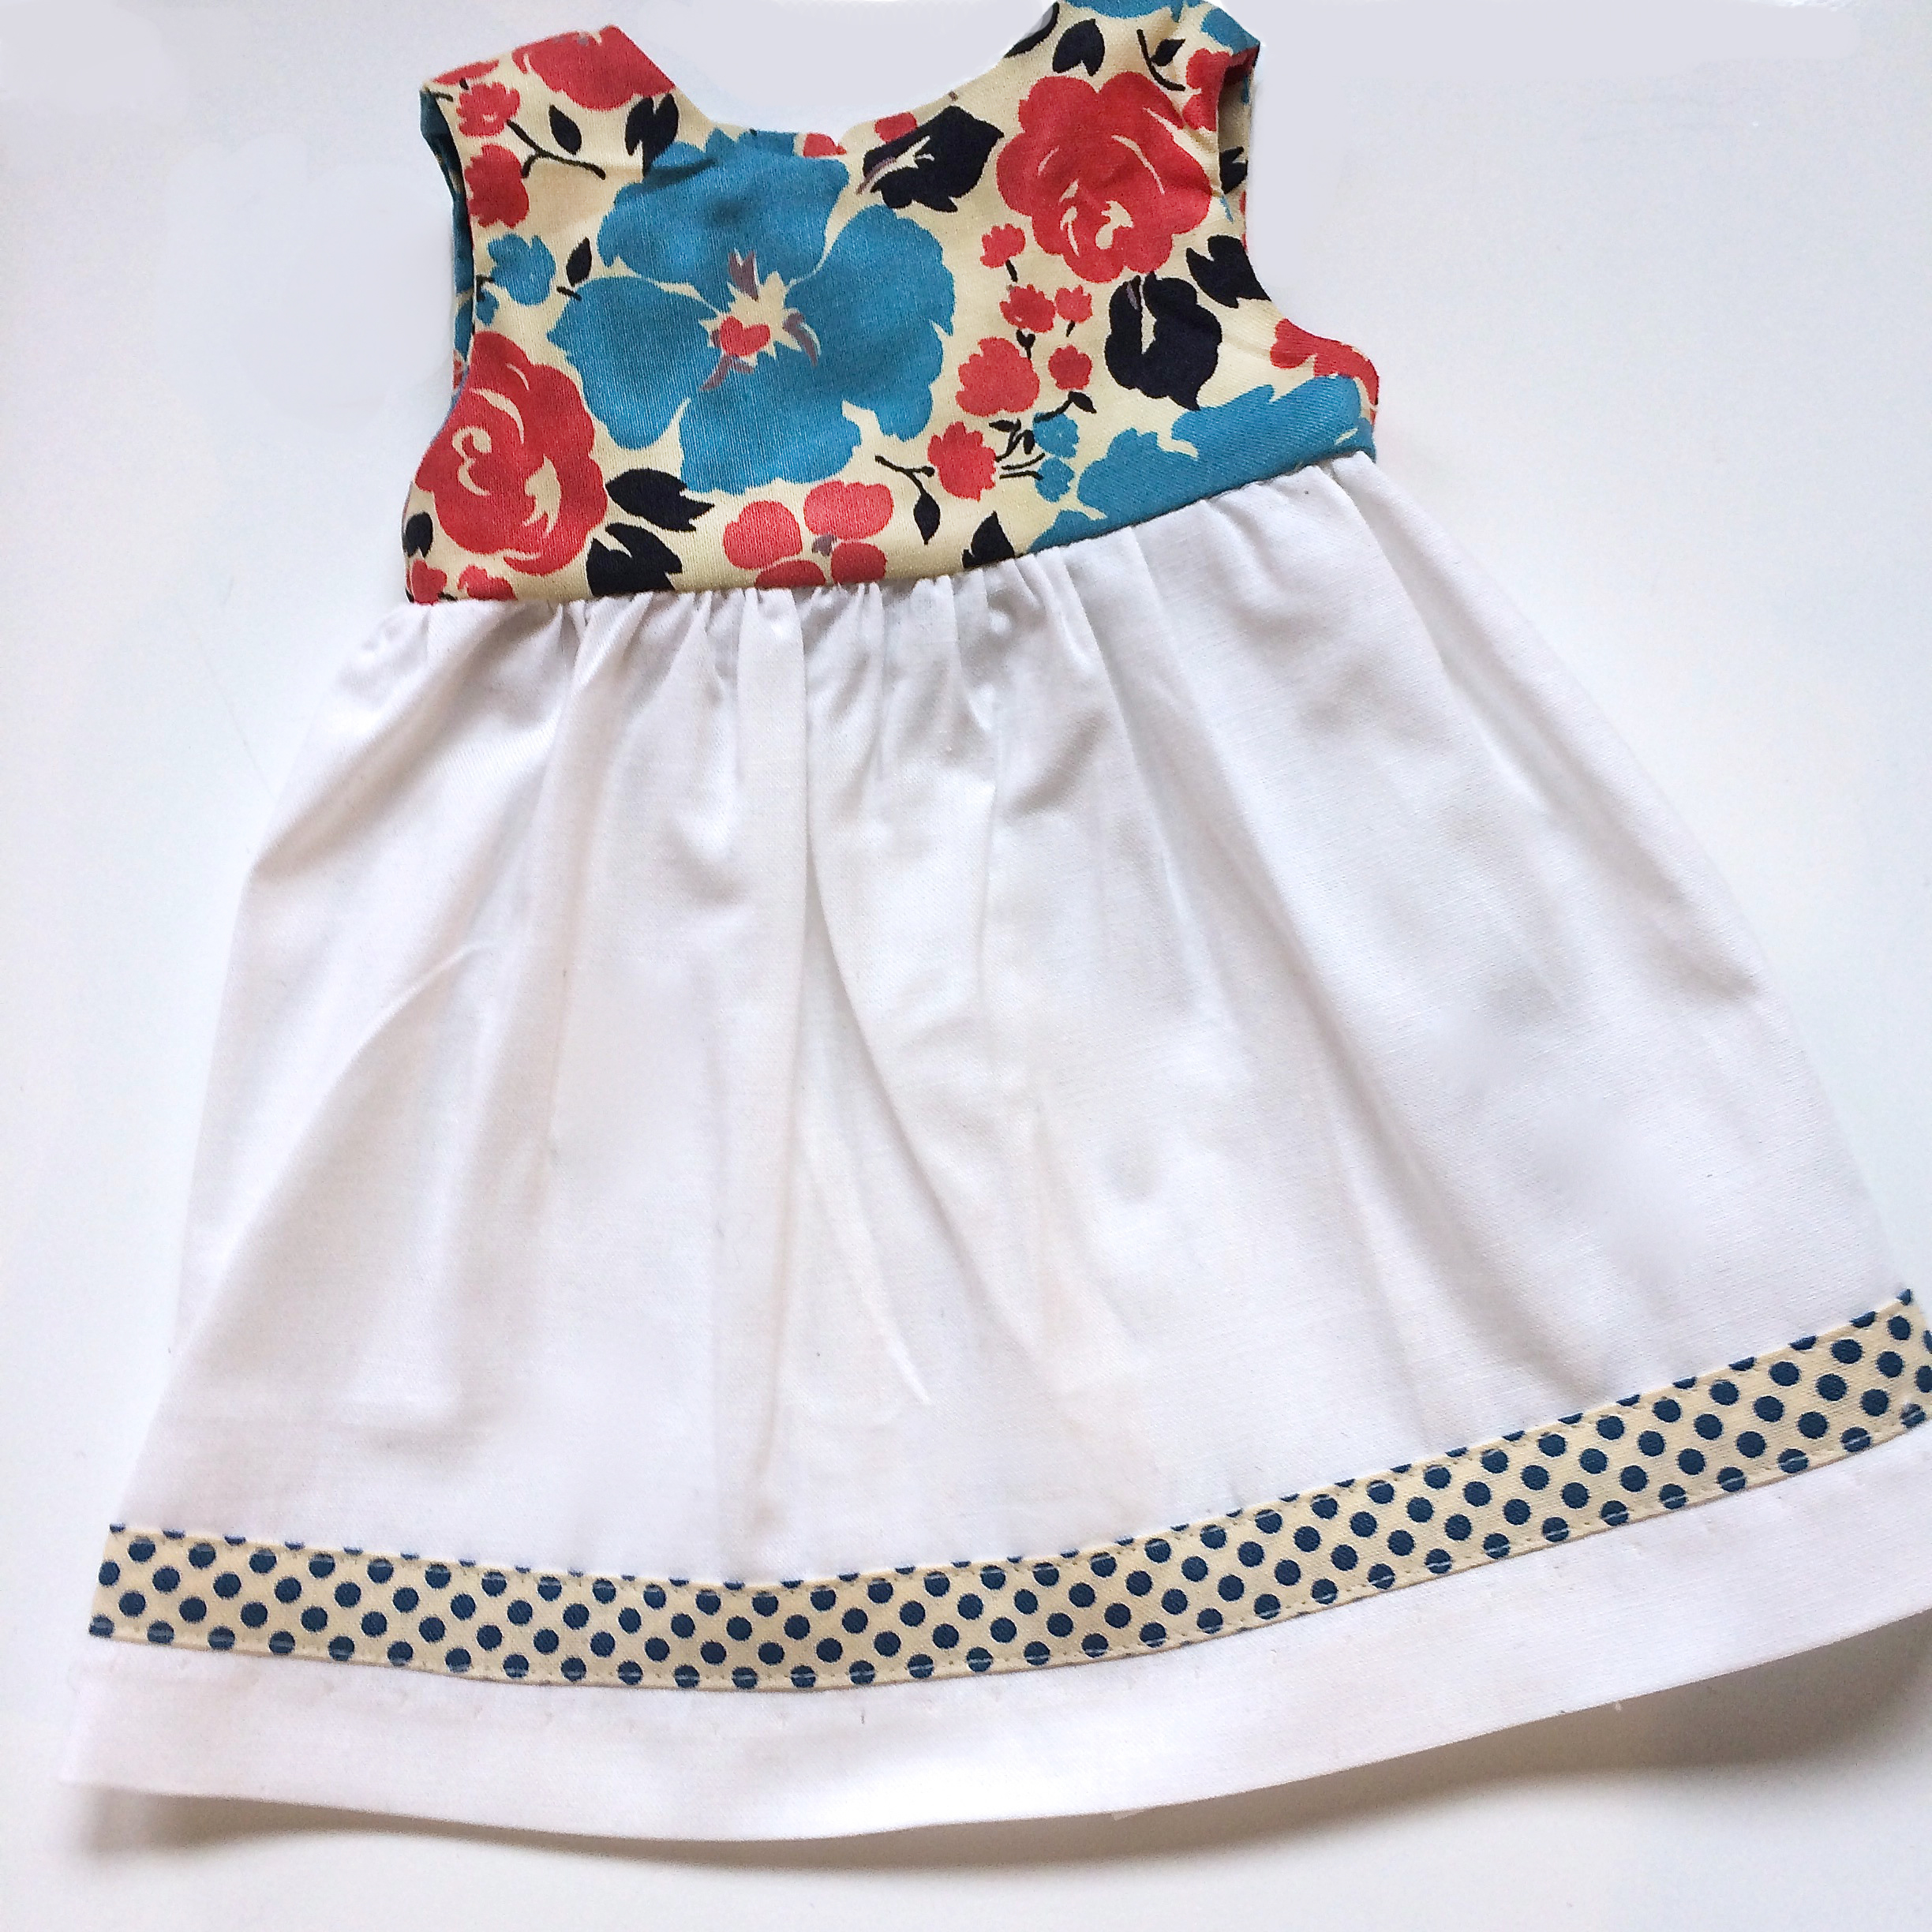
Photography is the currency of a craft. It is the glue of a blog, what drives sales on Etsy and what can make or break your ability to tell a story.

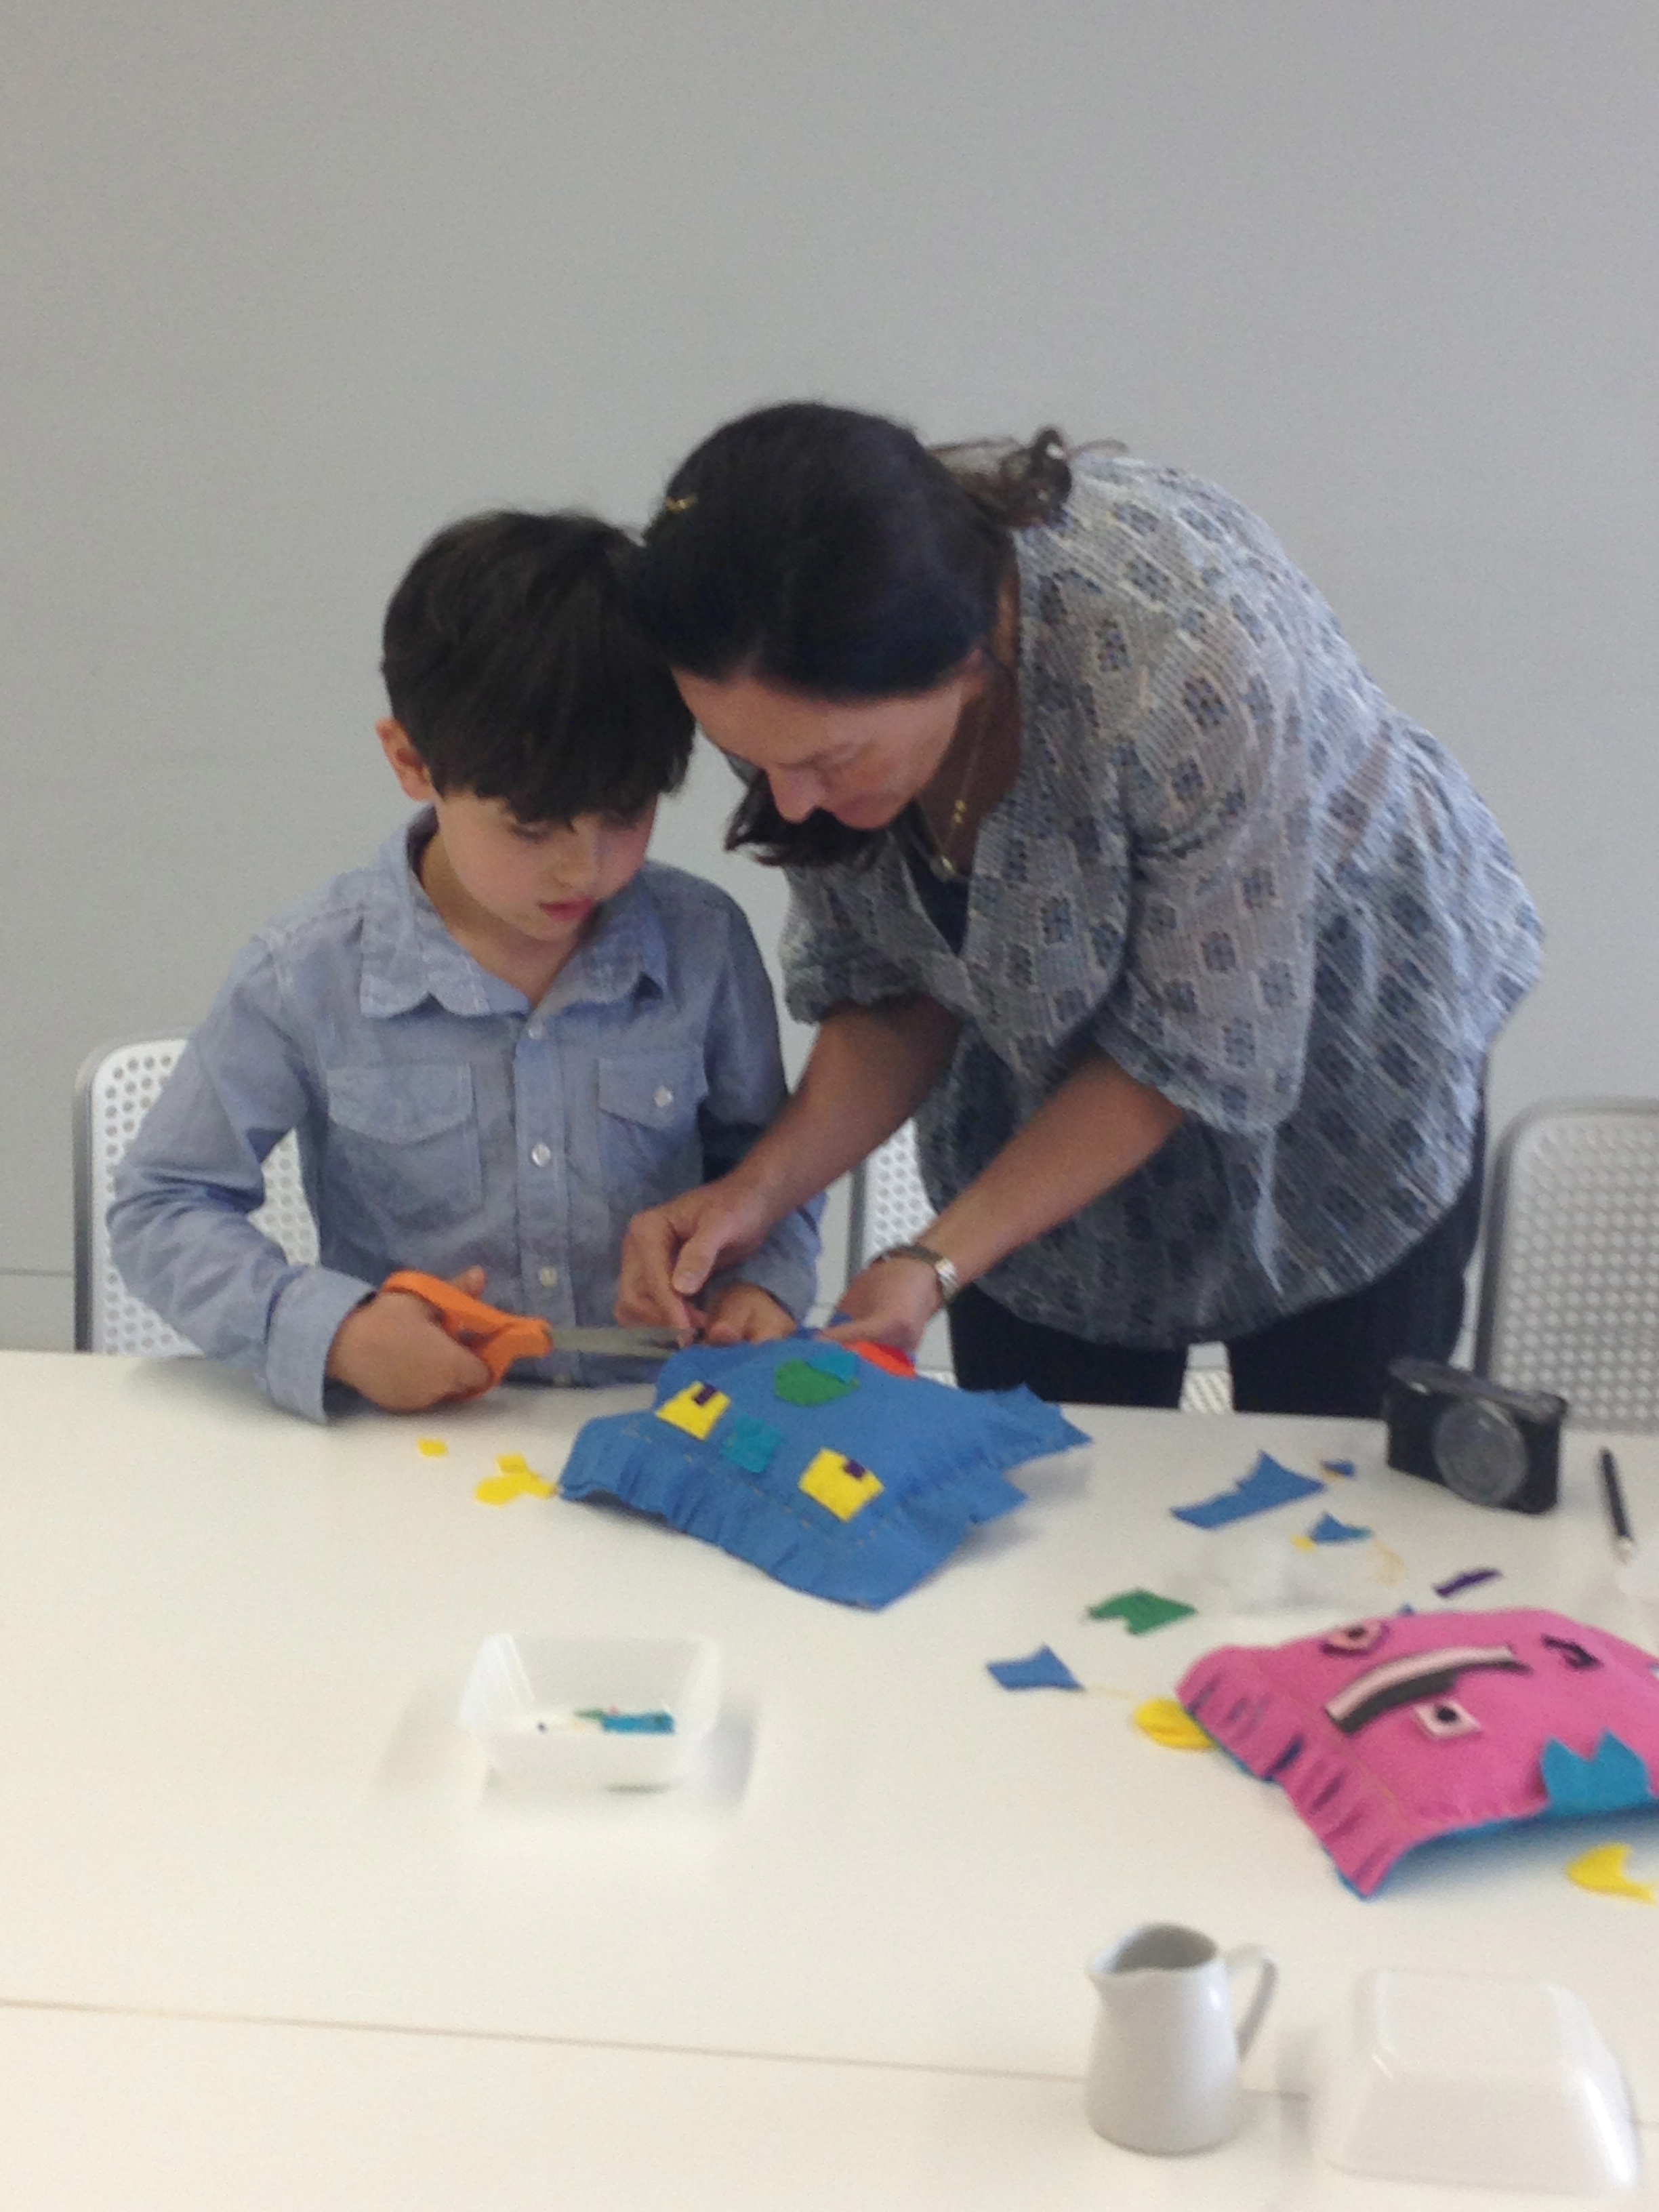
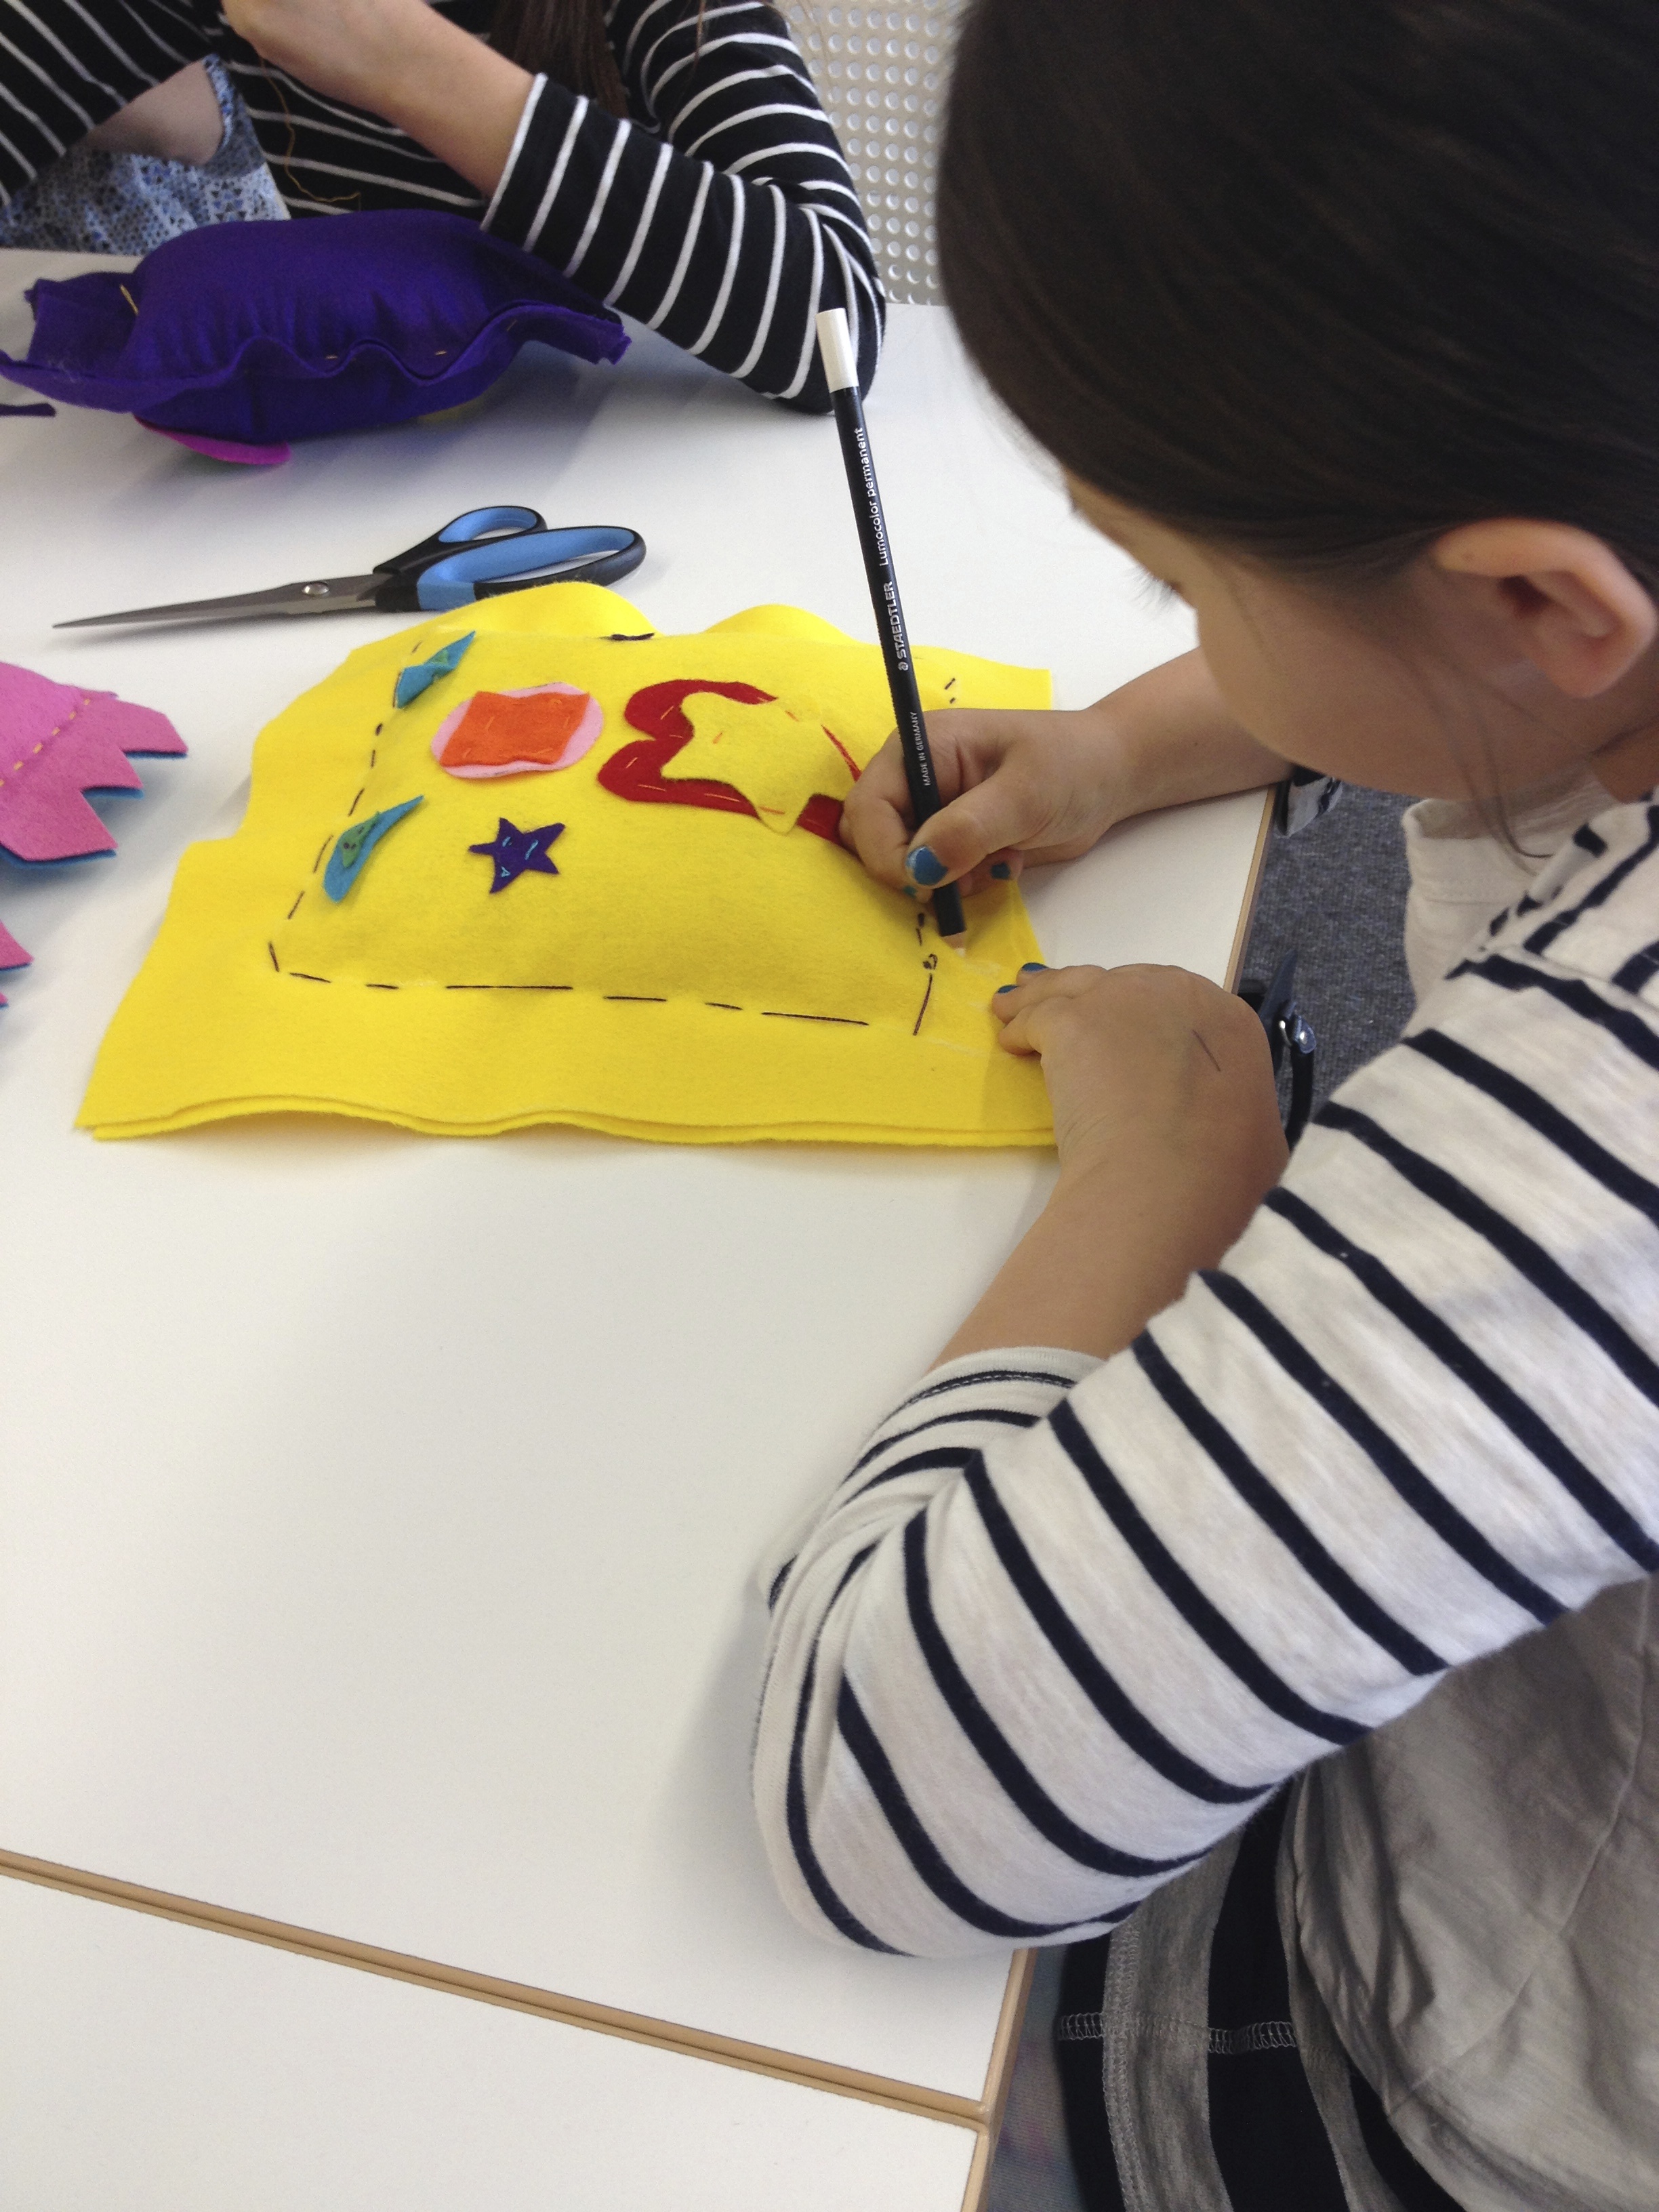
It took my thirteen year old, AKA Egg, taking a photography course at the Museum of Fine Arts this summer for the issue of what is a good camera to be explored.

Egg is an amazing photographer. After her course, she decided she wanted to save up for a better camera. She researched, went to stores, talked to the pros, read reviews and became fixated on the Nikon 5300. My connection to the 5300 was to supply Egg with paid chores to help her save up.

That all changed last week when I brought my camera into Hunt Photo to be cleaned. I started playing with Egg's dream camera. I realized what a good camera can do. I'm only a few months behind Egg.

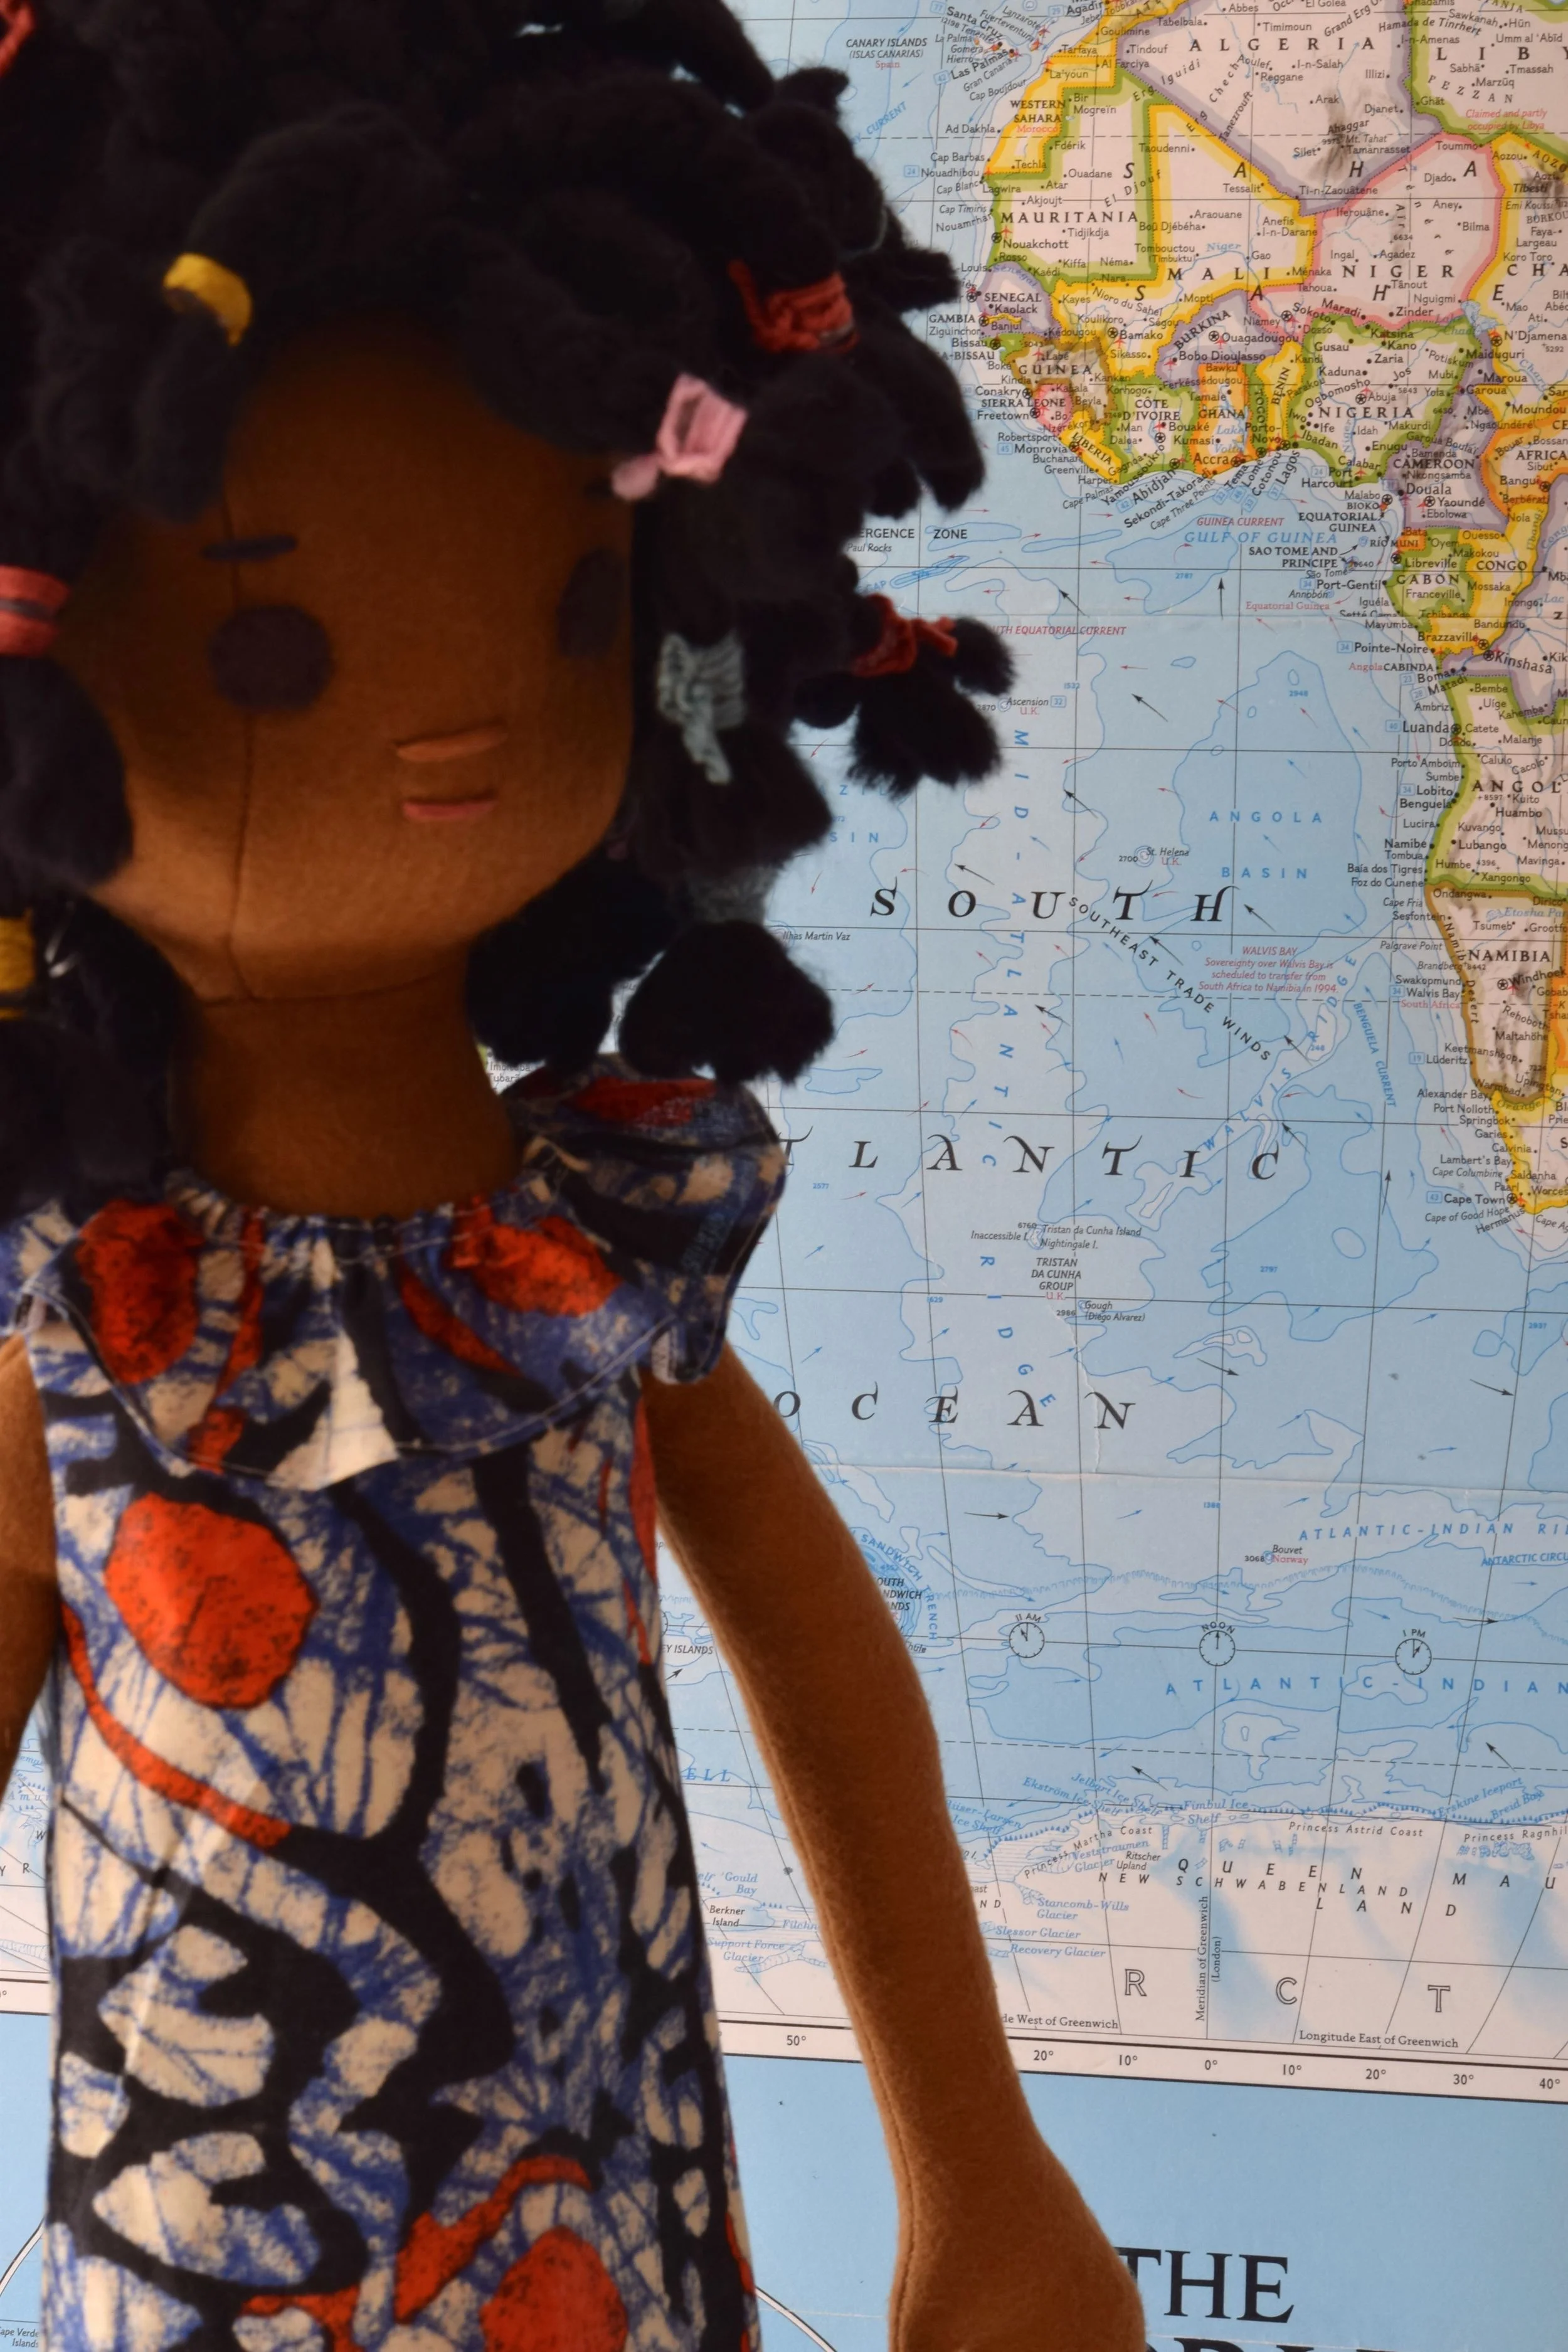
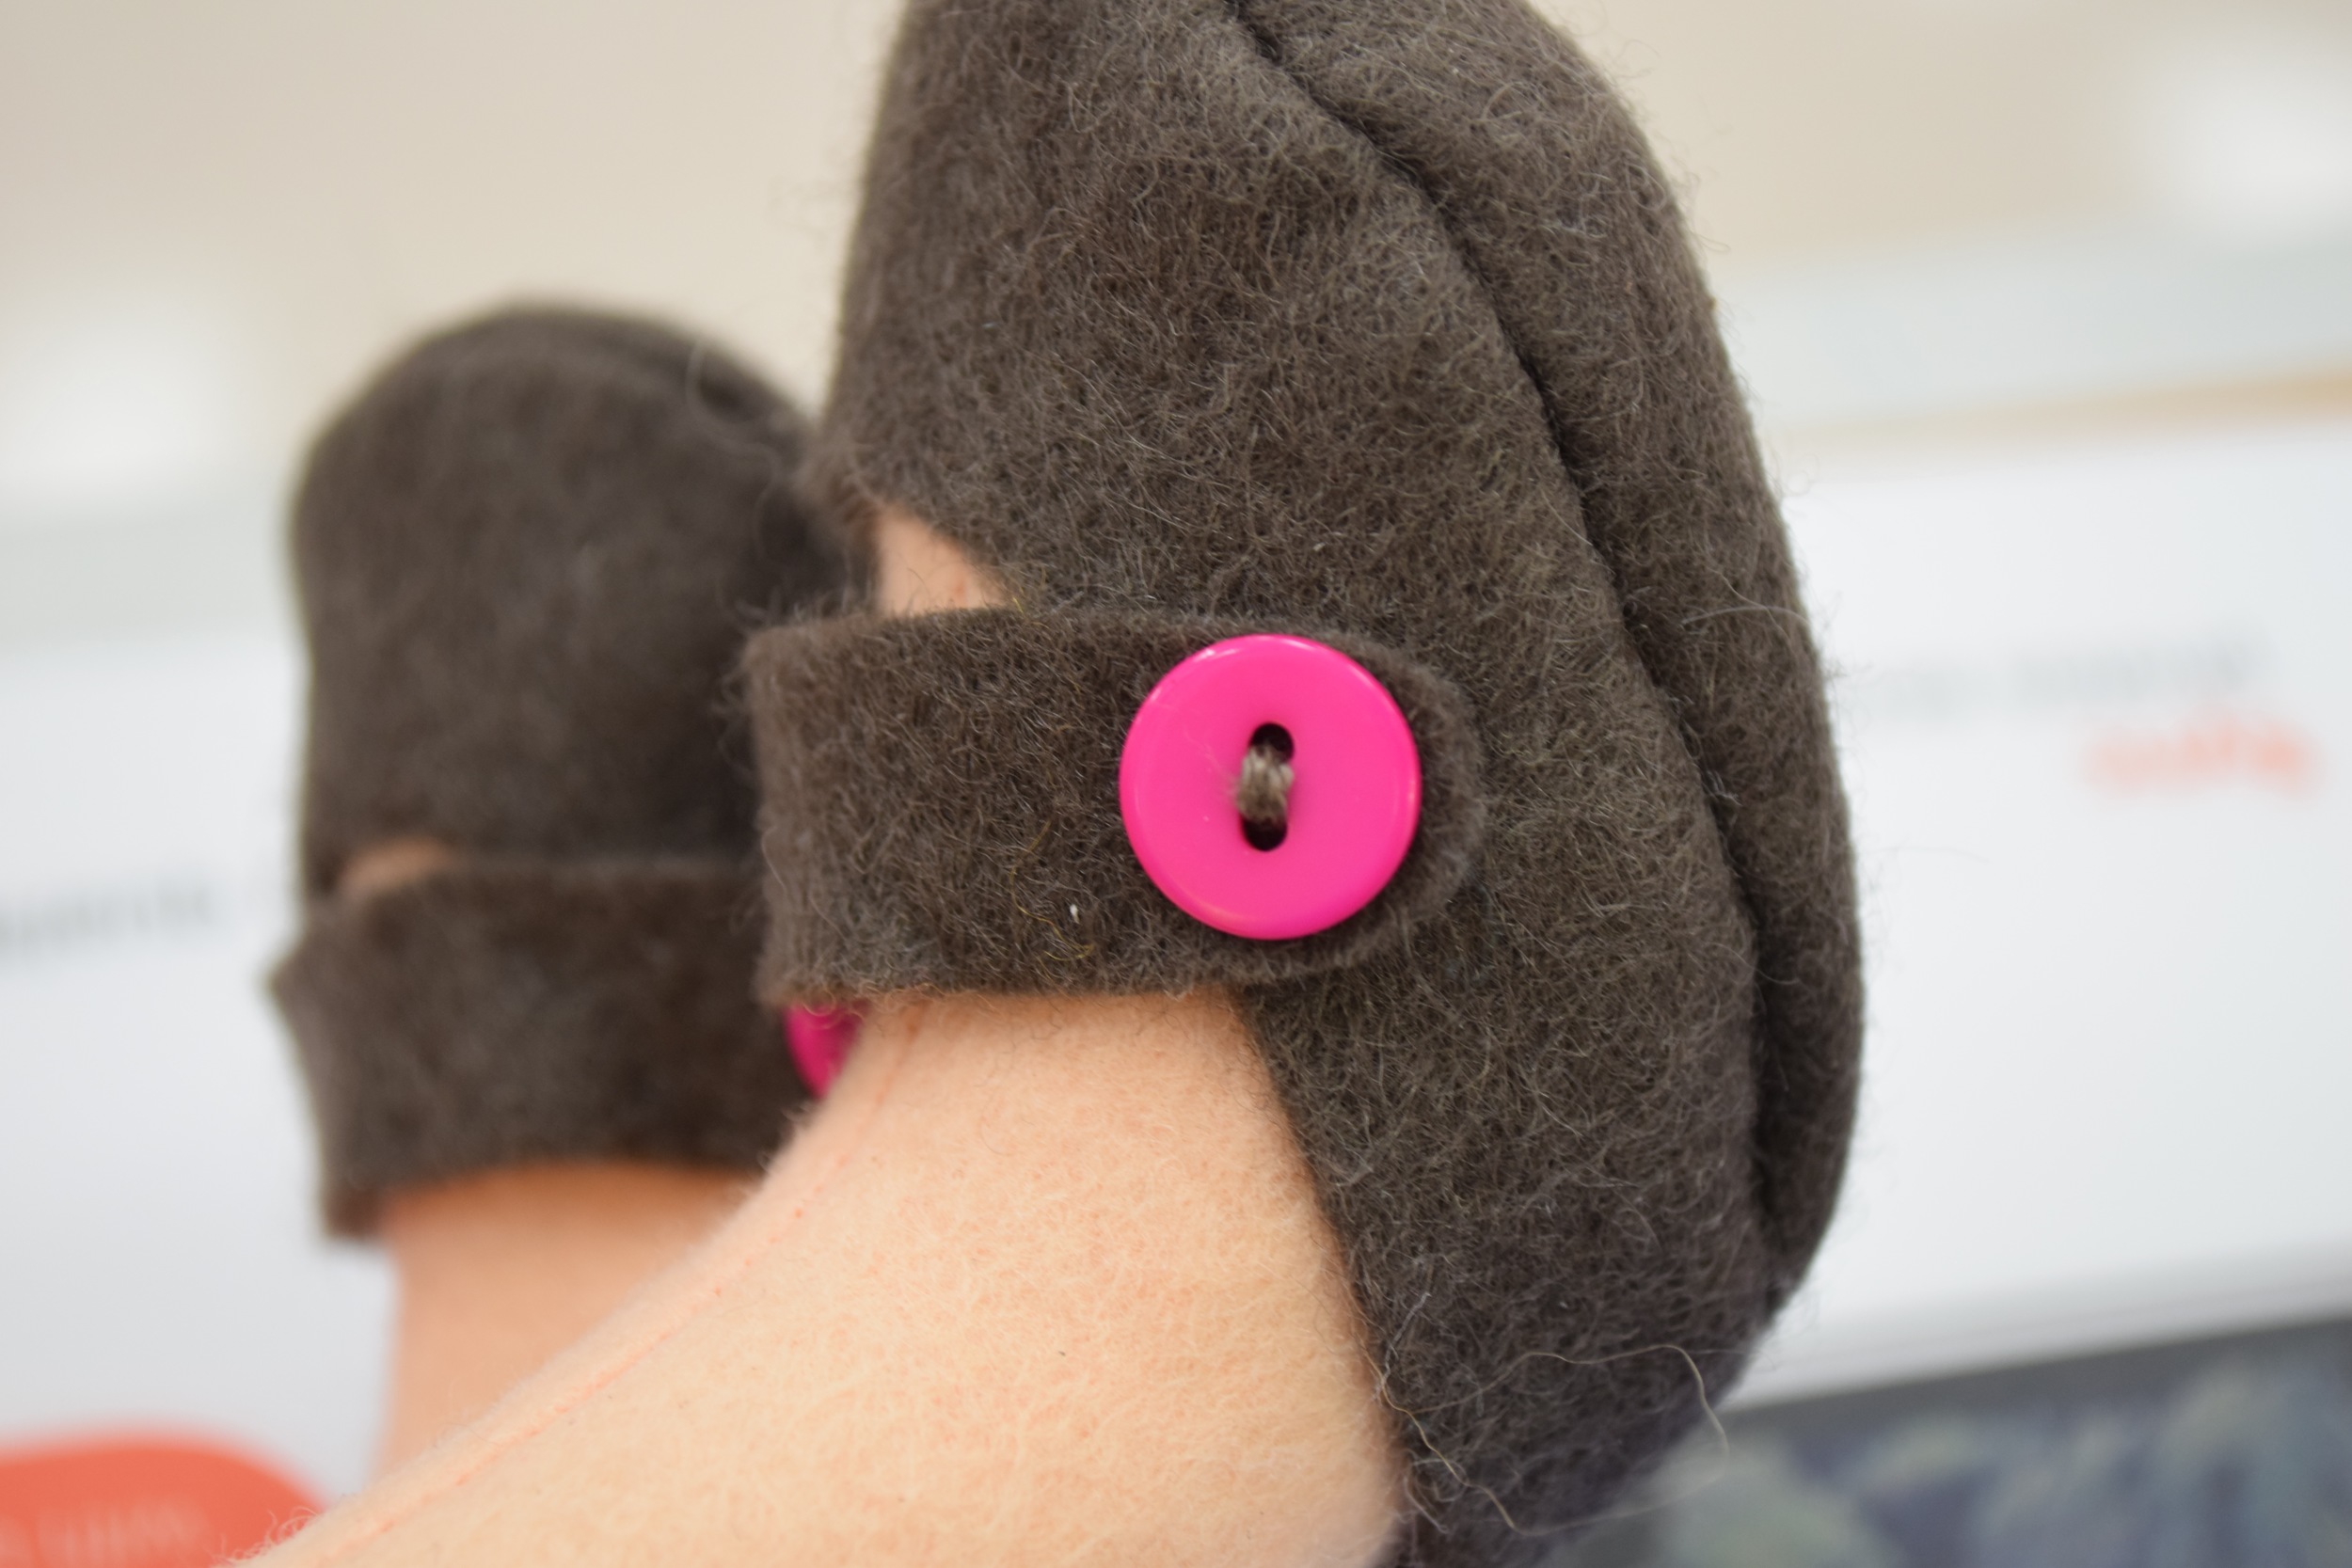
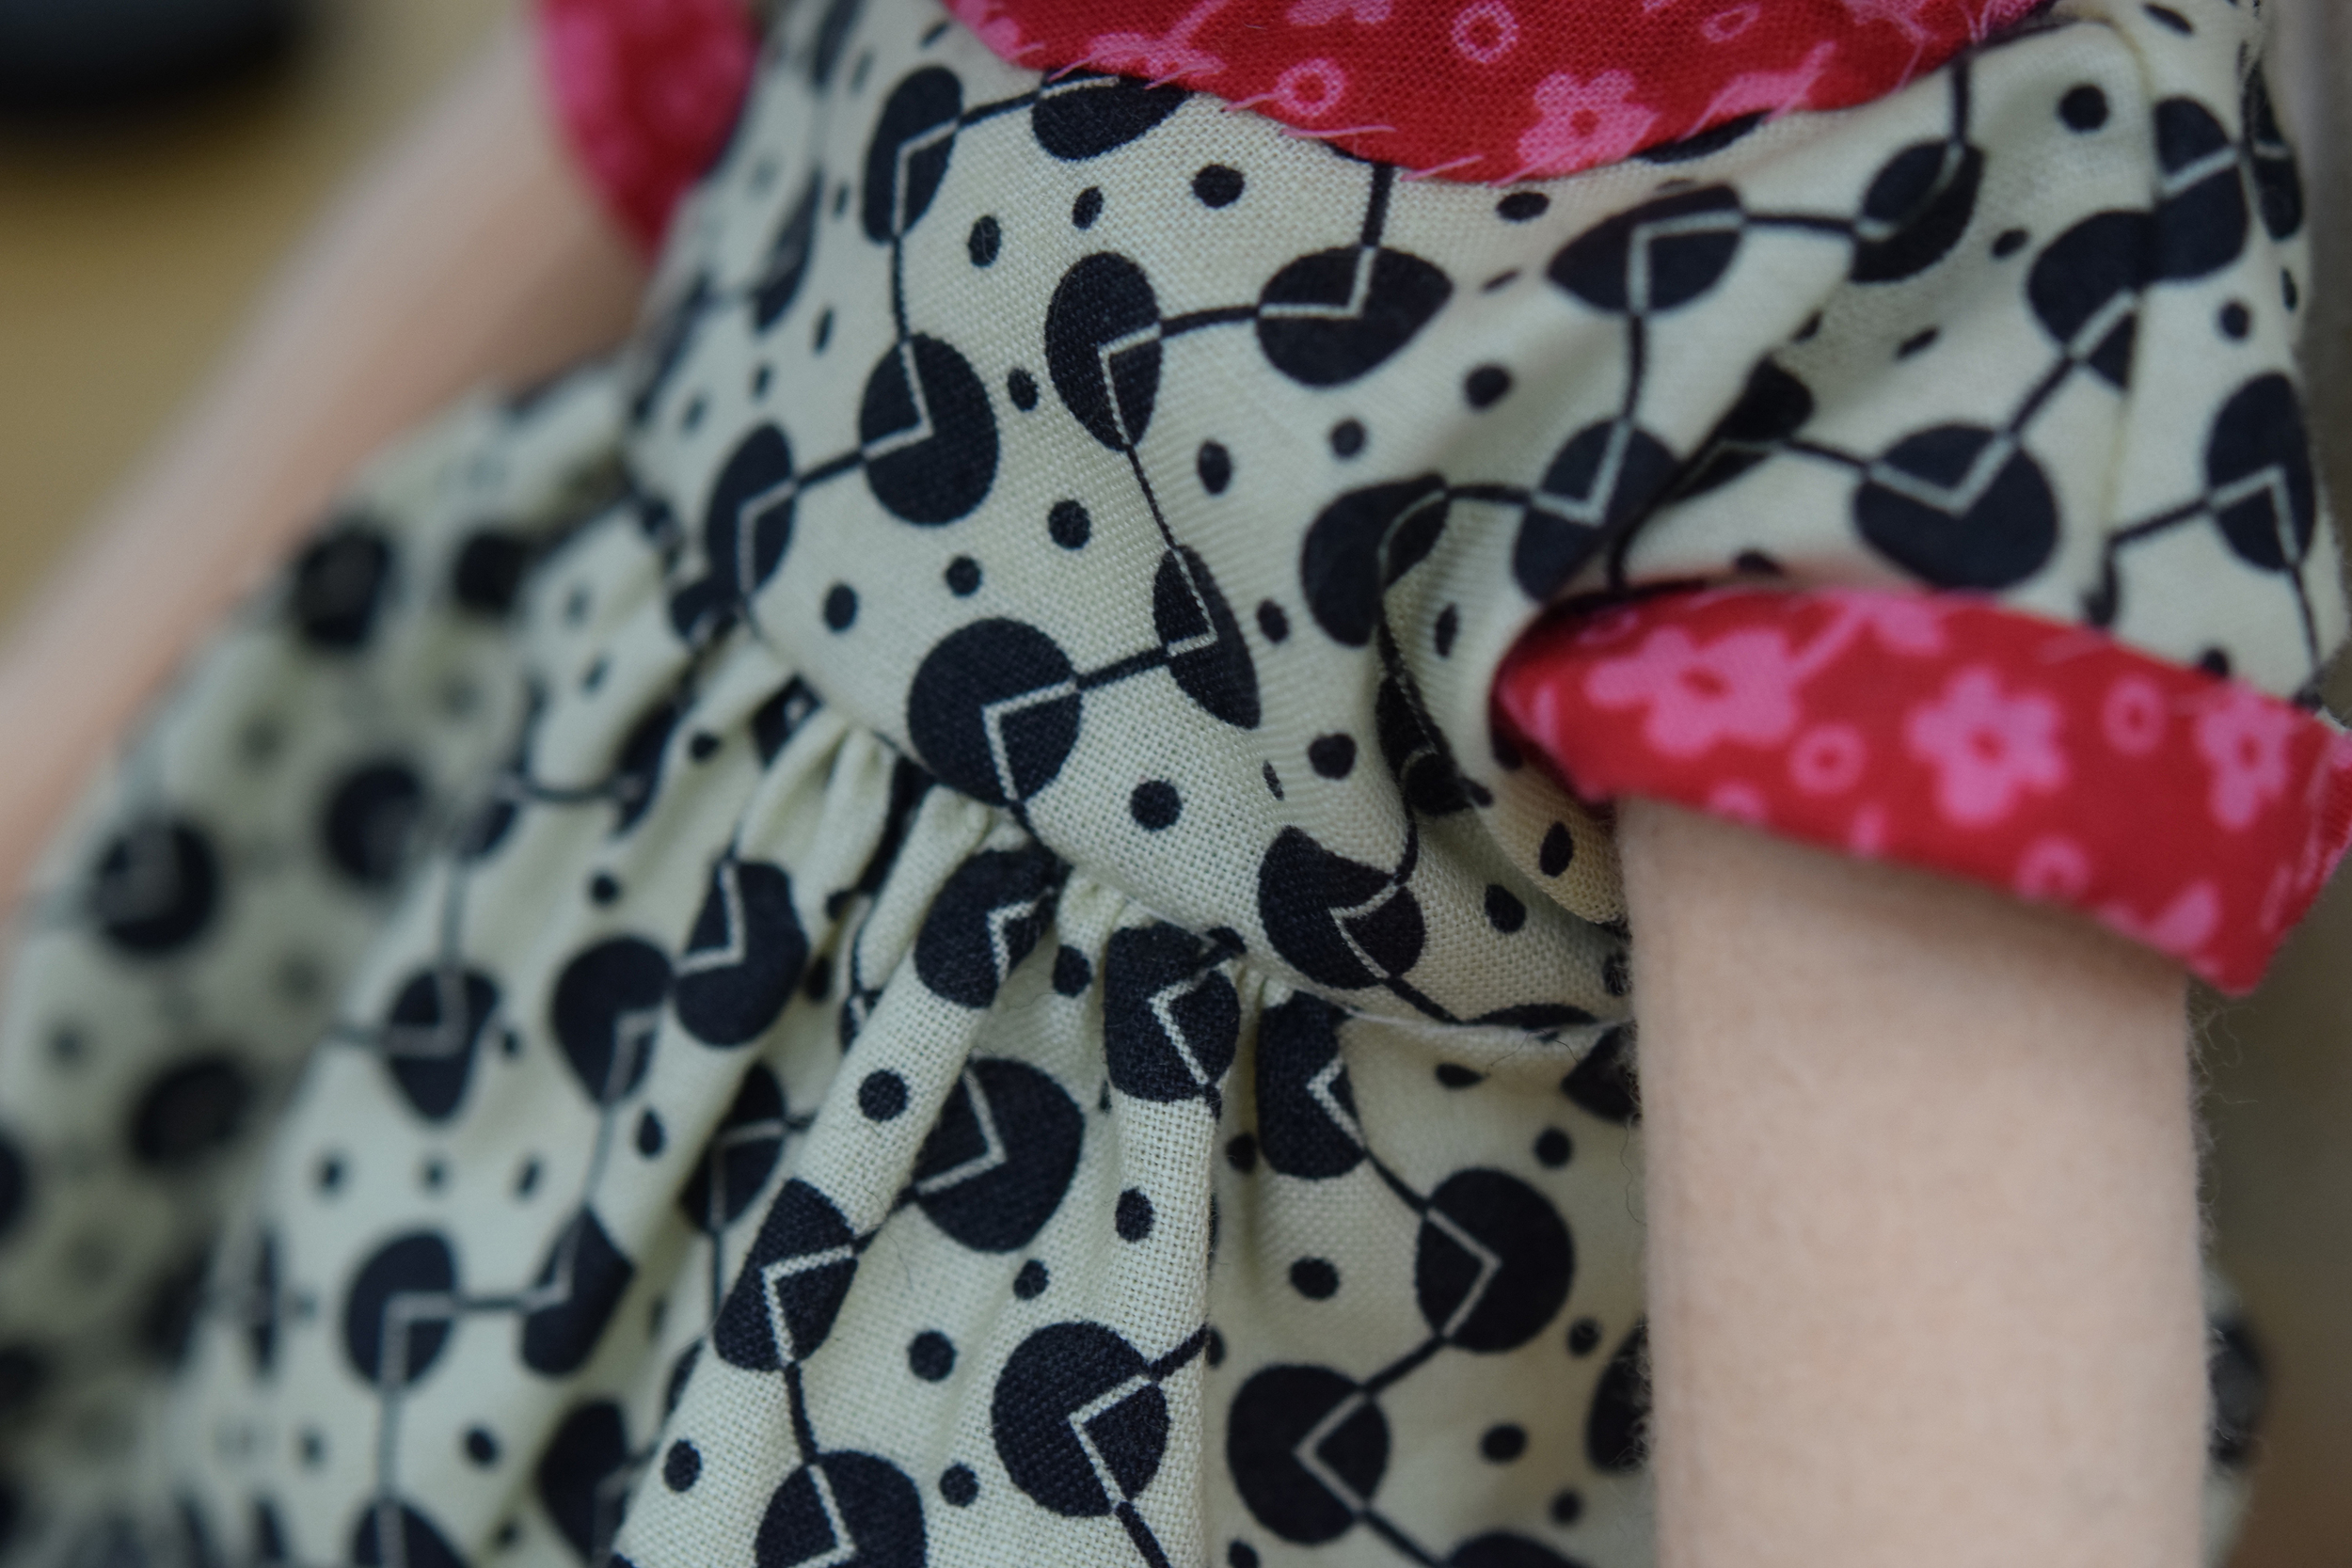
The 5300 is amazing. It captures how I see. 

Next week, Hunt is having a Trade Show. Between now and then we will be figuring out just exactly how we will do this. But we're doing this.

Next year just became a bit clearer.

unedited, straight from the 5300 to my chip to my blog

unedited, straight from the 5300 to my chip to my blog

unedited, straight from the 5300 to my chip to my blog

unedited, straight from the 5300 to my chip to my blog

unedited, straight from the 5300 to my chip to my blog

unedited, straight from the 5300 to my chip to my blog

Doll Dressmaking Series: Sewing on Trim

There are all kinds of trim and all kinds of ways to sew on trim. In my last dressmaking post, I covered making bias trim and sewing it on by hand. In this post I will show you how to sew bias trim on with your sewing machine. 

Sewing on bias trim with your sewing machine

Sewing on bias trim with your sewing machine

Pin bias trim on. Other than the end pins that secure the folded end, I keep the pins horizontal. With the pins horizontal, it is often possible to sew alongside of them with the machine, without hitting them.

If you are meticulous, you can measure to make sure your trim is an even distnace from the bottom. I eyeball it, after all these are doll clothes and a bit of wabi-sabi goes with the look.

Pinning your trim so you can sew.

Pinning your trim so you can sew.

I sew most straight edged trim on with my edge stitch foot. I love this foot! Many sewing machines come with one. They also can be purchased. A great foot to have–there are many things it can do besides make sewing on trim a breeze. 

It has a guide that runs along the edge of trim or fabric, because the guide is guiding by the fabric edge, it keeps your stitches in a straight line and in an even distance from the edge. To change your distance from the edge, move your machine's needle more or less to the right or to the left.  

With this foot top stitching will look perfect, and if you've ever tried stitching in the ditch, this makes that easier. Some good info on this foot can be found:

Here

and

Here

The edge stitch foot: the best

The edge stitch foot: the best

I typically move my needle almost to the extreme left.

As soon as your presser foot is holding down the folded edge of the fabric, pull out that first pin. Begin sewing. The guide will be along the edge of your fabric and slightly to the left your needle will be stitching. Do the same for the other side of the trim.

Using an edge stitching foot for trim

Using an edge stitching foot for trim

Using an edge stitching foot for trim

Using an edge stitching foot for trim

Start with one trim, but more can be better.

Start with one trim, but more can be better.

If you do not have en edge stitch foot, you can sew on trim with a regular foot. 

  1. Use a point on your foot as the guide.
  2. The guide should follow the edge of the fabric.
  3. If you have a needle down option, this can help.
  4. Have the needle slightly to the left of the guide.
  5. You will need to take pins out as you go.
Using a regular foot

Using a regular foot

It's fun to play with sewing on trim combinations.

Sewing on Trim 81pS.jpg

Five Things to Think About When Teaching your Child to Sew by hand, A Guest Post

One night scrolling through Instagram, I noticed the cute projects that Trixi Symonds uses to teach children to sew. I had spent the week teaching two girls to sew on the machine and had struggled with the hand sewing aspect. This was her specialty. So, I reached out to Trixi, who blogs at Colouredbuttons.com.  Both her blog and her book "Sew Together, Grow Together" have great hand sewing projects for kids.

We thought a collaborative post would be a great way to bring our different skills together. Today is the first in a series. On her blog I discuss five things to think about before letting a child sew on the machine. 

And Trixi has written five things to think about when teaching a child to hand sew:

My youngest daughter’s name is Yiscah. She first started sewing when she was  three. I vividly remember how she used to peek into the room whenever I was teaching a class so she could watch the older girls sew. After every class she’d ask me why she couldn’t join in. Being the wise parent, I told her that she was too little just yet but she always insisted she wasn’t. One day I decided to let her sew something simple and to my surprise, she did a pretty good job… and she altered forever my ideas about when a child can begin to start sewing. 

I still find people who believe, as I once did, that children have to be a bit older before they start sewing. Not true. So here are some tips to help you maximize enjoyment and minimize problems when your child begins sewing at a young age.

1. Getting Them Excited

There are lots of ways to get your child excited about sewing. Showing them a book of projects and letting them choose what they wish to make is always a good idea … as is letting them choose their fabrics and the colors of their embroidery floss. The basic rule here is simple: the more they do by themselves, the more they’ll enjoy it. 

Even if they can’t manage the sewing on a project they’ve chosen, just watching Mum involves them more deeply than we might suspect and is a sure way to ignite their desire to sew something all by themselves. 

          Museum of Contemporary Art Workshop 2014

          Museum of Contemporary Art Workshop 2014


2. Using good quality materials 
Good materials are essential for a good experience. Sewing supplies are not expensive, so make sure you choose good quality felts, fabrics and embroidery floss. 

Acrylic felts are the least expensive but they can feel a bit hard and scratchy to 
sew with. I personally love using wool blend felts as they’re soft, easy to sew with 
and reasonably priced. Also, instead of using sewing cotton, I prefer to use embroidery floss, and I recommend using a brand like DMC or Anchor as cheaper products tend to break.

Use an embroidery needle with a large eye that makes it easy to thread. Make sure your needle isn’t blunt. Sewing with a blunt needle can be difficult and frustrating. And it’s a good idea to first sew a few stitches yourself in order to check that everything works as it should.

Museum of Contemporary Art Workshop 2014

Museum of Contemporary Art Workshop 2014

3. Stressing safety 
Explain to your child that scissors and needles are sharp and can be dangerous if  not used sensibly. In classes I stress that needles have to be put back in containers and we always do a floor search to check for needles that may have dropped. Scissors are always closed and put point down in a jar after sewing. 

It doesn’t really matter what safety behaviors you decide on, what matters is that your child sees that you treat these things with caution and knows that this is what you must do when you sew. I’ve found that when children really want to do something that requires responsibility, they have no difficulty behaving as they 
should.

 Museum of Contemporary Art Workshop 2014

 Museum of Contemporary Art Workshop 2014

4. Accepting that wonky is ok 
Young children begin to sew with large, wonky stitches and their sewing lines are often crooked. With a little practice, however, their stitches rapidly improve. Don’t do the  work for them. Let them sew their own stitches and they will be proud of what they have accomplished. 

Sometimes young children’s work becomes messy simply because they forget to look at 
what they are doing. A gentle reminder to look at their work while sewing can bring 
about a miraculous improvement. Hand sewing doesn’t require excessive concentration and the modest demands it does make will actually help to improve your child’s ability to concentrate.

           Museum of Contemporary Art Workshop 2014

           Museum of Contemporary Art Workshop 2014

 Museum of Contemporary Art Workshop 2014

 Museum of Contemporary Art Workshop 2014

5. Making the projects your own 
There’s nothing wrong with copying a project exactly as it’s given but this never really 
compares with the feeling you get when you make a project your own. So don’t be afraid 
to adapt things, to change them, and to make them to suit your own and your child’s 
interests and wishes. 

You can also drop in to Mollymoo Crafts where Michelle has adapted Baby in a Pouch. The original project is small enough to fit into the palm of a child’s hand but Michelle and her daughter wanted something that could be hugged, so they made the baby and her pouch much larger giving the project a very different feel.

Museum of Contemporary Art Workshop 2014

Museum of Contemporary Art Workshop 2014


More and More Babies

The new Egg, Cuddly Egg, is quite popular. I have several going out his week. Two custom Baby Eggs, fraternal twins, left for their new home in DC today. I love custom orders, they get me to try new things and so far they have all been cool ideas that I have repeated. These Eggs both have new custom hair.

It was hard to take good photos given how dark the day was, but I tried my best.

Hand dyed curly hair

Hand dyed curly hair

Baby Egg is her new PJs

Baby Egg is her new PJs

PJs for Curly haired Egg

PJs for Curly haired Egg

Retro Cherry Romper

Retro Cherry Romper

A little bit retro

A little bit retro

The New Learn to Sew Kits

My new Learn-to-Sew Kits are now on Etsy. The star of the kit is a little Phoebe doll, called Scrappy Phoebe. There are five different Scrappy Phoebes. She comes dressed in her "underwear", but hopefully once she arrives, she will soon have many dresses. 

The Scrappy Phoebe Learn to Sew Kits come with everything a girl needs to make at least 8 dresses. The kit includes

  • Scrappy Phoebe (obviously)
  • An instruction Booklet
  • Pattern for the basic dress, to make and embellish
  • 8 Fabrics (your "scraps")
  • 10 Trims
  • 8 Velcro closures
  • Wonderclips
  • Practice Fabric

The kit is perfect for kids 7-10 with little or no sewing machine experience. The dress is easy to make and the focus is on the fun of designing and embellishing. After all that is the fun of learning to sew, adding your own ideas. This kit allows for lots of ideas.

And Scrappy Phoebe herself is pretty cute. She is small, but not so small that it makes sewing tricky.

Later this week I will have a guest post about hand sewing with kids. The dresses can also be made with hand sewing. 

Later I will introduce two intermediate kits: Princess Scrappy Phoebe and Winter Clothes for Scrappy Phoebe. Not sure if I will have those ready before the holidays though. 

Click through here for the kit on Etsy.

Scrappy Phoebe models a handmade dress

Scrappy Phoebe models a handmade dress

The back of Scrappy Phoebe and the back of the dress. yes the kit includes velcro.

The back of Scrappy Phoebe and the back of the dress. yes the kit includes velcro.

Five Scrappy Phoebes wondering what to wear.

Five Scrappy Phoebes wondering what to wear.

Scrappy Phoebe Learn To sew Kit

Scrappy Phoebe Learn To sew Kit

The pattern, for tracing

The pattern, for tracing

What is in a Scrappy Phoebe Kit

What is in a Scrappy Phoebe Kit

Your bling

Your bling