
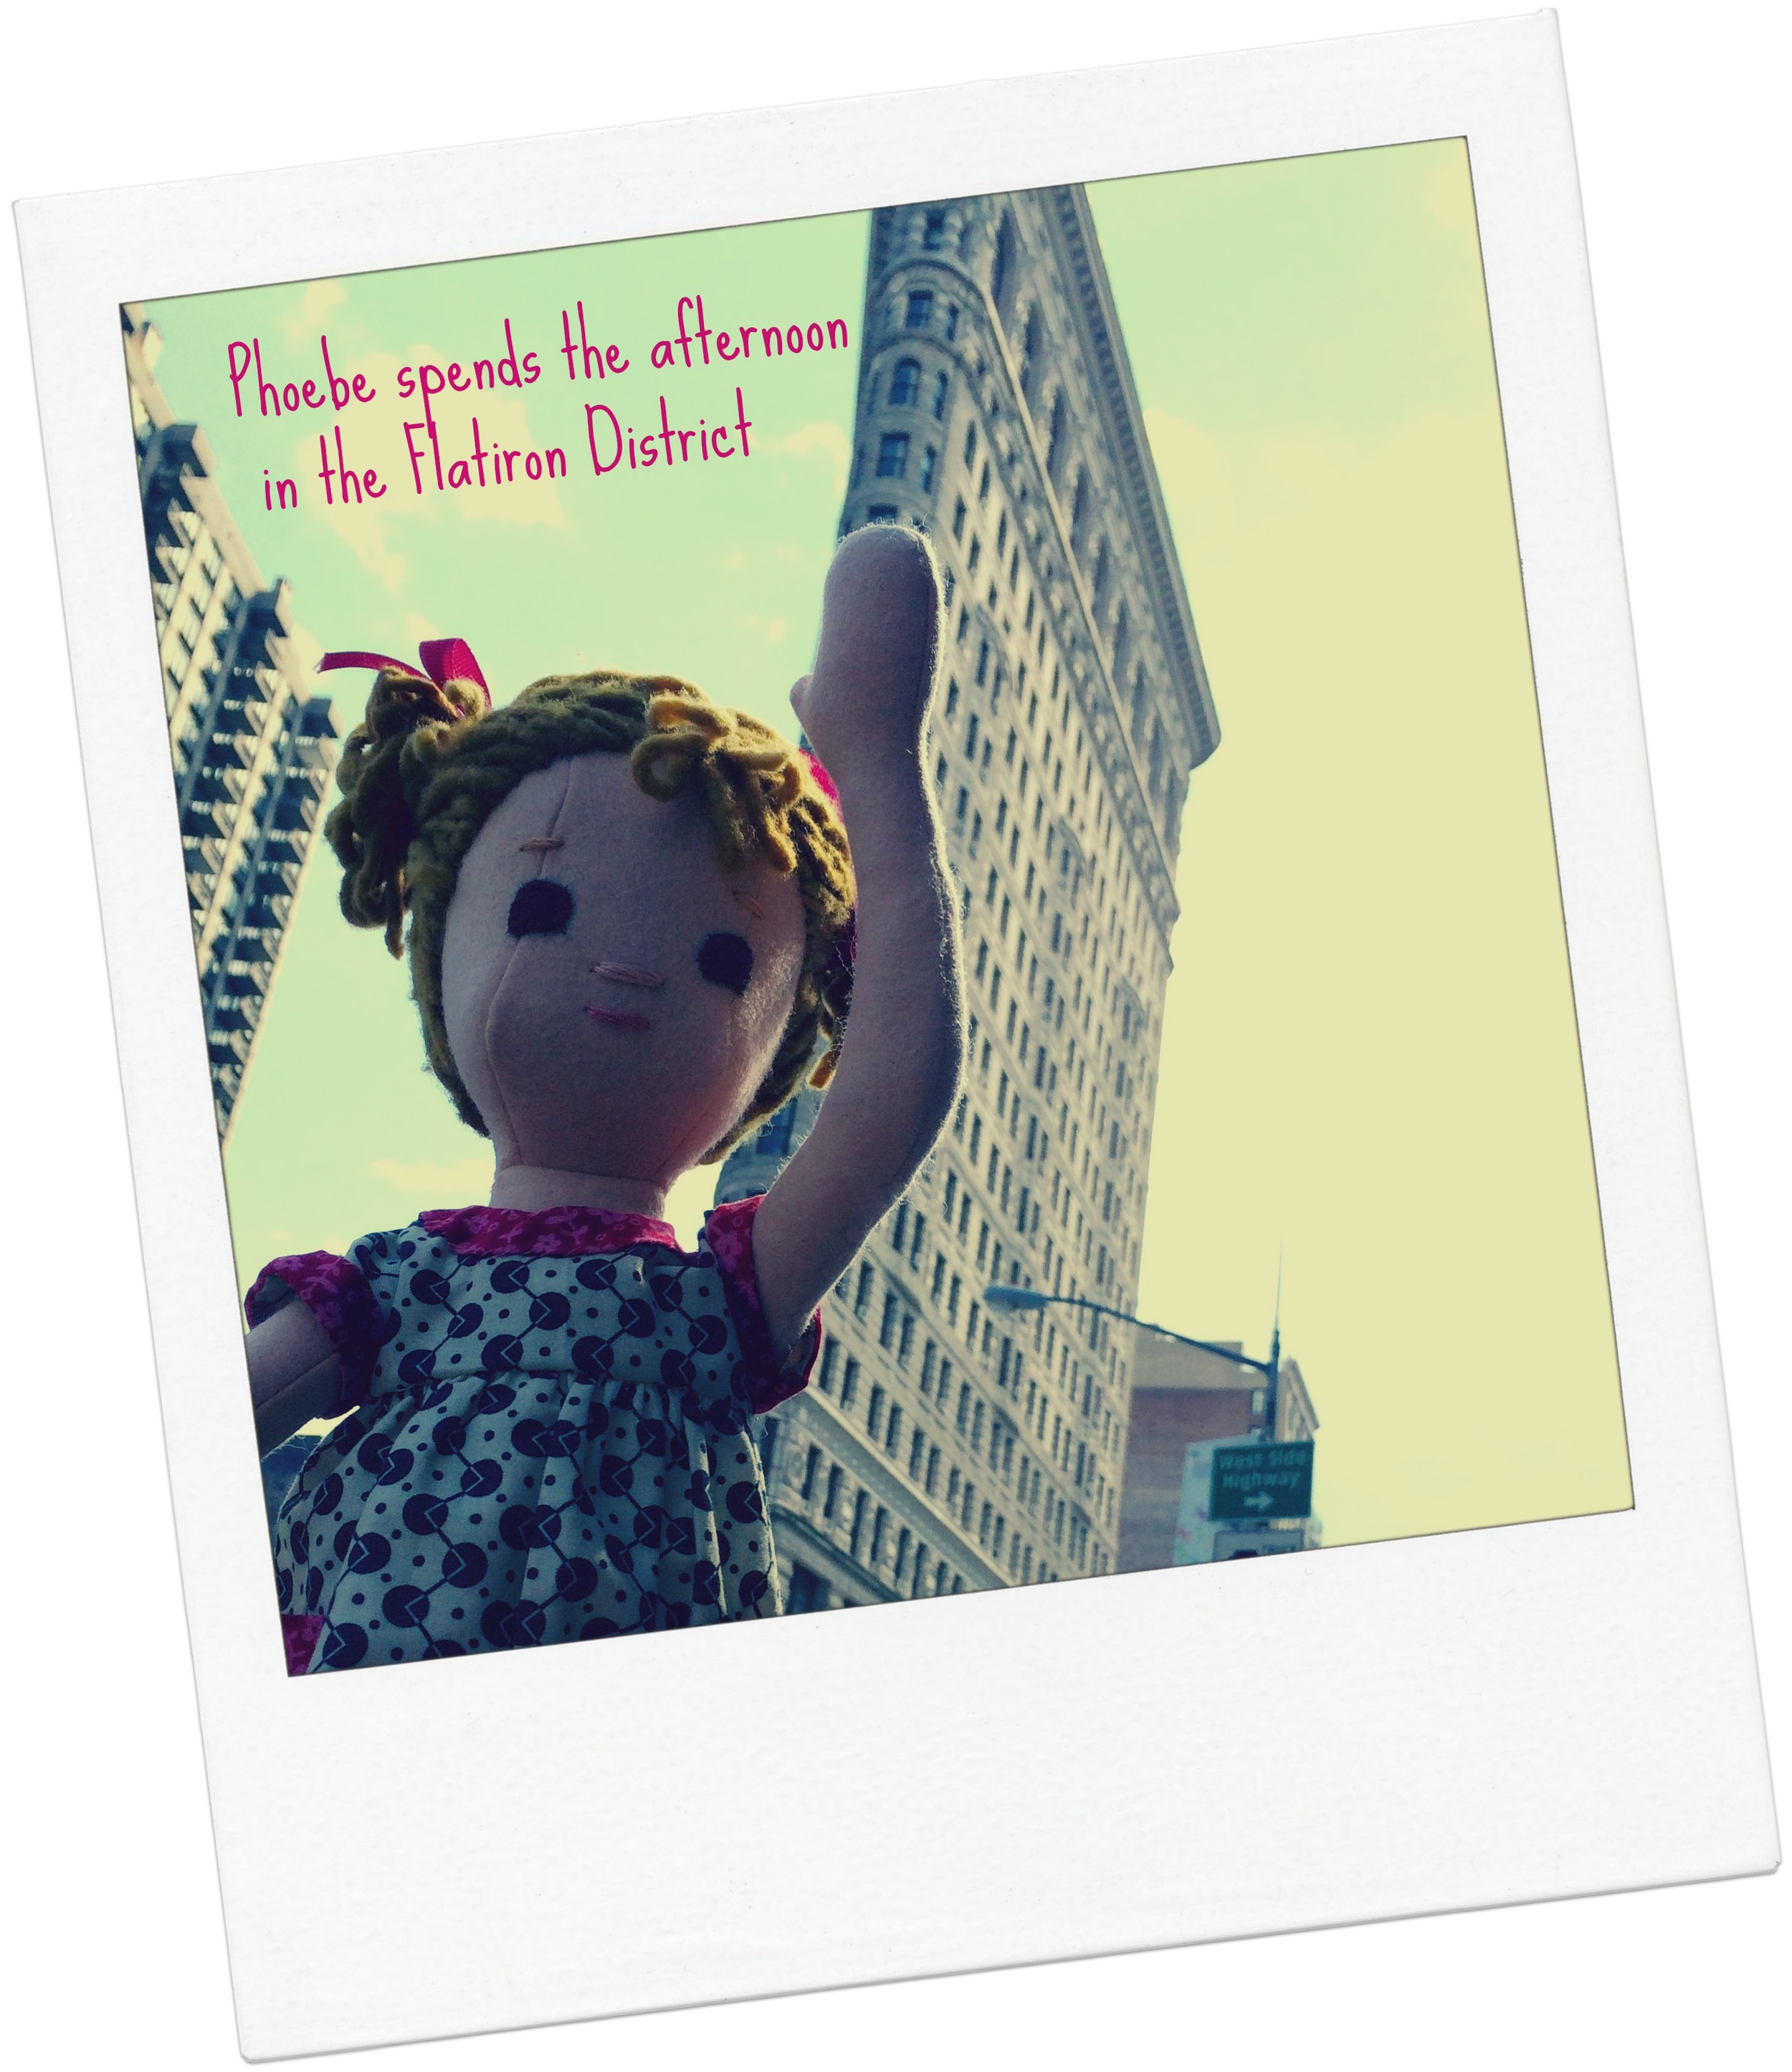
Phoebe and I are back from NYC. We spent an afternoon in the Flatiron District and have a few photos and stories to share. Actually a series, so stay tuned.
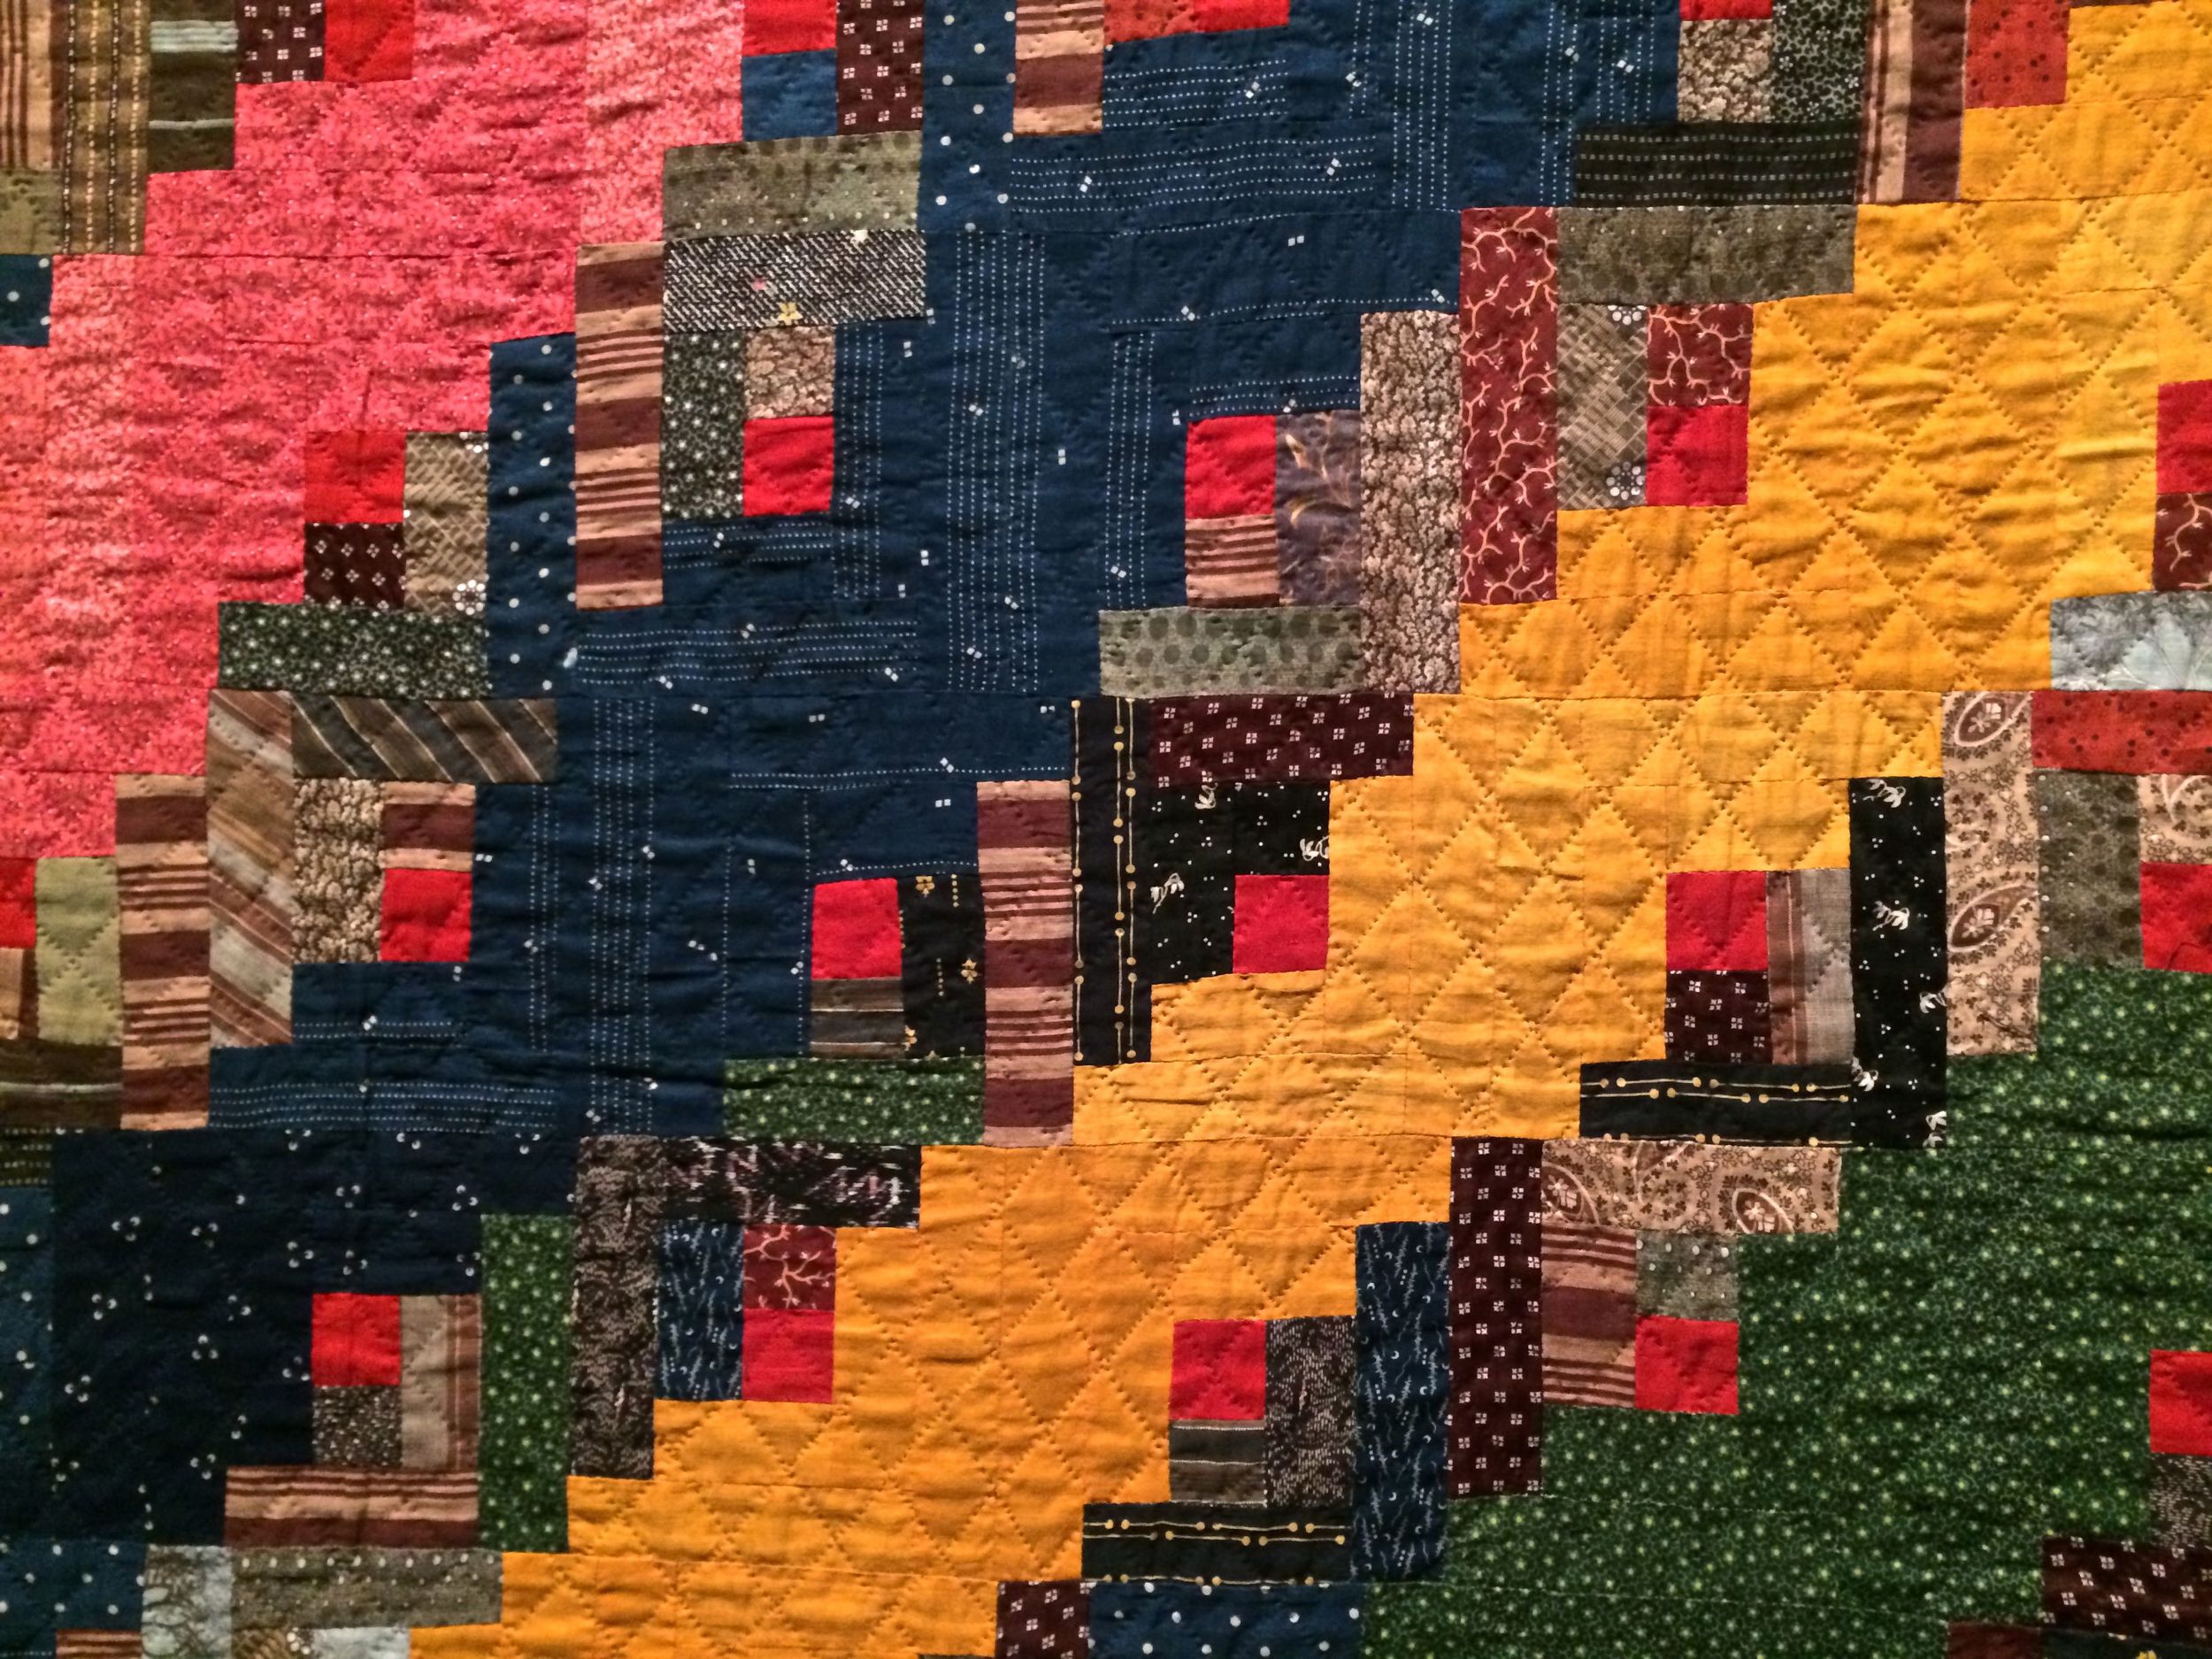
Quilts at the MFA

3-D pomegranates 150 years before they were a trendy food.,
It is April School Vacation week, which means less time for sewing, but more time for things I might not ordinarily make time to do. Today I took my youngest daughter and a friend to the Museum of Fine Arts to see the Quilts and Color Exhibit. At age thirteen, they both have started making and designing their own quilts and patchwork pillows. It seemed like a trip two middle schoolers might actually like.
We were not disappointed. The quilts were primarily Amish and mostly from the mid 1800s and all were entirely amazing. The graphic design of these quilts was stunning. The color combinations and juxtaposition of shapes and textures rivals some of the best graphic design of today. Designers today merely have to click a mouse to bring things together. These designs were created with itty bitty scraps, snipped from worn out clothing or left-over remnants, all pieced and hand stitched together. Coordinating bolts of fabric at Jo-anns, looking at colorful swatches in a virtual shopping cart or rethreading the sewing machine began to seem like such a luxury. These designs sprung out of what was available and months and months of small hand stitches. Maybe the slower speed gave them more time to think about color and design. Maybe the lack of extra fabric and a sewing machine prompted more thoughtful decisions.
Maybe beauty is what happens when you have fewer options.


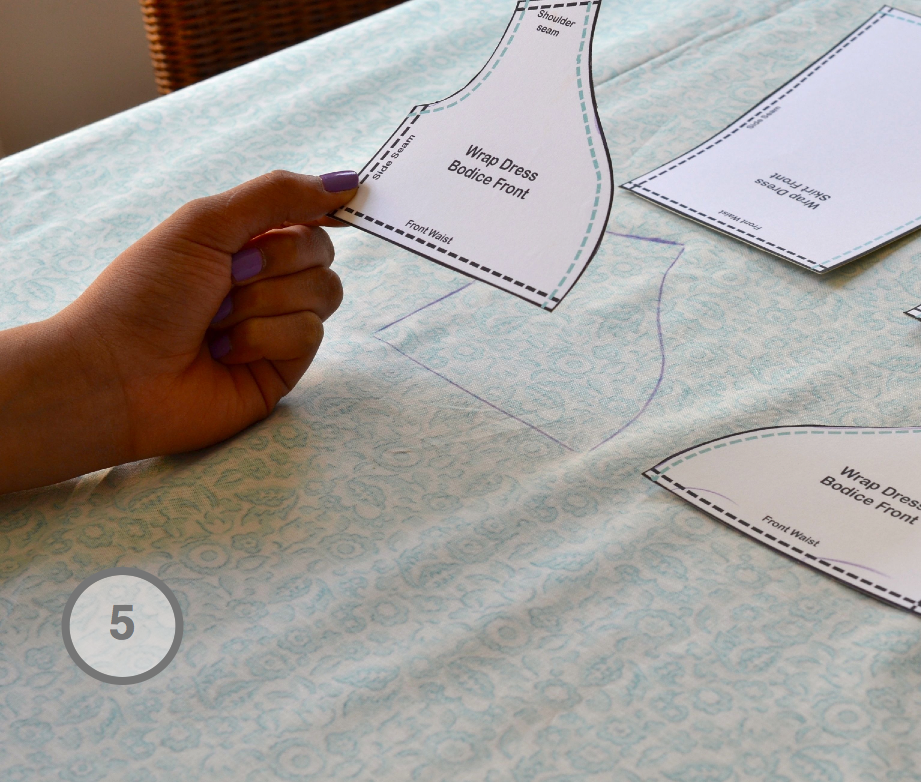
Teaching a Child to Sew: Laying Your Pattern Out

In an earlier post, I showed how to make traceable pattern pieces. This works with doll clothes, small softies and other small projects because the pieces are small. Most importantly, no piece is larger than an standard size piece of paper that can go through a copier and be glued (I used sticker paper) onto poster board.
Once you have your pattern pieces, you can easily arrange them on your fabric and trace.
The captioned photo story below shows you almost all you need to know. Two things to keep in mind. If your pattern piece requires you to cut two pieces of that piece, you will need to trace it twice or make two traceable pattern pieces. If the piece is symmetrical, the two pieces can be the same (like the pattern piece Wrap Dress Back Skirt and Dress Bodice Back in the photo below). If the piece is not symmetrical, you will need to flip it, so you have two mirrored pieces (like the wrap dress front below and the two pieces of the front skirt).


Pattern pieces should be arranged to conserve fabric and straight lines, like the one at the waist, should follow the grain of the fabric, the straight lines of the fabric's woven thread. see image below.

More about grain later.


Starting to look like a dress!!
Spring!

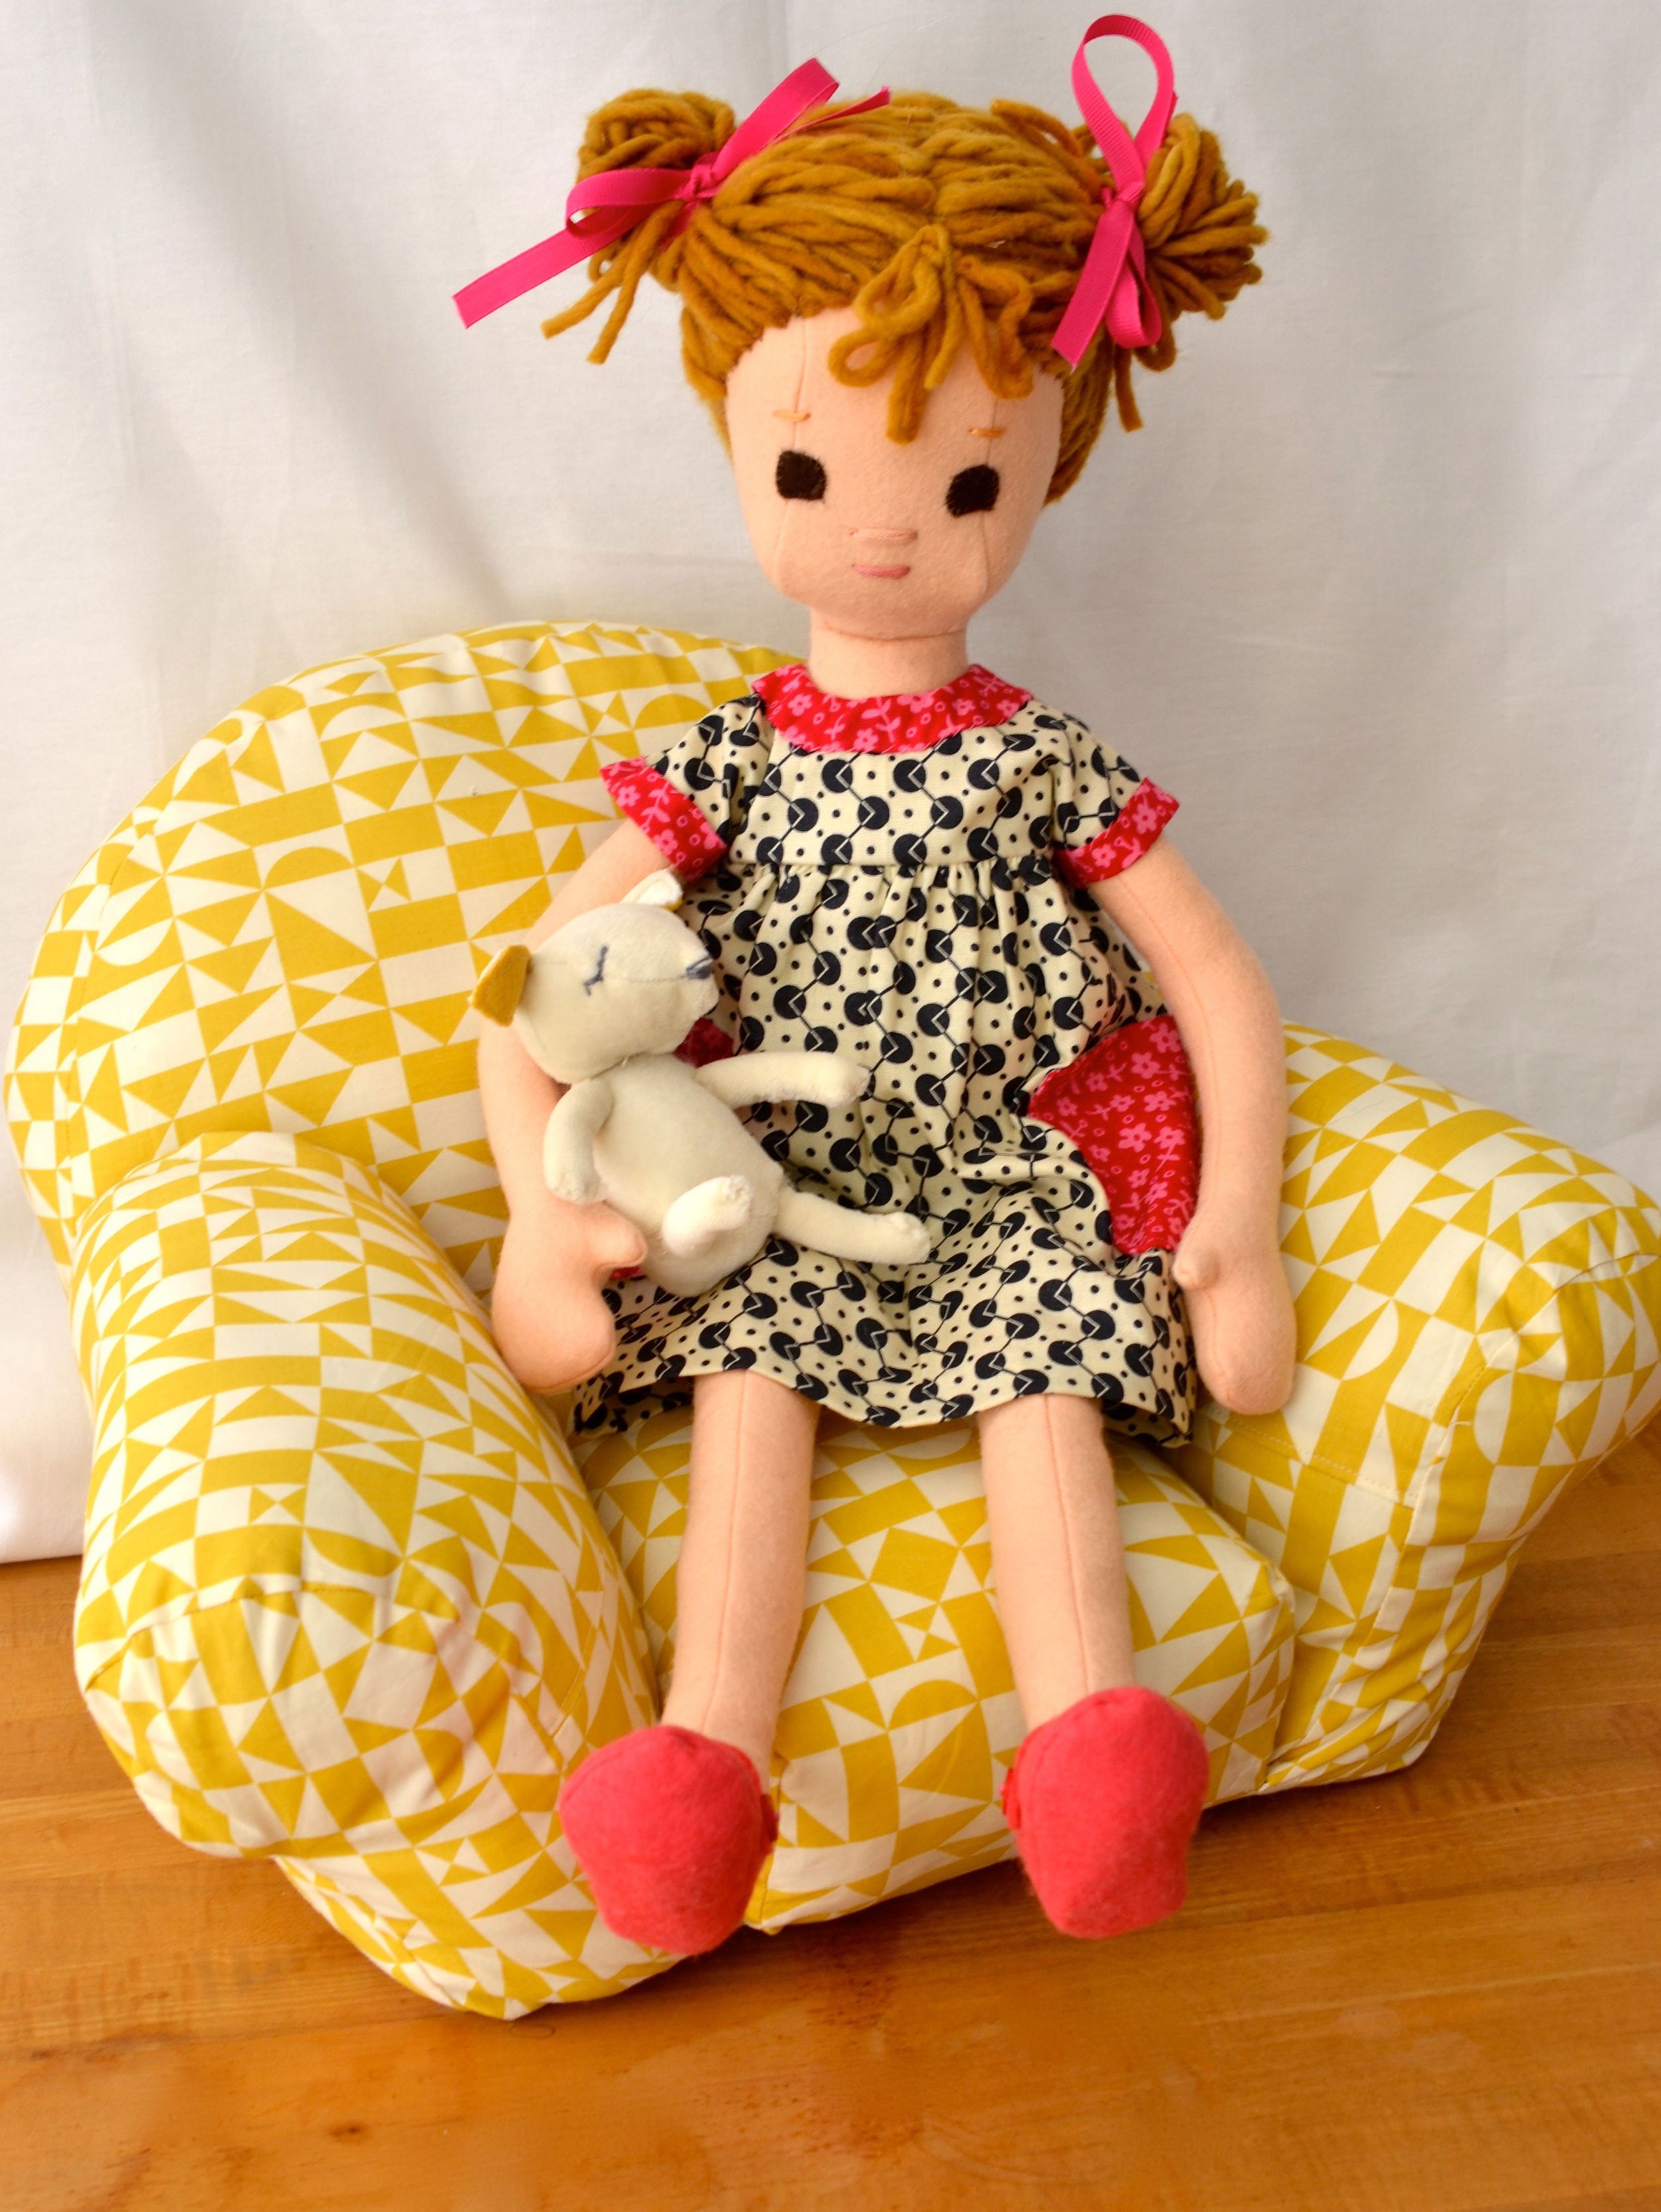
Phoebe Makes Herself at Home
Phoebe got tired of standing around. She was almost always standing. Sometimes she'd lean against the wall or use the doll stand to break up the monotony of standing. If she wanted to sit, she had to sit on the floor, which isn't bad for a kid ... for small amounts of time.
But a nice fat cushy arm chair is much more comfortable. So comfortable, she could even nap in it if she wanted.
A line of bright fun doll chairs and quilts to be for sale soon on Etsy. After all, your doll sometimes just wants to chill.


When it is the End for a Favorite Fabric
Those of us who sew doll clothes work with small pieces of fabric. Not exactly scraps, but fat quarters, strips and margins of larger fabric pieces. When you have a half yard or more, you can stash some of it for another dress later. Maybe you can squeeze two dresses into a half yard and there is still enough for a shirt, a lining or capris. But eventually you are left with unusable scraps. Pretty scraps, but only the very thrifty will put these to use.
Most of the time, this inevitable using up of our stash is okay. It actually feels good. After all, that is what a stash is for. Right?
Not always. There are always some things we want to both use and hang on to. Those favorite fabrics. The ones you are torn about using and torn about not using.
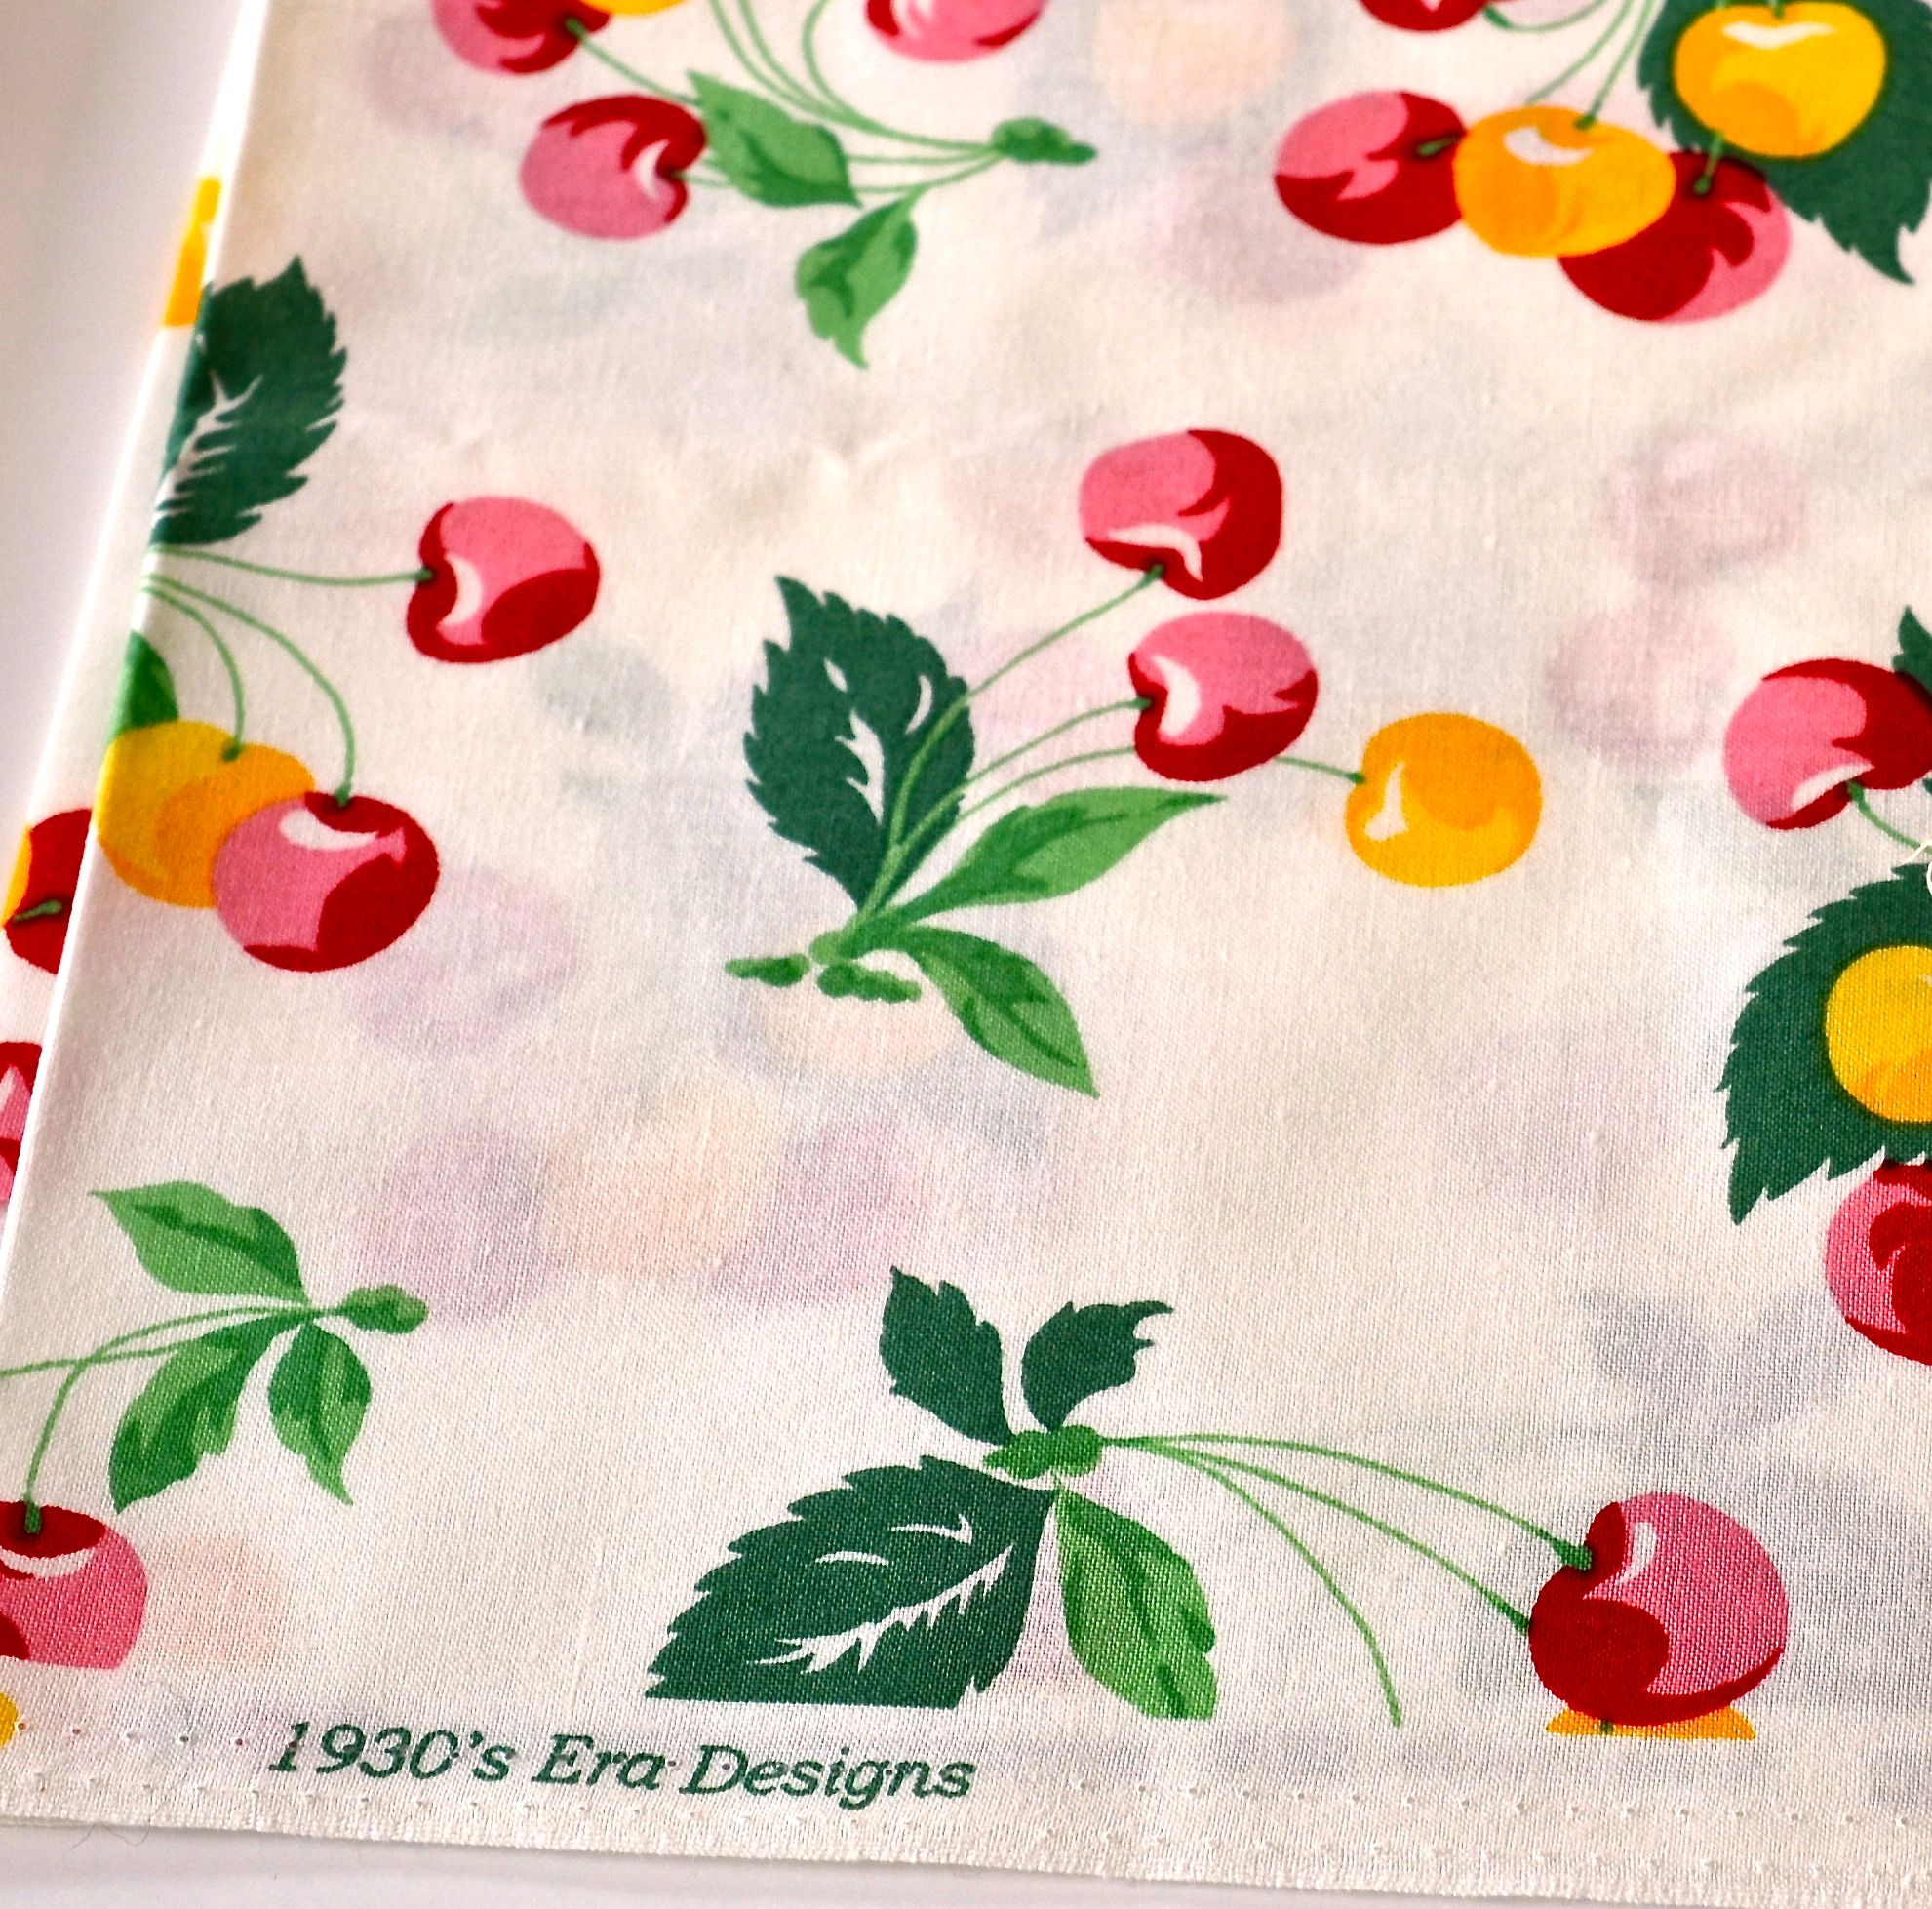
Today I used the last of one of my favorite fabrics. I bought it a while back. Maybe even as long ago as five years ago. A clean white cotton with bright yellow, red and pink cherries splashed across it. Yes it made a sweet dress. But what I have left could barely be a lining.
There's always the hope that there might be more. Somewhere.
There are a few places you can check, but you will need to check the selvedge to find the exact name of your fabric.
Etsy, a search in the supplies section
Ebay. You can also set eBay up to save your search and email you when items that match are listed.
Quiltshops, will search over a hundred online quilt shops. I've had very good luck with this.
But sometimes, the fabric is gone, everywhere. It wasn't just my favorite fabric, but many people's favorite fabric.


Cutting Out Patterns with Children

There are many ways to cut out a pattern. You can pin the paper pattern pieces to the fabric, you can copy the pattern onto freezer paper and iron it onto the fabric, cut and then peel it off (I'll save this is for another blog post) or you can trace the pattern pieces onto the fabric. You can have the fabric folded in two so you are cutting two pieces at once, or you can have the fabric unfolded, so you are only cutting through one layer at a time.
That's a lot of choices.
When sewing with children under 10, I think tracing the pattern onto the back side of an unfolded piece of. fabric works best.
First, why?
- No pins involved.
- Most patterns are printed on regular paper, not tissue paper, which is difficult to pin.
- You won't need to use the iron.
- If the fabric is unfolded it is easier and more accurate to cut one layer at a time.
- This method better preserves pattern pieces, which are secured to poster board.
Here's how to make your pattern pieces:
- Use a copier to copy the pattern pieces onto Matte White Sticker Paper. Roughly, cut the pieces out. #1 in visual below.
- Stick them onto white poster board #2.
- Accurately cut out each piece in the center of the black outlines. When you are done you should have a sturdy tracable poster board piece of each pattern piece. #4
- Sharpen a colored pencil. #3
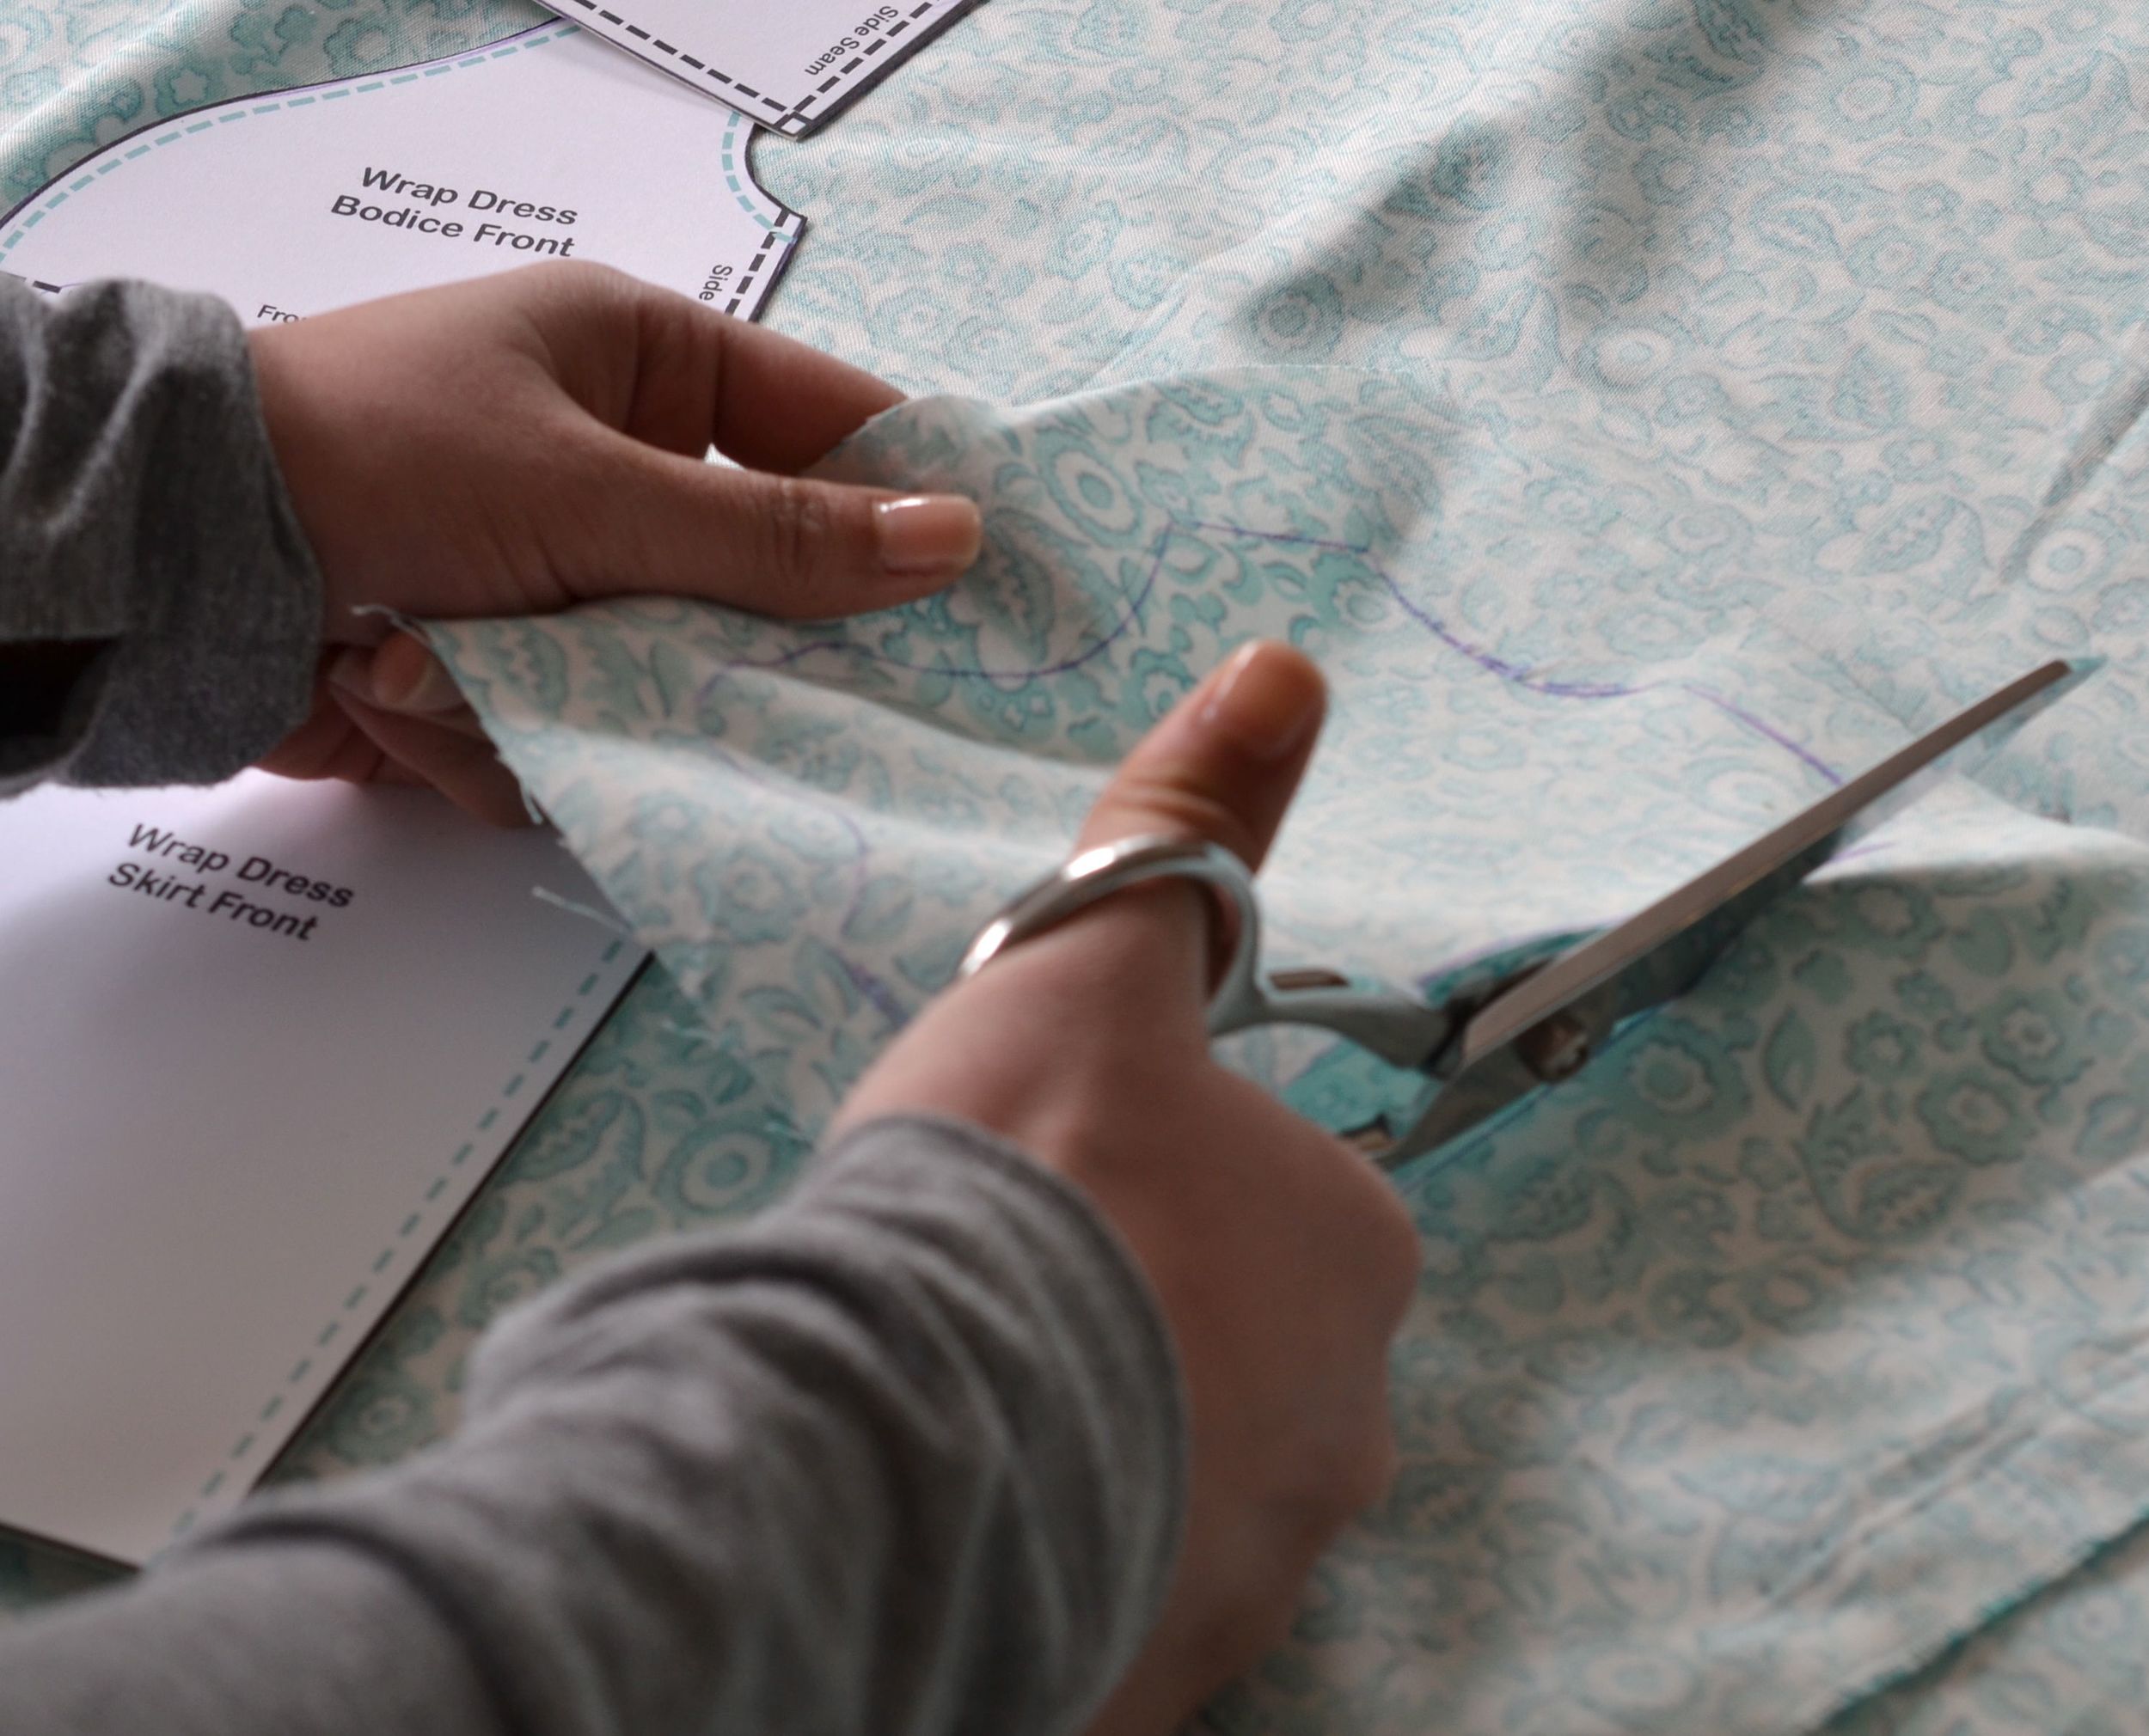
- Have your child trace the shapes onto the backside of the fabric. If they trace on the front, there is more of a chance that lines that go astray may be visible.
- Next, your child should cut along their traced lines.
- Keep the paper pattern pieces nearby while sewing so you can tell what each piece of fabric is.


Learning Something Different
Trying something different has turned into learning something different. I am not happy with the edging on this quilt. Not something I can undo. Although I could consider this a waste of rick rack, fabric and time, I rather think of it as a learning experience. I need to research doll quilt bindings and develop another method. I want to keep the rick rack, but maybe lose the binding and the rounded corners.
I thought of making some sort of giveaway with it, but I am not happy enough with it to even do that.

Trying Something Different
I'm starting a few doll quilts. It's refreshing to deal with straight lines and blocks of color for a change. I have the urge to add embroidery floss, but not exactly sure what type of embellishment I will do yet. That's the fun of it, I am hoping to surprise myself.

New dolls and clothes in my Etsy Shop
A number of new things in my Etsy Shop. Below are just a few. Click on the photo to get to my shop.
