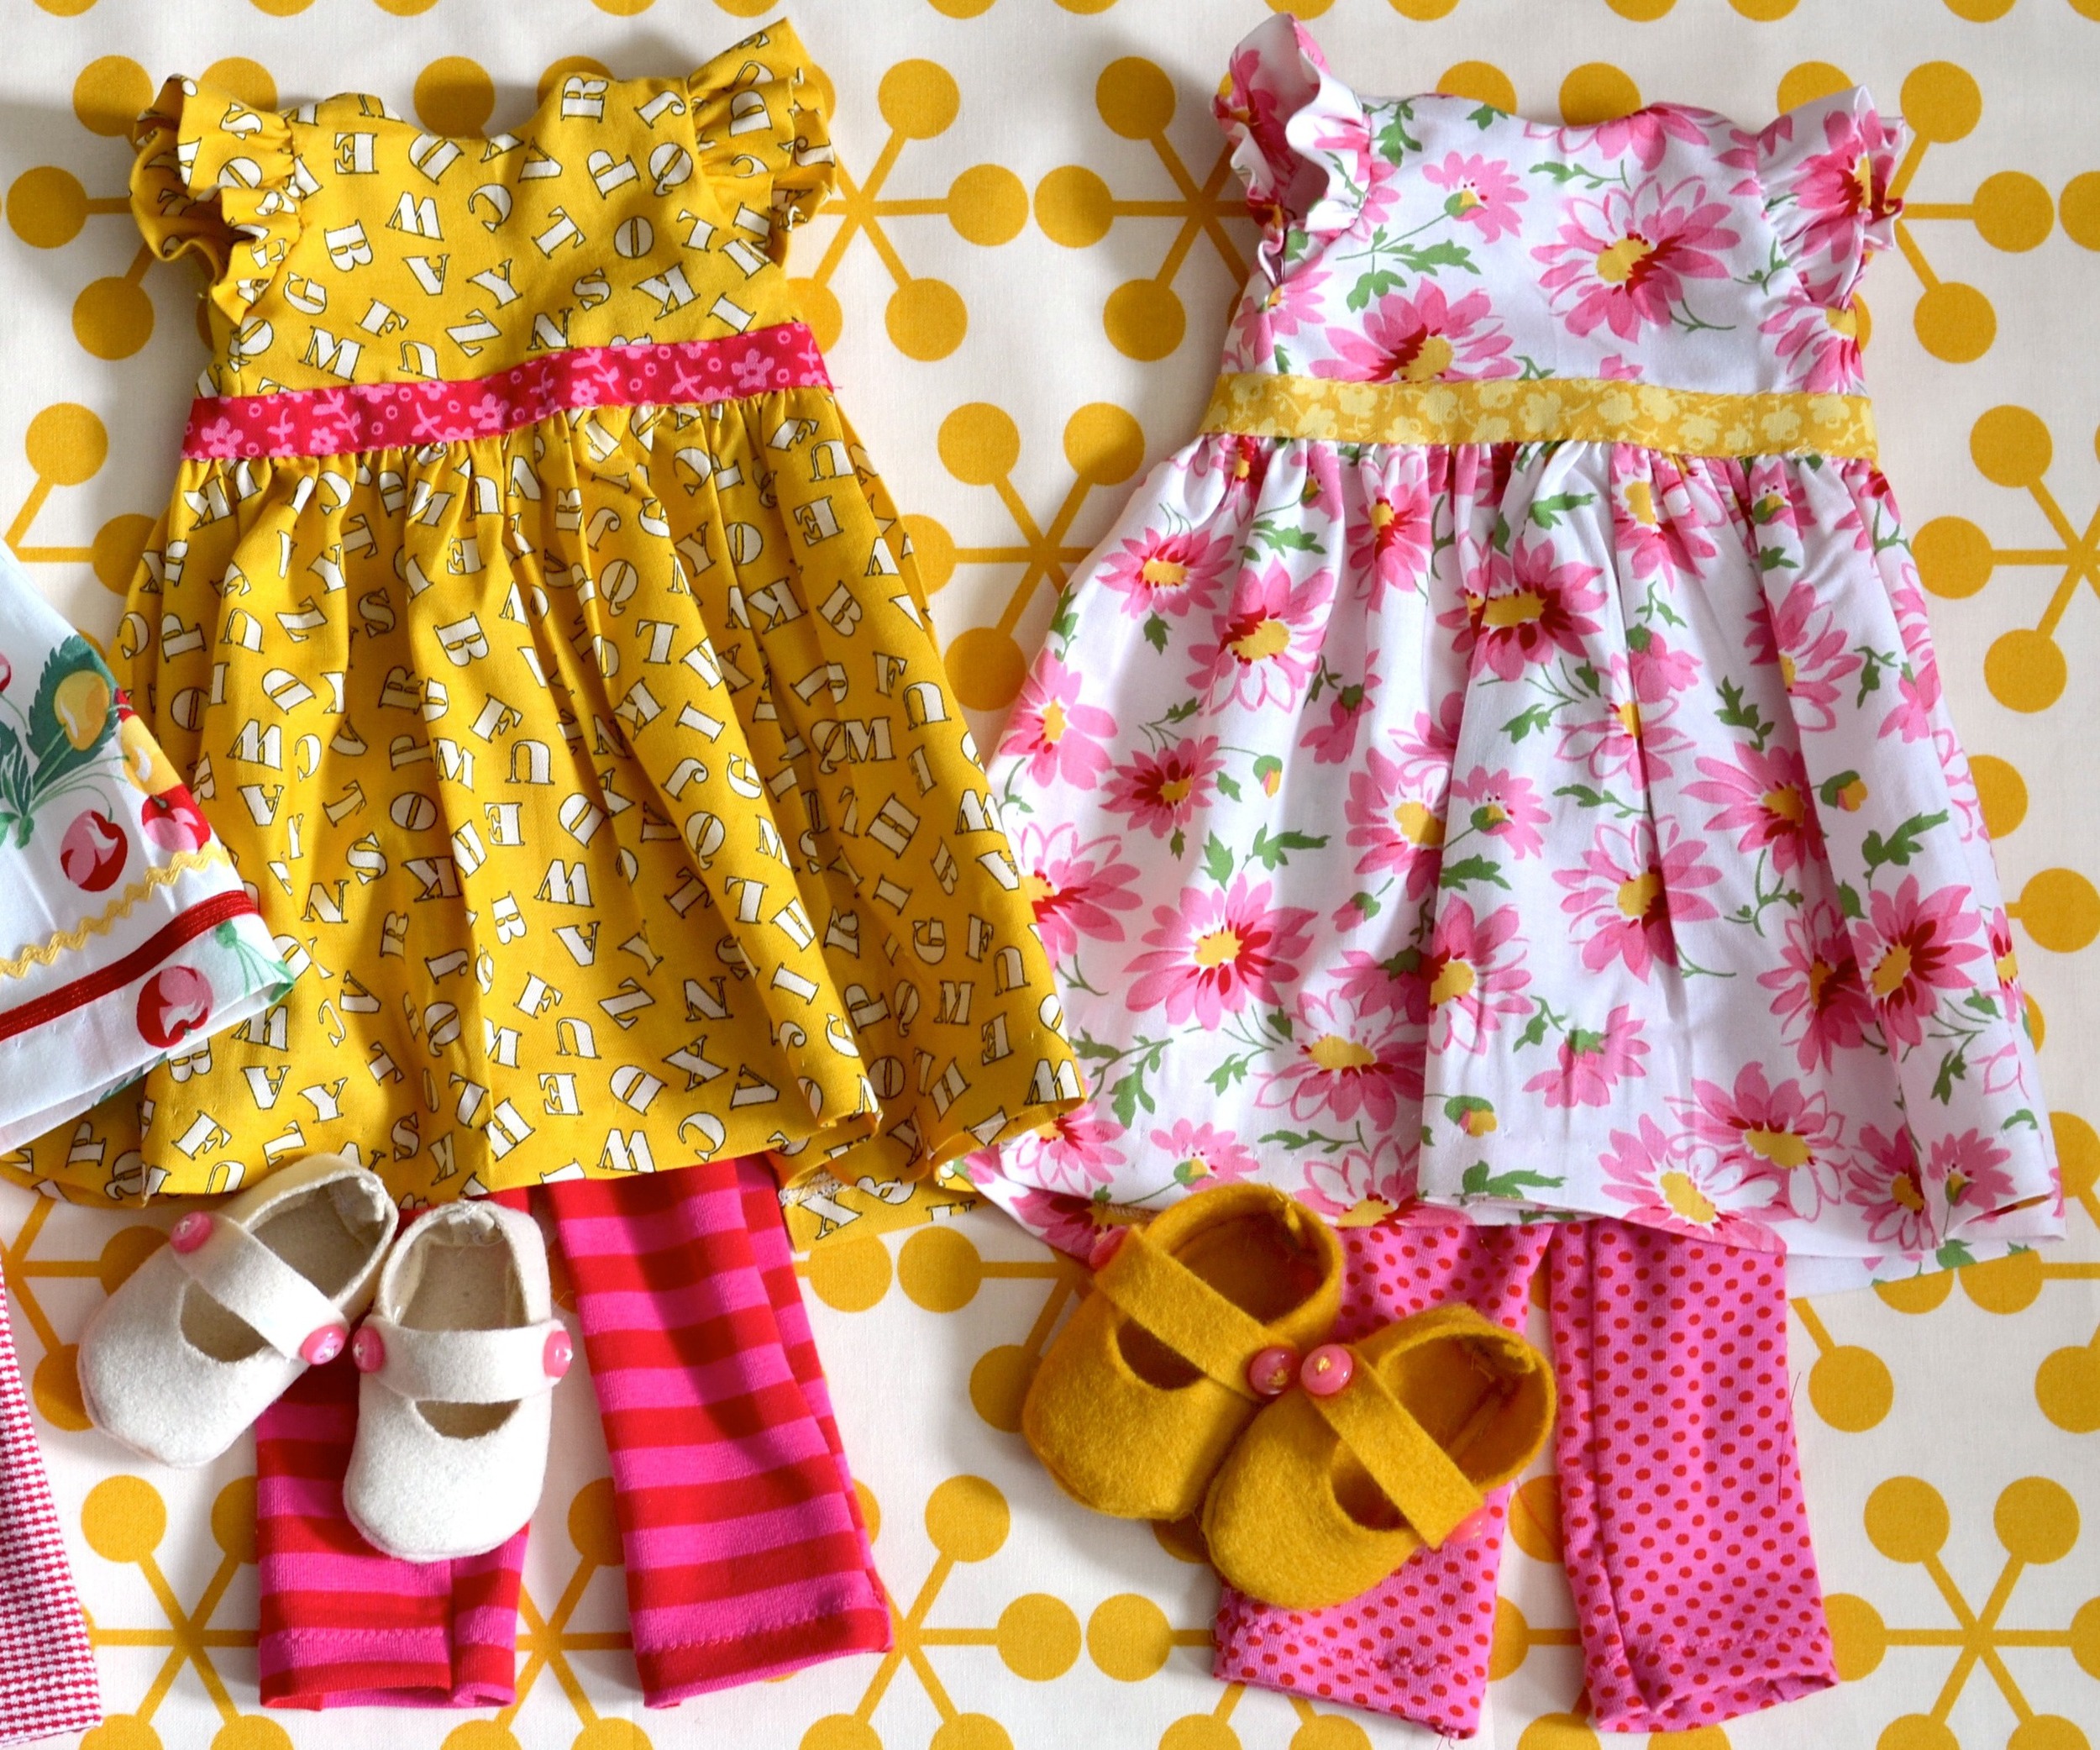
There are all kinds of trim and all kinds of ways to sew on trim. In my last dressmaking post, I covered making bias trim and sewing it on by hand. In this post I will show you how to sew bias trim on with your sewing machine.

Sewing on bias trim with your sewing machine
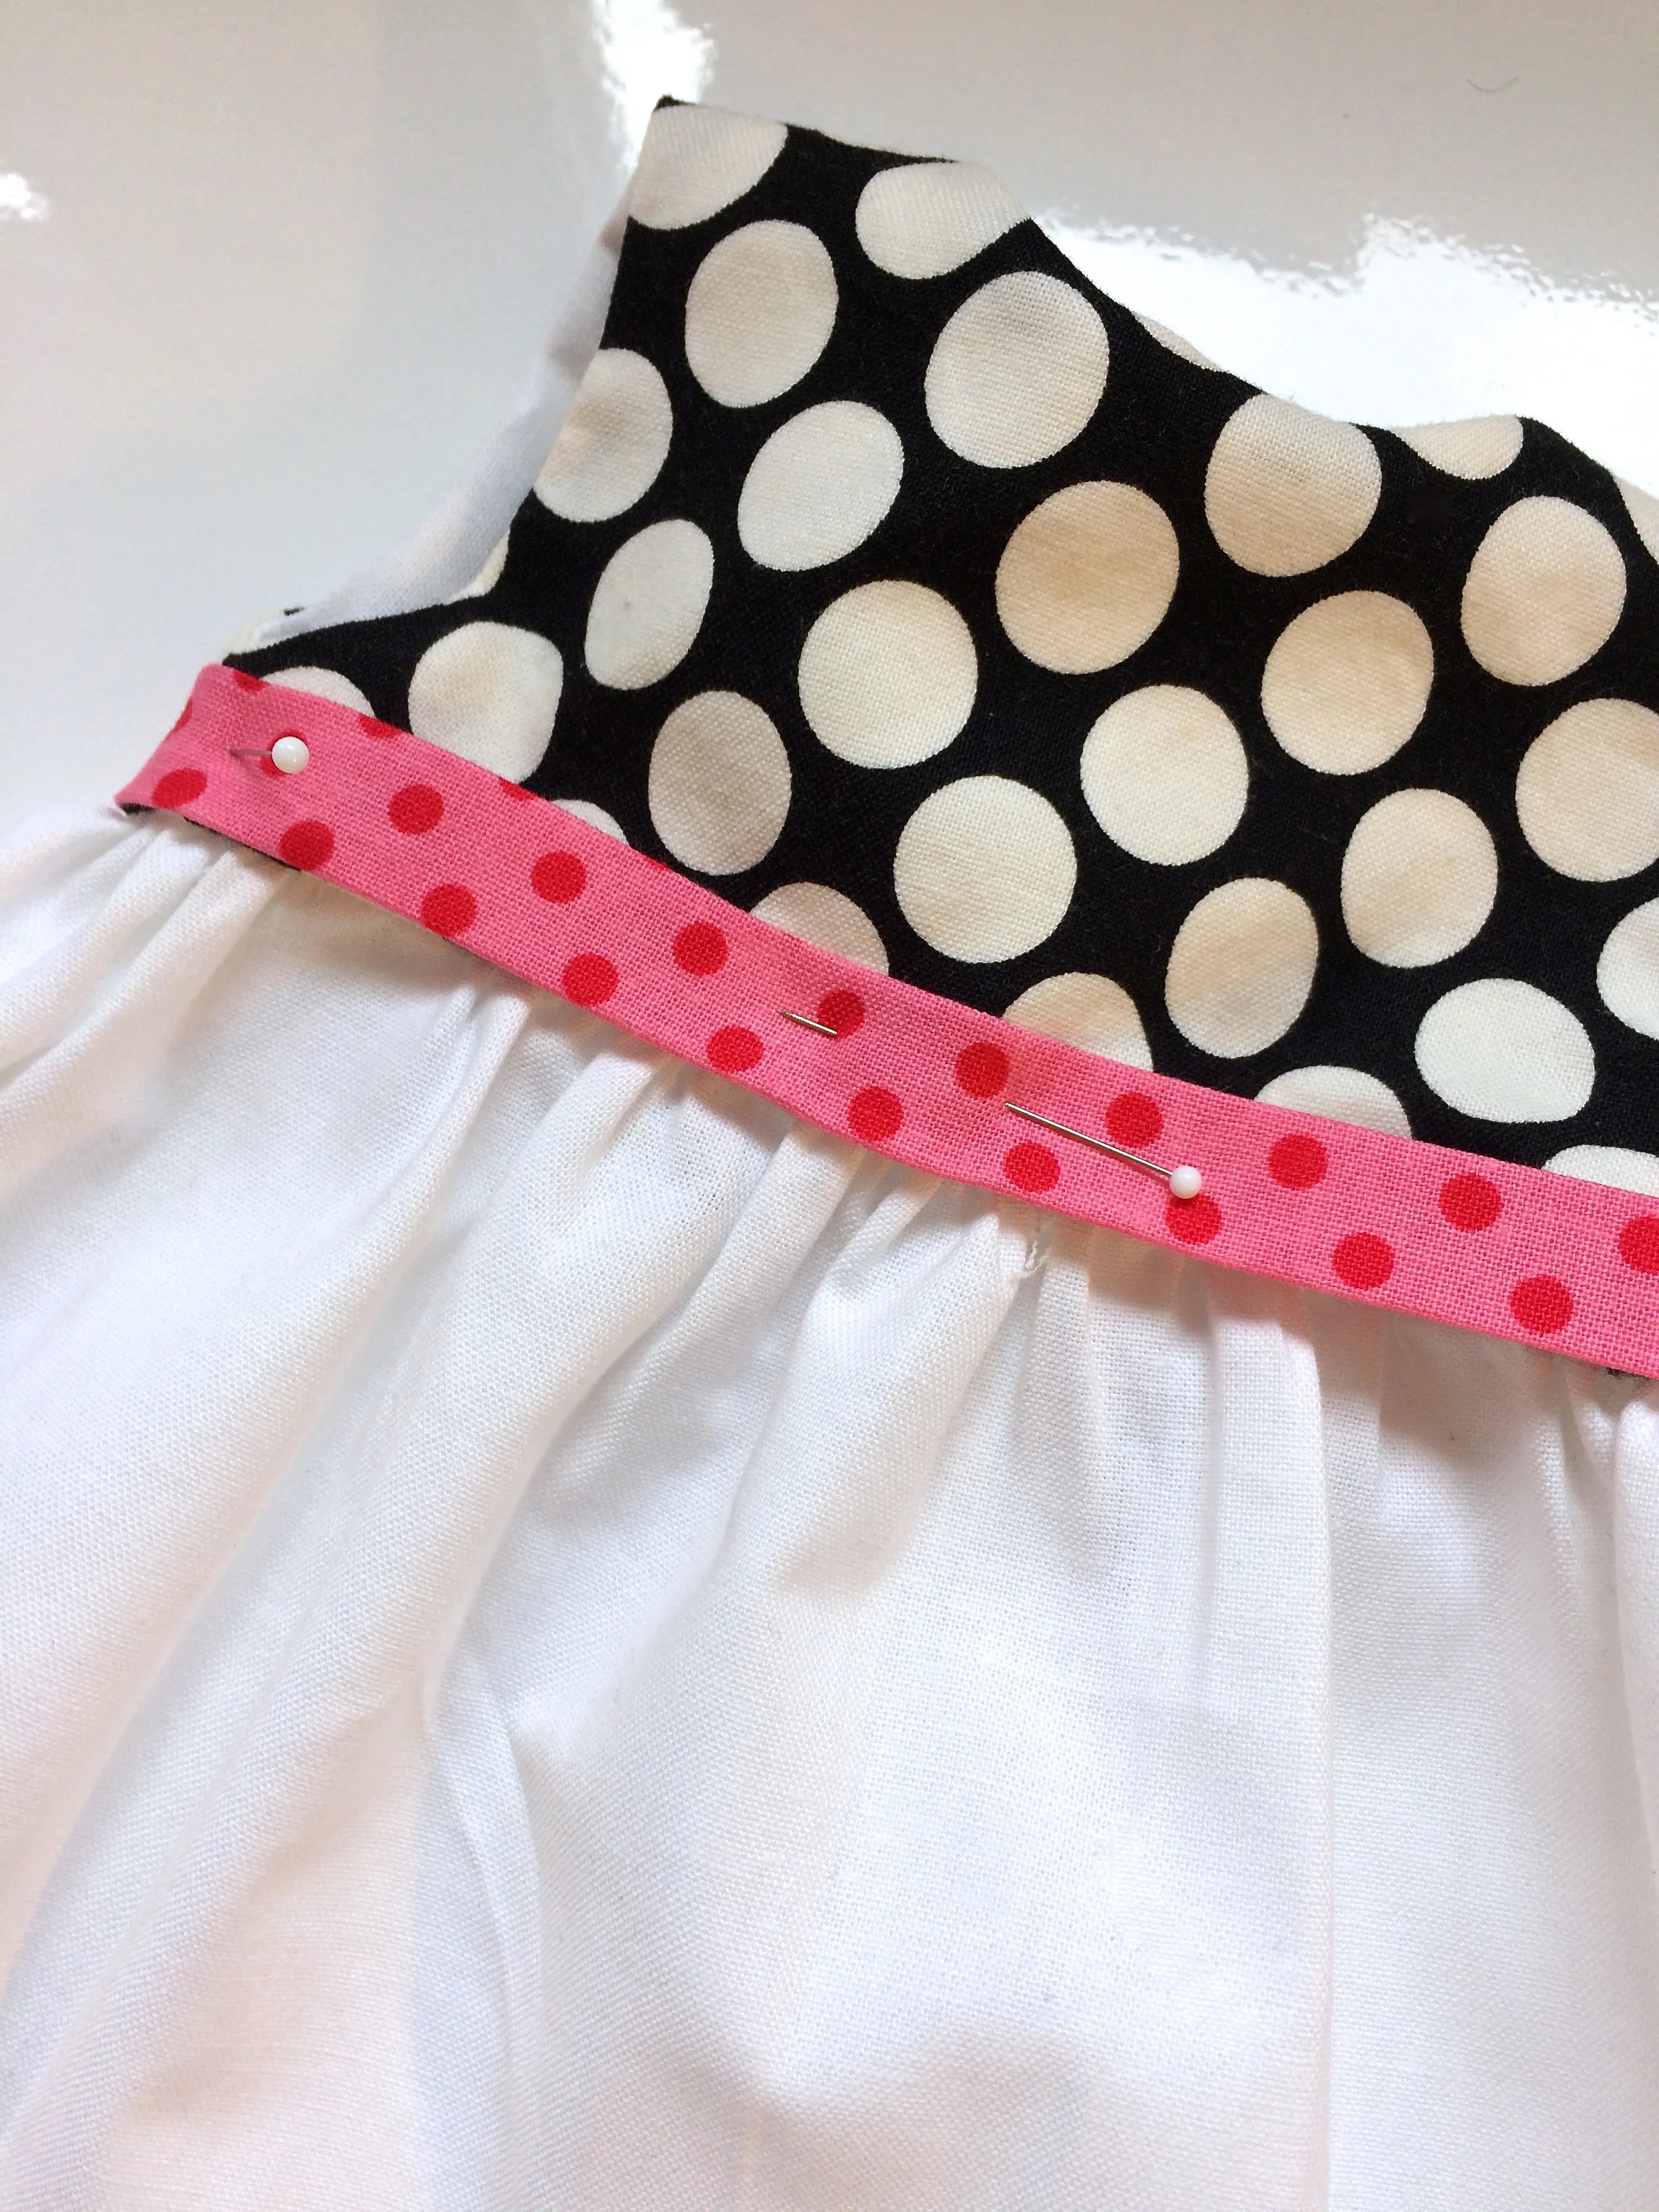
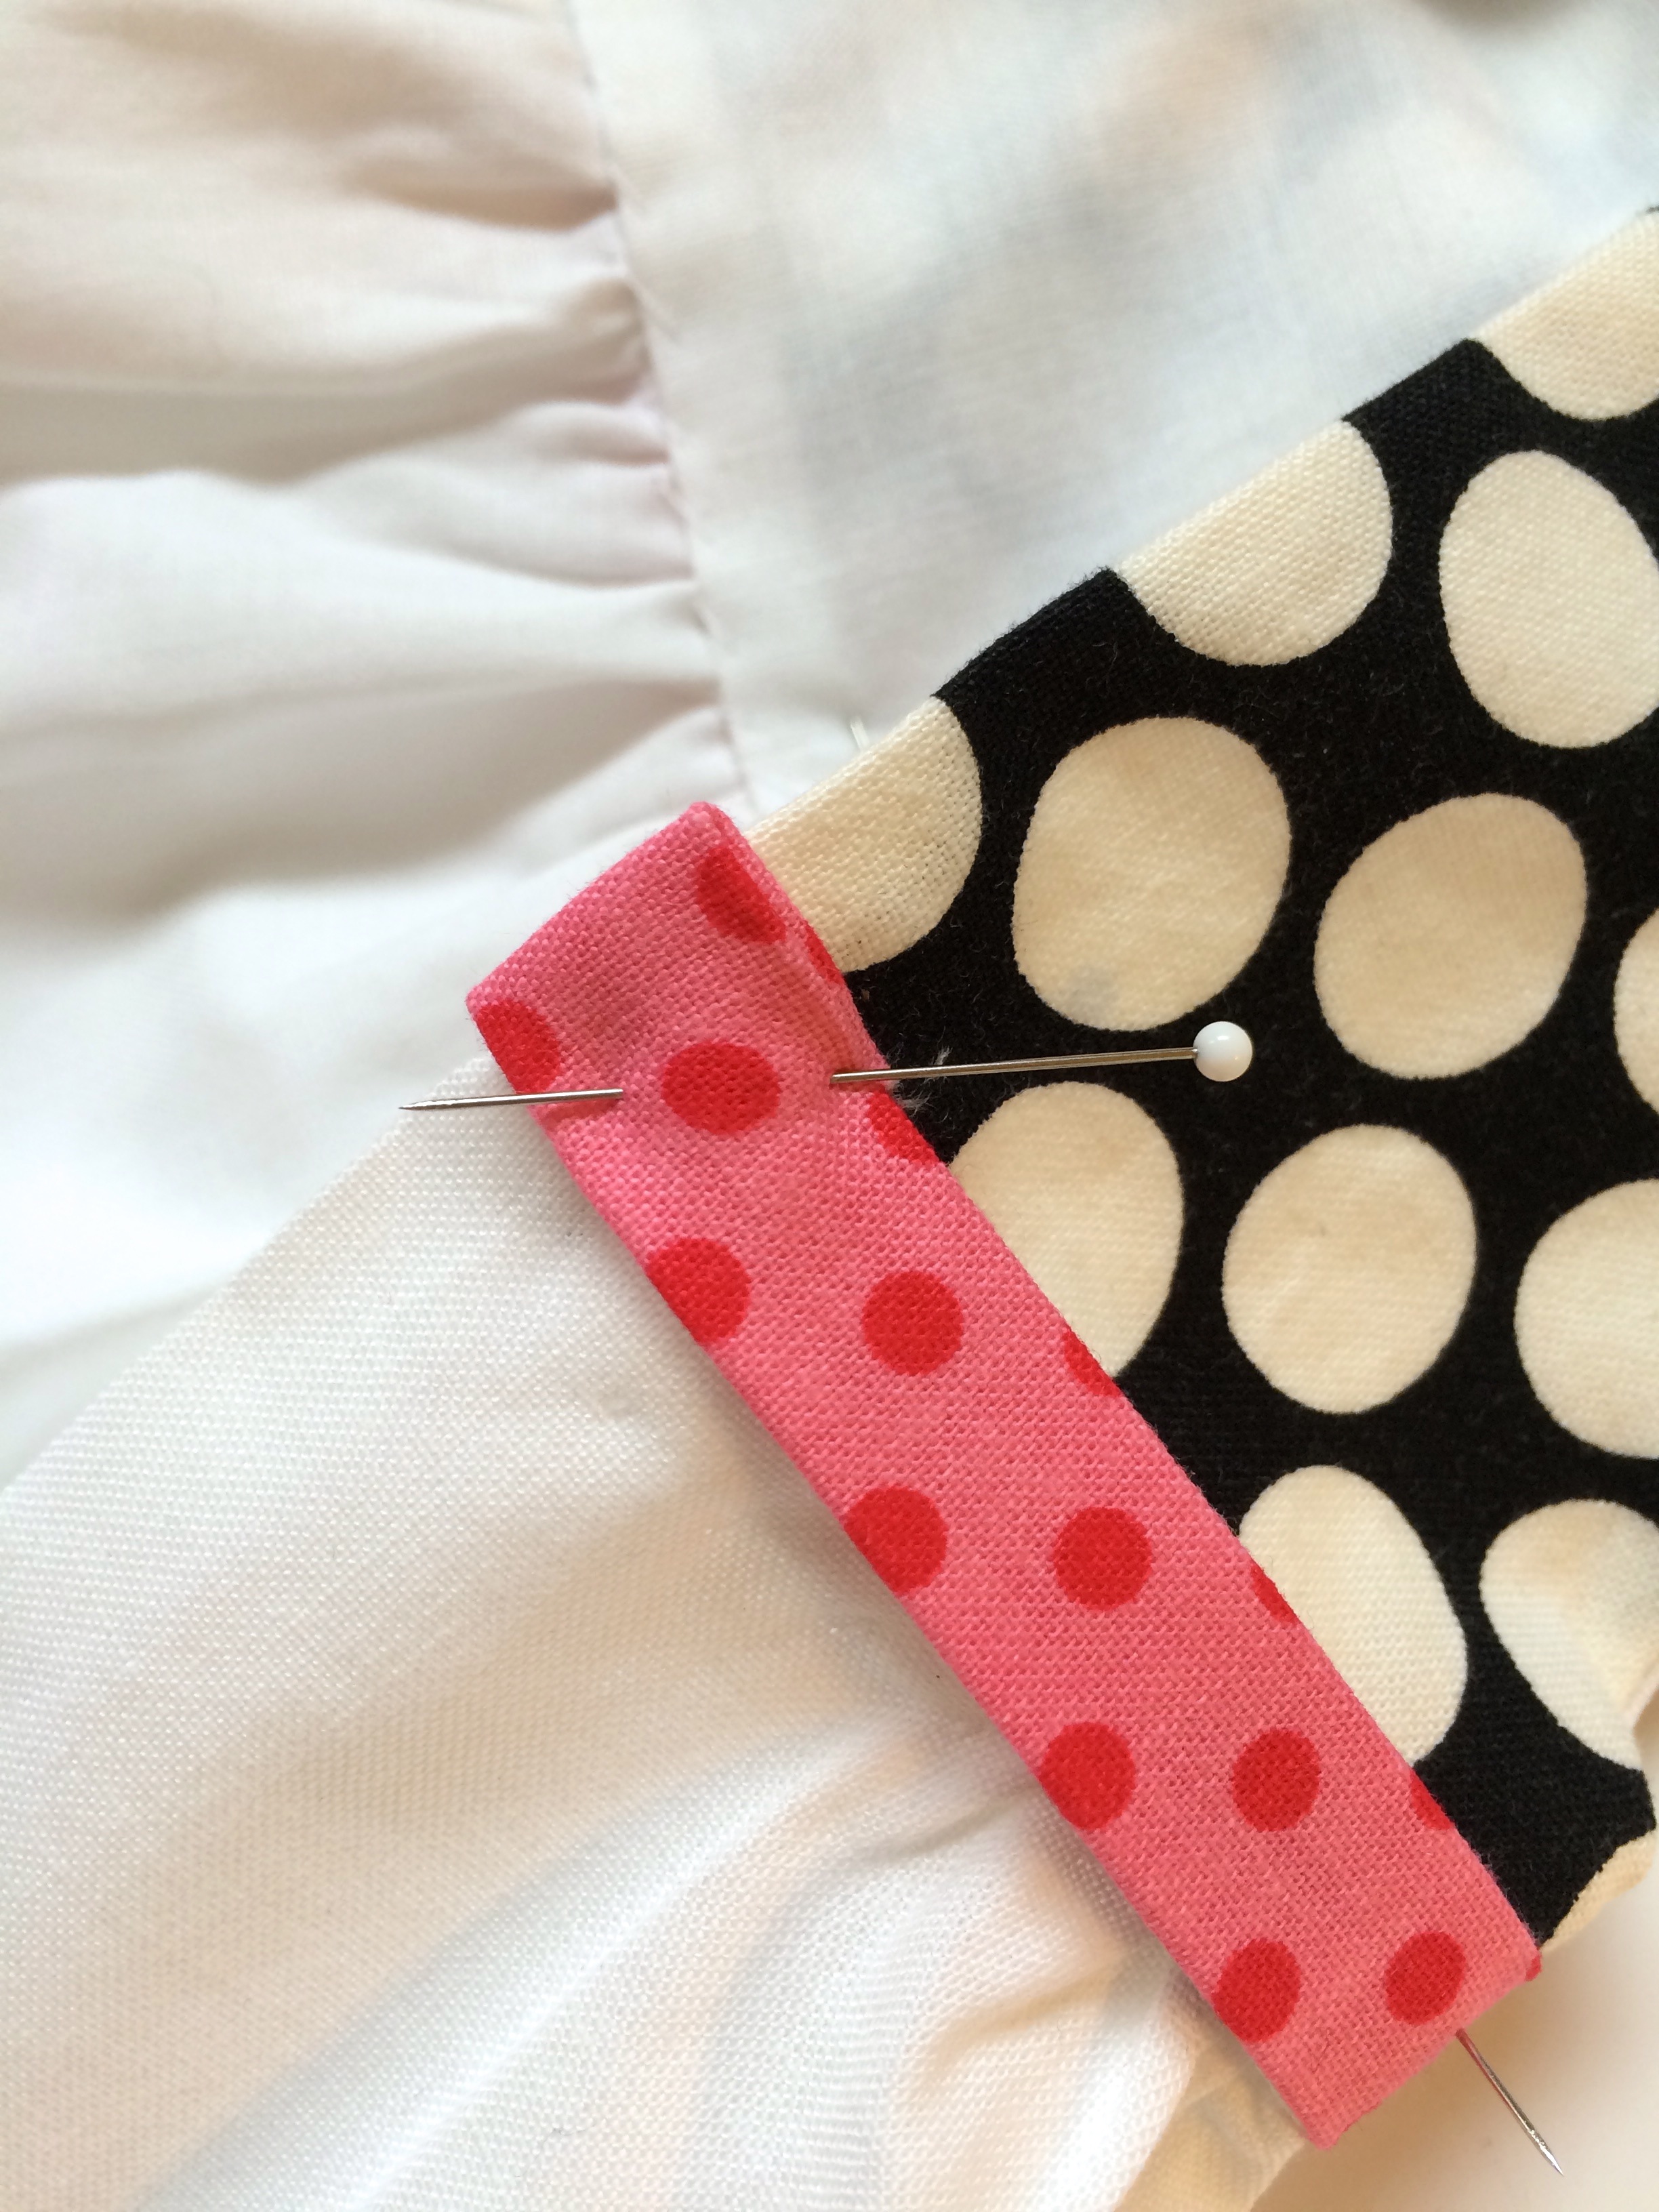
Pin bias trim on. Other than the end pins that secure the folded end, I keep the pins horizontal. With the pins horizontal, it is often possible to sew alongside of them with the machine, without hitting them.
If you are meticulous, you can measure to make sure your trim is an even distnace from the bottom. I eyeball it, after all these are doll clothes and a bit of wabi-sabi goes with the look.

Pinning your trim so you can sew.
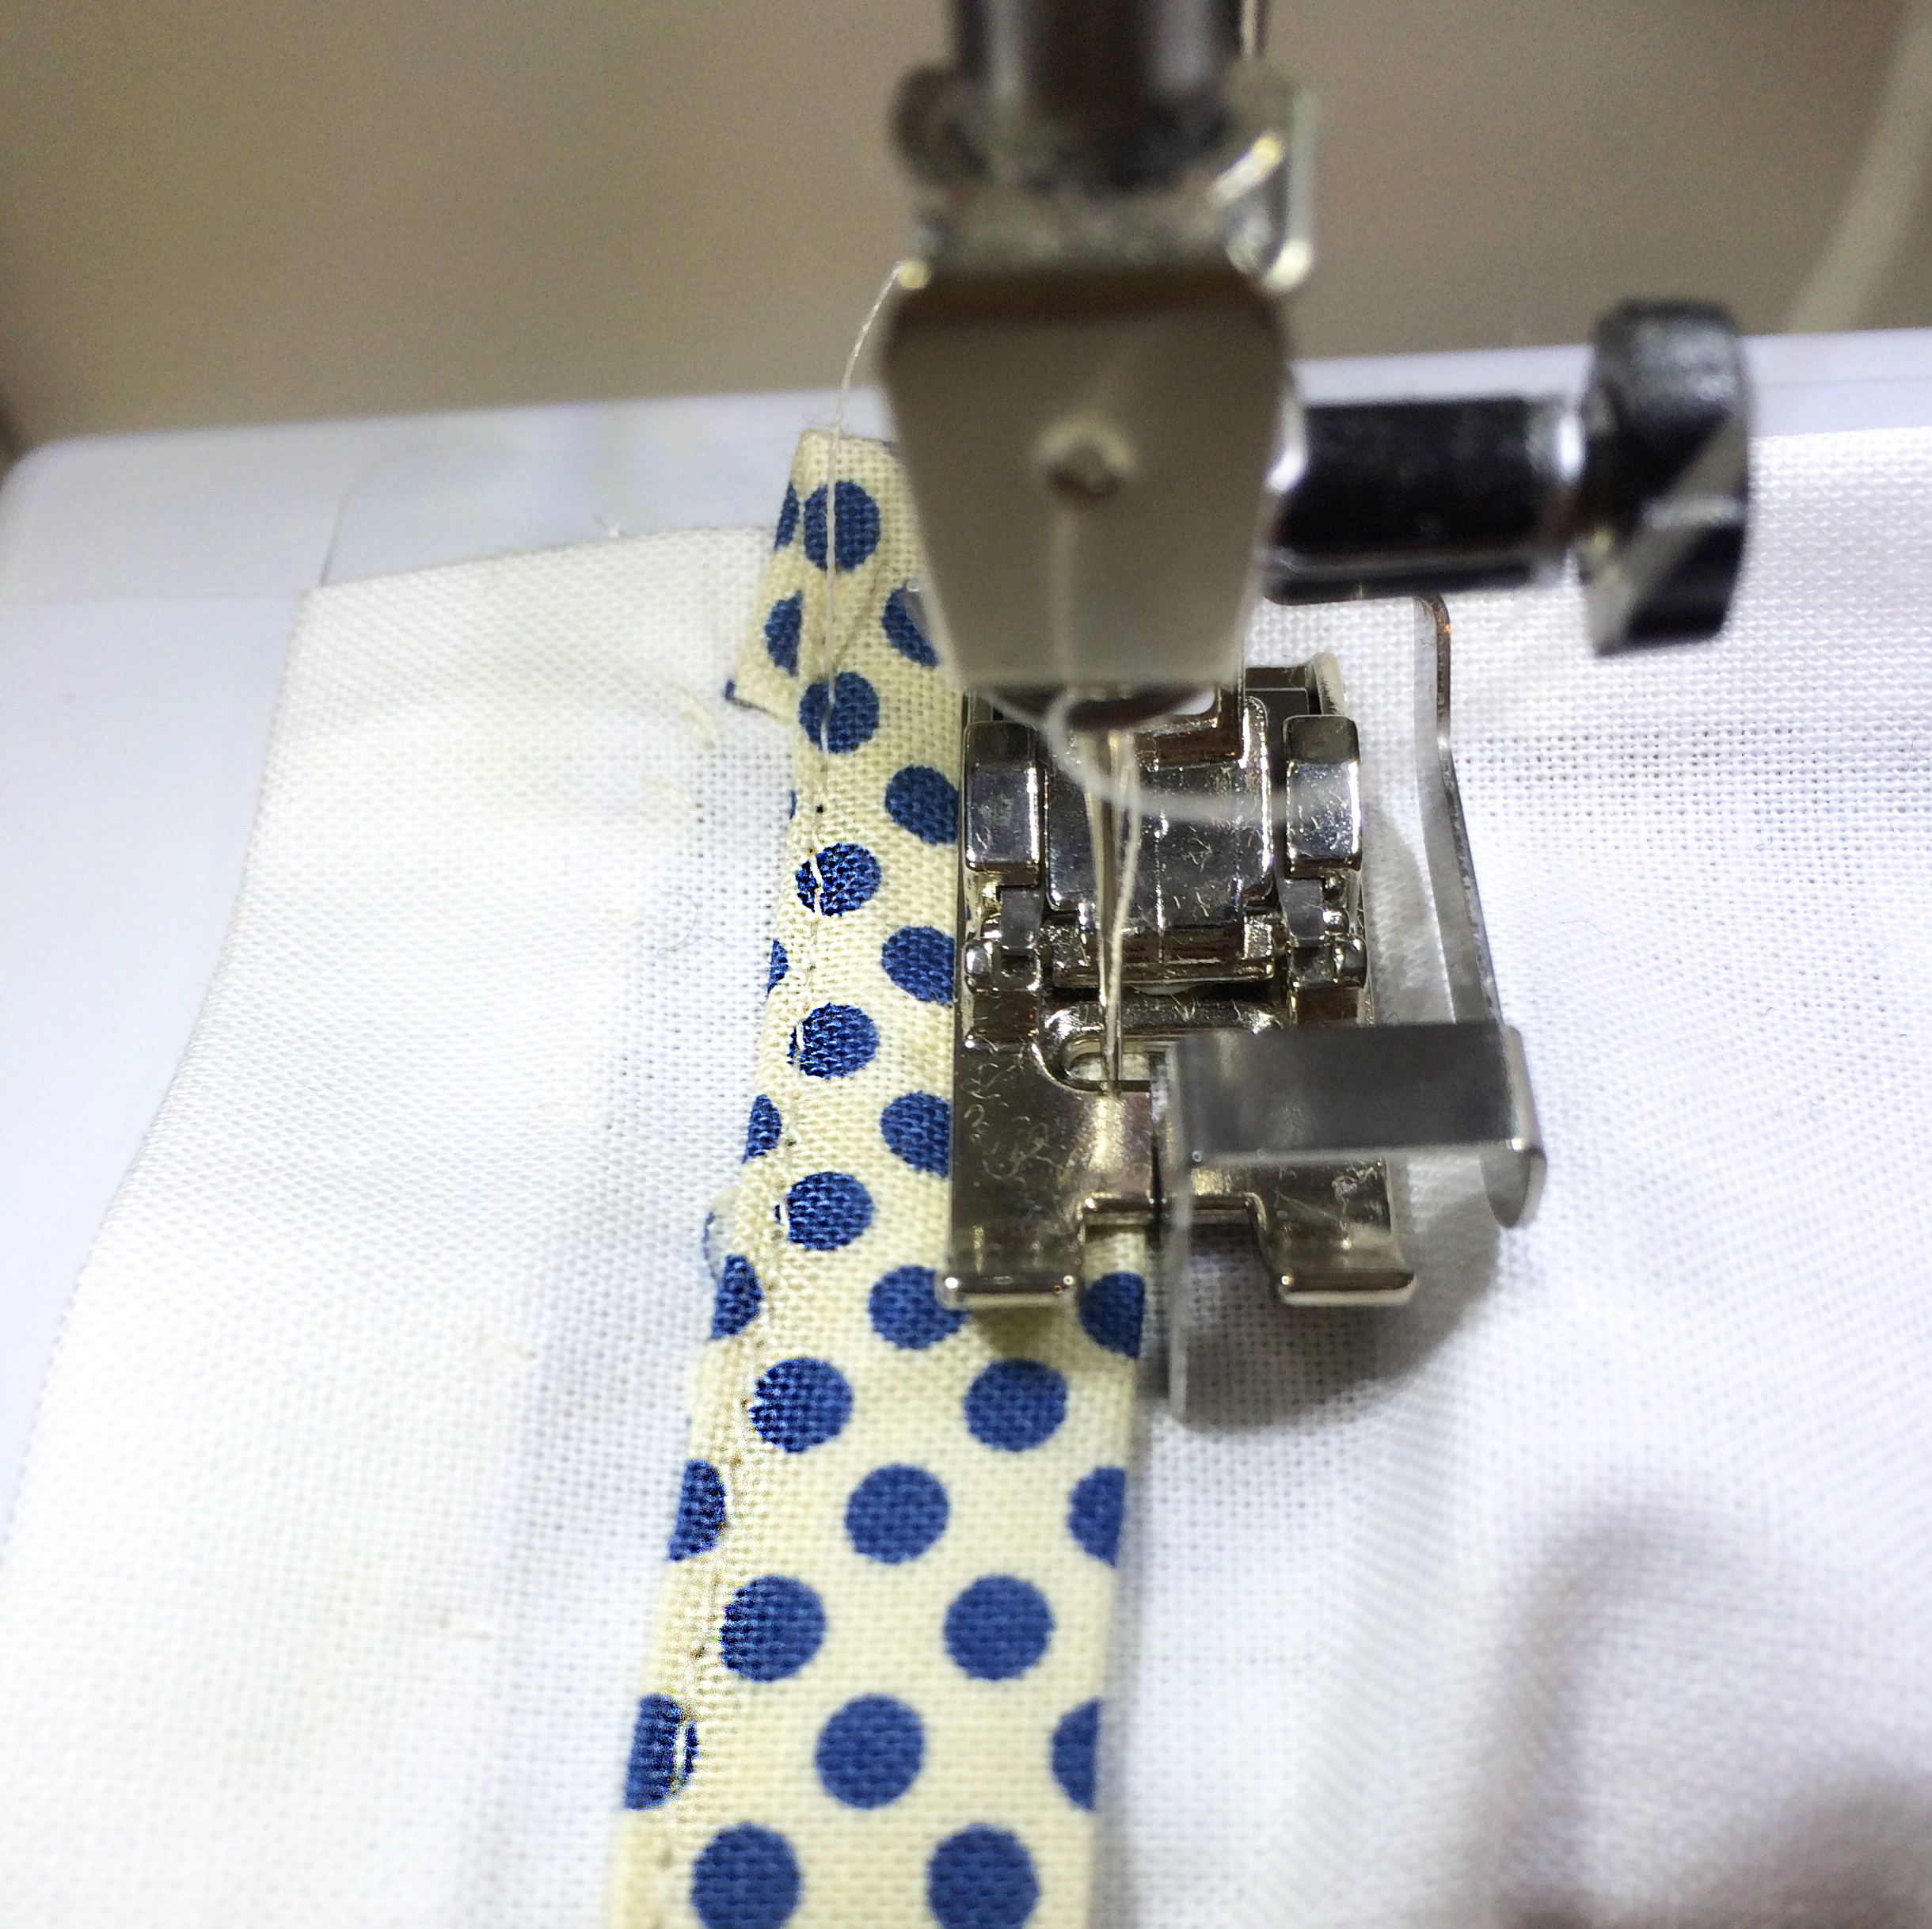
I sew most straight edged trim on with my edge stitch foot. I love this foot! Many sewing machines come with one. They also can be purchased. A great foot to have–there are many things it can do besides make sewing on trim a breeze.
It has a guide that runs along the edge of trim or fabric, because the guide is guiding by the fabric edge, it keeps your stitches in a straight line and in an even distance from the edge. To change your distance from the edge, move your machine's needle more or less to the right or to the left.
With this foot top stitching will look perfect, and if you've ever tried stitching in the ditch, this makes that easier. Some good info on this foot can be found:
and

The edge stitch foot: the best
I typically move my needle almost to the extreme left.
As soon as your presser foot is holding down the folded edge of the fabric, pull out that first pin. Begin sewing. The guide will be along the edge of your fabric and slightly to the left your needle will be stitching. Do the same for the other side of the trim.

Using an edge stitching foot for trim
Using an edge stitching foot for trim
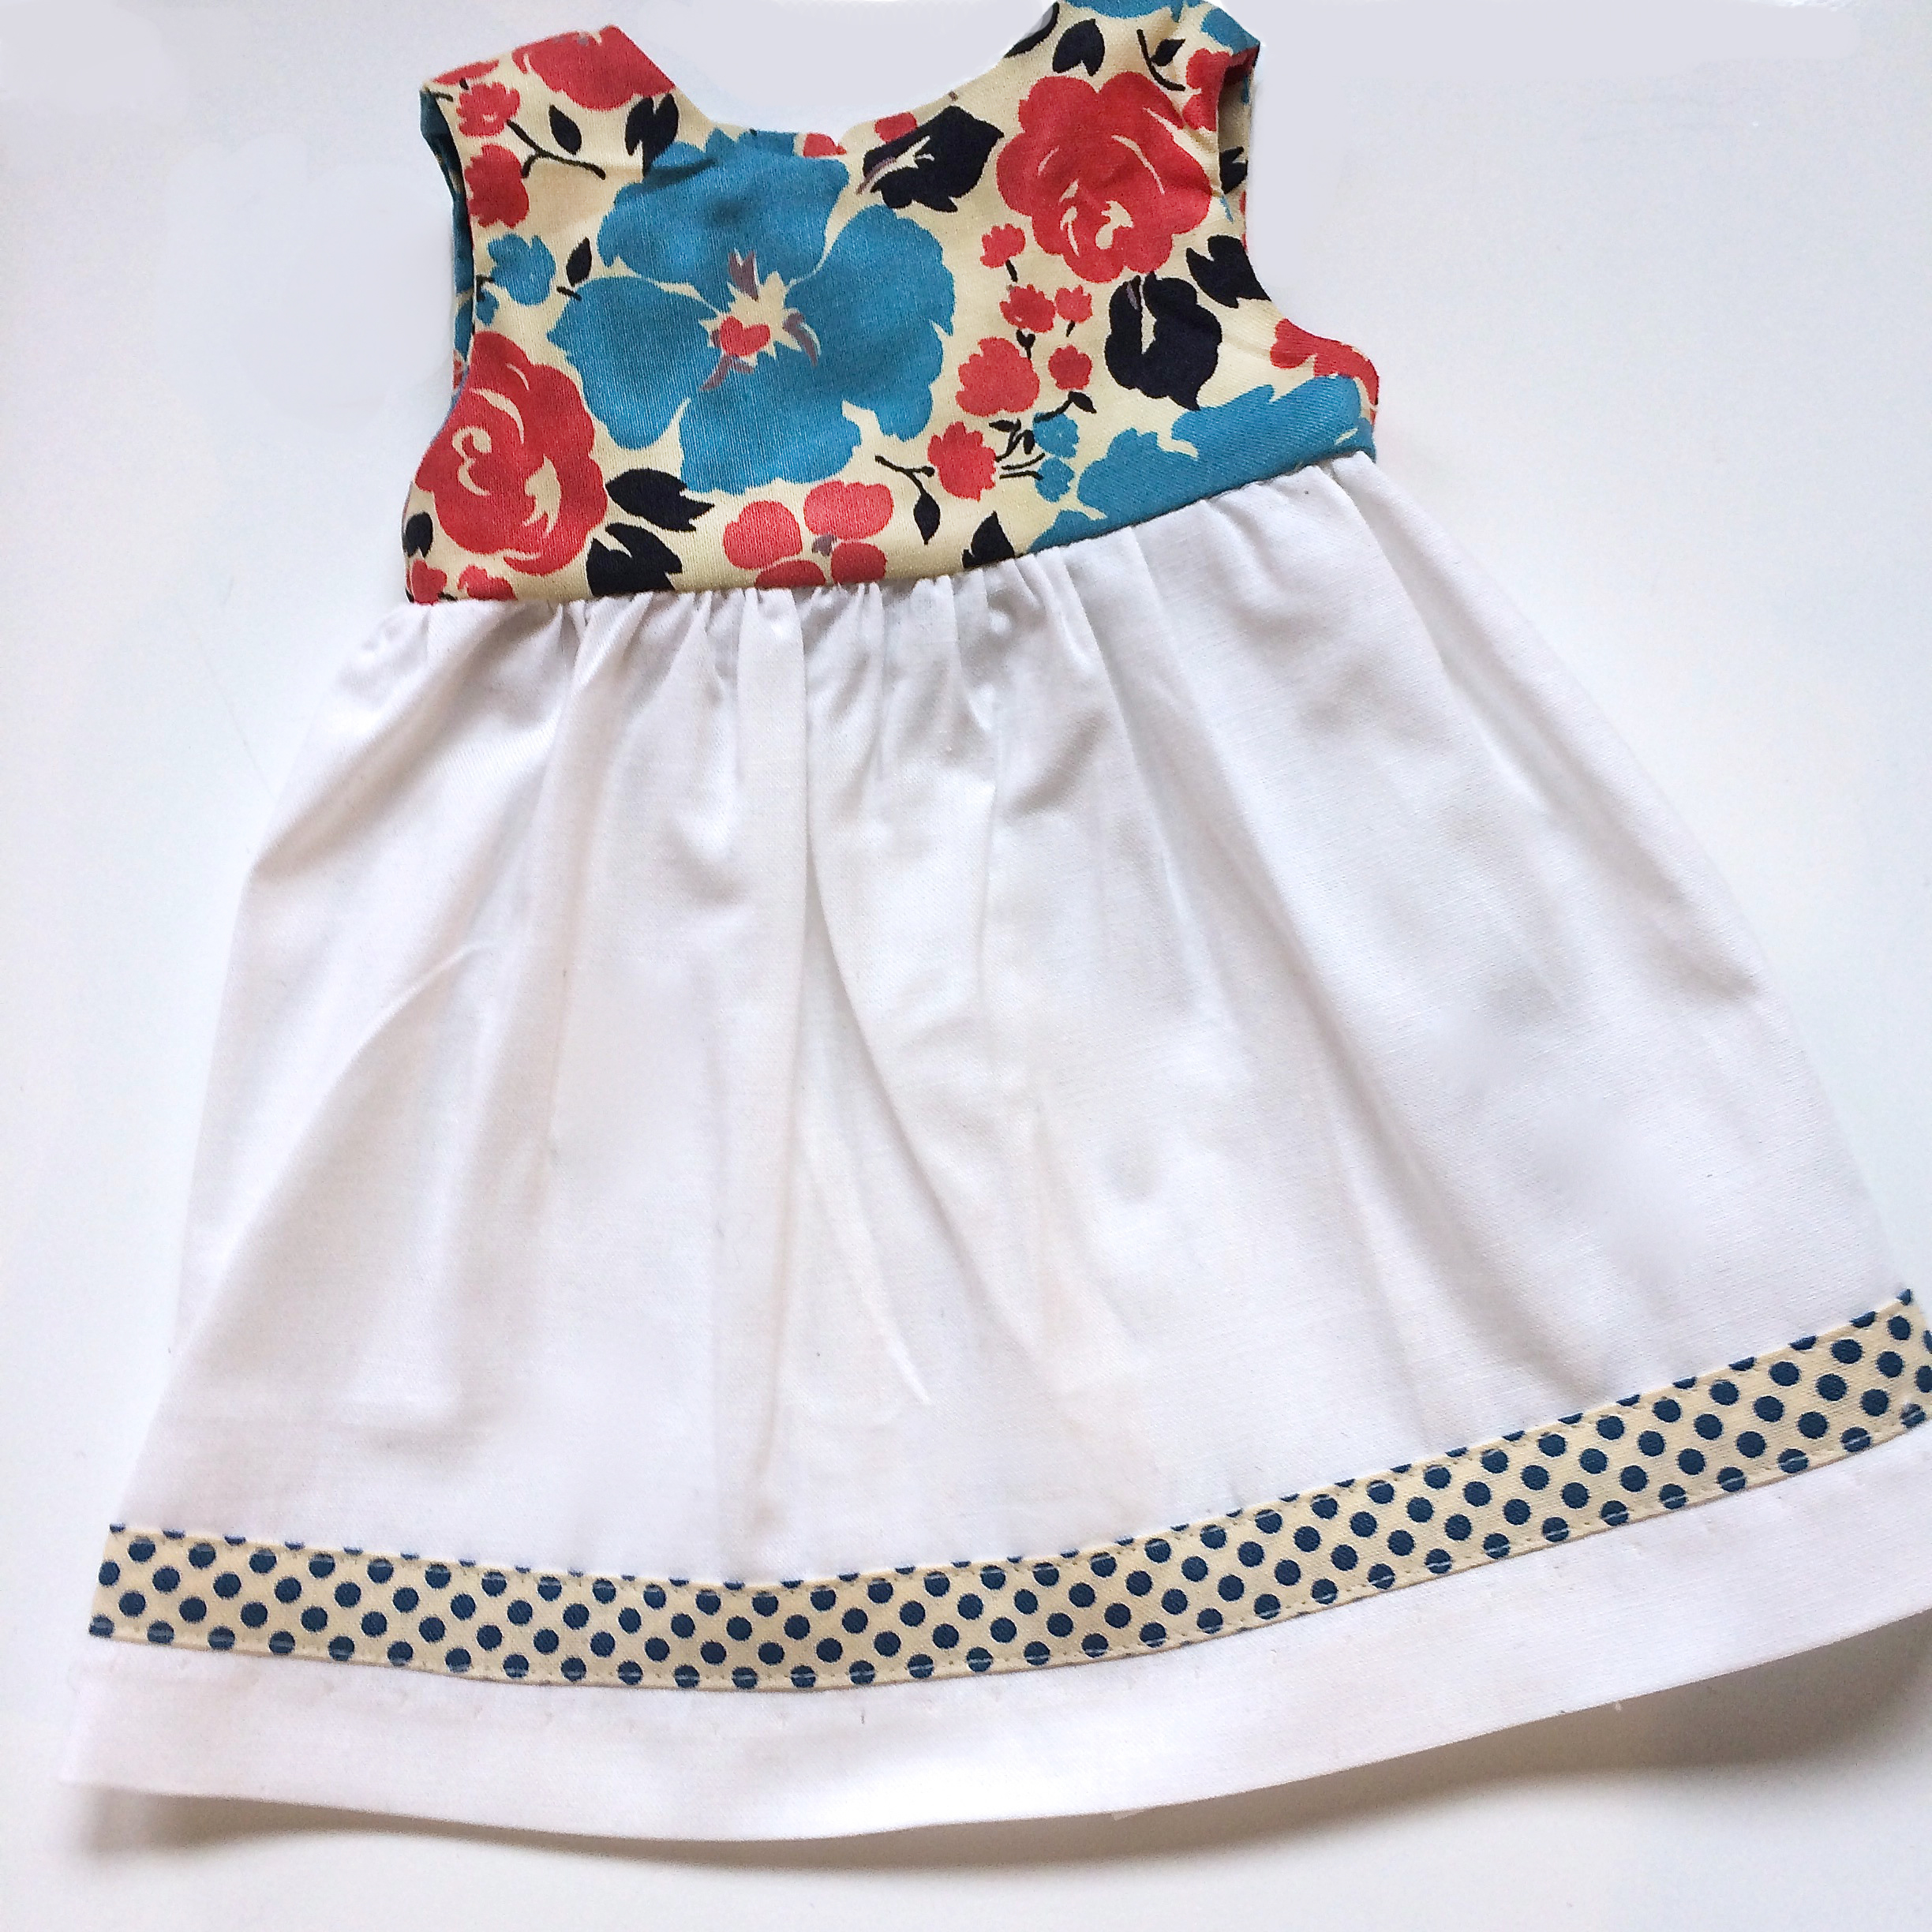
Start with one trim, but more can be better.
If you do not have en edge stitch foot, you can sew on trim with a regular foot.
- Use a point on your foot as the guide.
- The guide should follow the edge of the fabric.
- If you have a needle down option, this can help.
- Have the needle slightly to the left of the guide.
- You will need to take pins out as you go.

Using a regular foot
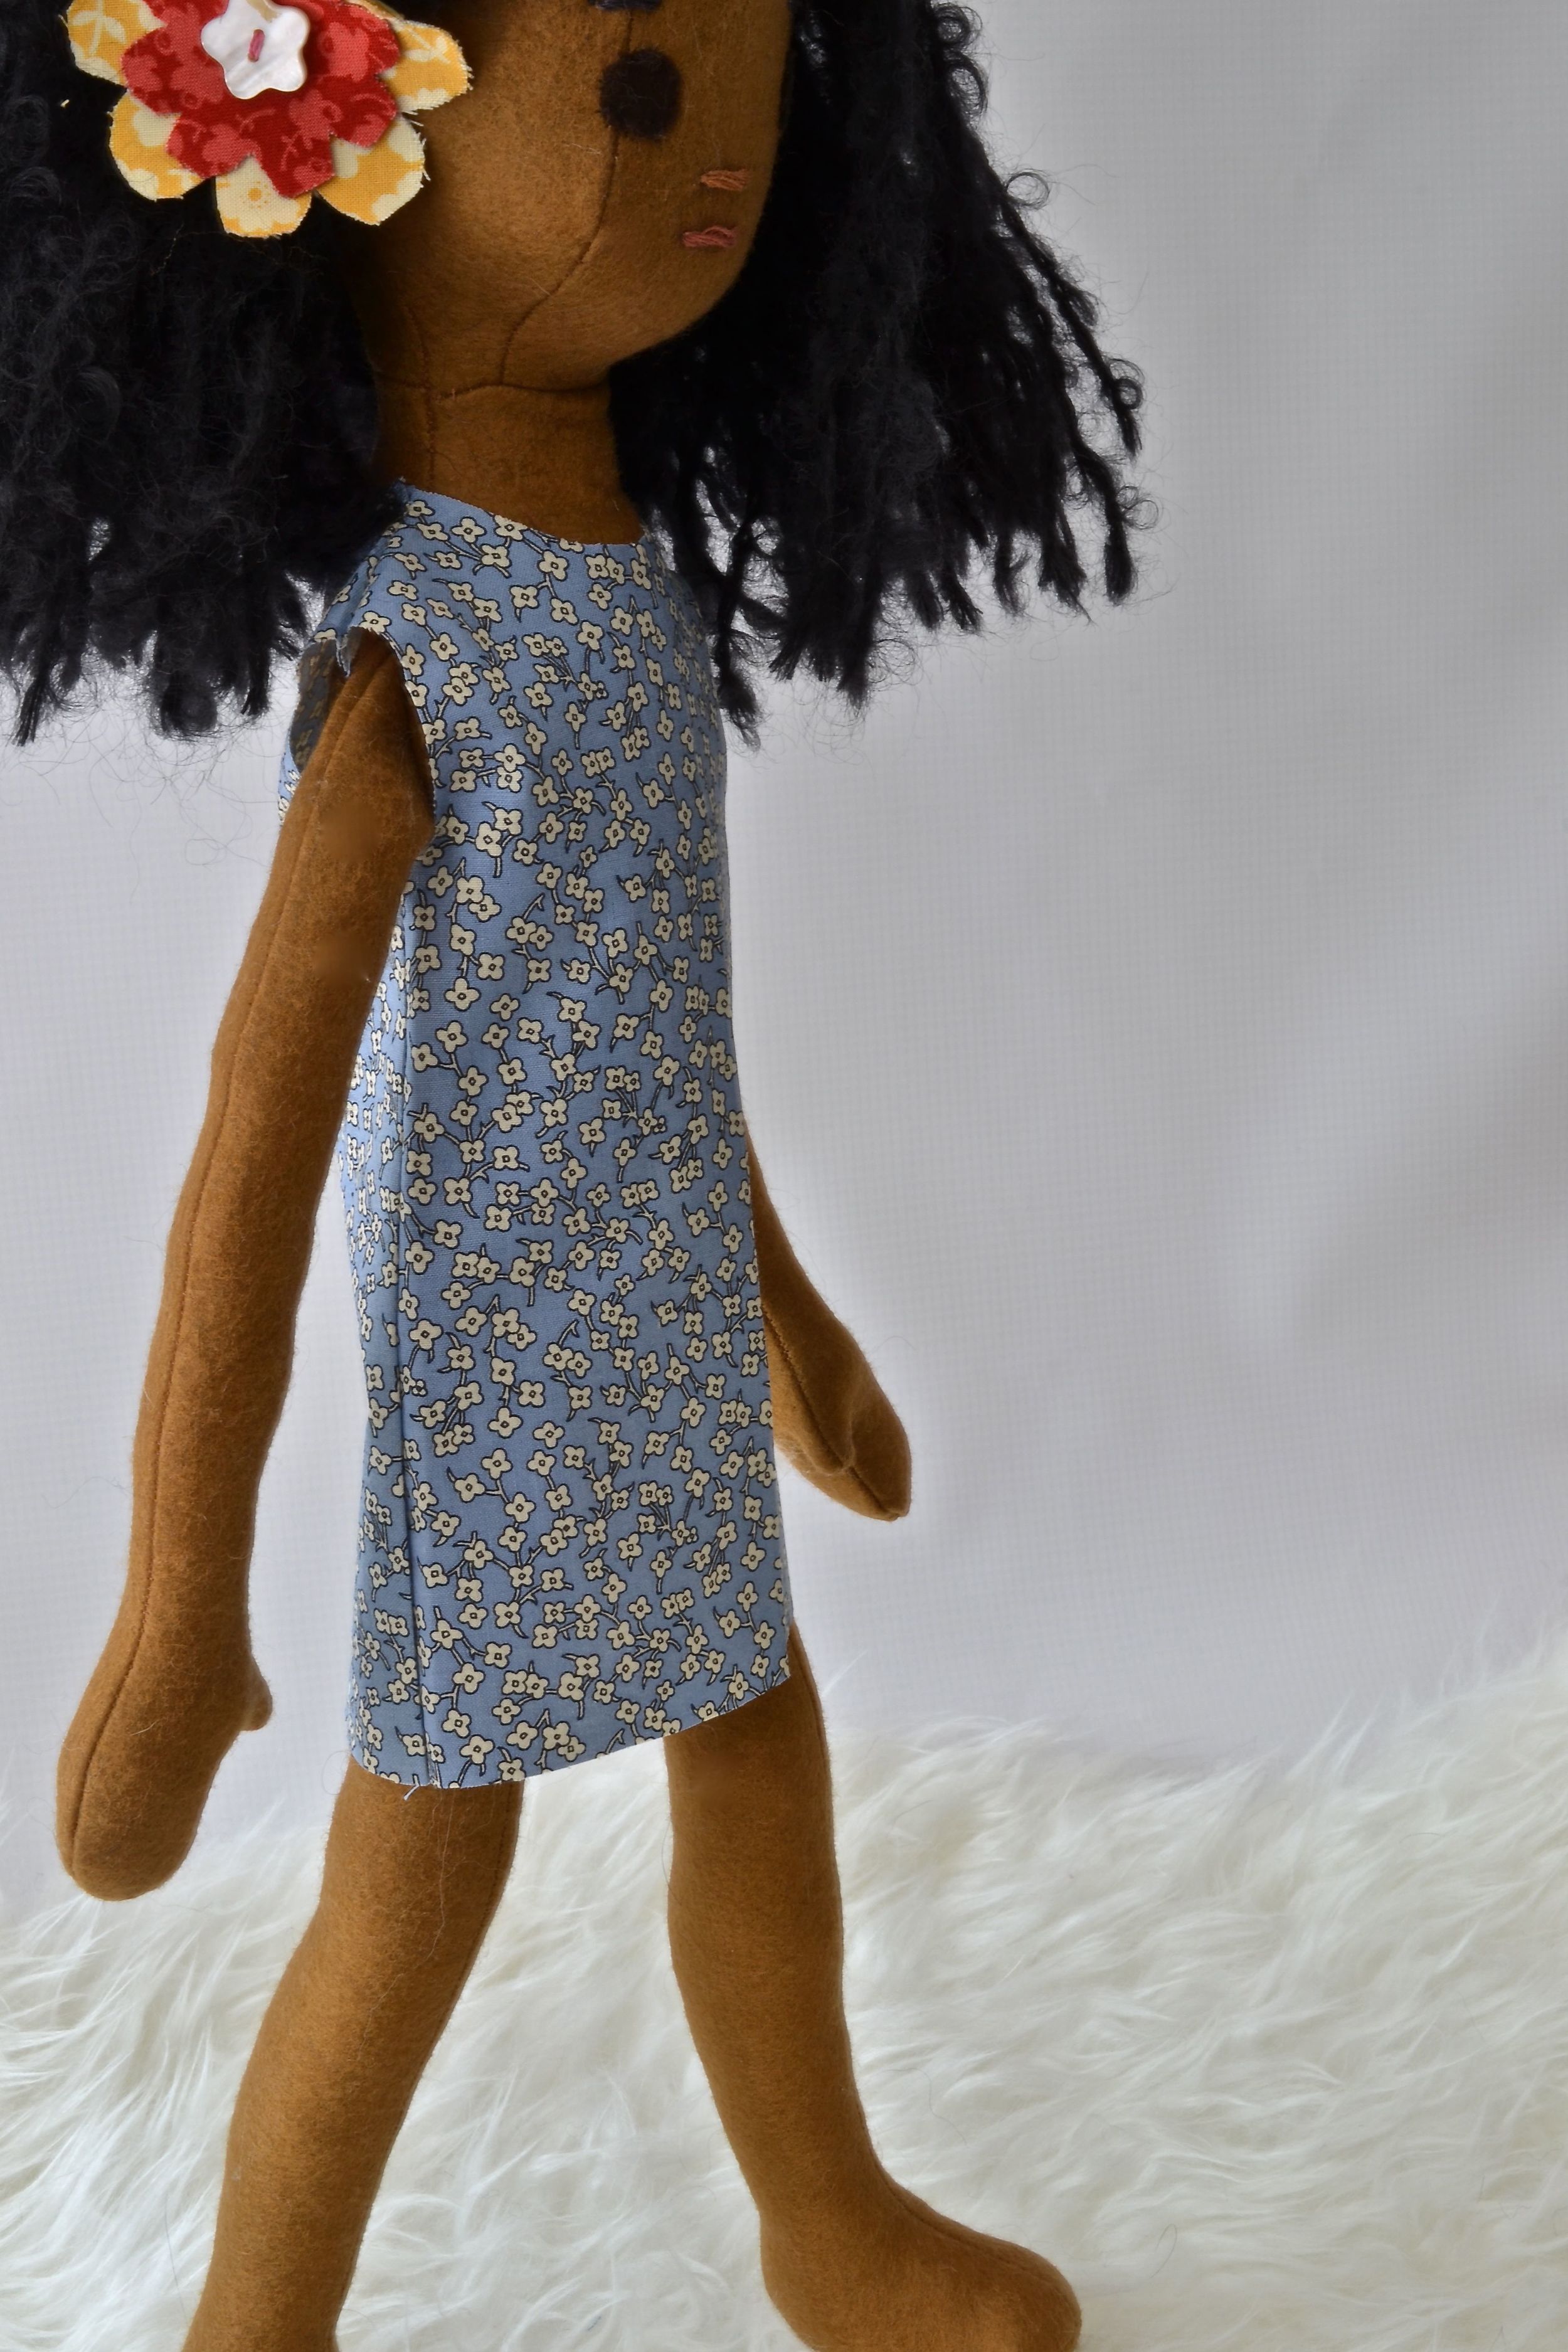
It's fun to play with sewing on trim combinations.